The January Reset: 8 Essential Tasks to Recover from the Holidays
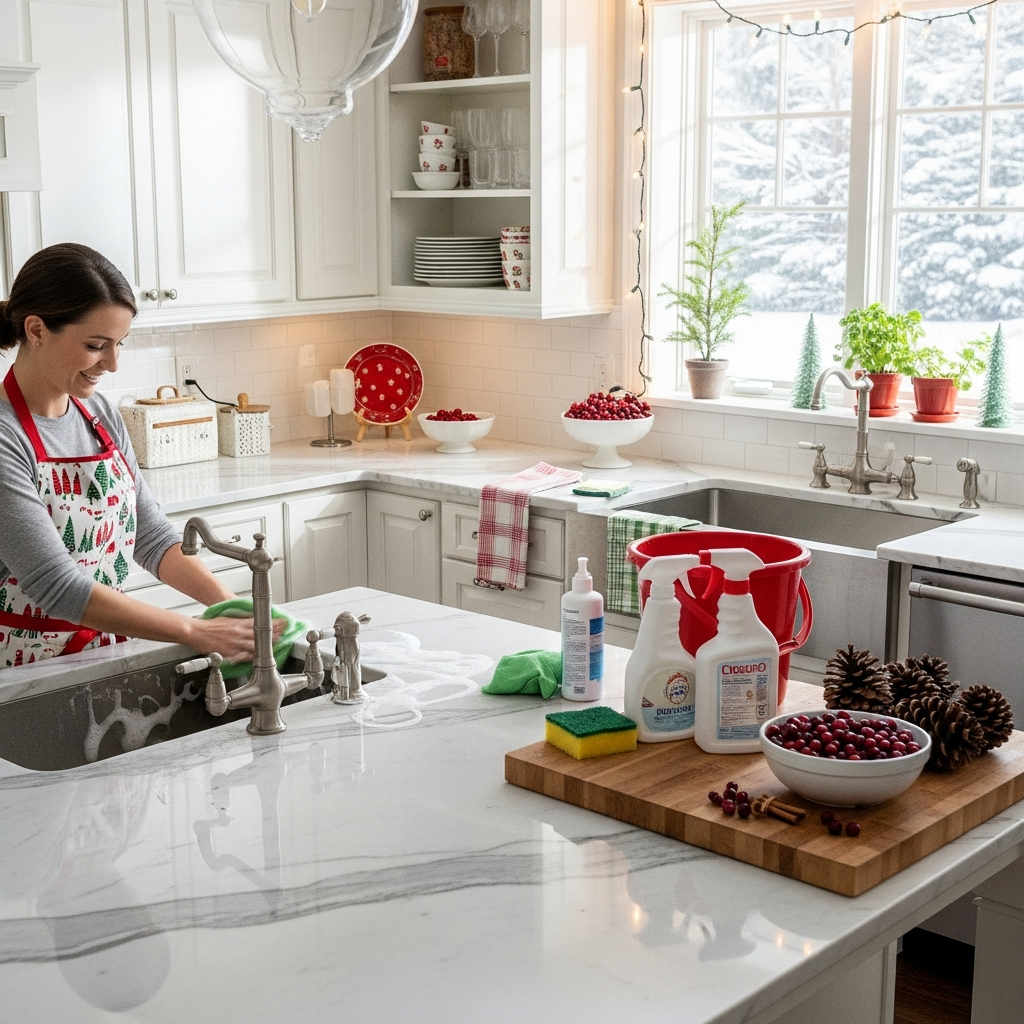
January in Canada is a month of stark transition. The festive lights have dimmed, the adrenaline of the holiday season has evaporated, and we are left facing the reality of deep winter. It is often the coldest, darkest month of the year, a time when the Canadian climate tests the structural integrity of our homes and the resilience of our patience. While the instinct is to hibernate under a duvet and wait for spring, the homeowner cannot afford to be passive. January is a critical month for home maintenance. It is the time to shift from “hosting mode” to “defense mode,” protecting your property from the ravages of dry air, road salt, and thermal inefficiency. This to-do list is not just about cleaning; it is a strategic plan to maintain the health of your home during its most vulnerable season. 1.Post-Holidays The first priority on the January docket is the Post-Holiday Takedown and Recovery. This goes beyond simply putting ornaments in a box. If you had a real Christmas tree, by the first week of January, it has likely transformed from a festive centerpiece into a dehydrated fire hazard. The needles are dry, brittle, and coated in resin. Moving the tree often results in a trail of debris that embeds itself into carpets and scratches hardwood. The removal must be surgical. Use a dedicated disposal bag to wrap the tree before moving it. Once it is gone, the vacuuming strategy is crucial. Do not use the upright vacuum with the beater bar spinning; the needles will jam the brush roll and burn out the motor. Use the hose attachment to extract needles from baseboards, heating vents, and the deep pile of the rug. As for the decorations, January is the time to organize, not just store. Labeling boxes by room rather than by category saves immense stress next December. If a string of lights flickered or failed this year, throw it out now. Do not store broken equipment for your future self to deal with. 2.Salt Once the decorations are cleared, the War on Road Salt begins in earnest. January is when the municipal salting trucks are most active, and consequently, it is when your entryway floors suffer the most. The white crust that forms on boots and floors is calcium chloride or sodium chloride. It is highly alkaline and abrasive. If left to sit on hardwood, it will chemically eat through the polyurethane finish and stain the wood fibers grey. If left on tile, it will degrade the grout. A standard wet mop often just spreads this salty brine around. You must neutralize it. A mixture of one cup of vinegar to a gallon of warm water provides the acidity needed to dissolve the salt bonds. January is also the time to inspect and clean your boot trays. These often become pools of salty sludge. Rinse them out in a utility sink or bathtub to prevent them from overflowing onto the floor. Implementing a strict “no shoes past the mat” policy is the single most effective way to preserve your flooring this month. 3. Air Quality The next battlefront is Indoor Air Quality and Humidity Management. In January, Canadian homes are sealed tight. The furnace is running almost 24/7, circulating air that becomes progressively drier and dustier. This creates a specific set of problems. First, check your humidity levels. The ideal indoor humidity in winter is between 30% and 40%. If it drops lower, hardwood floors can shrink and crack, and static electricity builds up (which attracts dust to surfaces). If it is too high, you will see condensation or ice forming on the inside of your windows, which leads to mold growth on the sills. You likely need to run a humidifier, but that humidifier needs to be cleaned weekly to prevent it from spewing bacteria into the air. Simultaneously, the furnace filter must be changed. In January, the system is under maximum load. A clogged filter restricts airflow, forcing the furnace to work harder and potentially overheat, while recirculating dust and allergens. A fresh filter is the cheapest insurance policy for your HVAC system. 4.Dust With the furnace blasting, Dust Management becomes a different game. Convection currents created by baseboard heaters or forced-air vents move dust differently than in the summer. Dust settles heavily on the tops of door frames, ceiling fan blades (which should be stationary or reversed to push warm air down), and the coils of the refrigerator. The refrigerator coils, often located at the bottom or back of the unit, need to be vacuumed in January. When these coils are coated in dust, the fridge cannot release heat efficiently, meaning the compressor has to run longer to keep your food cold. This not only wastes energy but shortens the life of the appliance. Furthermore, clean your bathroom exhaust fans. In a sealed winter house, effective ventilation is the only way to remove moisture from showers. If the fan grille is clogged with gray fuzz, the humidity stays in the bathroom, inviting mildew to grow on the cold exterior walls. 5.Kitchen Detox Kitchen Detox and Reset is the next major task. December is a month of excess, and the kitchen bears the scars. The refrigerator is likely packed with jars of half-eaten holiday condiments, stale leftovers, and produce that has seen better days. A ruthless purge is necessary. Check expiration dates and discard anything suspicious. Wipe down the shelves with hot soapy water to remove sticky spills that harbor bacteria. This is also the time to address the oven. If you didn’t clean it before the turkey went in, it is definitely dirty now. However, if your house is tightly sealed against the cold, running the high-heat self-clean cycle can fill the home with fumes that have nowhere to go. A manual clean with a paste of baking soda and water is safer for indoor air quality in January. Don’t forget the dishwasher filter; it likely processed a lot of grease and gravy in December and needs to be scrubbed to
The January Reset: 8 Essential Tasks to Recover from the Holidays Read More »