3 Smart and Effective Ways to Clean Mugs, Thermal Bottles, and Travel Mugs
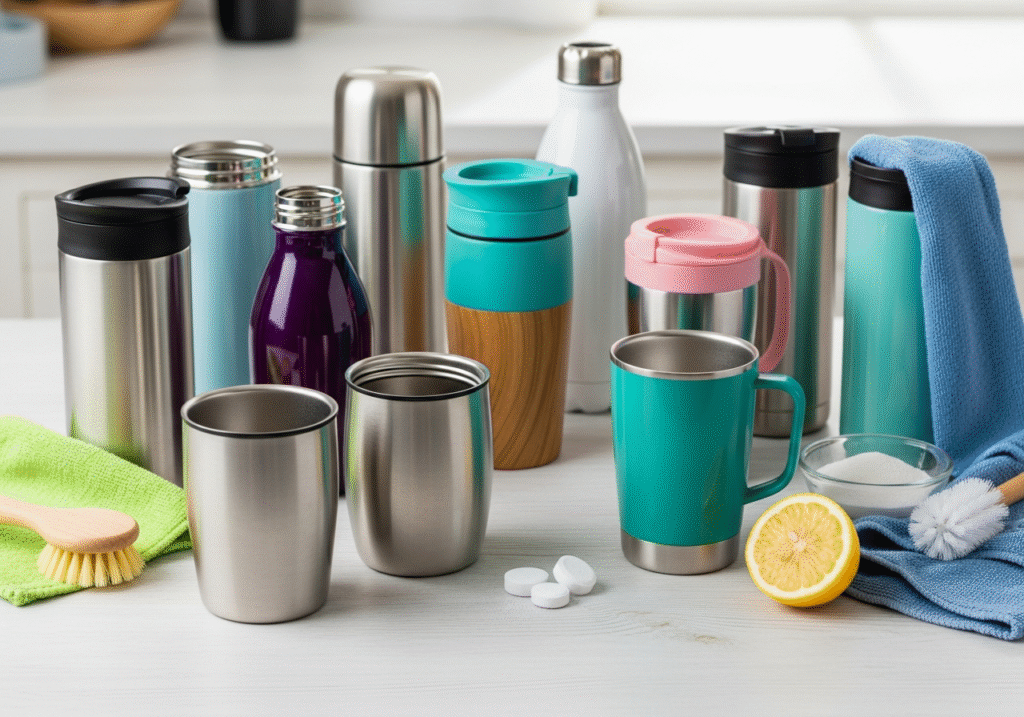
The daily ritual of a morning coffee or an afternoon tea is a simple comfort, centered around a favorite mug or a trusted thermos. These vessels are constant companions, yet over time, they begin to show the signs of their service. A once-pristine white ceramic interior develops a stubborn brown film, and the clean, metallic sheen of a stainless steel thermos becomes dull and stained. A faint, stale odor might begin to linger, tainting the taste of a fresh brew. Standard washing with soap and water often proves futile against this gradual buildup, leaving behind a frustrating residue that seems impossible to remove. Restoring these daily essentials to their original, pristine state requires a deeper understanding of the stains and a more targeted approach to cleaning. Rinse Immediately The foundation of maintaining any mug or thermos is the immediate rinse. As soon as you finish your beverage, giving the vessel a quick but thorough rinse with hot water removes the majority of the liquid residue before it has a chance to dry and set into a stain. This single, simple habit can dramatically reduce the frequency and intensity of deep cleaning required. For daily washing, a soft sponge or a dedicated bottle brush with a non-scratch head, combined with a small amount of mild dish soap and warm water, is perfectly sufficient. It is crucial to avoid abrasive tools like steel wool or harsh scouring pads, especially on ceramic mugs with printed designs or on the interior of insulated thermoses, as these can create microscopic scratches that will paradoxically hold onto stains even more tenaciously in the future. While many ceramic and glass mugs are dishwasher safe, most insulated thermoses and travel mugs are not. The high heat and harsh detergents of a dishwasher can damage the vacuum seal that is essential for insulation, and can degrade the rubber or silicone gaskets in the lid, causing them to leak. Always check the manufacturer’s instructions, but when in doubt, hand washing is the safest and most effective method. When the daily wash is no longer enough to combat the brown film left by the tannins in coffee and tea, it is time to employ more powerful, yet simple, household remedies. The first and most gentle of these is baking soda. Its power lies in its nature as a mild alkali and a very fine, gentle abrasive. To clean a stained mug or thermos, simply sprinkle about a tablespoon of baking soda into the bottom. Add just enough warm water to form a thick paste, similar in consistency to toothpaste. Using a soft cloth or a sponge, scrub this paste around the interior of the vessel, concentrating on the stained areas. The fine particles will gently lift the set-in stains from the surface without scratching. For a deeper clean, let the paste sit in the mug for twenty to thirty minutes before scrubbing and rinsing thoroughly. The baking soda not only removes stains but is also a fantastic natural deodorizer, absorbing any stale coffee smells that have lingered. Homemade Combination For thermoses or bottles with narrow openings where a sponge cannot easily reach, a more mechanical cleaning method is highly effective. A combination of coarse salt and either crushed ice or lemon wedges can work wonders. Pour a few tablespoons of coarse salt—like kosher or sea salt—into the empty thermos. If using ice, fill the thermos about a quarter of the way with crushed ice. If using lemon, add a few thickly sliced wedges. Seal the lid tightly and shake the thermos vigorously for several minutes. The coarse salt acts as a powerful abrasive, scouring the interior walls, while the ice or lemon wedges help to agitate the salt and reach every corner. The acid in the lemon also provides an additional chemical cleaning and deodorizing boost. After shaking, empty the contents and rinse the thermos thoroughly with hot water to remove all traces of salt. Another powerful tool is white vinegar, a mild acid that is excellent at dissolving both organic stains and mineral deposits. If your mugs suffer from hard water spots or a chalky film in addition to coffee stains, vinegar is the ideal solution. To use it, fill the mug or thermos about halfway with white vinegar and top it off with hot water. Let this solution soak for at least an hour, or even overnight for the most stubborn, set-in stains. The acetic acid will work to break down and dissolve the buildup. After the soak, pour out the solution and wash the vessel as usual with soap and water, using a bottle brush to scrub away any remaining loosened particles. The initial smell of vinegar will be strong, but it dissipates completely after a thorough rinse, leaving the interior fresh and odor-free. Denture Cleaning Tablets A surprisingly effective and effortless method for deep cleaning involves a product found in the dental care aisle: denture cleaning tablets. These tablets are specifically designed to remove tough stains and kill odor-causing bacteria in a gentle, non-abrasive way. Their effervescent, fizzing action is what makes them so effective. To use them, simply drop one or two tablets into your mug or thermos, fill it with warm water, and let it sit. The tablet will begin to fizz, creating a powerful cleaning solution that lifts the brown film from the surface with minimal effort. After about thirty minutes, or whenever the fizzing stops, pour out the water and give the interior a light scrub with a bottle brush before rinsing it thoroughly. This method is particularly useful for complex travel mug lids and the hard-to-reach bottoms of tall thermoses. Speaking of thermoses and travel mugs, the lid is often the true culprit behind persistent odors and a less-than-clean experience. These lids are marvels of engineering, designed to be leak-proof with complex mechanisms involving push-buttons, sliders, and multiple silicone or rubber gaskets. This complexity, however, creates countless tiny crevices where old coffee, cream, and sugar can become trapped. Over time,
3 Smart and Effective Ways to Clean Mugs, Thermal Bottles, and Travel Mugs Read More »
