Hey there, fellow clean freaks! Are you tired of staring at that pesky soap scum on your shower tiles every morning? You know, those cloudy streaks that just refuse to leave no matter how much you glare at them? Well, it’s time to roll up your sleeves because I’ve got some nifty tricks to make your shower tiles sparkle again. Let’s dive into “5 Quick and Easy Ways to Remove Soap Scum from Shower Tiles” and turn that bathroom blunder into a shining success!
1. Vinegar: The Natural Wonder
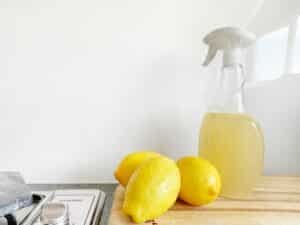
First, grab yourself a spray bottle. This will be your main tool in this cleaning adventure. Mix equal parts of white vinegar and water in it. This dilution is the perfect balance – strong enough to tackle the soap scum but gentle enough not to harm your tiles.
Next, let’s get spraying. Coat those shower tiles generously with your vinegar solution. Be liberal with it; don’t hold back! Let this magical potion sit and work its wonders for about 10 minutes. This waiting period is crucial – it gives the vinegar time to break down the soap scum, making your scrubbing job much easier.
After those 10 minutes have passed, it’s time for some elbow grease – but not too much! Scrub lightly with a non-abrasive brush or sponge. We don’t want to damage the beautiful finish of your tiles, after all. Gentle circular motions usually do the trick, helping to lift and remove the loosened soap scum.
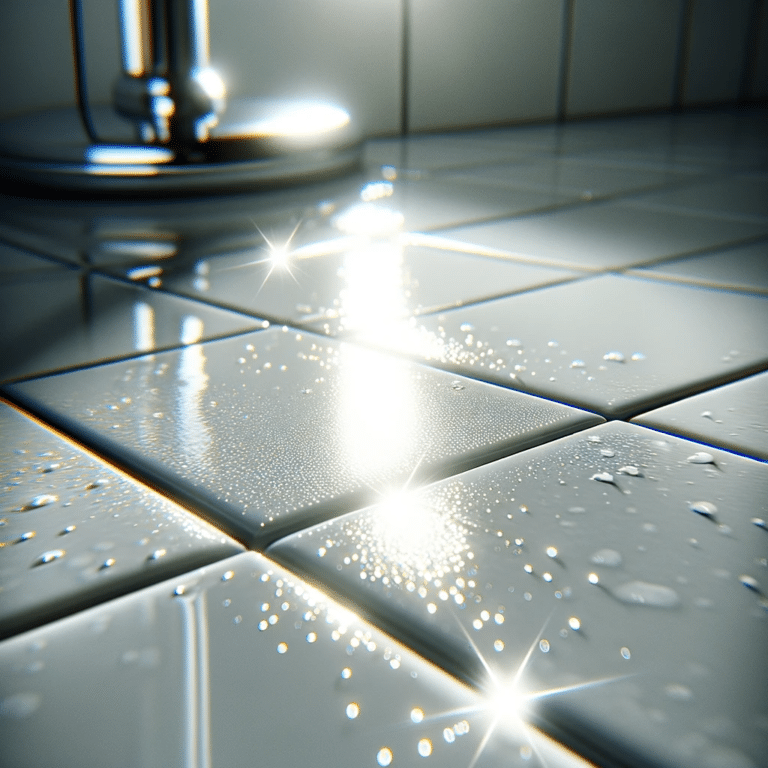
Finally, the grand finale – rinse off the tiles with water. You’ll likely notice the difference immediately. The once cloudy and streaky tiles should now be clear, clean, and shining. It’s almost like giving your shower a new lease on life!
2. Baking Soda: The Gentle Scrub
It’s time to whip up a little magic. Mix the baking soda with water until it forms a paste. It should have the consistency of a thick frosting – easy to spread but not too runny. This paste is going to be your secret weapon against that stubborn soap scum.
Now, with your homemade paste at the ready, it’s time to get down to business. Apply it directly onto the shower tiles. You can use your fingers or a spatula – whatever floats your boat. Cover the tiles evenly with this gritty, grime-fighting paste.
Once you’ve got your tiles looking like a frosted cake, grab a soft brush or sponge. It’s scrubbing time, but remember, we’re going gentle. You don’t need to be a muscle-bound hero to get this job done. Scrub in circular motions, and you’ll feel the baking soda working its magic, breaking down the soap scum without any harsh chemicals or overwhelming fumes.
After you’ve given the tiles a good, gentle scrubbing, it’s rinse time. Splash them with water and watch as the paste and all the soap scum it’s grabbed onto wash away. You might even find yourself saying out loud, “Wow, it’s actually working!” as you watch the grime disappear down the drain.
3. Commercial Cleaners: The Quick Fix Soap Scum
When you choose a commercial cleaner, you’re not just picking up a bottle; you’re grabbing a specially formulated solution that’s been tried and tested to ensure it does the hard work for you. Just remember to follow the instructions on the label closely – these aren’t just suggestions, they’re the roadmap to a clean bathroom! Safety is paramount, so make sure you’re using the product as intended.
Typically, using these cleaners is as easy as pie. You’ll usually start by spraying the cleaner directly onto the shower tiles. Make sure you’re covering all the affected areas. Then, patience is key. Let the cleaner sit for a few minutes as stated on the label. This dwell time is crucial for the solution to penetrate and break down the soap scum.
After the waiting game, it’s time to rinse. Wash off the cleaner with water, and you should see a noticeable difference. The soap scum that was once clinging to your tiles should now be going down the drain. It’s like giving your shower a mini-makeover without breaking a sweat.
One crucial tip to remember – ventilation. When using any commercial cleaning product, it’s important to keep your bathroom well-ventilated. Open a window, turn on the exhaust fan, or keep the door open. Proper ventilation helps to disperse any fumes and keeps the air in your bathroom fresh and safe to breathe.
4. Lemon Oil: For a Streak-Free Shine
Imagine this: you’ve just finished cleaning your tiles using one of the methods we’ve talked about, and they’re looking pretty good. But, you want to take it to the next level. You want that “wow” factor. This is where lemon oil comes into play. It’s like the polish on a freshly cleaned car or the cherry on top of a sundae.
Take a few drops of lemon oil – you don’t need much – and apply it to a soft cloth. This is your new best friend for adding that final touch. Gently wipe down the tiles with the cloth. As you do this, you’ll notice a couple of things happening. First, the lemon oil cuts through any remaining water marks or streaks, leaving behind a crystal-clear surface. It’s like giving your tiles a mini spa treatment.
But the magic of lemon oil isn’t just in its cleaning power. As you wipe down the tiles, the air will start to fill with a fresh, citrusy scent. It’s uplifting and invigorating, transforming your bathroom into a serene haven. This aroma adds an extra layer of clean, making the whole room feel more refreshed and rejuvenated.
Finally, as you step back to admire your handiwork, you’ll notice how the tiles seem to sparkle. Lemon oil leaves behind a subtle sheen that catches the light, giving your bathroom a polished, well-cared-for look. It’s these little details that make all the difference, turning a regular cleaning routine into something special.
5. Dish Soap & Warm Water: Slippery but Effective
So, why is dish soap such a winner when it comes to cleaning your shower? Well, it’s designed to cut through grease and grime on your dishes, and it turns out, it’s just as effective on soap scum and bathroom dirt. The grease-fighting properties of dish soap make it a formidable opponent against the stubborn, oily residue that can accumulate on your shower tiles.
To harness the power of this sudsy solution, start by mixing a few drops of your favorite dish soap with warm water in a spray bottle. The warm water helps to dissolve the soap for an even mixture. Then, spray this solution generously on your shower tiles. The key here is to let it sit for a few minutes. This waiting period is crucial – it gives the soap time to break down and penetrate the scum. Think of it as letting the soap do the hard work for you.
After letting it sit, take a scrub brush or sponge and gently scrub the tiles. You’ll notice that the soap scum and dirt begin to break up and slide off the tiles with ease. This method is gentle, so you don’t have to worry about damaging your tiles or using harsh chemicals. Plus, it’s safe for all types of tiles, making it a versatile option for any bathroom.
Finally, rinse off the tiles with water. You’ll be amazed at how the once dull and grimy tiles now shine and sparkle. The beauty of this method is in its simplicity and effectiveness. Not to mention, it leaves your bathroom smelling fresh and clean, without any overpowering chemical scents.
Conclusion
In conclusion, we’ve journeyed through a range of methods to keep your shower tiles sparkling clean, from home remedies to the convenience of commercial cleaners. But let’s face it, sometimes life gets busy, and tackling soap scum might be the last thing on your ever-growing to-do list. That’s where our friends at Toronto Shine Cleaning come in. They are not just cleaners; they are like magicians who turn your bathroom woes into wows. With a professional touch, they can transform your bathroom from grimy to gleaming, making it look brand new.
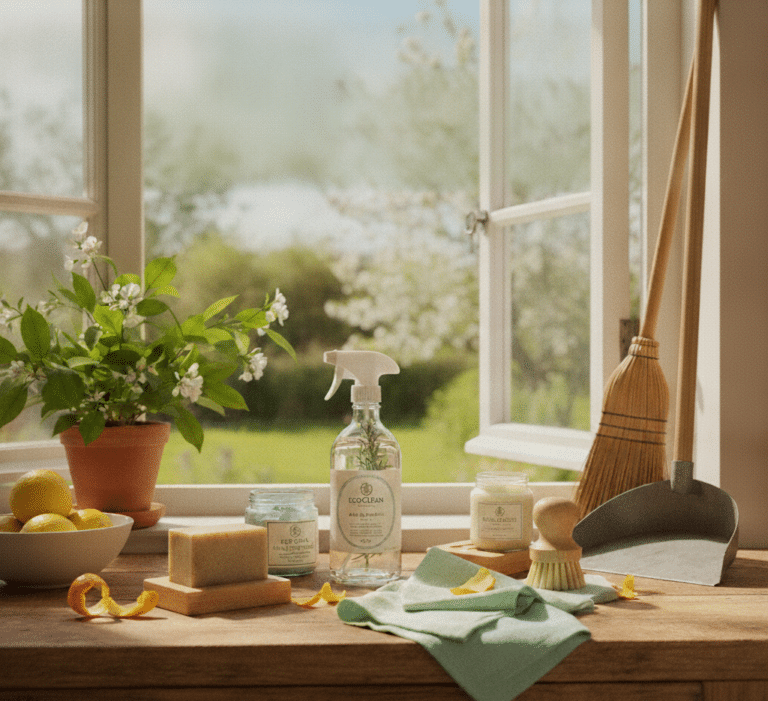
What sets Toronto Shine Cleaning apart? Firstly, our attention to detail is second to none. They don’t just clean; they deep clean. Think of them as the superheroes of soap scum – they swoop in, armed with the best tools and eco-friendly cleaning products, leaving no tile unturned. Our team of professionals is trained to tackle the toughest grime, ensuring your shower tiles are not just clean but hygienically sparkling. Plus, our flexible scheduling means they can work around your busy lifestyle, providing our services at a time that’s most convenient for you.
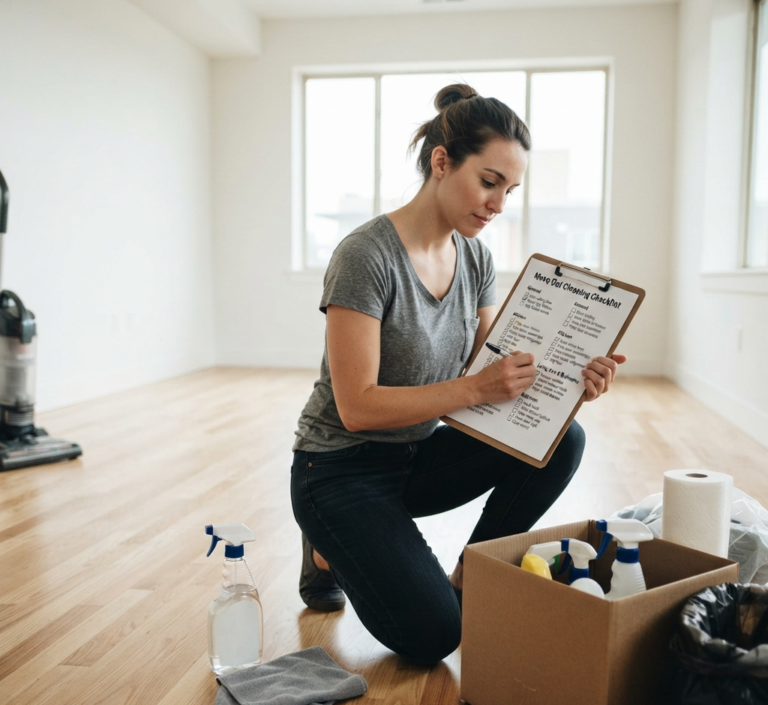
But there’s more to Toronto Shine Cleaning than just sparkling tiles. They understand that your home is your sanctuary, so they treat it with the utmost respect and care. They offer a range of cleaning services, from general household cleaning to more specific needs like move-in/move-out cleaning, post-construction cleaning, and office cleaning. Each service is performed with the same level of excellence and attention to detail. With Toronto Shine Cleaning, you’re not just getting a cleaning service; you’re getting peace of mind knowing that your home is in the best hands.