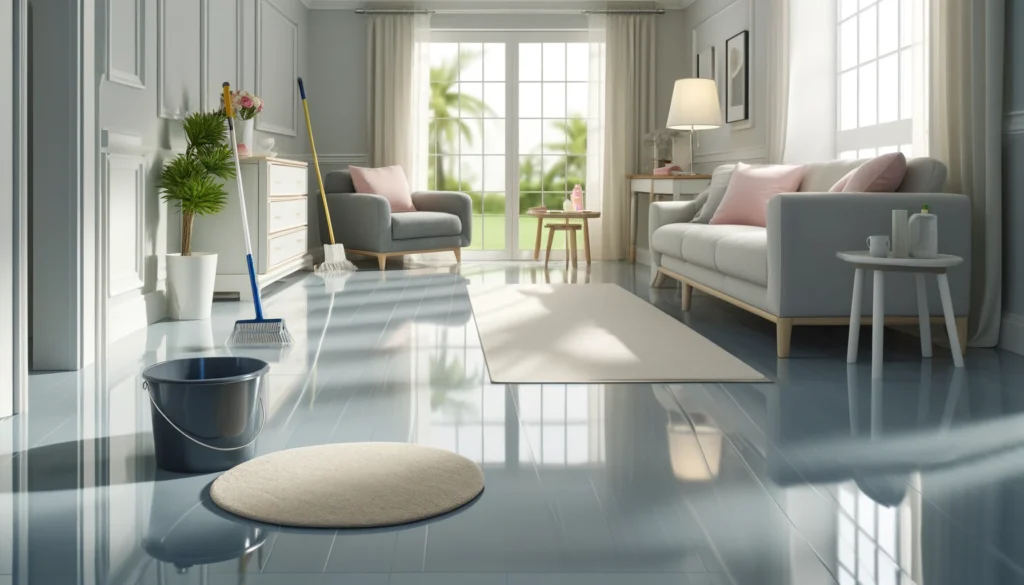
6 Easy Ways to Keep Your Vinyl Floors Looking New | Toronto Shine Cleaning
Vinyl floors are tough, but they still need smart care Homeowners love vinyl for its durability, friendly price tag, and good looks. Even so, grit, water, and heavy furniture can quickly dull the surface. The six habits below cover daily upkeep and long-term protection without special equipment. The CDC counts floors among the hard surfaces that respond well to regular soap-and-water cleaning, which is exactly what these habits deliver. 1. Sweep and vacuum on a regular schedule Dirt, dust, and debris grind against vinyl like fine sandpaper, scratching and dulling the surface over time. A soft-bristle broom lifts that grit gently, and a vacuum built for hard floors, with the right setting or attachment, picks debris up without harming the vinyl. A dust mop reaches corners and spots under furniture that other tools miss. Pet owners should sweep or vacuum often, since hair and dander build up quickly. In busy homes or near construction sites, cleaning more frequently keeps abrasive particles from settling in. 2. Mop with a vinyl-safe cleaner only Vinyl carries a protective layer, and harsh or abrasive cleaners can compromise it, causing discoloration and damage. Mix warm water with a little mild dish soap instead: it lifts dirt and grime without attacking the coating. Wring the mop well before it touches the floor. Standing water seeps into the seams, where it can weaken the adhesive, and that is how planks begin to lift or warp. A microfiber mop is a smart upgrade because it traps dust, needs less liquid, and can be washed and reused. For stubborn spots, switch to a stronger vinyl-safe cleaner, test it on a hidden patch first, scrub gently with a soft cloth or sponge, then rinse and dry. Health Canada’s guide to using household products safely is a useful reference for picking and storing cleaners. 3. Wipe up spills the moment they happen Kitchen spills and hallway accidents are inevitable; what matters is speed. Blot the liquid with a damp cloth, then dry the area with a soft towel, because moisture that lingers can work its way into the seams and threaten the adhesive underneath. Some liquids do more harm than others: acidic spills such as vinegar or tomato sauce can discolor vinyl if left unattended, while oily or greasy spots leave residue that attracts fresh dirt. Keep a mild vinyl floor cleaner on hand for the tougher ones. Moisture matters for a bigger reason too: the CDC notes that mold grows where dampness persists, so a dry floor is a healthier floor. 4. Build a barrier with doormats and rugs Mats at every entrance and rugs in walkways act as your first line of defense, capturing the grit and mud that would otherwise wear down the vinyl. Choose entrance mats with coarse, sturdy textures that scrape shoes clean, and add non-slip backings so the mats and rugs stay put instead of sliding and scratching the floor themselves. Rugs in walkways also absorb spills and soften the impact of constant foot traffic. Shake, vacuum, or wash them regularly so they do not become dirt sources themselves. 5. Protect the surface from heavy furniture Chairs, sofas, and tables press their weight into vinyl and leave dents and marks that spoil the look. Felt or rubber furniture pads spread that load, cushioning each contact point so it cannot sink into the floor. Check them periodically, because flattened pads stop working, and rotate heavy pieces now and then to spread wear evenly. When rearranging, lift furniture rather than dragging it; dragging invites deep scratches or tears that are expensive to repair. If an item is too heavy to lift, slide it on moving blankets or hard-floor sliders instead. For office chairs with casters, a protective mat under the desk shields vinyl from constant rolling pressure. Keep these three protectors on hand: Felt or rubber pads for heavy furniture legs A hard protective mat for caster chairs Moving blankets or sliders for relocations 6. Finish with a vinyl floor polish A good vinyl floor polish adds a glossy layer that makes floors look new again, fills minor scratches, and stands between the surface and future wear. Apply it according to the manufacturer’s instructions: start with a thoroughly clean, dry floor, spread the polish evenly with a clean mop or applicator, and work in small sections to avoid streaks. Let it dry fully before walking on it. Depending on the product and the traffic in the room, reapply periodically to maintain the shine. Polished floors resist stains and scratches better, and make routine cleaning simpler, which pays off in busy homes with kids and pets. Vinyl floor protection cheat sheet Habit Frequency The payoff Sweep or vacuum Daily Stops grit from acting like sandpaper Mop with a vinyl-safe solution Regularly Keeps seams safe from standing water Wipe spills Immediately Prevents stains, warping, and lifting Clean mats and rugs As needed Stops them becoming dirt sources Check furniture pads Periodically Prevents dents and scratches Reapply polish Per product and traffic Restores shine and adds protection Frequently asked questions What is the best way to mop vinyl floors? Use warm water with a few drops of mild dish soap, and wring the mop until it is barely damp. Harsh chemicals and soaking-wet mopping are the two biggest mistakes, since they attack the protective layer and push water into the seams. Can water damage vinyl flooring? Yes. Vinyl is water-resistant, not waterproof at the edges. Standing water seeps into seams, damages the adhesive, and can make the floor lift or warp, which is why mopping should stay damp rather than wet and spills should be dried promptly. Do I need to polish new vinyl floors? It is optional but worthwhile. Polish adds shine, hides minor scratches, and creates a protective layer that makes cleaning easier. Reapply it periodically based on the product instructions and how much traffic the room sees. How do I stop furniture from denting my vinyl? Put felt or rubber pads under the legs of heavy
6 Easy Ways to Keep Your Vinyl Floors Looking New | Toronto Shine Cleaning Read More »