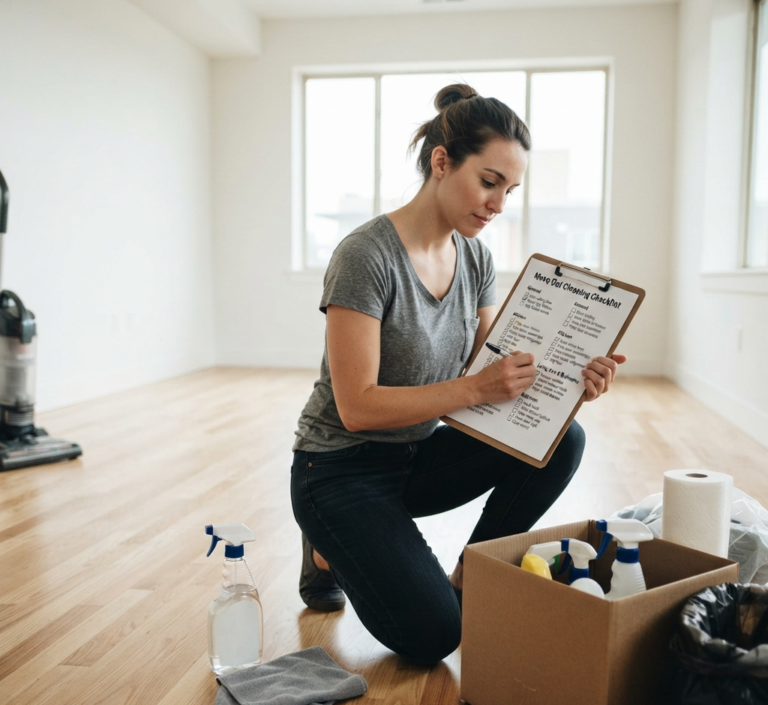
Home Cleaning can feel like a daunting task, but with the right strategy, it doesn’t have to be! Whether you’re prepping for guests, tackling spring cleaning, or just giving your space a much-needed refresh, follow these seven steps to ensure your home shines from top to bottom.
1. Plan and Prepare
When planning your home cleaning, it’s also smart to check the inventory of your cleaning products to ensure you have enough supplies to avoid any interruptions. For instance, make sure your cleaning solutions are full, check that your mop heads are clean, and see if your vacuum cleaner bags or filters need replacing. This kind of preparation not only streamlines the cleaning process but also prevents the frustration of having to stop midway to run to the store.
Additionally, consider the logistics of your home cleaning. For example, if you live in a multi-story home, plan to start from the top floor and work your way down to efficiently manage the dust and dirt without tracking it back into cleaned areas. This approach saves time and energy, making your cleaning more effective.
By taking the time to thoroughly plan and prepare, you can transform what might seem like an overwhelming chore into a series of manageable tasks, making the entire home cleaning process less daunting and more productive.

2. Start at the Top
When you begin your home cleaning by starting at the top, it’s efficient to also tackle the cobwebs that might be lurking in the upper corners of your rooms and any dust that has settled on high shelves or ledges. This strategy ensures that you capture all the loose particles before they have a chance to settle elsewhere after you’ve cleaned the lower areas.
After dusting the ceiling fans and light fixtures, move on to cleaning any wall hangings, such as picture frames or mirrors, which also tend to accumulate a surprising amount of dust. This top-down approach in home cleaning means that by the time you reach the surfaces and floors, much of the preliminary dust and debris has already been dealt with.
3. Dust and Wipe Surfaces
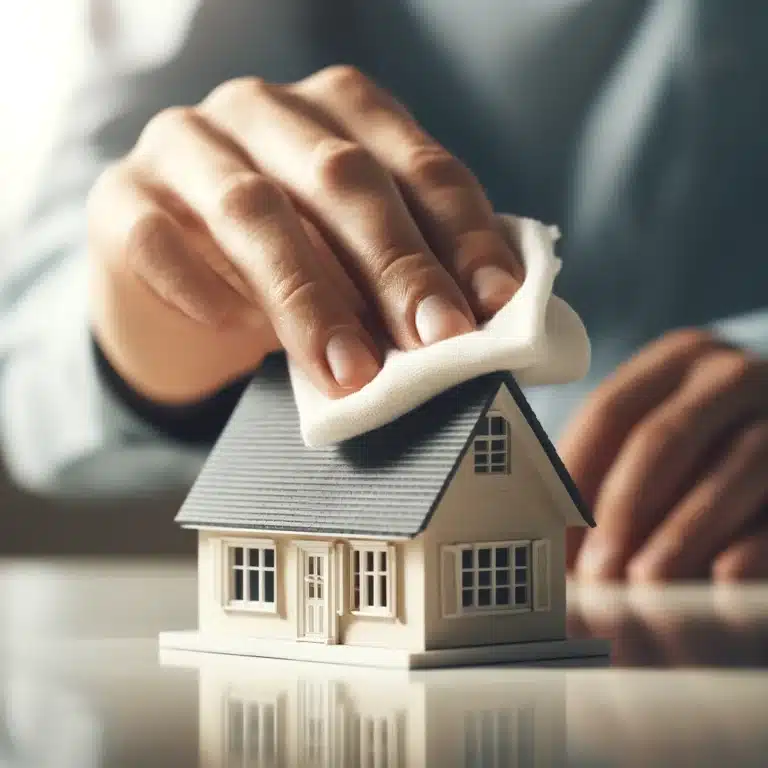
Once you’ve effectively managed the higher areas of your home, continue your home cleaning by focusing on all remaining surfaces. Extend your attention to other furniture pieces, such as tables, chairs, and desks. Utilize your microfiber cloth or duster to pick up dust from these areas, ensuring you reach under any objects and into the corners where dust tends to gather.
In your living room and bedrooms, remember to wipe down electronics and appliances, as these can also gather dust that affects their performance and appearance. For fabric surfaces like sofas and armchairs, use an upholstery attachment on your vacuum cleaner to remove dust and allergens, which can significantly freshen up the space.
As you move into the kitchen and bathrooms, switch to more robust cleaners designed to handle grease and grime. In the kitchen, make sure to clean the fronts of cabinets, the stovetop, and any counters, particularly around appliances where crumbs and food residues can accumulate. For the bathrooms, give extra care to disinfecting surfaces like faucets, handles, and countertops to ensure they are not just clean but also hygienic.
By systematically dusting and wiping from one room to the next, you ensure that no surface is overlooked, contributing to a comprehensive and effective home cleaning session.
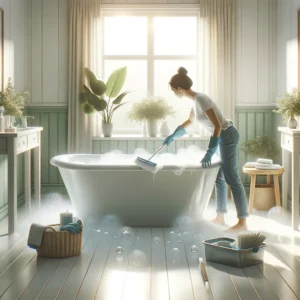
4. Tackle the Bathrooms
When it comes to home cleaning, giving extra care to the bathrooms is crucial because of the high potential for germ accumulation. Start by applying cleaners to the sink, bathtub, and toilet, allowing them to sit for a few minutes to break down the dirt and grime. During this waiting period, you can tackle other parts of the bathroom such as the mirrors and windows. Use a glass cleaner to ensure these surfaces are streak-free and clear.
After allowing the cleaning agents to soak, scrub each area thoroughly with a suitable brush or sponge. For tough grime and lime scale in the toilet or around fixtures, consider using a pumice stone or a specialized cleaning tool that can handle these challenges without damaging the surfaces.
Additionally, turn your attention to the grout between tiles, which can often become discolored and moldy. Using a grout brush with a bleach-based cleaner can restore the whiteness and prevent mold from spreading.
Once you have scrubbed and rinsed all the major fixtures, finish up by cleaning the floor. The bathroom floor can harbor bacteria and dirt, especially in corners and around the toilet base. Use a disinfectant cleaner and, if possible, a steam mop to ensure the floor is not only clean but also sanitized.
5. Clean the Kitchen
Giving the kitchen detailed attention is vital because this space is a central hub of activity and requires hygiene and cleanliness for safety and health. Begin with deep-cleaning the appliances, which involve not just wiping the exteriors but also tackling the interiors. For instance, remove any food particles and grease from the microwave with a cleaning solution designed for appliances. For the oven, use a dedicated oven cleaner to cut through baked-on grime, and consider running a self-cleaning cycle if it’s available.
For your refrigerator, take out all items and removable shelves or bins to wash them separately with warm soapy water. Wipe the inside of the fridge with a baking soda solution to remove odors and stains, ensuring all surfaces are dry before replacing the items back neatly. This is also an excellent opportunity to discard any expired or spoiled food, helping to keep the fridge organized and functional.
Moving on to the countertops, use a disinfectant cleaner suitable for the material, whether it’s granite, laminate, or stainless steel, to ensure they are not only clean but also germ-free. Don’t forget to clean the backsplash, which can accumulate splatters from cooking. A degreaser can be particularly effective here, especially around the stove area.
Cleaning cabinets is another crucial part of kitchen maintenance. Wipe down the cabinet doors and handles, and consider a gentle wood cleaner or a damp cloth for wooden cabinets to keep them in good condition without damage.
6. Vacuum and Clean Floors
After you’ve thoroughly vacuumed the carpets and rugs as part of your home cleaning routine, it’s beneficial to assess the condition of these fabrics. If they show signs of deep-seated dirt or stains, proceed with a steam cleaning. This method not only removes stubborn stains and dirt but also sanitizes the fabrics, which is especially important in high-traffic areas. For homes with pets or allergies, steam cleaning can be particularly advantageous, as it helps eliminate allergens and pet dander that vacuuming alone might not capture.
Transitioning to hard surfaces, ensure you use a broom or a dry dust mop on hardwood, tile, or linoleum floors before you bring out the mop. This preliminary step helps remove any loose dirt or debris that could potentially scratch the floor during wet cleaning. When you start mopping, choose a cleaning solution that matches the type of flooring. For instance, use a pH-neutral cleaner for hardwood to avoid damaging the finish, and opt for more robust cleaners for tile and linoleum that can handle heavier soil levels.
While mopping, pay special attention to the corners and edges of each room. Dirt and grime tend to accumulate in these harder-to-reach areas, and regular mopping might not adequately address them. Use a scrub brush or an old toothbrush for tight spots, ensuring that every part of your floor is as clean as possible.
7. Final Touches and Freshen Up
To enhance the ambience and comfort of your home after a thorough cleaning, consider rearranging some of the items you’ve moved. This can include adjusting the placement of furniture slightly to improve the flow of the room or reorganizing decorative items for a new look. Such adjustments can not only refresh the space but also make it feel more open and inviting.
Adding elements like fresh flowers or scented candles can significantly elevate the sensory experience of your home. Choose scents that complement the season or your mood; for example, lavender or vanilla can create a calming effect, while citrus or mint can energize and uplift the atmosphere. These natural fragrances are not just pleasant to the senses but can also help in neutralizing any residual odors from cleaning products.
Another important step in your home cleaning process is to ensure that all the trash from every room is taken out. This prevents any odors from lingering and detracting from the cleanliness of your space. Make sure that recycling is sorted and removed as well, keeping your home environmentally friendly and tidy.

Home Cleaning With Toronto Shine Cleaning!
There you have it! A straightforward guide to cleaning your home efficiently and thoroughly, from top to bottom. Tackling your home cleaning can be a rewarding endeavor, offering a fresher, cleaner living space that enhances comfort and hygiene. However, we understand that the thoroughness required might feel overwhelming, especially if you’re juggling other responsibilities or simply prefer a professional touch to ensure nothing is overlooked.
Remember, professional cleaning services are just a click away at Toronto Shine Cleaning. Their team of experts is equipped with the right tools and expertise to handle any cleaning challenge, big or small. Whether it’s deep cleaning to restore your home to a pristine state, regular maintenance to keep things tidy, or specialized services like post-construction clean-ups, Toronto Shine Cleaning offers solutions tailored to your needs.
Choosing a professional service like Toronto Shine Cleaning not only saves you time and effort but also ensures a level of cleanliness that might be hard to achieve on your own. They use professional-grade products and techniques that deal effectively with allergens, bacteria, and other pollutants, which can significantly improve the indoor air quality of your home.