Isopropyl Alcohol – 101 Simple and Safe Ways to Clean Your Home
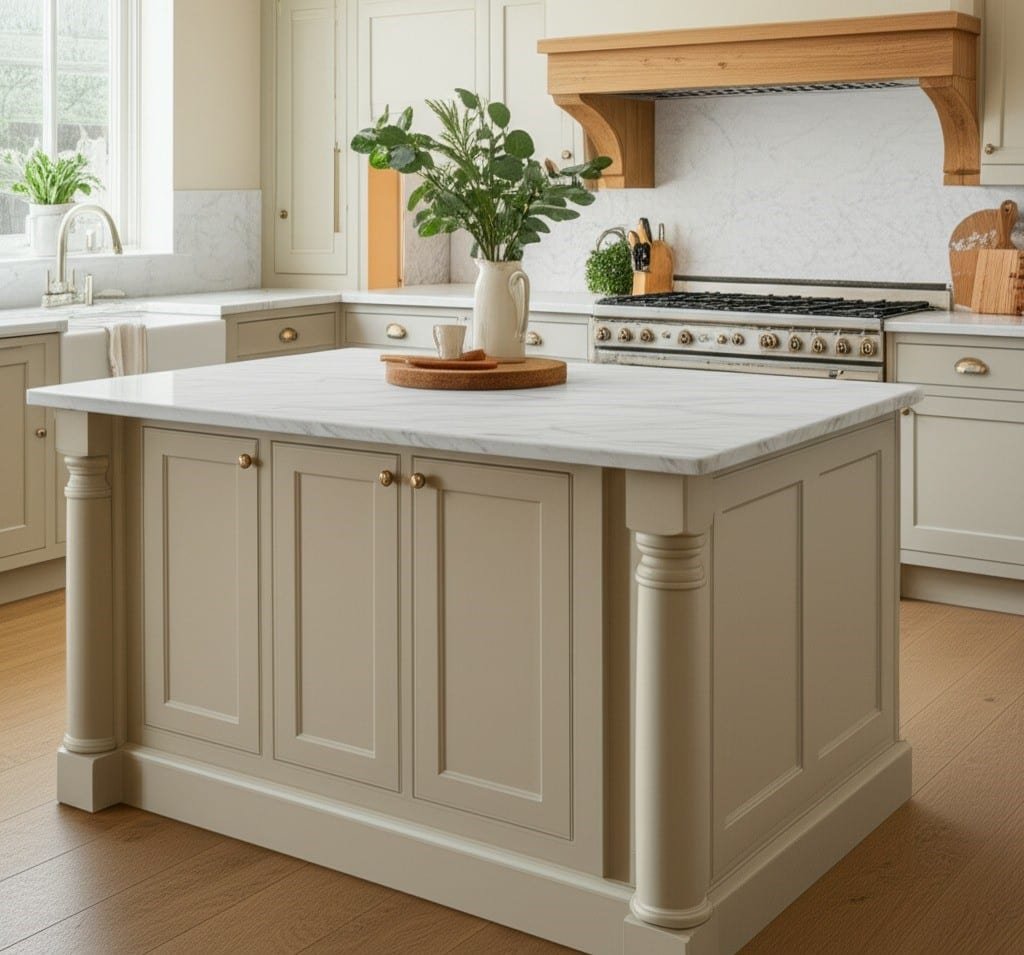
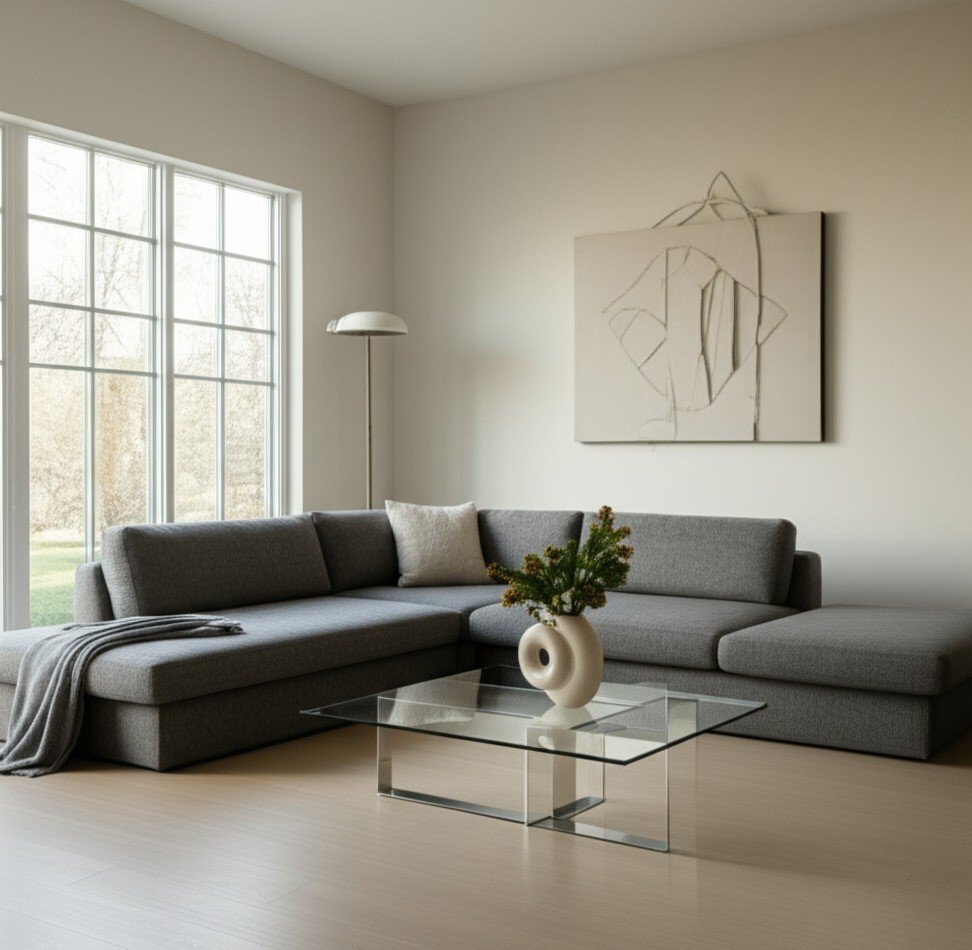
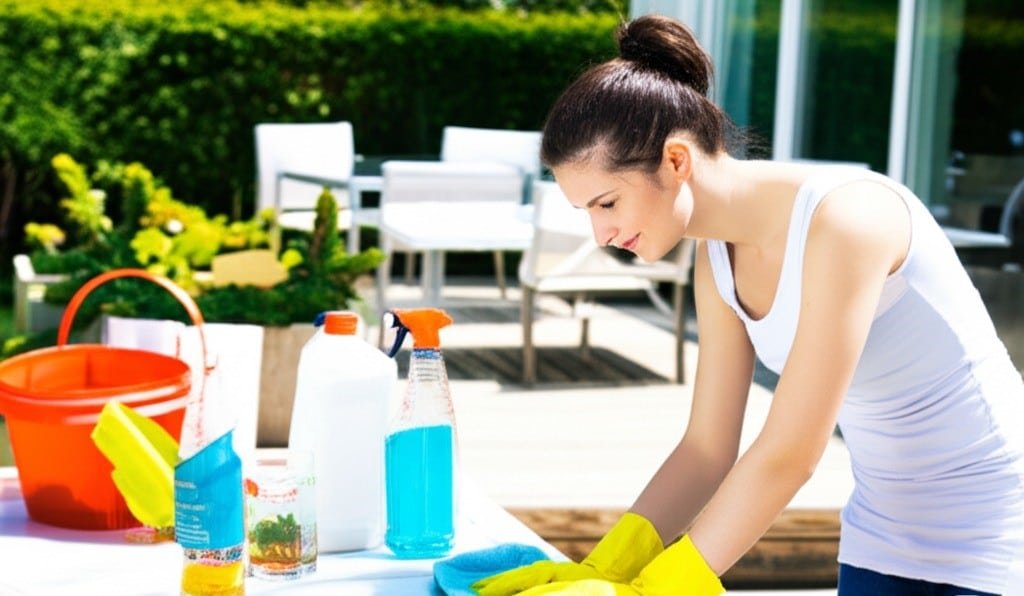
Isopropyl alcohol, often referred to as rubbing alcohol, is a staple in first-aid kits, but its utility extends far beyond disinfecting minor scrapes. In the realm of cleaning, it is a formidable, versatile, and cost-effective agent. Its chemical properties—specifically its ability to act as a solvent and its rapid evaporation rate—make it an indispensable tool for tackling a wide array of messes throughout the home. The primary strength of isopropyl alcohol lies in its solvent capabilities. It effectively dissolves a range of non-polar compounds, which includes many of the common culprits behind household grime: oils, greases, adhesives, and certain inks. Unlike water, which can struggle with these substances, alcohol breaks them down chemically, lifting them from surfaces with minimal effort. This is immediately apparent when cleaning stainless steel appliances. Fingerprints, smudges, and cooking grease residue can make stainless steel look dull and streaky. A simple wipe with a microfiber cloth lightly dampened with isopropyl alcohol will cut through the oily film instantly. Because the alcohol evaporates almost immediately, it leaves behind a pristine, streak-free finish that water-based cleaners often fail to achieve. The alcohol lifts the grease, and its fast evaporation prevents new water spots or streaks from forming as it dries. This same principle applies to glass and mirrors. Commercial glass cleaners often contain ammonia or other chemicals to achieve a streak-free shine. Isopropyl alcohol accomplishes the same goal more simply. A solution of one part alcohol to one part water in a spray bottle creates a highly effective glass cleaner. It cuts through haze, hairspray residue on bathroom mirrors, and smudges on windows, evaporating quickly for a perfectly clear result. For chrome fixtures in the bathroom and kitchen, rubbing alcohol removes water spots and soap scum, restoring their reflective shine without leaving behind any film. Beyond its solvent action, isopropyl alcohol is a potent disinfectant. The most common concentration available, 70%, is considered an optimal grade for this purpose. The presence of 30% water is crucial; the water acts as a catalyst, helping the alcohol to penetrate the cell wall of bacteria, viruses, and fungi more effectively. Once inside, the alcohol denatures the essential proteins and enzymes of the microorganism, causing it to die. This makes it an excellent choice for sanitizing high-touch surfaces. Light switches, doorknobs, remote controls, keyboards, and mobile phones are breeding grounds for germs. Regularly wiping these items with a cloth dampened with 70% isopropyl alcohol can significantly reduce the transmission of pathogens in a household. When cleaning electronics, it is crucial to apply the alcohol to the cloth first, never directly onto the device, to prevent liquid from seeping into sensitive components. The higher concentrations, such as 91% or 99% isopropyl alcohol, have their own specific advantages, particularly where water content is a concern. For cleaning sensitive electronic components, like computer motherboards or CPU contacts, 99% alcohol is the professional standard. Its extremely low water content means it evaporates almost instantly and carries virtually no risk of causing short circuits or corrosion. It effectively removes dust, grime, and old thermal paste without leaving any conductive residue. One of the most celebrated uses for isopropyl alcohol is stain removal, particularly on resilient materials. It is famously effective at removing permanent marker from hard, non-porous surfaces. If a marker finds its way onto a countertop, a plastic toy, or a laminate floor, a small amount of alcohol on a cotton ball will typically dissolve the ink, allowing it to be wiped away. It can also be a lifesaver for fabric, though a spot test in an inconspicuous area is always mandatory. For ink stains on sturdy upholstery or clothing, gently blotting the stain with a cloth soaked in alcohol can lift the ink out of the fibers. The key is to blot, not rub, to prevent the stain from spreading. This solvent power is especially valuable for microfiber upholstery. Microfiber is sensitive to water, which can leave behind rings and change the texture of the fabric. Because isopropyl alcohol evaporates so quickly, it can be used to clean microfiber couches and chairs without this risk. By spraying a light mist of alcohol onto a stained area and gently scrubbing with a soft-bristled brush, you can lift dirt and grime. Once dry, the stiffened area can be brushed again to restore its soft texture. This method effectively cleans the material without the water damage associated with traditional upholstery cleaners. Adhesive residue is another common frustration that isopropyl alcohol handles with ease. Price tags on new glassware, labels on plastic containers, or the sticky residue left behind by tape can be stubborn. Soaking the residue with alcohol for a few minutes will break down the adhesive, allowing it to be scraped or wiped off cleanly without damaging the surface underneath. This is far gentler and often more effective than abrasive scrubbing, which can scratch glass, plastic, or metal. In the bathroom, the fight against mold and mildew can be persistent. While not a substitute for a dedicated fungicide in cases of heavy infestation, isopropyl alcohol can be used as a preventative measure. Its disinfecting properties kill mold spores on contact, and its drying action helps to create an environment less hospitable to their growth. A regular wipe-down of grout lines, shower corners, and other damp areas with alcohol can help keep mildew at bay. It also works wonders on soap scum buildup on glass shower doors, dissolving the greasy film and leaving the glass sparkling. The applications continue into more niche areas. Isopropyl alcohol can be used to clean and sanitize makeup brushes, dissolving oily makeup residue and killing bacteria that can cause skin breakouts. It can be used to clean jewelry, removing lotions and oils to restore sparkle to gemstones and metals (though care should be taken with delicate or porous stones like opals or pearls). It can even be used to de-ice car windows and frozen locks in the winter; the alcohol lowers the freezing point of water, causing the ice to melt quickly.
Isopropyl Alcohol – 101 Simple and Safe Ways to Clean Your Home Read More »