The garbage bin is the most thankless and hardworking fixture in any home. It is a vessel of necessity, the silent recipient of our daily waste, and the frontline in the constant battle against dirt, decay, and disorder. It is a tool so fundamental to household hygiene that it is often completely overlooked, left to its own devices in a corner of the kitchen or at the side of the house until the moment its presence becomes unavoidable, usually through a foul odor or an unpleasant discovery.
Cleaning a garbage bin is not a glamorous task. There is no satisfying “before and after” reveal that you will be eager to show off. Yet, the proper maintenance and regular, thorough cleaning of your garbage bins are among the most critical cleaning routines for a healthy, pest-free, and pleasant-smelling home. To neglect the bin is to invite problems that are far more difficult and disgusting to solve than the cleaning task itself.
1.The Anatomy of a Filthy Bin
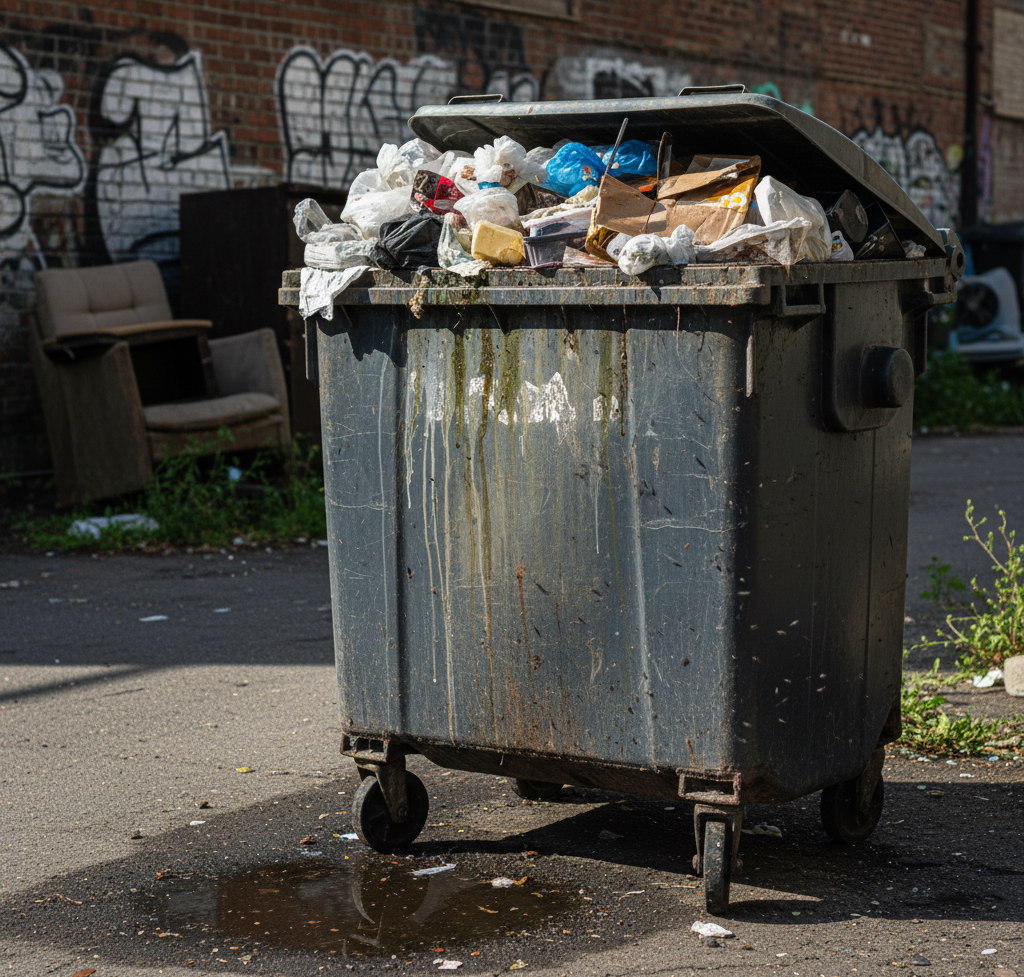
To understand how to clean a garbage bin effectively, you must first understand why it gets so profoundly dirty. The problem is a combination of three factors: organic matter, moisture, and time.
Every scrap of food, every used paper towel soaked in meat juice, and every discarded vegetable peeling is organic matter. Once inside the dark, contained environment of a garbage bag, this matter begins to decompose. This process is driven by bacteria, which break down the food waste and, in doing so, release a cocktail of volatile organic compounds. These compounds are what we perceive as the smell of garbage, gases like hydrogen sulfide (rotten eggs) and methane.
Moisture is the accelerator for this entire process. A dry environment slows bacterial growth significantly. However, garbage is rarely dry. Leaky food containers, wet food scraps, and condensation create the perfect humid breeding ground for bacteria to thrive and multiply exponentially. This is why a small tear or leak in a garbage bag is so catastrophic. The liquid that seeps out, a substance often referred to as “leachate” or “garbage juice,” is a highly concentrated bacterial soup. It soaks into the bottom of the bin, and even after the bag is removed, that residue remains, providing the seed for the next cycle of odor and grime.
Time simply allows these processes to fester. The longer the organic matter and moisture are left to interact, the more intense the decomposition, the stronger the smell, and the more stubborn the resulting grime will be. This sticky, foul-smelling film that coats the bottom and sides of a neglected bin is a biofilm—a complex community of microorganisms that have attached themselves to the surface and to each other. It is not just dirt; it is a living, stinking ecosystem.
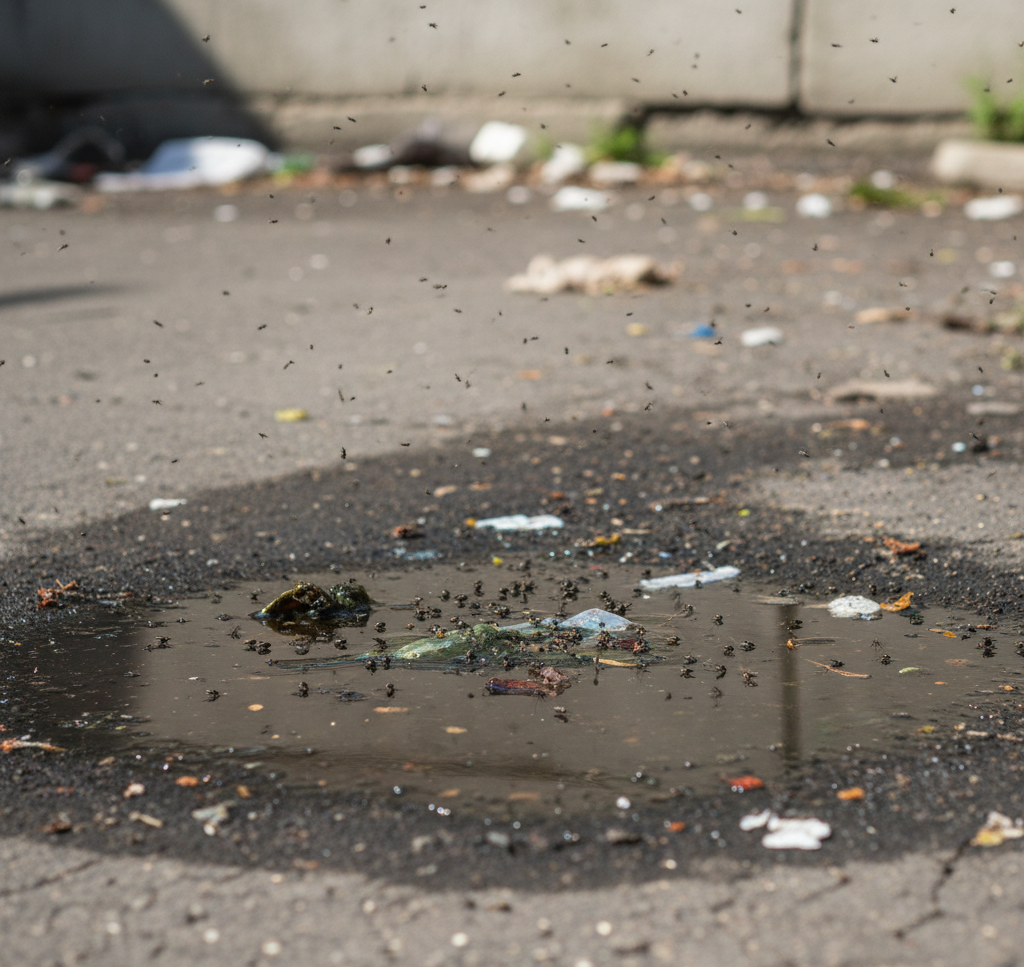
This environment is also the perfect nursery for pests. Flies are drawn to the smell of decay to lay their eggs. In the warm, protected, and nutrient-rich environment of a garbage bin, these eggs hatch into maggots in as little as eight hours. Rodents and other scavengers are also attracted by the scent, and a bin without a secure lid is an open invitation for a nightly buffet.
2.The Tools for the Task
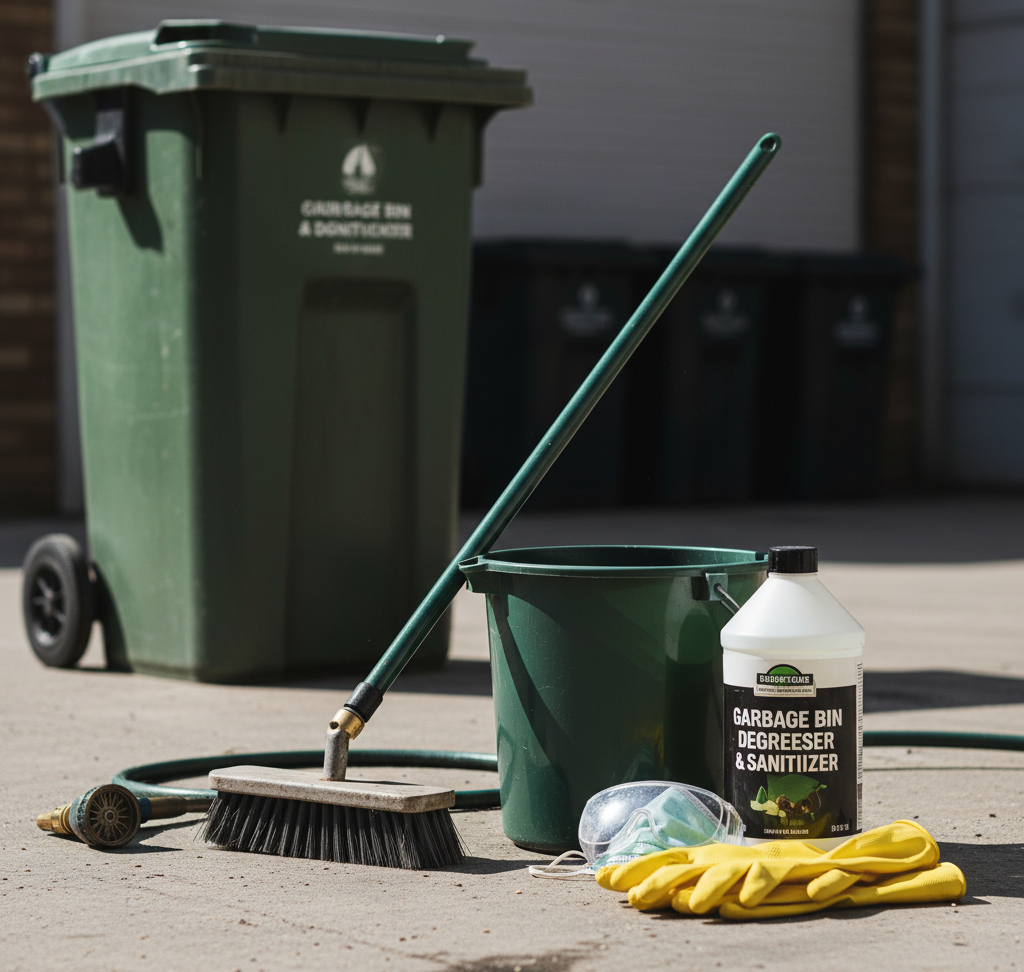
Cleaning a garbage bin is a heavy-duty job that requires more than a simple sponge and some soap. You need to be prepared for a wet, messy, and smelly process. Assembling the right tools beforehand will make the job faster, more effective, and more tolerable.
Protective Gear: This is non-negotiable. Wear heavy-duty rubber gloves to protect your hands from bacteria and harsh cleaning agents. Safety glasses are also highly recommended to protect your eyes from splashes of dirty water and chemicals.
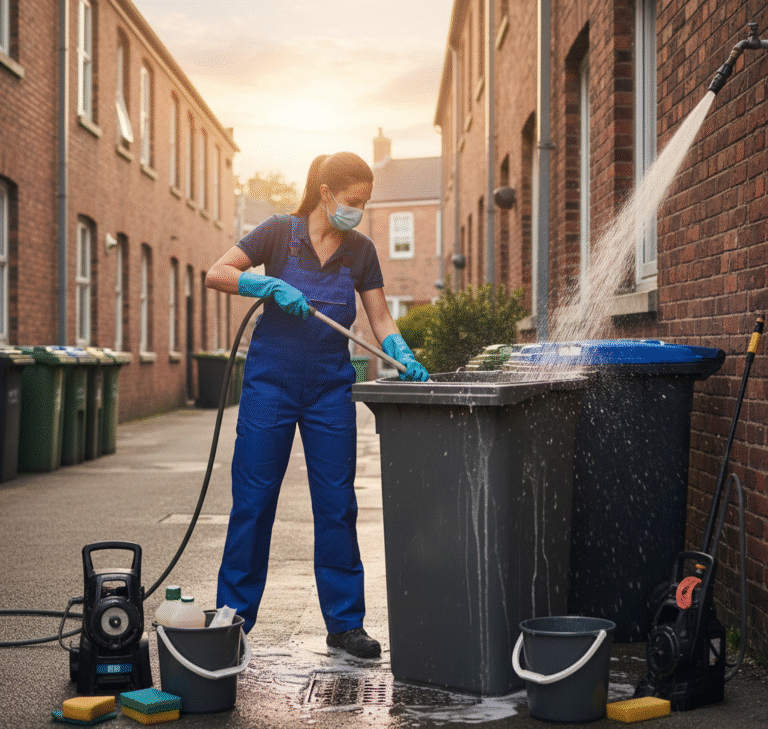
A Hose with a High-Pressure Nozzle: The ability to spray down the bin from a distance is a significant advantage. A high-pressure nozzle will help dislodge caked-on grime and rinse the bin effectively. If you don’t have a hose, a few large buckets of hot water will work, but it will require more effort.
A Long-Handled, Stiff-Bristled Brush: This is your primary scrubbing tool. A long handle is crucial, as it allows you to reach the bottom of the bin without having to stick your head and shoulders inside. A deck brush or a toilet brush reserved exclusively for this purpose works perfectly.
Degreasing Dish Soap: The sticky, greasy nature of the biofilm requires a strong degreaser. A quality dish soap is designed to cut through grease and is an excellent first-line cleaner.
A Disinfectant: After cleaning, you need to sanitize. There are several options. A diluted bleach solution (about one cup of bleach per gallon of water) is highly effective at killing bacteria, mold, and viruses. For a less harsh alternative, a solution of equal parts white vinegar and water can be used. Vinegar is a natural disinfectant and deodorizer.
Baking Soda: This is an excellent deodorizer and a mild abrasive that can help with scrubbing.
3.The Deep Cleaning Method
The best place to perform this task is outdoors, on a lawn or a patch of gravel where the dirty water can drain away without staining a driveway.
Empty the Bin Completely: Make sure there is no loose debris left inside.
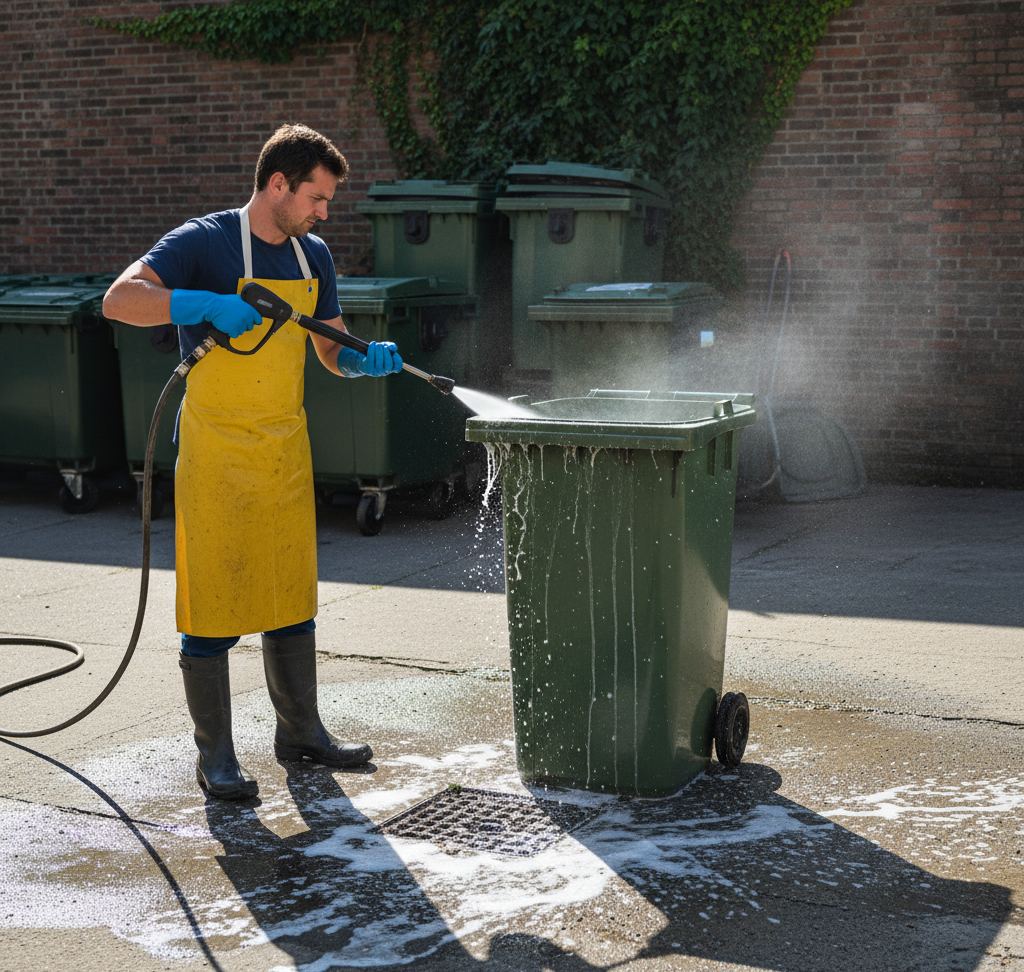
The Pre-Rinse: Using your hose, give the entire interior of the bin a thorough spray-down. Use the highest pressure setting to blast off as much of the loose dirt and grime as possible. Pour out the dirty water.
The Degreasing Scrub: Pour a generous amount of dish soap into the bottom of the bin and add a few inches of the hottest water you can safely handle. Take your long-handled brush and begin scrubbing. Start with the bottom and work your way up the sides. Apply firm pressure and focus on the corners and any visible patches of caked-on grime. Don’t be afraid to put some effort into it; you are physically breaking apart that stubborn biofilm. Once you have scrubbed the entire interior, pour out the soapy, dirty water.
The Disinfecting Soak: Now it is time to sanitize and deodorize. If you are using bleach, mix your solution and pour it into the bin. Swirl it around to coat all the surfaces and let it sit for at least 10-15 minutes. If you are using vinegar, you can spray it on or pour it in and let it sit for a similar amount of time. This step is what kills the lingering, invisible bacteria that cause odors.
The Final Rinse: After the disinfectant has had time to work, pour it out and rinse the bin thoroughly with clean water from your hose. It is critical to rinse away all traces of the cleaning chemicals, especially bleach. Continue rinsing until the water runs clear and there are no more soap suds.
Drying is Crucial: This is the most important and often-skipped step. A wet garbage bin will immediately begin to develop a musty smell and provide a breeding ground for new bacteria. The best method is to let it air dry in the sun. Turn the bin upside down and prop it up on something to allow air to circulate underneath. The sunlight acts as a natural disinfectant, as its UV rays can kill remaining bacteria. Let it sit until it is completely, bone-dry to the touch.
4.Maintaining a Clean Bin
A deep clean should be performed at least a few times a year, or more often in hot climates. However, ongoing maintenance will make those deep cleans far easier and less frequent.
Always Use Quality Bags: Invest in strong, tear-resistant garbage bags. The single best way to keep a bin clean is to prevent leaks in the first place.
Bag and Tie Everything: Do not throw loose trash directly into the bin. Make sure all waste is contained within a tied bag.
Double-Bag Wet Waste: For particularly wet or smelly items, such as meat scraps or used diapers, consider double-bagging them before placing them in the main trash bag.
Manage Moisture: Squeeze out excess water from food scraps before discarding them. If you dispose of liquids, pour them down the drain, not into the trash.
Deodorize Regularly: After you take out a full bag, sprinkle a layer of baking soda in the bottom of the empty bin. This will help absorb odors and moisture from any minor leaks.
Keep the Lid Closed: This is especially important for outdoor bins. A closed lid contains odors and keeps out rain, flies, and animals.
The humble garbage bin is a powerful tool for maintaining household hygiene, but it requires its own cleaning regimen to function properly. By understanding what causes the filth and by adopting a regular, systematic cleaning process, you can eliminate odors, deter pests, and remove a significant source of bacteria from your living environment. It is a dirty job, but one that pays dividends in the overall cleanliness and health of your home.
Dealing with the deepest, most stubborn grime is a dirty job. From the forgotten corners of the garage to the bottom of the garbage bin, some messes require a professional touch. Toronto Shine Cleaning specializes in the heavy-duty deep cleaning that restores your home to its best, ensuring even the most thankless fixtures are truly and hygienically clean.


