The Dirtiest Places In Your Home Can Be Harmful To Your Health
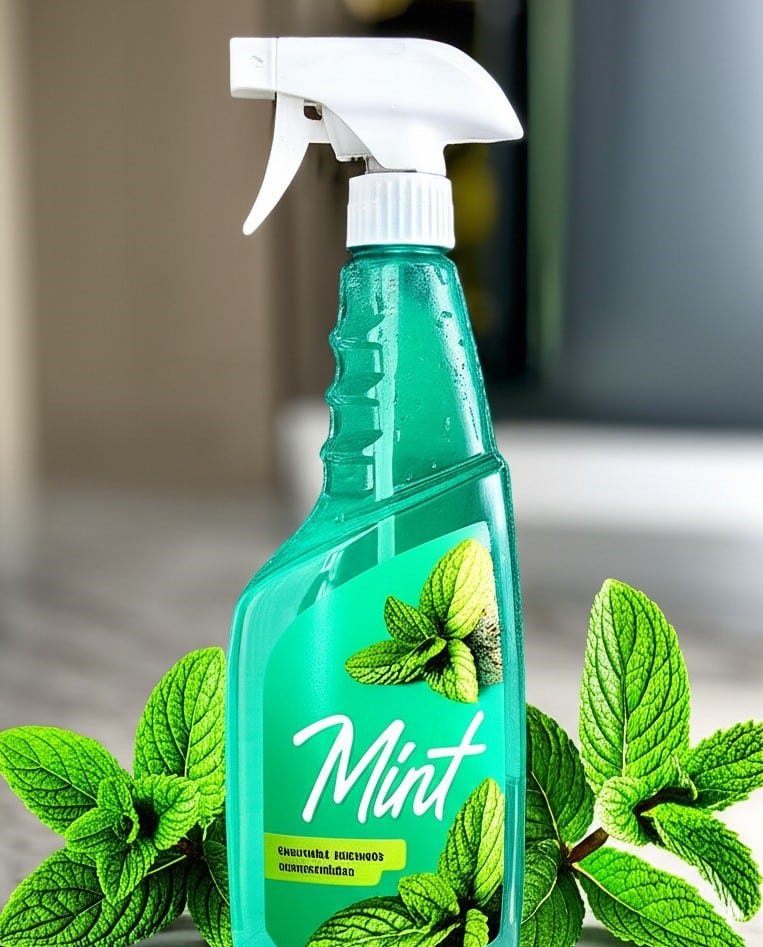
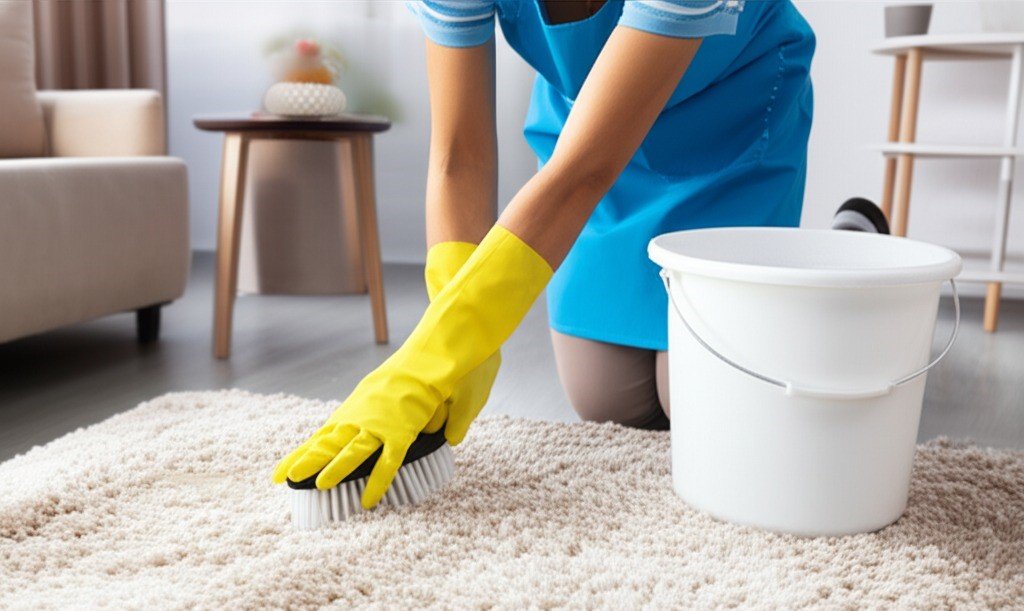
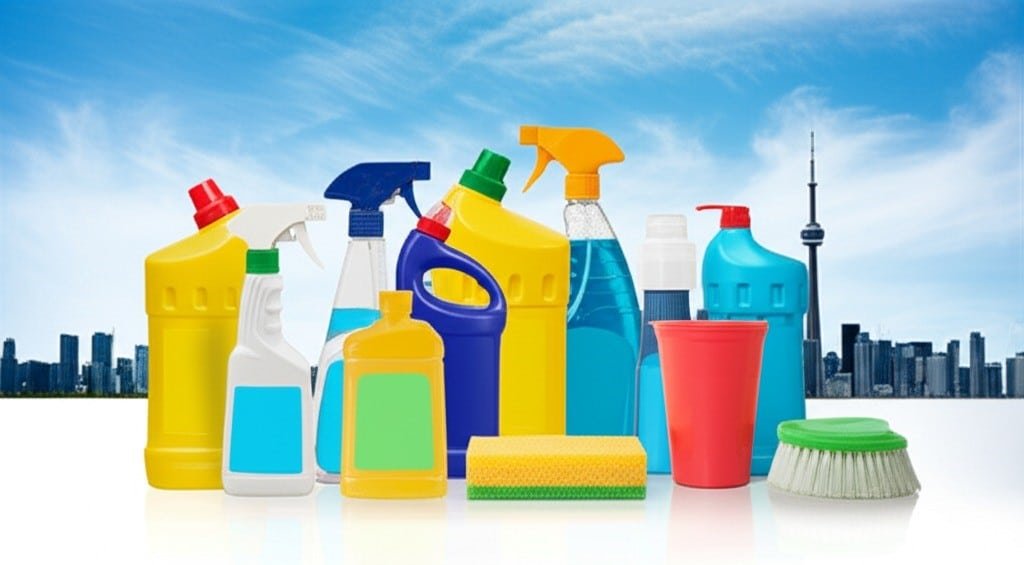
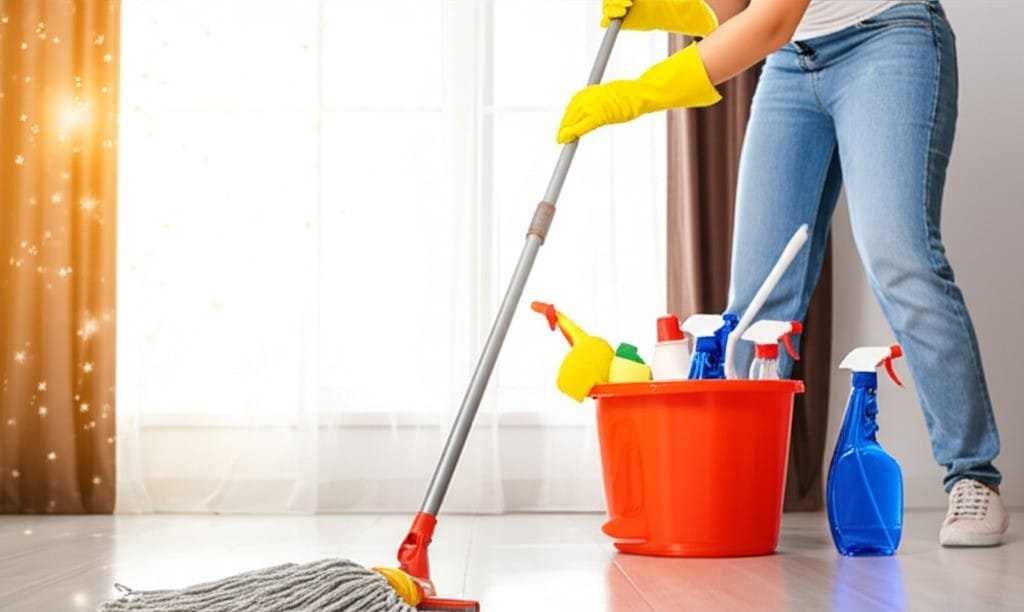
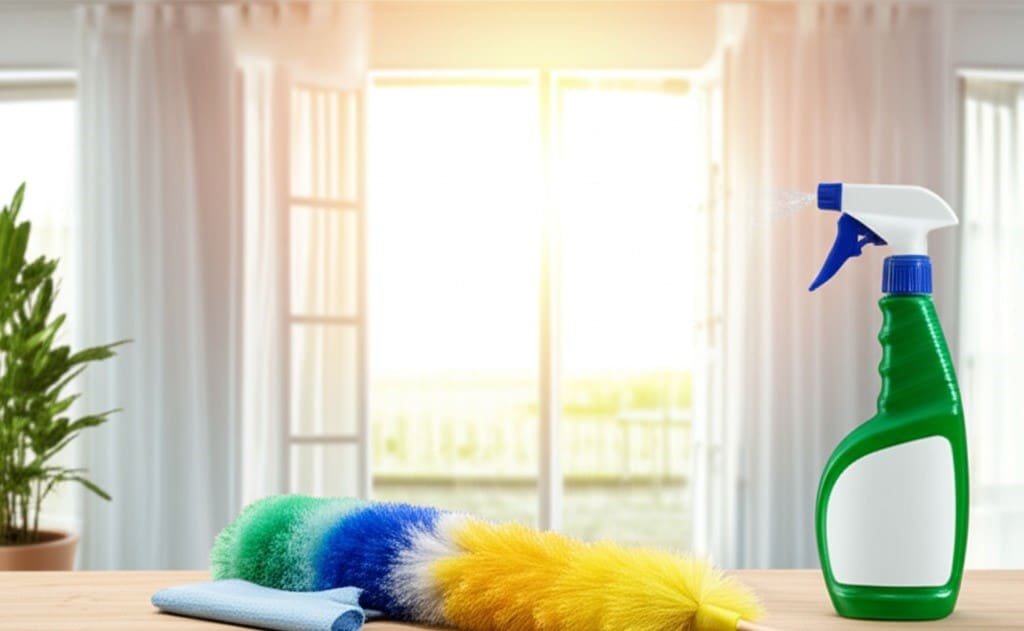
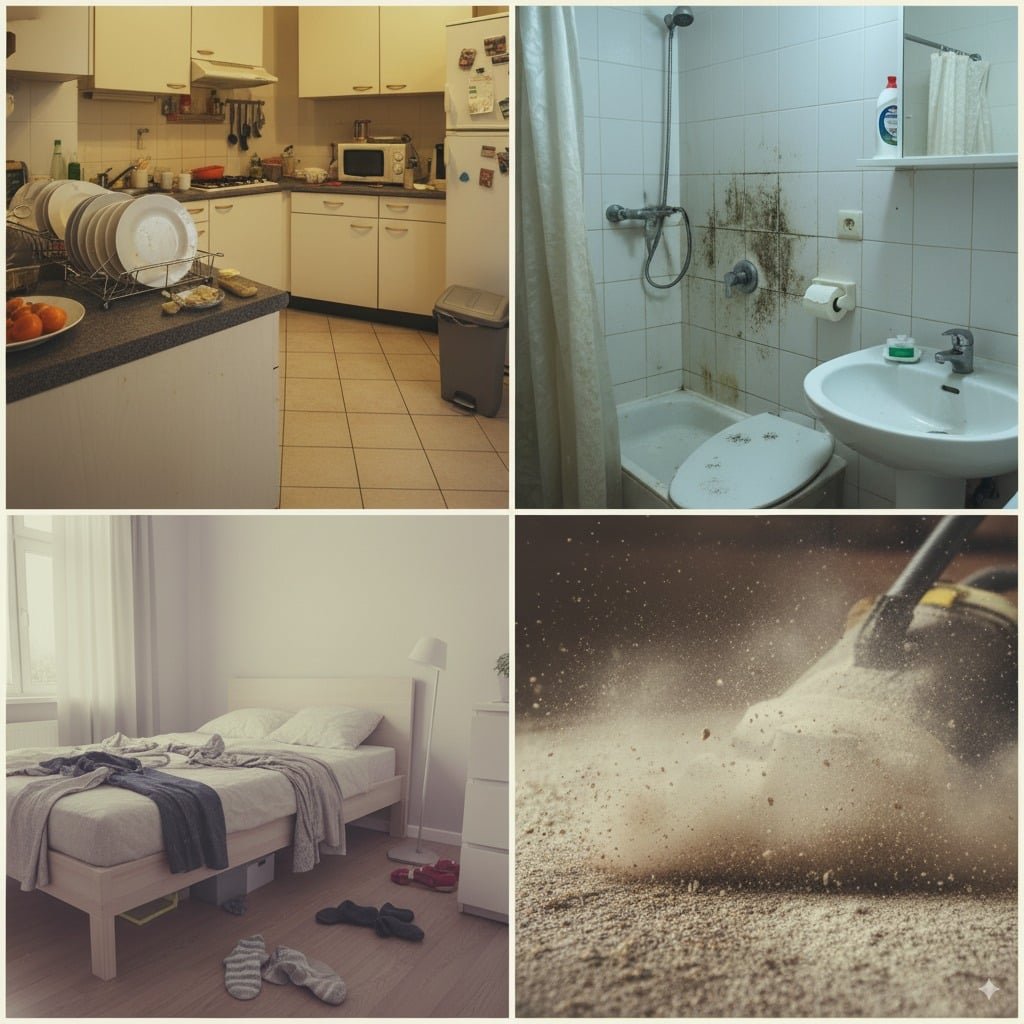
A house is merely a structure until the dirt from the garden, the dust from the road, and the smudges of daily life turn it into a home. Beneath the surface of tidy countertops and vacuumed floors, a complex ecosystem of bacteria, viruses, mold, and fungi thrives, often in the very places we overlook during our routine cleaning. We are conditioned to tackle the visible dirt, the spill on the rug, the smudges on the window, but the most significant threats to our household hygiene are microscopic and insidious. They multiply in the damp, the dark, and on the surfaces we touch most frequently. Understanding this hidden microbial landscape is the key to elevating your cleaning from a superficial chore to a meaningful act of health protection. KITCHEN The kitchen, the very place we prepare our food, is paradoxically the most germ-laden room in the house. Its combination of raw food, moisture, and high-touch surfaces creates a paradise for pathogens. The kitchen sink is ground zero for contamination. Far from being self-cleaning, the sink basin is a repository for food particles rinsed from plates and cutting boards. These particles create a sticky, invisible layer known as a biofilm, a complex community of microorganisms that adheres to the sink surface and drain. This biofilm can host dangerous bacteria like E. coli and Salmonella. Every time you turn on the faucet, water can splash these germs from the basin onto your hands, counters, or clean dishes. The garbage disposal adds another layer of risk, as running it can aerosolize bacteria-laden water droplets into the surrounding air. The faucet handles and the small, damp aerator cap at the end of the spout are also hotspots, collecting both germs from our hands and trapping biofilm within their small components. SPONGES The tools we use to clean the kitchen are often the dirtiest items of all. The kitchen sponge is a notorious microbial incubator. Its porous, absorbent structure remains damp for hours, providing the perfect environment for bacteria to multiply exponentially. A single sponge can harbor billions of bacteria, including Campylobacter, a leading cause of foodborne illness. When you wipe a surface with a contaminated sponge, you are not cleaning; you are performing a microbial transfer, spreading a film of germs across your counters. Dishcloths are no better, as they hold moisture and trap food particles. CUTTING BOARDS Cross-contamination is a constant threat. Cutting boards, particularly those with deep knife grooves, are a major culprit. Bacteria from raw meat and poultry become embedded in these cuts and can survive even vigorous washing, ready to contaminate the salad vegetables you chop next. For this reason, using separate, color-coded boards for raw meats and produce is a critical food safety practice. Appliance handles and knobs, on the refrigerator, microwave, oven, and dishwasher, are the Grand Central Station of household germs. We touch them constantly, often after handling raw foods and before washing our hands. Viruses like influenza can survive on stainless steel surfaces for up to 48 hours, making these handles a primary vector for transmission within a family. Even the coffee maker’s water reservoir, a dark and perpetually damp container, is a prime breeding ground for mold and yeast, which you then brew into your morning cup. The knife block, with its dark, narrow slots, is another forgotten hazard, trapping moisture and debris that can contaminate supposedly clean knives. TOILET In the bathroom, our focus is often misplaced. While the toilet bowl receives regular attention, the surrounding area is frequently ignored. Every flush without the lid down creates a “toilet plume,” an aerosolized mist of microscopic water droplets containing fecal bacteria that can travel up to six feet and settle on every surface, including the floor, countertops, and your toothbrush. The flush handle itself is one of the most contaminated touchpoints. Your toothbrush holder is another cesspool, collecting drips of water and toothpaste that form a murky sludge at the bottom where bacteria like Staphylococcus and mold can flourish, just inches from the toothbrush you put in your mouth. SHOWER AND BATH The shower and bathtub are a battleground against mold and mildew. The primary fuel for this fungal growth is soap scum. This is not just dried soap; it’s a stubborn, waxy compound of soap fats and hard water minerals like calcium and magnesium. It provides a food source and a protective, water-resistant layer for mold to grow underneath. This is where you find the common pink “mold” (actually a bacterium called Serratia marcescens) and more dangerous black molds. The showerhead itself is another hidden danger. Its nozzles can harbor biofilms containing bacteria like Mycobacterium avium, which can cause pulmonary infections, especially in those with compromised immune systems. These bacteria are then aerosolized in the warm shower mist and inhaled directly into the lungs. Damp bath mats, which rarely dry completely, become breeding grounds for mold and bacteria, which are then tracked around the bathroom. EVERYDAY ITEMS Throughout the rest of the house, the primary sources of filth are us. The items we touch the most are often the ones we clean the least. These objects, known as fomites, are inanimate surfaces capable of carrying infectious agents. Remote controls, light switches, doorknobs, and game controllers are handled by everyone, dropped on the floor, and exposed to coughs and sneezes, yet are rarely disinfected. They accumulate a sticky film of skin oils, sweat, and grime that helps germs adhere and thrive. Our personal electronics are even worse. The average mobile phone has been proven to carry more bacteria than a toilet seat, a direct result of being constantly touched and placed on various surfaces. Computer keyboards are a catch-all for crumbs, dead skin, and oils, creating a microbial buffet between the keys. CARPETS Soft surfaces act as giant filters, trapping and holding contaminants. Carpets and upholstery collect dust, pet dander, pollen, tracked-in dirt, and food particles. More insidiously, they are home to colonies of dust mites. These microscopic arachnids don’t bite, but they feast on the 1.5
The Dirtiest Places In Your Home Can Be Harmful To Your Health Read More »