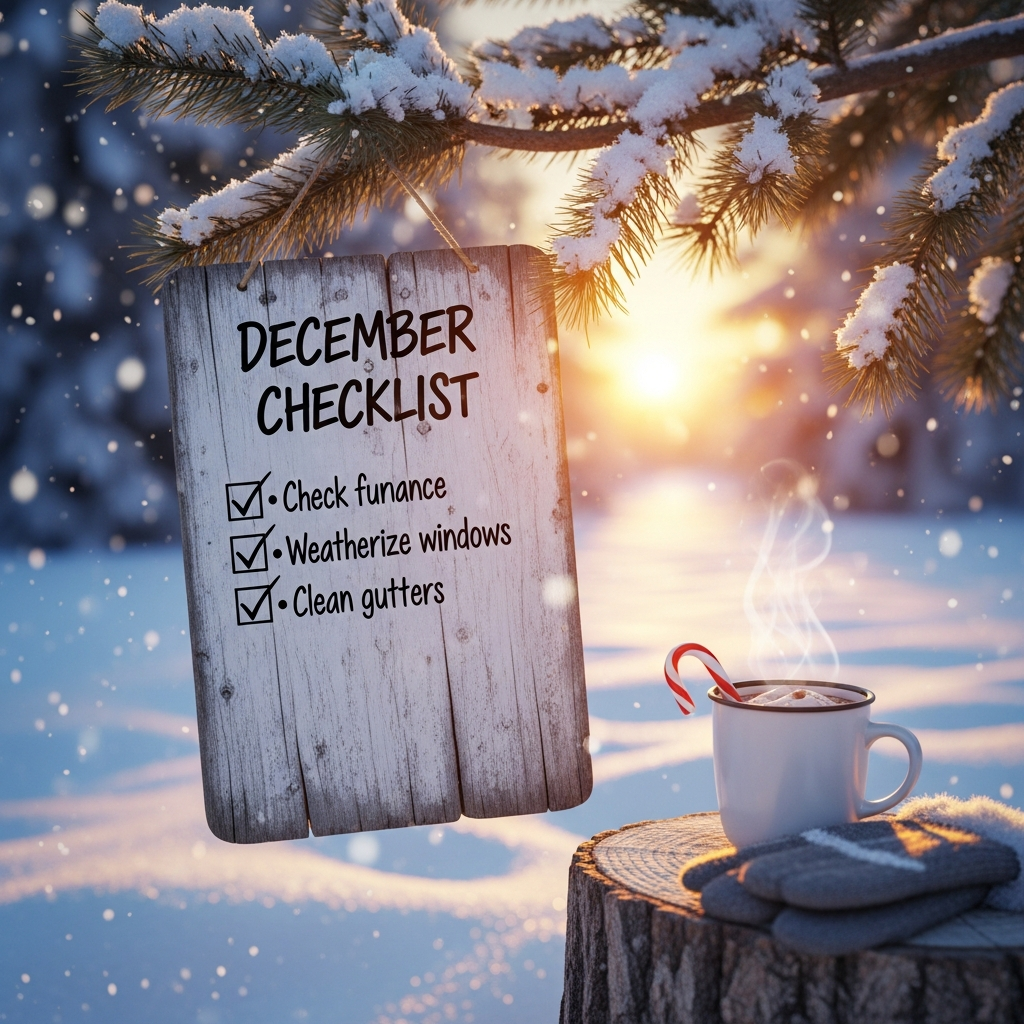
Kitchen To-Do List Before The Holidays: 9 Essential Tips For a Worry-Free End of The Year
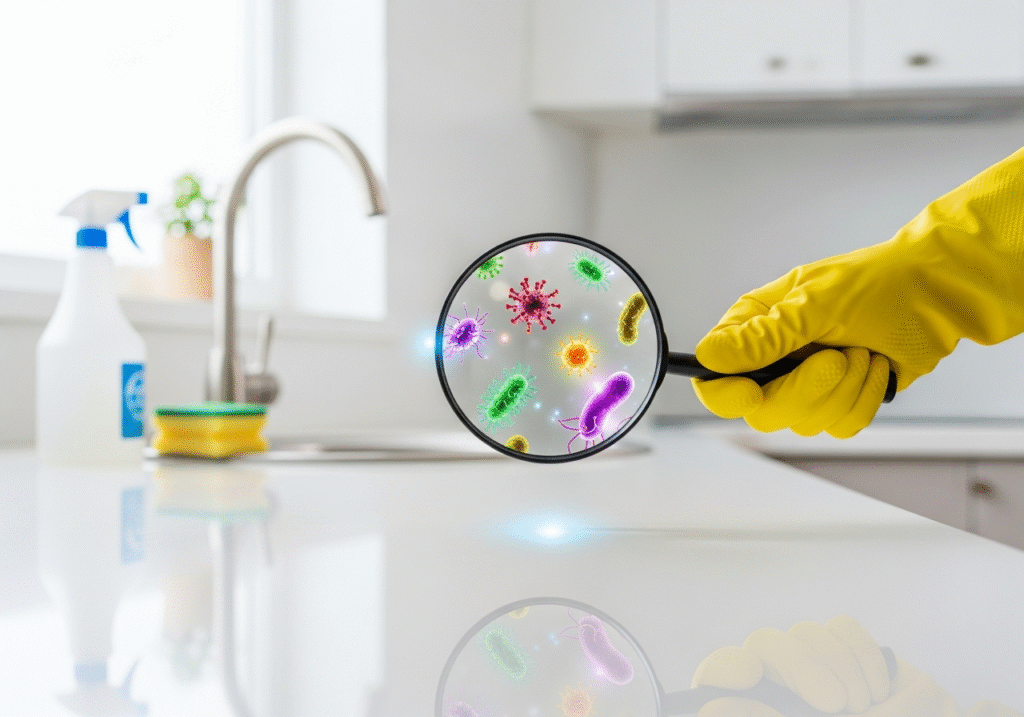
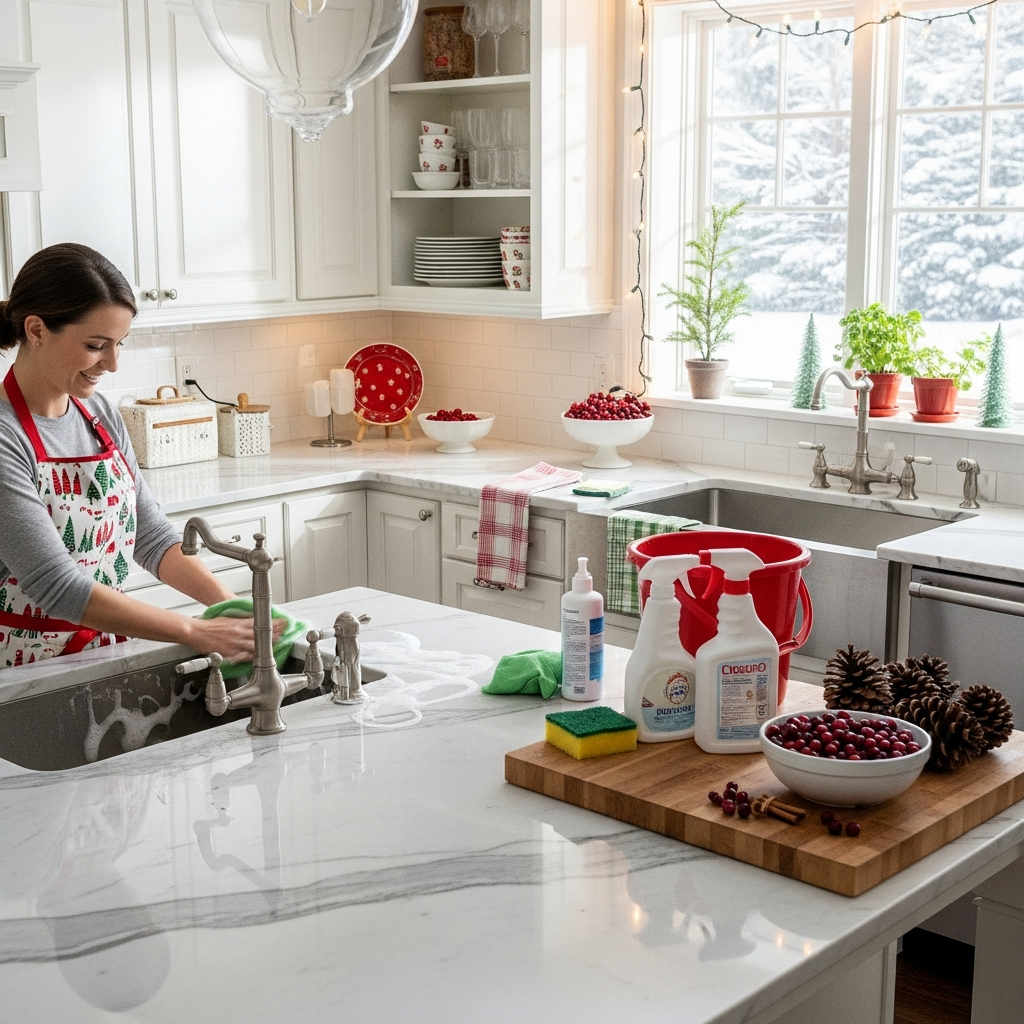
The kitchen is the undisputed command center of the holiday season. It is the engine room where the memories, the meals, and the chaos are manufactured. During the rest of the year, your kitchen might handle a quick breakfast and a simple dinner, but in December, it is expected to perform at an industrial level. The oven runs for hours at high heat, the refrigerator is packed to capacity with raw meats and precarious platters, and the dishwasher is cycled multiple times a day. If this machinery is not prepared for the onslaught, the result is not just a burnt turkey or a spoiled dessert; it can be a mechanical failure that brings the festivities to a grinding halt. Preparing the kitchen for the holidays is not merely about making it look presentable for guests; it is a logistical and sanitary necessity to ensure the safe and efficient execution of the season’s demands. 1.Refrigerator The first step in this preparation must be the refrigerator, effectively the staging ground for the entire holiday operation. Most people wait until they come home with bags of groceries to think about fridge space, which leads to a game of “Tetris” that compromises airflow and food safety. A packed refrigerator cannot circulate cold air effectively. If the air vents are blocked by boxes of leftovers or old condiments, the temperature in the back may freeze the lettuce while the temperature in the door rises to unsafe levels for milk and eggs. Two weeks before the holiday, a ruthless purge is required. Check every expiration date. The jars of pickles from three years ago and the crusty bottles of salad dressing must go. Once the space is cleared, the shelves and drawers need to be removed and washed with hot, soapy water. Spills from raw meat or sticky residues from soda bottles are breeding grounds for bacteria like Listeria, which thrives in cold environments. Sanitizing the fridge now prevents cross-contamination when you load it with the holiday roast. 2.Oven Once the cold storage is addressed, attention must shift to the heat source. The oven is the workhorse of the holiday meal, and a dirty oven is a liability. There is a dangerous temptation to run the “self-clean” cycle a few days before Christmas to make the interior sparkle. This is a critical error. The self-clean cycle heats the appliance to extreme temperatures, often exceeding 900 degrees Fahrenheit, to incinerate food residue. This thermal shock can blow fuses, fry electronic control boards, or burn out the heating element. Appliance repair technicians see a massive spike in calls right before holidays specifically because homeowners use this feature. Instead of risking a breakdown, you must clean the oven manually. Use a commercial degreaser or a paste of baking soda and water to lift the carbonized grease from the floor and walls of the oven. Clean the glass door so you can monitor the cooking without opening it and losing heat. Most importantly, clean the racks. Racks coated in old grease can smoke at high temperatures, flavoring your delicate pastries with the acrid taste of burning oil. 3.Exhaust Fan Ventilation is the invisible component of a successful holiday dinner. The range hood is responsible for removing steam, smoke, and airborne grease. If the metal mesh filters are clogged with a year’s worth of sticky yellow resin, the fan cannot breathe. Instead of venting the smoke, the system will recirculate it or, worse, drip hot grease back down onto the stovetop. Remove the filters and soak them in boiling water mixed with a heavy-duty degreaser or baking soda. You will be shocked by the amount of oil that releases. A clean filter ensures that when you sear the meat or boil the potatoes, the moisture and odors are actually removed from the house, keeping the air fresh for your guests. 4.Dishwasher The dishwasher is the unsung hero that prevents the host from spending the entire evening at the sink. However, a dishwasher cannot clean your plates if it is clogged with debris. At the bottom of the unit, usually under the lower spray arm, is a filter basket. This basket catches bones, glass shards, and undissolved food. If it is full, the water circulation is restricted, and the machine ends up spraying dirty, gritty water over your dishes. Pull this filter out and scrub it under hot running water with a stiff brush. Check the spray arms for clogged jets; a single apple seed stuck in a spray hole can leave an entire section of the rack unwashed. Run an empty cycle with a specialized dishwasher cleaner or a bowl of vinegar to remove hard water scale and buildup from the internal pipes. You need this machine to be operating at peak efficiency to handle the heavy, greasy loads of holiday cookware. 5.Countertop Countertop real estate is the most valuable commodity during holiday prep. In the weeks leading up to the main event, the counters act as the assembly line. Every square inch covered by a decorative jar, a seldom-used blender, or a stack of mail is a lost workspace. Be ruthless in your decluttering. If an appliance is not going to be used specifically for the holiday meal, move it to a cupboard or the basement. The goal is to create “zones” for preparation—a zone for chopping, a zone for mixing, and a zone for plating. Deep clean the corners where the backsplash meets the counter, as these areas often harbor crumbs and dust that you don’t want mixing with your cookie dough. Cleaning the undersides of the upper cabinets is also a detail that pays off; steam from cooking often creates a greasy film there that can drip when the kitchen heats up. 6.Microwave Small appliances also require a pre-holiday audit. The microwave will be working overtime to reheat side dishes and melt butter. Inspect the interior ceiling of the microwave, an area often coated in splatters that have been re-cooked dozens of times. These old food particles