Snow Cleaning: How to Clear Snow Safely and Effectively
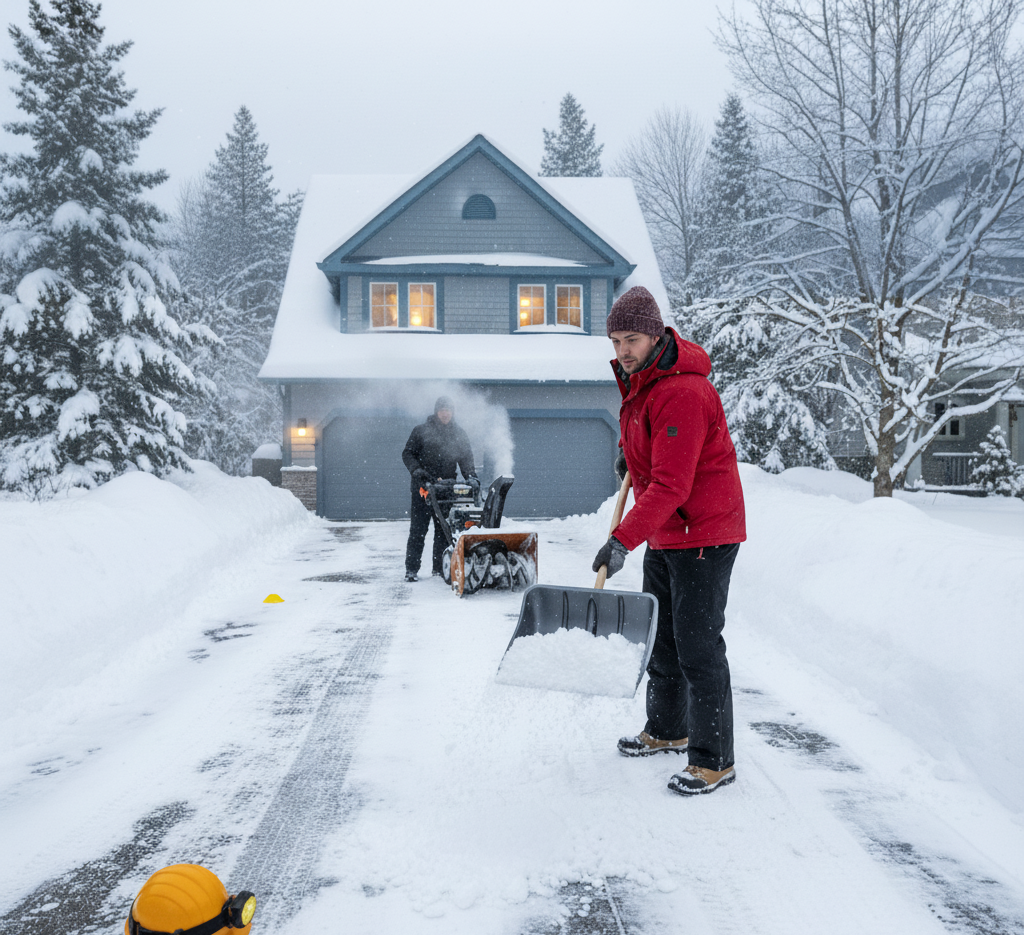
The serene beauty of a fresh snowfall is quickly followed by the practical necessity of snow cleaning. This essential winter chore is not just about maintaining appearances; it is a fundamental task for ensuring safety, accessibility, and the protection of property. A path left uncleared becomes a hazardous sheet of ice, a driveway blocked by a snowbank can trap a vehicle, and the sheer weight of accumulated snow can pose a structural threat. Proper snow cleaning is a proactive engagement with winter weather, requiring the right tools, a sound strategy, and a respect for the physical demands of the job. Without an effective approach to snow cleaning, the winter season can become a period of constant struggle and potential danger. Shovel The cornerstone of any manual snow cleaning operation is the shovel. Yet, the term “shovel” encompasses a range of tools designed for specific purposes, and choosing the correct one is the first step toward efficiency. The classic scoop shovel, with its deep blade, is built for lifting and throwing snow, making it suitable for clearing out tight spaces or moving deep drifts. For larger, flatter areas like driveways and long sidewalks, a snow pusher is a far superior tool. Its wide, curved blade is designed to skim along the surface, pushing a large volume of snow with each pass, which drastically reduces the need for lifting and alleviates strain on the back. Many modern shovels feature ergonomic designs, with bent shafts that encourage a more upright posture, further mitigating the risk of injury during the strenuous task of snow cleaning. The choice of blade material is also significant. Lightweight plastic blades are less likely to damage wooden decks or stone pavers, while heavy-duty metal blades, often fitted with a steel wear strip, excel at breaking through compacted snow and ice. Snow Blower For those who contend with large areas or consistently heavy snowfall, mechanical assistance in the form of a snow blower transforms the nature of snow cleaning. These machines are broadly categorized into single-stage and two-stage models. A single-stage blower employs a fast-spinning auger that makes direct contact with the pavement, scooping up snow and ejecting it through a discharge chute in a single motion. These units are relatively lightweight and easy to maneuver, making them an excellent choice for paved driveways and moderate snowfalls. In contrast, a two-stage snow blower is a more powerful and complex machine designed for heavy-duty snow cleaning. Its auger breaks up heavy, wet, or compacted snow and feeds it into a separate high-speed impeller, which then propels the snow out of the chute. This dual-action process allows two-stage blowers to handle deep snow drifts and throw the snow much farther, a crucial feature for clearing long driveways where snow placement is a key concern. This level of mechanical power makes the challenge of intensive snow cleaning far more manageable. Ice Chopper Even the most thorough snow cleaning effort can leave behind a slick surface of compacted snow or ice. This is where de-icing becomes a critical final step. An ice chopper, with its heavy steel blade, is invaluable for breaking up thick, stubborn ice that other tools cannot dislodge. After the bulk of the material has been removed, applying a de-icing agent can melt the remaining layer and prevent refreezing. Rock salt, or sodium chloride, is the most common and economical choice. It works by creating a brine solution that lowers the freezing point of water, effectively melting the ice. However, its effectiveness diminishes in very cold temperatures, and it can be corrosive to concrete and harmful to plants. Alternatives like calcium chloride and magnesium chloride work at much lower temperatures and are generally considered safer for concrete and vegetation. For households with pets, it is vital to use a specifically formulated pet-safe ice melt, as common de-icers can be toxic to animals. A comprehensive snow cleaning plan must include a strategy for ice management. Injuries The methodology behind snow cleaning is as vital as the equipment. The timing of your efforts can significantly impact the difficulty of the task. It is far less arduous to clear a few inches of snow two or three times during a major storm than it is to confront a single, deep accumulation of heavy, compacted snow afterward. Waiting too long allows the snow to settle and bond to the surface, making the job much harder. An early and frequent approach is the hallmark of an efficient snow cleaning strategy. When the time comes to shovel, proper physical technique is essential for preventing injury. The power for lifting should come from the legs, not the back. This means bending at the knees and hips while keeping the back straight and core muscles engaged. Whenever possible, push the snow rather than lifting it. If lifting is necessary, keep the shovel close to your body and avoid twisting your torso to throw the snow; instead, pivot your entire body by moving your feet. The repetitive nature of snow cleaning makes taking regular breaks essential to prevent overexertion. Garage A systematic approach to the physical layout of the job is also crucial. Before starting, identify where the cleared snow will be piled. It is imperative that these piles do not obstruct sightlines for drivers at the end of a driveway or at street corners. Piling snow against a building’s foundation can introduce moisture and lead to leaks as it melts. Furthermore, ensure that storm drains are not blocked, as this can cause significant flooding during a thaw. For those using a snow blower, working with the wind is a simple but effective tactic, preventing the discharged snow from blowing back onto cleared areas or into your face. A well-executed snow cleaning job is one that is done with foresight. Roof The responsibility of snow cleaning is not limited to ground-level surfaces. The weight of heavy snow on a roof can pose a serious structural risk. A roof rake, which is a wide blade attached to a long, telescoping
Snow Cleaning: How to Clear Snow Safely and Effectively Read More »