Hey there, condo dwellers! Looking to spruce up your space but don’t know where to start? Well, you’re in luck! Today, we’re diving into a step-by-step checklist for condo cleaning that’ll make your place sparkle and shine. Whether you’re tidying up for guests or just giving your condo some much-needed love, this guide is your go-to for a clean and cozy home. Let’s jump right in!
Introduction: Why Clean Your Condo?
First things first, keeping your condo clean isn’t just about impressing visitors (though that’s a nice bonus!). It’s about creating a healthy, happy living space for you. Regular cleaning reduces allergens, and keeps things organized.
Step 1: Start with a Plan
Setting Your Goals
Think of this as setting the stage for your cleaning day. Ask yourself, “What’s my main aim here?” Maybe your parents are popping by for a surprise visit (gulp), and you need to make the place presentable – that’s a quick tidy-up. Or perhaps it’s been a while since you really got into those nooks and crannies, and it’s time for a thorough, deep clean.
Deciding on your goal helps you focus. For a quick tidy-up, you’ll concentrate on making things look neat and orderly. This usually involves picking up misplaced items, doing a bit of dusting, and maybe a quick sweep. On the other hand, a deep clean is more involved. You’ll be scrubbing, polishing, and getting into those often-neglected spots like under the furniture or the infamous behind-the-fridge area.
Gathering Supplies
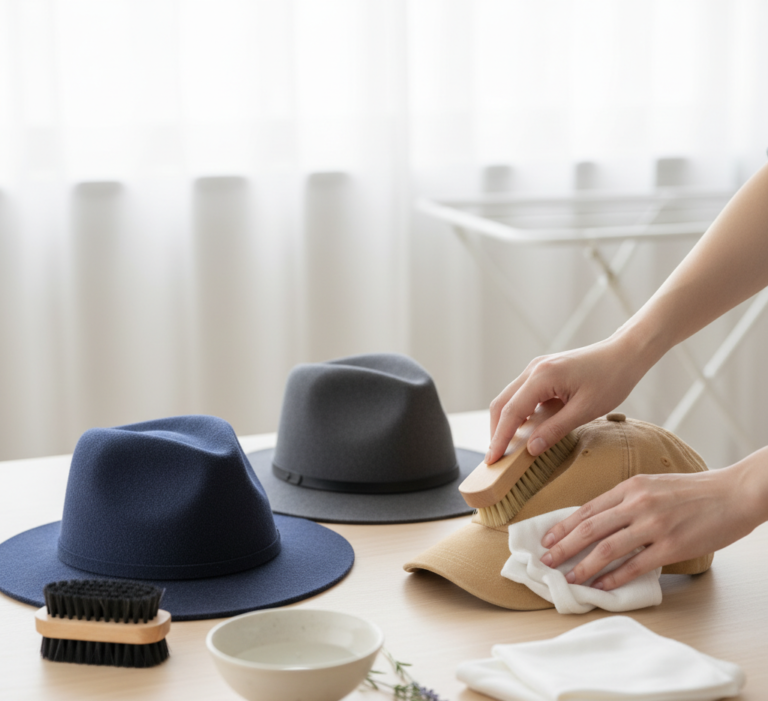
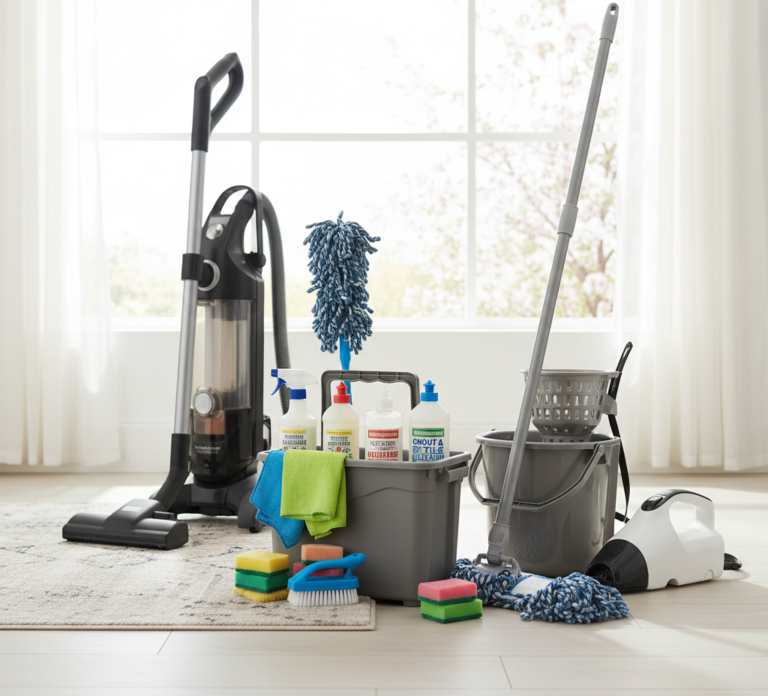
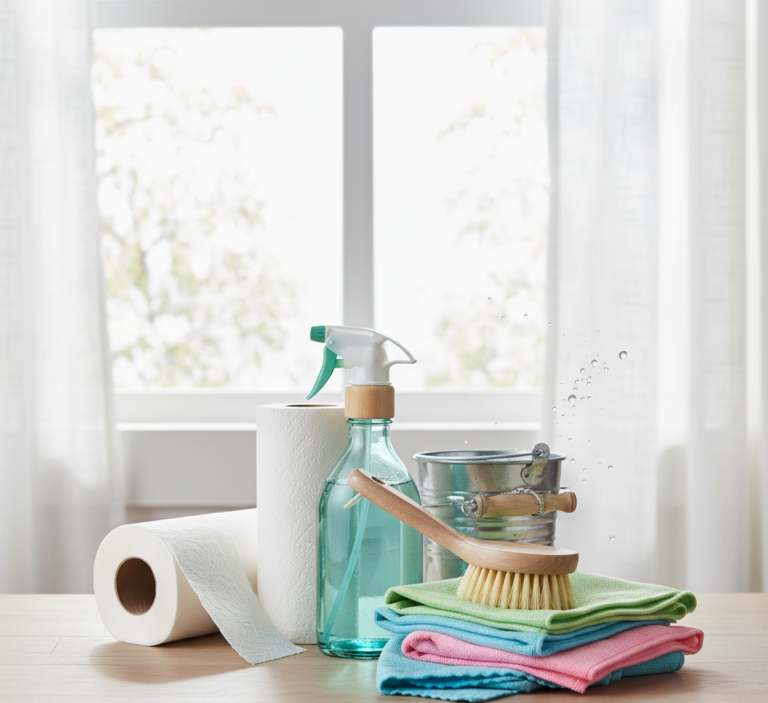
Now, onto the fun part – gathering your cleaning arsenal. This is like prepping for a mini battle against dirt and grime. You’ll need the basics: cleaners, cloths, a vacuum, and a mop. But let’s break it down a bit.
- Cleaners: Choose the right cleaner for the right job. Glass cleaner for mirrors and windows, disinfectant for those germ-prone areas like bathrooms and kitchens, and maybe a good floor cleaner. If you’re into eco-friendly options, there are tons of DIY recipes online using ingredients like vinegar and baking soda.
- Cloths and Sponges: Microfiber cloths are great for dusting and wiping surfaces without leaving streaks. Have a few on hand so you can use a clean one for different areas.
- Vacuum and Mop: If you have carpets, a good vacuum is your best friend. For hardwood or tile, you’ll need a mop to get those floors shining.
- Extras: Don’t forget the little helpers like a duster for those hard-to-reach spots, gloves to protect your hands, and garbage bags.
- And Music!: Yes, tunes! Cleaning can be a drag, but music has the magic to make it fun. Blast your favorite playlist and boogie your way through the chores. It’s a game-changer, trust me.
Step 2: Declutter Each Room
Your living room is often the first space people see, so let’s make it welcoming. Start with the coffee table – it’s like a magnet for random items. Clear off those old coffee cups, random mail, and yesterday’s newspaper. This instantly makes the room look tidier. Next, tackle the cushions. Fluff them up and arrange them neatly; it’s amazing how this small action can make the whole room look more inviting. Finally, organize those magazines. Keep a few of the latest ones and consider recycling the rest. It’s all about creating a space that feels both lived-in and cared for.
Bedroom Bliss
Moving on to the bedroom, which is your personal haven. Begin by putting away any clothes lying around. Whether they need to go in the closet or the laundry basket, just getting them off the floor or the chair (we all have that chair) makes a huge difference. Next, the bedside table – clear away any clutter that doesn’t belong, like those old water glasses or that book you finished a month ago. Finally, make the bed. It’s a simple step, but a made bed can instantly make your bedroom look neater and more inviting. Plus, there’s nothing like coming back to a nicely made bed at the end of the day.
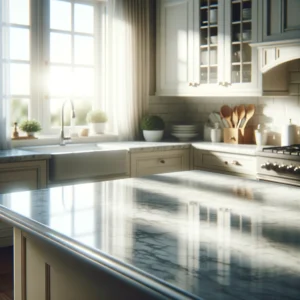
Kitchen Order
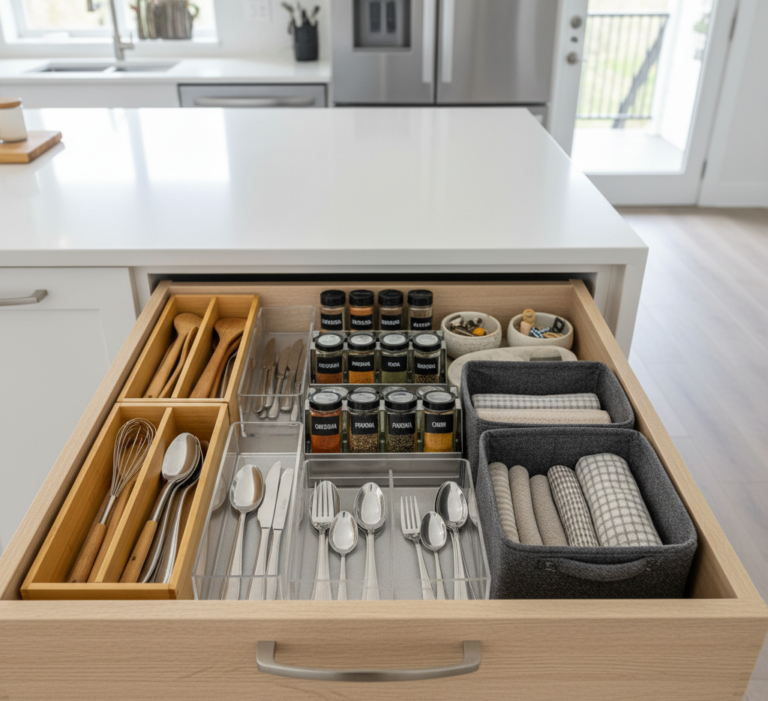
Ah, the kitchen, the heart of the home. Start by clearing those countertops. Put away any appliances you’re not using daily, and give the counters a good wipe. This not only creates more space for cooking but also gives the kitchen a more organized feel. Next up, the pantry. Take a few minutes to organize your pantry items. Group similar items together, and maybe even discard anything that’s expired. An organized pantry saves time and makes cooking a whole lot easier.
Bathroom Tidy-Up
Last but not least, the bathroom. Begin by putting all your toiletries back in their rightful places. A clear countertop can make your bathroom feel more like a spa and less like a storage unit. Then, neatly hang up all towels. It’s a small detail, but a neatly hung towel can make your bathroom feel more organized and clean.
Step 3: Dust and Wipe Surfaces
Imagine dust as a sort of tiny, unseen invader in your condo. When you start dusting from the top and work your way down, you’re ensuring that any dust that gets dislodged and falls to lower levels will eventually be cleaned up. Begin with the highest surfaces – think ceiling fans, top shelves, and upper corners of your rooms. Dust these areas first, and any dust particles that flutter down will be taken care of as you clean the lower surfaces. This method saves you the frustration of having to re-clean surfaces you’ve already dusted.
Wiping Down All Surfaces
Once the dusting is done, it’s time to wipe down all the surfaces. This isn’t just about making them look good; it’s about hygiene. Over time, surfaces in your home collect more than just dust; they also gather bacteria, spills, and various residues, especially in high-touch areas like doorknobs, light switches, and appliance handles.
Start with countertops and tables, using a suitable cleaner for the material, whether it’s wood, granite, or something else. Pay special attention to the kitchen and bathroom surfaces, as these areas are prone to bacteria and germs. For appliances, use a cleaner that’s appropriate for the appliance’s surface – stainless steel cleaner for a fridge, for example. And don’t forget the small but significant areas like door handles and light switches.
The key here is not just to move the dust and dirt around but to actually remove it. Use a clean, damp cloth to wipe surfaces effectively, and rinse or change cloths as needed to avoid spreading dirt and grime from one surface to another.
Step 4: Floors and Carpets
When it comes to hard floors, whether they’re hardwood, tile, or laminate, the first step is always sweeping. This removes the larger pieces of dirt, crumbs, and other debris. It’s like clearing the stage before the main act, which in this case, is mopping.
Once the floor is swept, it’s time to bring out the mop. Mopping is crucial because it gets rid of the finer dirt and dust particles that sweeping can’t. It also helps to sanitize the floor, especially in areas like the kitchen and bathroom where bacteria can thrive. Use a cleaner that’s suitable for your floor type to avoid any damage and make sure to wring out the mop well – too much water can damage certain types of flooring.
Vacuuming Carpets
Moving on to carpets – they’re like cozy, comfortable traps for all sorts of dust, pet dander, and allergens. Regular vacuuming is the key to keeping them fresh and clean. It’s not just about removing visible crumbs or pet hair; it’s also about sucking up all the unseen stuff that gets embedded deep in the carpet fibers. This is especially important for those with allergies or asthma, as carpets can hold onto allergens that can trigger symptoms.
When vacuuming, take your time and do multiple passes over each area, especially in high-traffic zones. This ensures you’re really getting all the dirt and dust out. And don’t forget to use the different attachments that come with your vacuum – they can be super helpful for getting into corners, along edges, and under furniture.

Step 5: Bathroom and Kitchen Deep Clean
The bathroom, as you can imagine, can be a breeding ground for germs and bacteria. So, giving it a good deep clean is not just about sparkle; it’s about sanitation.
- Disinfecting the Toilet: This is a non-negotiable. The toilet is one of the most germ-prone areas in any home. Using a good disinfectant, give the entire toilet a thorough clean – not just the bowl, but the seat, lid, and even the base. This helps to kill germs and prevent the spread of bacteria.
- Cleaning the Shower or Tub: Soap scum, mildew, and water stains can make your shower or tub look grimy and can also affect your health. Using a bathroom cleaner, scrub the walls, floor, and fixtures of the shower or tub. This not only leaves it looking shiny and new but also removes any potential health hazards like mold or mildew.
- Wiping Down Mirrors: Mirrors can get spotty and streaky. A good glass cleaner can make them shine again, giving your bathroom a clean, refreshed look. Plus, a clean mirror can actually make the whole room look bigger and brighter.
The kitchen is the heart of the home, and it sees a lot of action. Food spills, grease, and general use can take their toll, making a deep clean essential.
- Cleaning Appliances: Your appliances – the fridge, oven, microwave, and dishwasher – can accumulate a surprising amount of dirt and grime. Wiping them down not only improves their appearance but also their performance. For example, cleaning the fridge helps to eliminate food odors and maintain a sanitary space for food storage.
- Scrubbing the Sink: The kitchen sink can harbor more bacteria than you might think. Regularly scrubbing the sink not only makes it look better but also ensures it’s sanitary for washing dishes and food preparation.
- Tackling the Fridge: This might seem daunting, but cleaning out the fridge is incredibly satisfying. Removing old food, wiping down shelves, and organizing what’s left not only makes it easier to find what you need but also helps to prevent foodborne illnesses.
Step 6: Finishing Touches
Now, emptying the trash might sound like a no-brainer, but it’s an often overlooked detail in the cleaning process. Why is it so important? Well, trash bins, even when they’re not overflowing, can harbor unpleasant smells and attract pests. By taking out the trash from all the bins in your condo – kitchen, bathroom, bedroom, and living room – you’re removing potential sources of odor and ensuring a cleaner, fresher-smelling home. It’s a simple step, but it makes a world of difference in maintaining the cleanliness and hygiene of your living space.
Freshening Up the Space
After the hard work of cleaning, freshening up your space is like the cherry on top. It’s about creating an ambiance, a pleasant environment where you love to spend time.
- Adding Fresh Flowers: There’s something about fresh flowers that can instantly lift the mood of any room. They add a splash of color, a touch of nature, and can even improve air quality. Choose flowers that match the vibe you want for your space – bright and energetic, or calm and soothing.
- Lighting a Scented Candle: Scent plays a huge role in how we perceive our surroundings. Lighting a scented candle can change the entire atmosphere of a room. Whether you prefer floral, citrusy, or woodsy scents, a good-smelling candle can make your condo feel cozy and welcoming.
Enjoy Your Sparkling Condo Cleaning!
Life gets busy, and sometimes you need a little extra help. Maybe you’re juggling work, family, and social commitments, and finding the time for a deep clean feels impossible. Or perhaps you just don’t enjoy cleaning (which is totally okay!). This is where Toronto Shine Cleaning comes into the picture. Imagine coming home to a sparkling clean condo without lifting a finger. Sounds dreamy, right? That’s exactly what we offer. Our team of professional cleaners is equipped to handle everything from regular tidying to deep cleaning. Whether it’s scrubbing those tricky spots in the bathroom, making your kitchen gleam, or ensuring your floors are spotless, we’ve got you covered.
So, why not take one thing off your busy plate and let Toronto Shine Cleaning do the work? With our range of cleaning services, we can tailor our approach to suit your specific needs. From one-time deep cleans to regular maintenance, we ensure that your home is a clean, healthy, and happy place for you and your loved ones. Plus, think of all the free time you’ll have to do the things you actually enjoy! Check out Toronto Shine Cleaning for a hassle-free, top-notch cleaning experience that leaves your condo looking and feeling amazing.