Floor Wax Cleaning the Right Way for Long-Lasting Shine
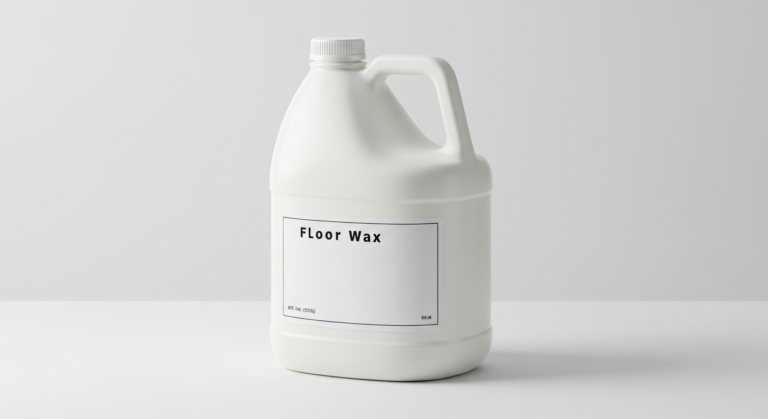
Floor wax is one of the best ways to protect and refresh your floors. Whether it’s hardwood, tile, or vinyl, using floor wax gives you that clean, glossy look while adding a protective layer against scratches and dirt. But to get those professional results, you need to follow the right steps. This floor wax cleaning guide walks you through 5 easy and effective steps to make sure your floors shine like new without the hassle.
Step 1: Sweep or Vacuum Thoroughly
Before applying any floor wax, the surface must be spotless. Sweep or vacuum the area to remove dust, pet hair, and crumbs. Any debris left behind will get trapped under the wax and ruin the finish. A thorough vacuum—especially with corner attachments—helps remove the dirt that causes scratches. For floor wax cleaning to work properly, you need to start with a totally clean base. A microfiber mop works great to pick up leftover fine dust.
Once the larger debris is gone, go over the floor again using a dry microfiber cloth or mop. This extra step ensures there’s nothing left behind that could mess up the floor wax. Remember, floor wax seals whatever is underneath, so cleanliness matters. Avoid any oily or soapy cleaners before waxing. They can leave a residue that stops the floor wax from bonding correctly. Keep it dry, clean, and chemical-free for the best result.
Skipping this part can cost you more time and effort later. If you wax over dirt, the floor will feel gritty and look dull—even right after the floor wax is applied. Taking a few extra minutes to clean properly sets the stage for a beautiful, glossy floor. Floor wax cleaning is all about building a strong foundation, and it all starts with sweeping and vacuuming the right way.
Step 2: Strip Old Floor Wax (If Needed)
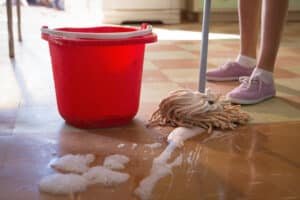
If your floors already have layers of old floor wax, you need to strip them before adding more. Over time, floor wax can build up and make your floors look cloudy instead of shiny. Use a proper wax remover or floor stripper that’s safe for your floor type. Follow the instructions, and be sure to work in small sections so you can manage the process easily.
Apply the wax remover and let it sit for the amount of time listed on the label. After it softens the old wax, use a scrub pad to gently lift it. Then, mop it all up and wipe the floor clean. You don’t want to apply new floor wax over leftover buildup. Fresh floor wax only sticks properly when the surface is clean and wax-free. This step makes sure your results are smooth and long-lasting.
Skipping this step is one of the biggest mistakes in floor wax cleaning. Adding new wax on top of old wax leads to streaks, uneven color, and sometimes even peeling. By stripping old floor wax first, you give the new layer something clean to grip. The end result? A smoother finish that shines brighter and lasts longer. Always start fresh when it comes to floor wax.
Step 3: Let the Floor Dry Completely
Once the old floor wax is stripped and the surface is clean, let everything dry completely. Floor wax doesn’t stick to damp floors. Even a little moisture can cause bubbling, streaks, or make the wax peel off. Leave the floor alone for at least 30 minutes or until it feels totally dry to the touch. If you’re in a hurry, use fans to speed up the drying.
This drying stage is a great time to check your work. Walk around and look at the floor from different angles. Make sure there’s no leftover wax, sticky spots, or residue that could interfere with your next coat of floor wax. If something doesn’t feel right underfoot, take care of it now. Floor wax cleaning depends on getting this part right before moving forward.
Being patient here pays off. Applying floor wax to a fully dry surface ensures that it sticks evenly and lasts longer. Moisture weakens the bond, leading to rework or early wear. If you want your floors to keep that high-gloss finish, take your time with this step. Dry floors are essential to successful floor wax application.
Step 4: Apply Floor Wax Evenly
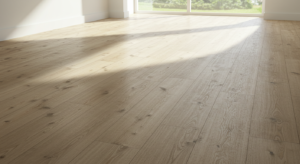
Now that the floor is dry, it’s time to apply the new floor wax. Use a clean mop or wax applicator to apply thin, even coats. Don’t pour too much wax at once. Applying floor wax in layers gives you a smoother, glossier look and prevents issues like streaks or stickiness. Always start in the farthest corner and work your way out so you don’t get trapped.
Let each layer of floor wax dry completely before applying another. Usually, 20–30 minutes is enough, but always read the product label. Two thin coats of floor wax are usually enough for most homes. If you’re working in a high-traffic area, a third coat can add extra protection and shine. Floor wax cleaning works best when you build the finish slowly and evenly.
Don’t forget to shake or stir the floor wax before use. Some products separate in the container, and using it without mixing can lead to uneven color or texture. Take your time, move in smooth strokes, and resist the urge to rush. When done right, floor wax gives your space a sleek, polished look that makes everything feel fresh and clean.
Step 5: Let It Cure and Maintain Gently
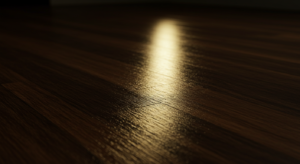
Once the final coat of floor wax is on, let it cure. This means avoiding foot traffic for at least 30 to 60 minutes—more if you can. Some waxes need up to 24 hours to fully harden. The longer you wait, the better your results. A well-cured floor wax finish will resist scuffs, stains, and general wear much better than one that’s rushed.
During this time, keep kids, pets, and furniture off the floor. A single footprint or drag mark can ruin the entire look and force you to redo everything. When the wax is fully cured, your floors will have that smooth, glossy feel that only comes from proper floor wax cleaning. Don’t skip the curing phase—it’s where the magic happens.
For maintenance, avoid harsh chemicals and abrasive scrubbing tools. Stick to neutral pH floor cleaners and a damp mop to preserve the finish. Floor wax doesn’t need to be reapplied often if you clean gently. When the shine starts to fade, a quick buff or one fresh coat can bring it back to life. With the right care, your floor wax will stay looking amazing for months.
Let Toronto Shine Cleaning Handle the Floor Waxing for You
If all this sounds like a lot—don’t worry. You don’t have to do it alone. At Toronto Shine Cleaning, we specialize in professional floor wax cleaning for homes, condos, and commercial spaces. Our team uses top-quality products and proven techniques to strip, clean, and reapply floor wax with zero stress for you. The result? A spotless, high-gloss finish that looks incredible and lasts.
Floor wax cleaning takes time, effort, and attention to detail. One missed step can lead to dull finishes or short-lived results. That’s why more Toronto homeowners and businesses trust us to get it right the first time. Whether your space needs a quick refresh or a full wax stripping and recoat, we’ve got the skills to make it shine.
Save yourself the hassle and leave the floor wax cleaning to the pros. Book your appointment with Toronto Shine Cleaning today and enjoy beautiful, professionally waxed floors—without lifting a finger. We bring the shine so you don’t have to!


