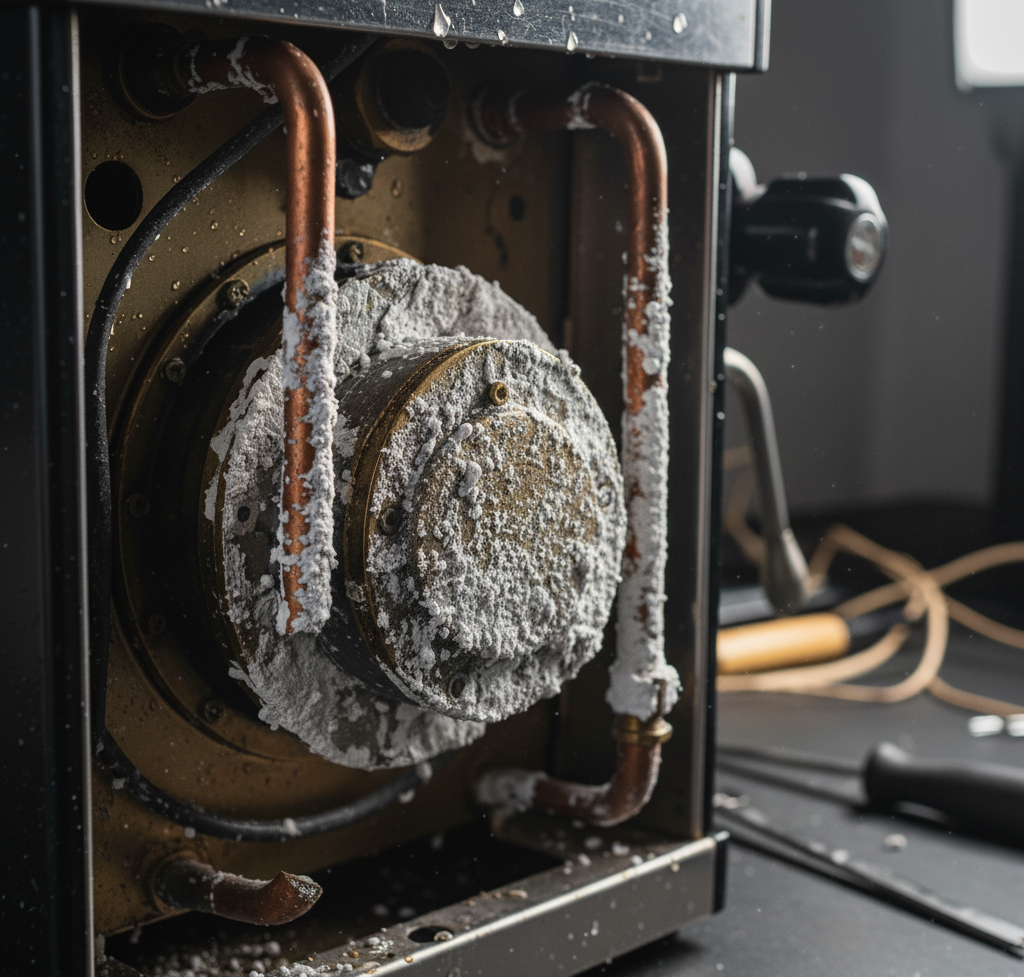
Washing Machine Cycles: 4 Tips Everyone Should Know For Spotless Fabrics
The modern washing machine cycles is a marvel of household convenience, yet its control panel, adorned with a cryptic array of dials, buttons, and symbols, can be as intimidating as an airplane’s cockpit. Faced with this complexity, many of us default to the “Normal” cycle for nearly every load, hoping for the best. This one-size-fits-all approach, however, is a disservice to our clothes, our utility bills, and the machine itself. Each cycle is a carefully calibrated recipe of water temperature, agitation speed, and time, designed for specific fabrics and soil levels. Understanding these washing machine cycles is the key to transforming laundry from a chore of guesswork into a science of fabric care. It is the difference between clothes that last for years and clothes that fade, shrink, or wear out prematurely. 1.The Three Core Variables Before diving into the specific named cycles, it’s essential to understand the three fundamental elements that every wash cycle manipulates. Every button and dial on your machine is designed to adjust one of these three variables. Water Temperature: This is perhaps the most critical variable for both cleaning effectiveness and fabric preservation. Hot: Typically ranging from 130°F (54°C) and above, hot water is the most powerful for cleaning. It is excellent at removing heavy grime, killing germs and dust mites, and lifting stubborn stains from oil and grease. However, this power comes at a cost. Hot water is the most energy-intensive, can cause vibrant colors to fade, and can lead to significant shrinkage in natural fibers like cotton and wool. It is best reserved for durable, colorfast whites, such as cotton underwear, socks, bed linens, and heavily soiled work clothes. Warm: Sitting in the middle ground, around 90°F (32°C), warm water offers a good balance of cleaning power and fabric care. It is effective at cleaning most everyday soils and is less likely to cause significant fading or shrinking than hot water. This makes it a versatile choice for colored garments, synthetics, and moderately dirty loads. Cold: Ranging from 60°F to 80°F (15-27°C), cold water is the gentlest on fabrics and the most energy-efficient. It is the ideal choice for dark and bright colors that are prone to bleeding, as well as for delicate fabrics like silk, lace, and anything that you fear might shrink. While modern cold-water detergents have improved its cleaning power, it is not as effective on heavy grease or oil stains. Spin Speed: This determines how fast the drum rotates at the end of the wash and rinse cycles to extract water from the clothes. The spin speed is measured in revolutions per minute (RPM). High/Fast Spin: A high spin speed (1000-1400 RPM or higher) removes the maximum amount of water from a load. This significantly reduces drying time, saving both time and energy. It is best suited for sturdy fabrics like cotton and denim. The downside is that the high speed can be harsh on clothes, setting in deep wrinkles and potentially damaging more delicate items. Medium Spin: This is a good all-purpose setting that balances water extraction with fabric care. It is often paired with the Permanent Press cycle to help prevent wrinkles in synthetic fabrics. Low/Slow Spin (or No Spin): A slow spin is the gentlest option. It leaves clothes quite damp but is essential for preventing damage to delicate, hand-washable items, and loosely woven sweaters. The “No Spin” option is for the most fragile garments that should not be subjected to any centrifugal force at all. Agitation/Tumble Speed: This is the “scrubbing” action of the machine. In a top-loading machine, it refers to the speed and intensity of the agitator’s movements. In a front-loading machine, it refers to the speed and pattern of the drum’s tumbling. A high agitation level provides more friction and cleaning power for durable fabrics, while a low agitation level gently swishes clothes to protect delicate fibers. 2.The Most Common Washing Machine Cycles With the core variables understood, we can now translate the names on the dial into their specific recipes. Normal Cycle (or Cotton/Regular): This is the workhorse cycle, the default for a reason. It is designed for most everyday clothing made of cotton, linen, and durable synthetics. It typically combines a high agitation speed with a high spin speed. The default water temperature is often warm, but this is usually adjustable. It provides a robust clean for average soil levels. Use for: T-shirts, jeans, socks, underwear, towels, sheets. Avoid for: Delicate fabrics, items prone to shrinking or wrinkling. Heavy Duty Cycle: When the Normal cycle isn’t enough, Heavy Duty steps in. This cycle is designed for sturdy fabrics that are heavily soiled. It uses a longer wash time, a higher level of agitation, and typically defaults to hot water to break down serious grime. Use for: Muddy work clothes, heavily stained towels, children’s play clothes, durable bedding. Avoid for: Any fabrics that cannot withstand high heat and vigorous movement. Using this cycle unnecessarily will cause premature wear and tear on your clothes. Delicates Cycle (or Hand Wash): This cycle is the machine’s attempt to replicate the gentleness of hand washing. It uses a low agitation or tumbling speed, a short wash time, and a slow spin to protect fragile fabrics. It almost always defaults to cold water to prevent shrinking and damage. Use for: Lingerie, silk, lace, sheer fabrics, loosely woven sweaters. Always place these items in a mesh laundry bag for extra protection. Avoid for: Anything that is heavily soiled, as the gentle action may not be sufficient to clean it thoroughly. Permanent Press Cycle (or Wrinkle Control/Casual): This is one of the most useful and misunderstood cycles. It is specifically designed for synthetic and blended fabrics that are prone to wrinkling, such as polyester, rayon, and knits. The magic of this cycle is in its temperature change: it washes the clothes in warm water to relax the fibers and release wrinkles, then uses a cool rinse and a slower spin speed to prevent new wrinkles from being set in. Use for: Dress shirts, blouses, slacks, and any synthetic clothing you want to minimize ironing on. Avoid for: Heavy-duty
Washing Machine Cycles: 4 Tips Everyone Should Know For Spotless Fabrics Read More »

