Complete Laundry Detergent Guide: Understand Your Formula And How To Use It
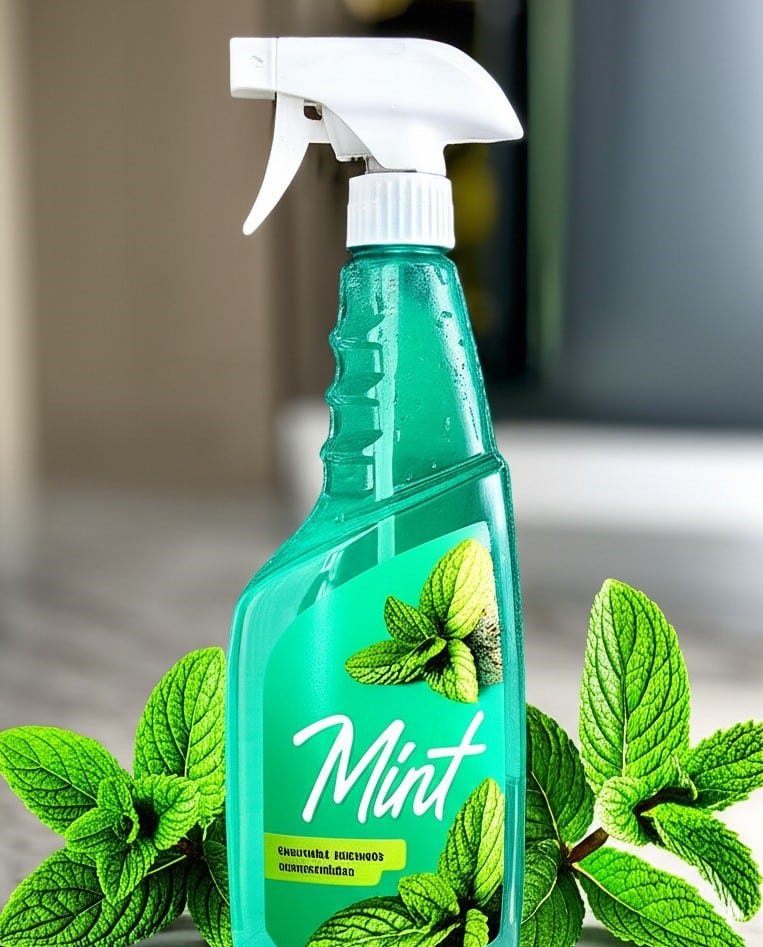
The fundamental purpose of laundry detergent is to cleanse textiles. It is a highly engineered blend of chemical compounds designed to perform the complex task of removing soil, oils, and stains from fabrics and suspending them in water to be rinsed away. While simple soap can clean, modern laundry detergent is scientifically formulated to overcome the limitations of soap, particularly its poor performance in hard water. Soap reacts with calcium and magnesium ions present in hard water to form an insoluble lime soap, or soap scum, which clings to fabrics, leaving them dingy, stiff, and trapping dirt. A quality laundry detergent contains ingredients called builders that specifically counteract these minerals, allowing the cleaning agents to function at their full potential in any water condition. Formulation The heart of every laundry detergent formulation is its surfactant system. Surfactants (surface-active agents) are the primary cleaning agents. These molecules have a dual personality: a water-loving (hydrophilic) head and an oil-and-dirt-loving (hydrophobic) tail. During the agitation of a wash cycle, the hydrophobic tails attach themselves to soil particles on clothing, prying them loose from the fabric fibers. The hydrophilic heads remain in the wash water, pulling the entire molecule—now carrying the dirt—away from the garment and keeping it suspended in the water so it cannot redeposit onto other clothes before being flushed out during the rinse cycle. Most formulations use a blend of surfactant types for comprehensive cleaning. Anionic surfactants are the workhorses, excellent at lifting and suspending particulate dirt. Nonionic surfactants, which have no electrical charge, are particularly effective at emulsifying and removing oily soils, and they perform very well in cooler water temperatures. This synergistic blend is a hallmark of a powerful laundry detergent. Liquid, Powder, Pods or Sheets? Consumers can choose from several physical forms of laundry detergent: liquid, powder, pods, and sheets. Liquid laundry detergent dominates the market due to its convenience and effectiveness. It dissolves completely at any wash temperature, making it a reliable choice for cold-water washing to conserve energy and protect delicate fabrics. Liquids are stain-fighting powerhouses, especially on greasy spots like salad dressing or body oil, because they can be applied directly to the stain as a pre-treatment, allowing the surfactants to begin working immediately. The downsides are related to its composition and packaging. Being mostly water, it is heavy and bulky, increasing transportation costs and carbon emissions. Overdosing is also a common user error, leading to soap residue, machine malfunctions, and waste. Powder laundry detergent, the original modern format, remains a highly effective and economical option. Powders are generally less expensive per wash load and are exceptionally skilled at removing ground-in particulate stains like mud, clay, and grass. The very slight abrasive quality of the granules can help dislodge stubborn dirt. Furthermore, powder formulas can incorporate oxygen-based bleaching agents like sodium percarbonate more stably than liquids can, providing superior whitening and brightening action. The main challenge with powder laundry detergent is its potential for incomplete dissolution in very cold water, which can leave a white residue on dark clothes. It must also be stored in a completely dry environment to prevent clumping. Single-dose pods, or packs, represent the peak of convenience in the world of laundry detergent. These pre-measured, water-soluble packets contain highly concentrated liquid, and sometimes powder, often in separate chambers to keep ingredients stable until they are released in the wash. This design eliminates measuring and spillage, ensuring a perfect dose every time and preventing the problems associated with overuse. However, they are the most expensive option per load and offer no flexibility for adjusting the amount of laundry detergent for smaller or less soiled loads. Their small, candy-like appearance has also made them a safety risk in homes with small children, demanding vigilant storage. Laundry Detergent Sheets The newest format, laundry detergent sheets, addresses environmental concerns head-on. These are dehydrated, compressed sheets of detergent that dissolve in the wash. Their primary advantage is their eco-friendly profile: they are ultra-lightweight, compact, and typically packaged in plastic-free, recyclable cardboard. This drastically reduces packaging waste and the carbon footprint of shipping. They are mess-free and simple to use. While their cleaning power is sufficient for most day-to-day laundry, some heavy-duty stains might require the targeted power of a concentrated liquid or robust powder laundry detergent. Beyond the surfactants, an advanced laundry detergent contains a host of other critical ingredients. Builders, as mentioned, soften water. Historically, phosphates were the builder of choice due to their incredible effectiveness, but their use in laundry detergent was largely banned because they caused severe environmental damage by promoting algal blooms that depleted oxygen in lakes and rivers, a process known as eutrophication. Modern builders include substances like sodium citrate and zeolites, which sequester hard water minerals effectively without harming aquatic ecosystems. Stain Removers Enzymes are the specialized stain removers in a modern laundry detergent. These biological proteins are catalysts that target and break down specific types of stains into smaller, more easily removable particles. Protease dismantles protein-based stains (blood, grass, dairy). Amylase targets starch-based stains (gravy, potato). Lipase works on fats and oils (grease, lipstick). Cellulase works on cotton and cotton-blend fabrics, not only helping to release particulate soil but also snipping off the fuzzy microfibrils that cause pilling, which helps keep fabrics looking smooth and new. A laundry detergent without a multi-enzyme blend simply cannot compete on stain removal. Polymers are another unsung hero. Anti-redeposition polymers are added to keep the loosened dirt suspended in the wash water, preventing it from settling back onto cleaner clothes and causing dinginess. Soil-release polymers are even more advanced; they deposit a protective, invisible shield on fabrics (especially synthetics like polyester) that makes it harder for future stains to set in, ensuring easier cleaning in subsequent washes. pH modifiers, or alkalinity agents like sodium carbonate, are also included to raise the pH of the wash water. An alkaline environment helps to break down fats and oils and generally improves cleaning performance. Homemade Laundry Detergent A common question is about the viability of homemade laundry detergent. While the recipes seem simple—typically a mix of washing soda, borax, and grated bar soap—they are a significant step backward. These concoctions create soap, not a
Complete Laundry Detergent Guide: Understand Your Formula And How To Use It Read More »