5 Expert Tips for Cleaning With Hot Water At Home
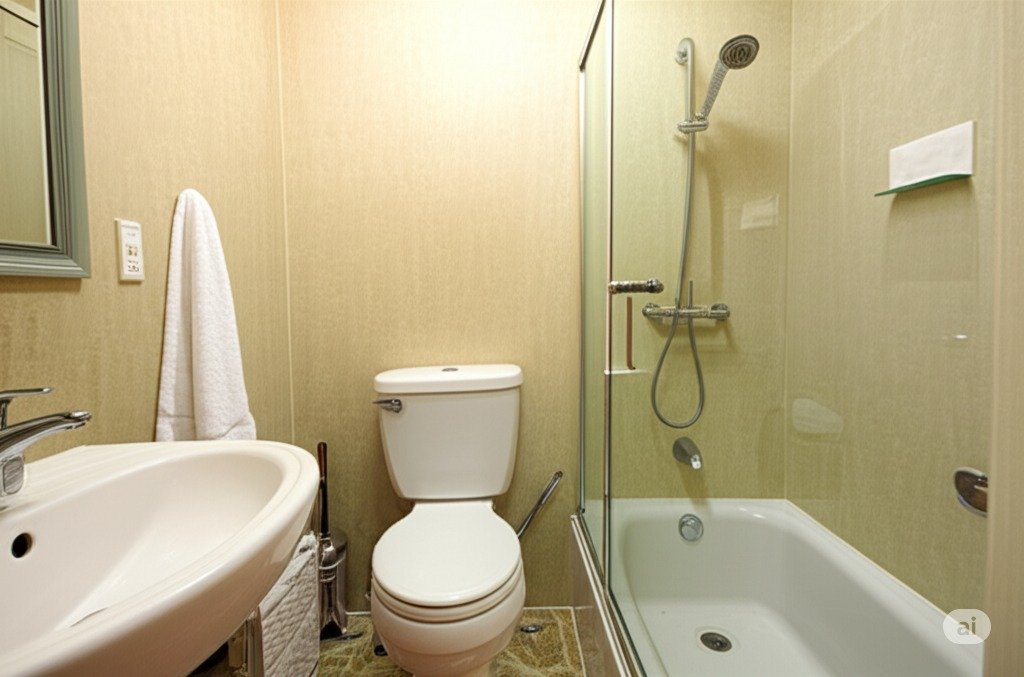
The Power of Hot Water I’m highlighting one of the most fundamental yet profoundly effective allies in our quest for cleanliness: plain, unadulterated hot water. In our modern world, filled with a variety of specialized cleaning solutions and devices, it’s easy to overlook the sheer effectiveness of this readily available resource. Yet for generations, hot water has been the foundation of effective cleaning, and its power remains undiminished. Today, we’re going to delve into the remarkable benefits of incorporating hot water into our cleaning routines, exploring how its thermal energy works to break down dirt, improve hygiene, and ultimately make the task of maintaining a sparkling home significantly easier and more satisfying. The cleaning magic of hot water isn’t just an old wives’ tale; it’s rooted in basic principles of physics and chemistry. When water is heated, its molecules gain energy and move much more quickly. This increased molecular activity translates directly into increased cleaning power. These energized water molecules are better able to break the bonds that hold dirt, grease, and other residues to surfaces. They can penetrate dirt more effectively, loosening its grip and making it much easier to wipe or rinse away. Additionally, hot water often works to reduce the surface tension of the water itself, allowing it to spread more evenly and wet surfaces more thoroughly, which in turn helps cleaning agents, if used, work more effectively. Understanding this fundamental action helps us understand why hot water is not just a preference, but often a necessity for achieving a deep, satisfying clean. Let’s consider its application in the heart of the home, the kitchen, where some of the most challenging cleaning tasks reside. Think of a sink full of greasy dishes after a hearty meal. Attempting to tackle this with cold water can be a frustrating, smeary affair. Introduce hot water, however, and the scenario changes dramatically. The elevated temperature begins to liquefy fats and oils almost immediately, allowing them to be more easily emulsified by dish soap and rinsed away cleanly. The same principle applies to greasy stovetops, oven doors splattered with cooking residues, or countertops where oily spills have occurred. Hot water, often combined with a suitable degreasing agent, dramatically reduces the amount of physical effort – the scrubbing and scraping – required to lift these stubborn substances, leaving behind surfaces that are not only visibly clean but also feel less tacky to the touch. Even the kitchen sink itself, prone to a build-up of food particles and greasy films, benefits immensely from a regular wash and rinse with hot water, helping to keep drains clearer and the basin more hygienic. 2. Moving to the bathroom, another area where hygiene is paramount, hot water continues to prove its worth. Soap scum, that resilient film left behind by soap and hard water minerals, can be particularly stubborn on shower doors, tiles, and bathtubs. Hot water helps to soften and dissolve these deposits, making them more susceptible to removal by bathroom cleaners or even a simple scrubbing with a non-abrasive pad. When cleaning toilets, while specialized cleaners are often used in the bowl, wiping down the exterior surfaces with hot water and a disinfectant can contribute to a more thorough sanitization. For bathroom floors, mopping with hot water not only helps to lift dirt and footprints but also contributes to a faster drying time, reducing the chance of slips and leaving the room feeling fresher overall. The steam generated by hot water during a shower can even play a small role in loosening grime on surrounding surfaces, making them a bit easier to wipe down afterwards. 3. The benefits of hot water extend significantly to our laundry routines. Most laundry detergents are formulated to perform optimally in warm or hot water. The heat helps the detergent to dissolve completely and to activate its cleaning enzymes and surfactants more effectively, allowing them to penetrate fabric fibers more deeply and release trapped dirt, oils, and stains. For heavily soiled items, or for ensuring the effective sanitization of items like bedding or towels, particularly during times of illness, a hot water wash can be invaluable. It aids in killing germs and dust mites, contributing to a healthier home environment. While cold water washing has its place for delicate fabrics or energy saving, the sheer cleaning power for general laundry and stubborn stains is often best unlocked with the assistance of appropriately heated water. 4. Beyond these specific areas, the general application of hot water for cleaning various surfaces around the home brings tangible advantages. When mopping hard floors, whether tile, vinyl, or sealed wood, hot water helps to cut through accumulated grime more effectively than cold. It can make the task quicker and leave floors looking brighter and feeling cleaner underfoot. For wiping down painted walls, baseboards, or other washable surfaces, dampening a cloth with hot water can often be sufficient to remove light marks and dust, sometimes reducing the need for chemical cleaners altogether. The warmth can help to soften adhered dirt, making it easier to lift without excessive scrubbing that could potentially damage the surface. 5. One of the overarching benefits of utilizing hot water in our cleaning endeavors is the reduction in physical effort often required. Because hot water is inherently more effective at loosening and dissolving dirt and grease, we often find ourselves scrubbing less vigorously and for shorter periods. This not only makes the cleaning process less physically demanding but can also help to preserve the surfaces we are cleaning by minimizing wear and tear from excessive abrasion. Furthermore, by enhancing the action of soaps and detergents, hot water can sometimes allow us to use less product to achieve the same level of cleanliness, which can be both economically and environmentally beneficial. The faster evaporation rate of hot water also means surfaces tend to dry more quickly, reducing streaks and water spots, and getting the cleaned area back into use sooner. In essence, the consistent and thoughtful use of hot water elevates
5 Expert Tips for Cleaning With Hot Water At Home Read More »