5 Versatile Household Items That Save Time and Money
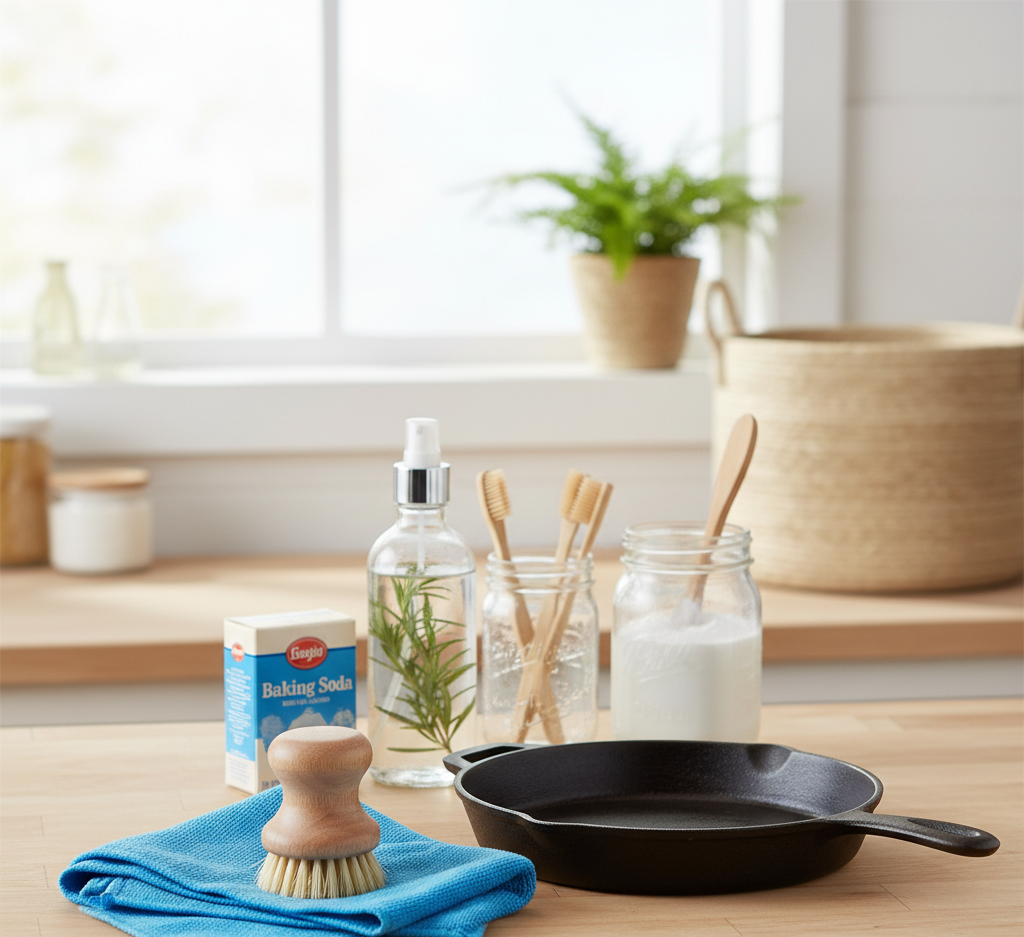
Managing a household is a masterclass in efficiency, a constant balancing act of time, resources, and energy. The foundation of a well-run home is not an endless collection of specialized gadgets, but a curated arsenal of simple, versatile tools that can tackle a multitude of tasks with unwavering reliability. These are the unsung heroes of daily life, the items that save space, reduce waste, and simplify the endless list of chores that keep a home clean, comfortable, and functional. Embracing this philosophy of versatility is the key to working smarter, not harder. White Vinegar The humble bottle of plain white vinegar is perhaps the most powerful and underestimated tool in any home. Its magic lies in its gentle acidity, which makes it a formidable opponent against a specific category of grime: mineral deposits. In areas with hard water, the chalky, white buildup of limescale is a constant battle. A kettle crusted with mineral scale can be restored to its original shine by simply boiling a solution of equal parts vinegar and water inside it, letting it sit, and rinsing it clean. A showerhead clogged and sputtering from the same mineral deposits can be brought back to life by soaking it overnight in a bag full of vinegar. Its power extends to the laundry room, where a cup added to the rinse cycle acts as a natural fabric softener, breaking down detergent residue and leaving clothes feeling softer without the waxy buildup of commercial softeners. As a cleaner, a 50/50 solution of vinegar and water in a spray bottle is the ultimate streak-free glass and mirror cleaner, outperforming many ammonia-based chemical products. It disinfects countertops, cuts through soap scum on shower doors, and neutralizes odors, proving itself to be a true multi-purpose champion. Baking Soda Just as vinegar is the master of acidic cleaning, its chemical counterpart, baking soda, is the master of alkaline cleaning. This simple white powder is a gentle but effective abrasive and a phenomenal natural deodorizer. Its fine, gritty texture is perfect for creating a cleaning paste to scrub away stubborn food residue from pots and pans or to lift light stains from countertops without scratching the surface. A small dish of baking soda left in the refrigerator or freezer will absorb ambient odors, keeping the space smelling fresh. Sprinkled liberally over a carpet before vacuuming, it can help to lift dirt and neutralize pet or smoke smells that have settled deep within the fibers. For greasy, grimy messes, a sprinkle of baking soda acts as a mild alkali, helping to break down the fatty acids that make up grease, making it easier to wipe away. Its versatility is quiet but profound, a gentle workhorse for a huge variety of cleaning and deodorizing tasks. Microfiber Cloth Moving from consumables to tools, a set of high-quality microfiber cloths is an absolute non-negotiable. They are vastly superior to old cotton rags or disposable paper towels, and their effectiveness is rooted in their scientific design. The fibers of a microfiber cloth are incredibly fine and are split into a star-like shape, creating an enormous surface area. When used dry for dusting, these fibers generate a natural static charge that actively attracts and traps dust particles, rather than just pushing them around as a cotton cloth would. This makes dusting faster, more effective, and actually removes allergens from the home instead of just displacing them. When used damp, the same fine fibers can scrub away grime and absorb spills with remarkable efficiency. They are the key to a streak-free finish on windows, mirrors, and stainless steel appliances. A good set of microfiber cloths, designated for different tasks (e.g., blue for glass, green for general surfaces, yellow for the kitchen), replaces an entire cabinet of disposable wipes and paper towels, making them both an economical and an environmentally friendly choice. Cast Iron Frying Pan In the kitchen, the ultimate versatile tool is a well-seasoned cast iron skillet. In an age of specialized, non-stick pans with limited lifespans, the cast iron skillet is a testament to durability and multi-functionality. It is a single piece of equipment that can sear a steak on the stovetop, be transferred directly into the oven to finish cooking, bake a perfect cornbread or a rustic fruit crumble, and even be used over a campfire. Its ability to get screaming hot and retain that heat evenly is unparalleled. With proper care, which involves simple scraping, rinsing with hot water, and a light application of oil, it develops a natural, non-stick surface called seasoning that only improves with every use. A single cast iron skillet can replace a collection of frying pans, sauté pans, and even some baking dishes. It is an heirloom piece, a tool that performs flawlessly for generations, representing the very essence of buying once and buying well. Building on the principle of durable, multi-purpose cookware, a high-quality Dutch oven, typically made of enameled cast iron, is another indispensable workhorse. While a cast iron skillet excels at high-heat searing and frying, the Dutch oven is the master of slow, moist cooking. It is the perfect vessel for making soups, stews, and braising tough cuts of meat until they are meltingly tender. Its heavy lid seals in moisture and heat, allowing for even, consistent cooking. But its versatility extends far beyond stews. A Dutch oven is one of the best tools for baking artisanal, crusty bread at home, trapping the steam to create a perfect rise and a professional-quality crust. It can be used for deep-frying, for boiling pasta, or for serving a large dish directly at the table, where its excellent heat retention will keep the food warm. It is a single pot that serves as a stockpot, a roaster, a bread cloche, and a beautiful serving dish, embodying the principle of investing in quality pieces that perform multiple functions flawlessly. Sturdy Basket At the end, the simple, sturdy basket is a surprisingly versatile tool for managing the daily ebb and flow of household life. A
5 Versatile Household Items That Save Time and Money Read More »