Island Cleaning Supplies: The Ultimate Guide for a Sparkling Space
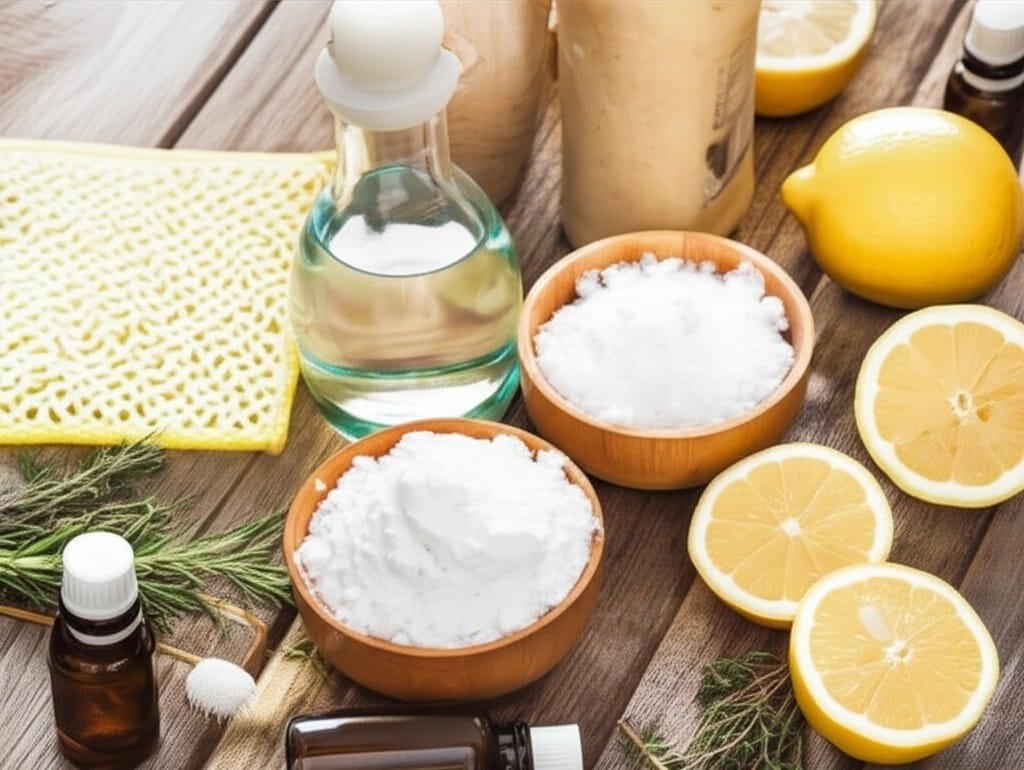
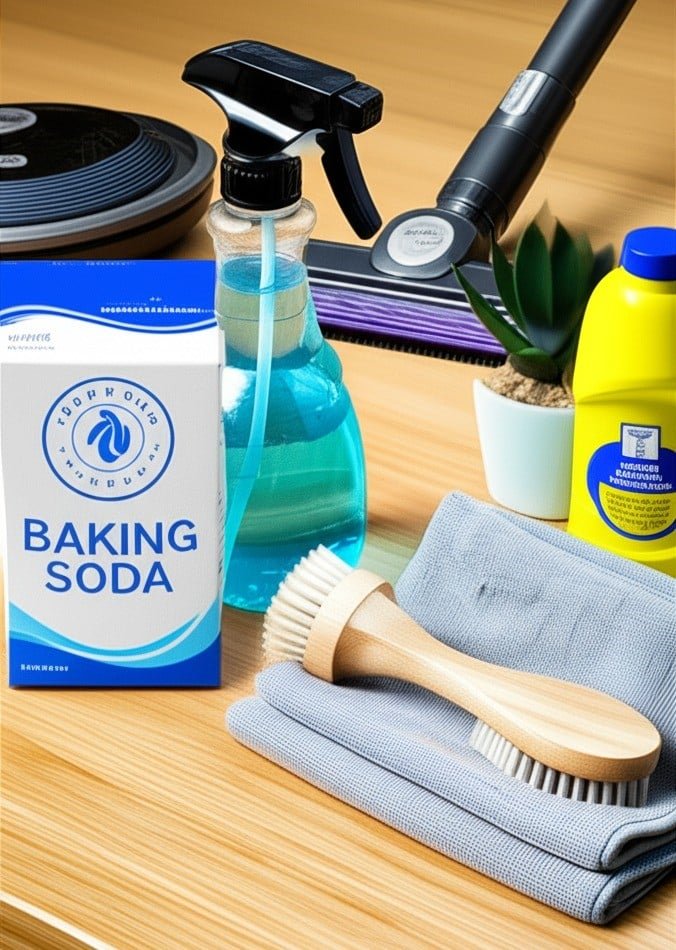
A cleaning cart should function as a self-sufficient ecosystem for island cleaning. This is the fundamental principle of island cleaning. The goal is to create a compact, portable kit that can tackle any common mess without requiring constant trips back to a supply closet overflowing with specialized, single-use products. This island cleaning approach isn’t about deprivation; it’s about efficiency. It prioritizes versatile tools and a deep understanding of how they work, saving space, time, and money. A well-executed island cleaning strategy means you’re always prepared, with a lean yet powerful arsenal ready for immediate deployment. This philosophy transforms cleaning from a scattered, reactive task into a streamlined, proactive process. 1.Indispensable The absolute foundation of any island cleaning kit is not a chemical, but a textile: the microfiber cloth. To underestimate the power of high-quality microfiber is to misunderstand the fundamentals of effective cleaning. A robust stack of these cloths is the most versatile component in your entire setup. Their composition of millions of fine, split fibers creates an immense surface area that grabs and traps dust, grime, and bacteria with an almost magnetic force. Unlike cotton rags that merely push dirt around, microfiber lifts and removes it from the surface. These cloths are also incredibly absorbent, capable of holding up to seven times their weight in liquid, which makes them superior for drying surfaces without leaving behind streaks or lint. A proper island cleaning inventory should include several types. General-purpose cloths are the daily workhorses. Glass and polishing cloths possess a tighter, smoother weave for a flawless finish on mirrors, windows, and chrome fixtures. Waffle-weave cloths are excellent for soaking up larger spills or drying dishes. Owning a dozen or more, color-coded for different rooms (e.g., blue for glass, green for kitchen, red for bathroom), prevents cross-contamination and is a cornerstone of a smart island cleaning system. 2.Spray Bottle With textiles in place, the next necessity is a proper vessel. A professional-grade, chemical-resistant spray bottle is a non-negotiable tool. The cheap, flimsy bottles from the dollar store will fail you; their triggers will stick and their nozzles will clog. Investing in one or two high-quality bottles with adjustable nozzles gives you complete control over your cleaning solutions. You can switch from a fine, wide mist for damp-dusting a delicate surface to a concentrated stream for targeting stubborn grout lines. This level of control is essential for efficient island cleaning. Alongside the bottle, a set of reliable brushes provides the necessary mechanical force. A simple, palm-held dish brush with durable nylon bristles is the starting point, perfect for scrubbing sinks and countertops. For more demanding jobs, a dedicated grout brush with a narrow profile and stiff bristles is indispensable for attacking tile lines, tracks, and tight corners. 3.White Vinegar Now we address the liquids, the true multi-taskers of the island cleaning philosophy. The first and most vital is simple white distilled vinegar. Its power is rooted in its acidity. The acetic acid in vinegar is brilliant for dissolving the mineral deposits found in hard water stains on faucets, shower heads, and inside coffee makers. Diluted with water in a spray bottle, it becomes an exceptional glass cleaner, cutting through grime and evaporating without leaving streaks. It’s also a natural and effective deodorizer, neutralizing odors rather than just masking them with fragrance. A small bowl of vinegar left in a smoky or food-scented room will absorb the unwanted smells. Its mild acidity also lends it disinfecting properties, making it a safe choice for many kitchen surfaces. The one critical exception is its use on natural stone like marble, granite, or travertine, as the acid will etch and permanently dull the finish. Understanding this limitation is part of mastering the island cleaning approach. 4.Dish Soap The second essential liquid is a quality dish soap, specifically one known for its potent degreasing formula. Dish soap is a surfactant, meaning it breaks down the surface tension of water, allowing it to mix with and lift away oils and grease. This property is useful far beyond the sink. A few drops mixed with warm water in a spray bottle creates a universal, all-purpose cleaner that is safe and effective on nearly any surface, including sealed wood floors, painted walls, countertops, and cabinets. It can be used to pretreat greasy stains on laundry or upholstery. For heavily caked-on grease on a stovetop, applying a thin layer of dish soap and letting it sit for ten to fifteen minutes will soften the grime, making it easy to wipe away. This gentle yet powerful action makes dish soap a non-negotiable component for true island cleaning. 5.Isopropyl Alcohol The third liquid that completes the primary arsenal is isopropyl alcohol, or rubbing alcohol, at a 70% concentration. Alcohol is both a powerful solvent and a fast-acting disinfectant. Its defining characteristic is its rapid evaporation rate. This makes it the perfect solution for cleaning stainless steel appliances, which are notoriously prone to streaking. A spray of 50/50 alcohol and water, wiped with a clean microfiber cloth, will lift fingerprints and grime and evaporate almost instantly, leaving a flawless, polished shine. It is also the ideal cleaner for electronics like keyboards, remote controls, and phones, as it disinfects effectively without the risk of moisture damage. This completes the liquid trifecta of any serious island cleaning caddy. 6.Baking Soda With liquids established, we turn to powders, which provide the abrasive force that chemicals alone cannot. The gentlest and most versatile of these is sodium bicarbonate, better known as baking soda. As a mild alkali and a fine, soft abrasive, it is the perfect scrubbing agent for surfaces you do not want to scratch, such as porcelain sinks, fiberglass tubs, and enamel cookware. Sprinkled directly onto a damp sponge or surface, it provides just enough grit to lift away stains and buildup. It can be mixed with a small amount of water to form a powerful scrubbing paste for tackling burnt-on food on stovetops or inside ovens. Like vinegar, it is also a fantastic deodorizer. An open box in the refrigerator absorbs ambient odors, while sprinkling it on
Island Cleaning Supplies: The Ultimate Guide for a Sparkling Space Read More »