Pet-Safe Floor Cleaners: 5 Best DIY Recipes and Tips
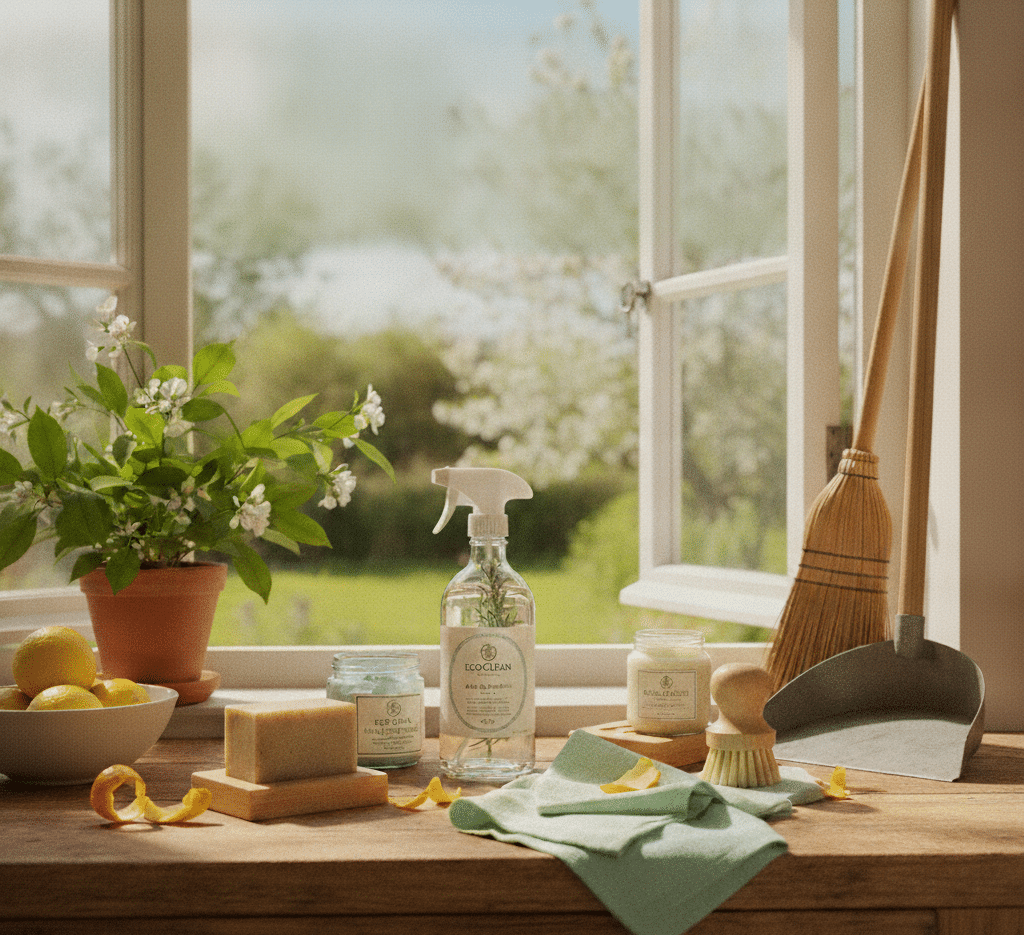
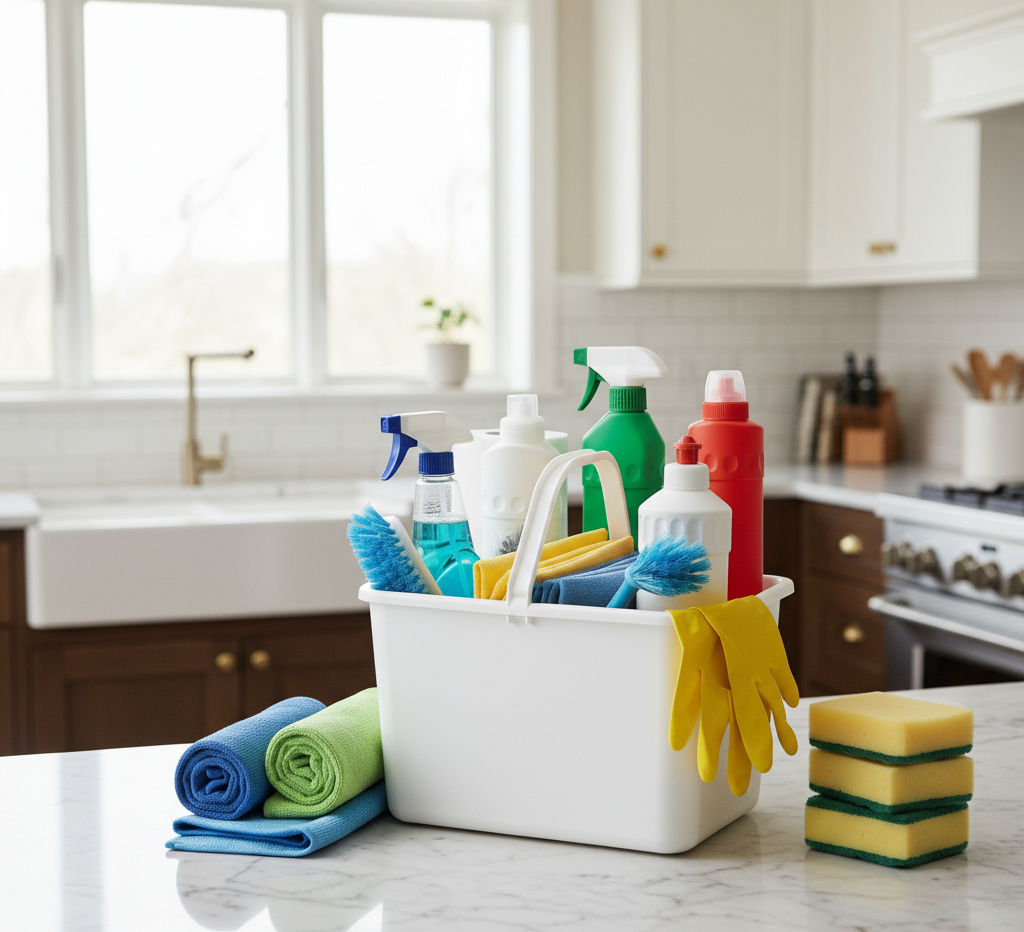
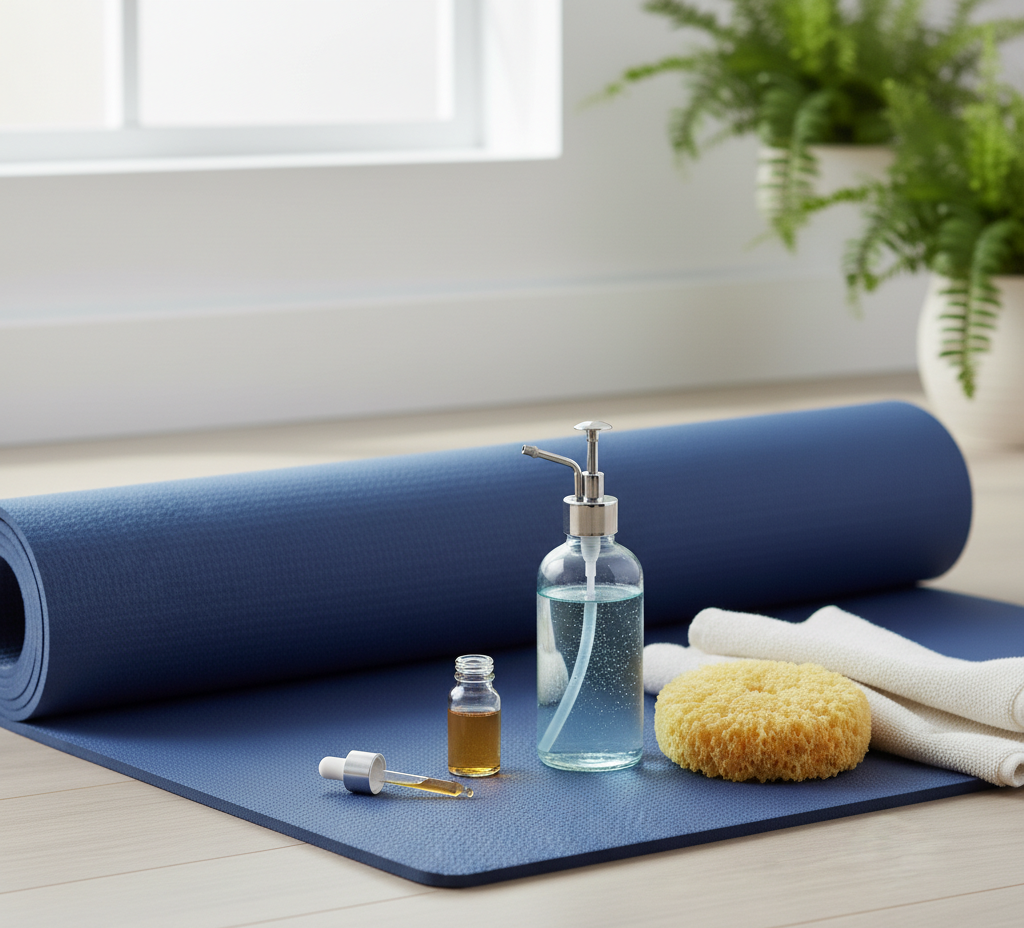
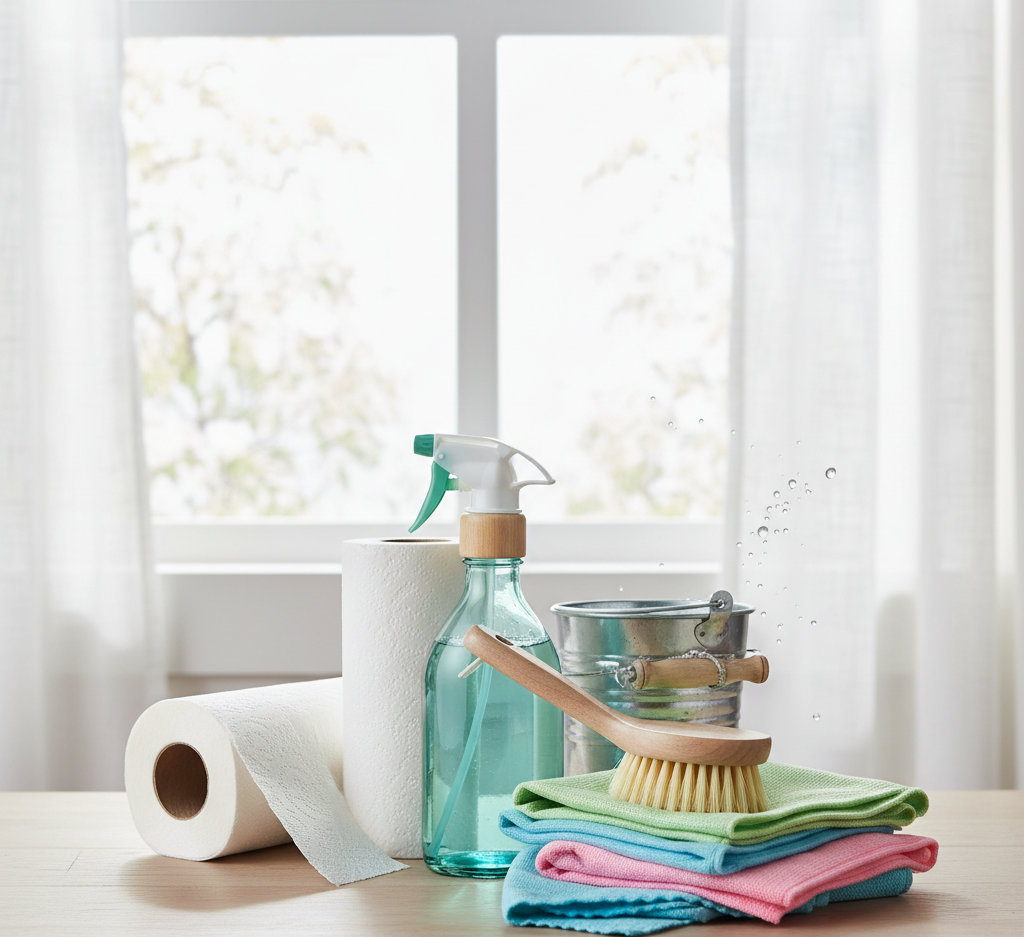
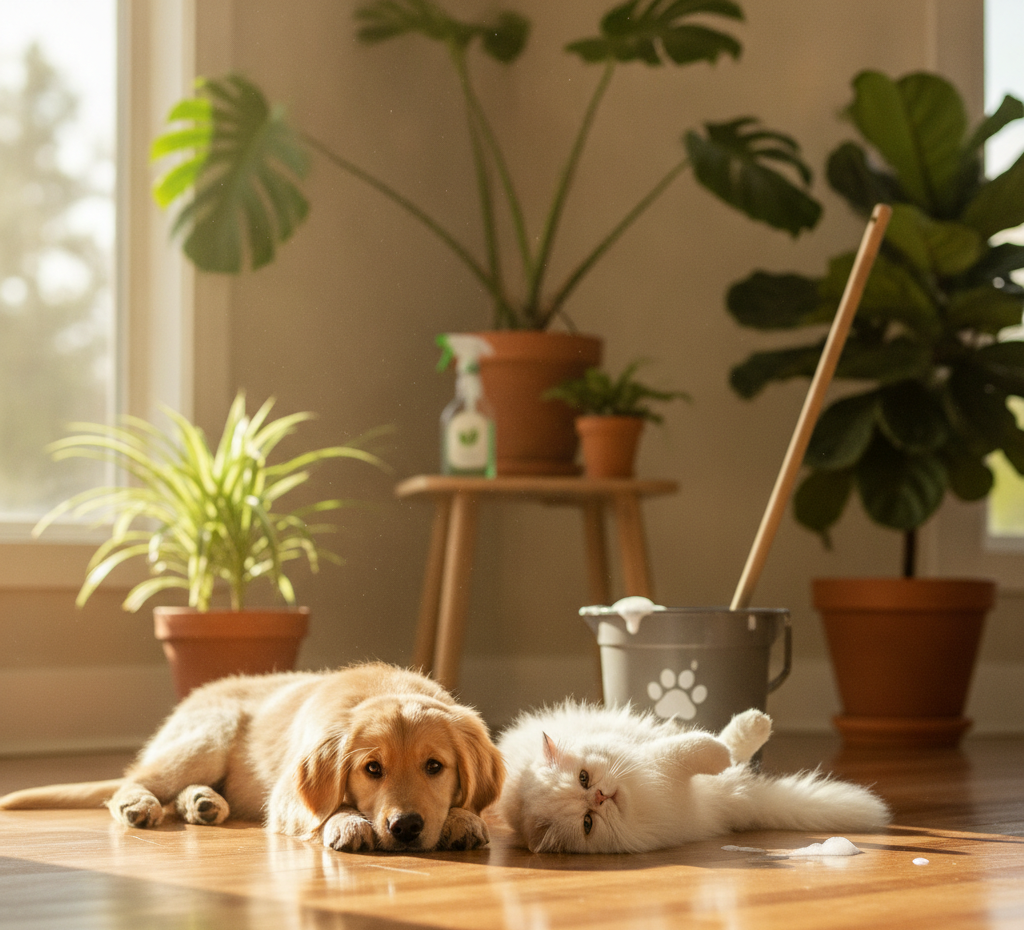
The Ultimate Guide to Pet-Safe Floor Cleaners in Canada Finding reliable pet-safe floor cleaners is essential if you share your home with a furry friend. You already know the daily struggle: between muddy paw prints in the spring, shedding fur in the summer, and the dreaded white stains from winter street salt, keeping your floors clean in Canada is a year-round job. But in our rush to get our hardwood and tiles sparkling again, we often overlook a critical detail: the products we use. Finding reliable pet-safe floor cleaners isn’t just about eco-friendly living; it is a vital step in protecting the health and well-being of your cats and dogs. Traditional cleaning products are packed with harsh chemicals that can irritate your pet’s skin, eyes, and respiratory system. Because our pets live closer to the ground than we do, they bear the brunt of these toxic residues. In this comprehensive guide, we will explore why you need to ditch the harsh chemicals, what ingredients to look for, how to make your own DIY pet-safe floor cleaners at home, and how to maintain a pristine, pet-friendly home or commercial space—even during the messy Canadian winters. Switch to Pet-Safe Floor Cleaners When you mop your floors with conventional commercial cleaners, you might think you are doing your home a favor by eliminating bacteria. However, you are often leaving behind an invisible layer of chemical residue. For humans walking around in socks or slippers, this isn’t a huge issue. For pets, it’s a completely different story. “Paw-to-Mouth” Unlike humans, dogs and cats don’t wear shoes indoors. They walk directly on the floors, lay their bare bellies on the tiles to cool down, and most importantly, they groom themselves. When a cat or dog licks their paws after walking across a freshly mopped floor, they are directly ingesting whatever chemical residue was left behind. Over time, the accumulation of these toxins can lead to severe health issues, including gastrointestinal upset, skin rashes, lethargy, and in severe cases, liver or kidney damage. Traditional Floor Cleaners If you look at the back of a standard floor cleaner bottle, you will likely see ingredients that are highly toxic to animals. Here are a few you must avoid: Ammonia: Found in many heavy-duty cleaners, ammonia is highly irritating to a pet’s respiratory tract. It can cause coughing, sneezing, and severe eye irritation. Bleach (Chlorine): While great for disinfecting, bleach leaves a toxic residue. If ingested, it can cause vomiting and severe throat burns. Phthalates and Synthetic Fragrances: That “pine” or “spring breeze” scent is usually chemically engineered. These volatile organic compounds (VOCs) linger in the air near the floor, right where your pet breathes. Phenols: Often found in cloudy disinfectants, phenols are particularly toxic to cats, as their livers lack the enzyme needed to break these chemicals down. By switching to pet-safe floor cleaners, you eliminate these risks entirely, creating a safe sanctuary for your pets to play, sleep, and roll around. DIY Pet-Safe Floor Cleaners You don’t need to spend a fortune on specialty boutique products to keep your home clean and safe. Some of the most effective cleaning agents are probably sitting in your kitchen pantry right now. When mixed correctly, these natural ingredients can tackle grease, dirt, and mud, all while being completely safe for your pets. Here are the superstars of natural, pet-safe cleaning: White Vinegar: The ultimate natural cleaner. Its acidity cuts through grease, lifts dirt, and naturally deodorizes. The strong smell dissipates entirely once it dries. Baking Soda: A mild abrasive that is perfect for scrubbing tough, dried-on mud spots without scratching your expensive hardwood or tile floors. Castile Soap: A vegetable-based soap that is non-toxic and incredibly effective at lifting dirt. It’s gentle on surfaces but tough on grime. Essential Oils (Use with Extreme Caution): While humans love lavender or lemon, many essential oils (like tea tree, eucalyptus, and citrus) are highly toxic to pets, especially cats. If you have cats, it is best to skip essential oils entirely and rely on the natural, clean scent of a well-washed floor. Recipes by Floor Type Not all floors are created equal. The heavy-duty cleaner you use on your bathroom tiles could severely damage the finish on your living room hardwood floors. Here is exactly how to make and use DIY pet-safe floor cleaners based on the specific surfaces in your home. For Hardwood Floors Hardwood floors are incredibly common in Canadian homes, but they are notorious for showing paw prints and water spots. The rule of thumb for hardwood is: less water is always better. The Recipe: 1 Gallon of very warm water 1/2 Cup of white vinegar 2-3 Drops of liquid castile soap (unscented) How to use it: Mix the ingredients in a large bucket. Dip your mop into the solution, but wring it out until it is only slightly damp. You never want to leave standing water on hardwood, as it can cause the wood to warp. Mop in the direction of the wood grain to avoid streaks. The vinegar cuts through the pet dander, while the castile soap gently lifts the dirt. For Tile, Linoleum, and Vinyl Mudrooms and entryways take a beating, especially during the Canadian spring thaw. For these durable surfaces, you can use a slightly stronger solution to cut through the mess. The Recipe: 1 Gallon of hot water 1 Cup of white vinegar 1 Tablespoon of liquid castile soap How to use it: For stubborn dried mud or sticky messes, you can apply this solution more liberally. If you have deep grout lines in your tile that are looking dingy, sprinkle a little plain baking soda directly onto the grout, spray it lightly with your vinegar solution (it will fizz!), and scrub gently with an old toothbrush before mopping the whole area. Store-Bought Pet-Safe Floor Cleaners We get it—not everyone has the time or desire to mix their own cleaning potions. If you prefer to buy your cleaning supplies off the shelf at your local Canadian grocery or hardware store, you need to know how to
Pet-Safe Floor Cleaners: 5 Best DIY Recipes and Tips Read More »