Your Complete Guide to Clean Your Bathroom
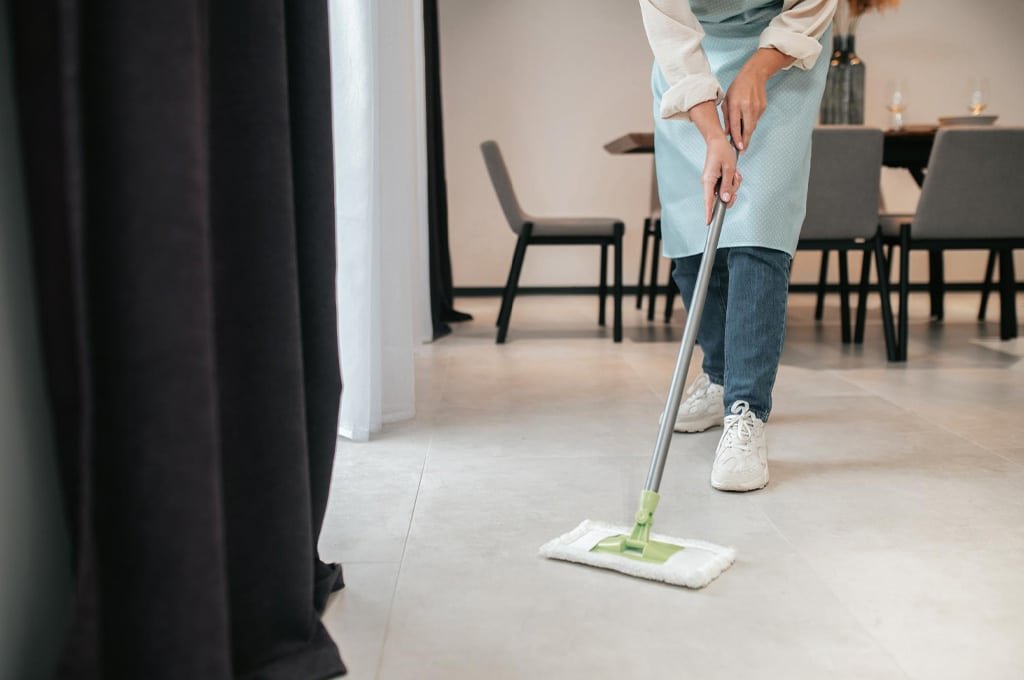
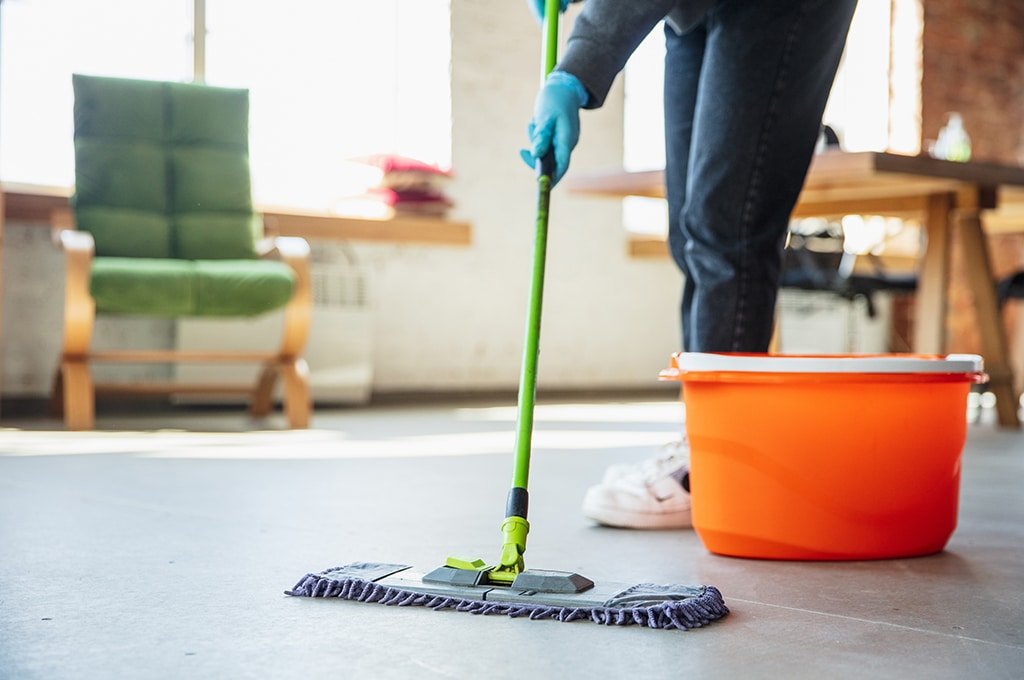
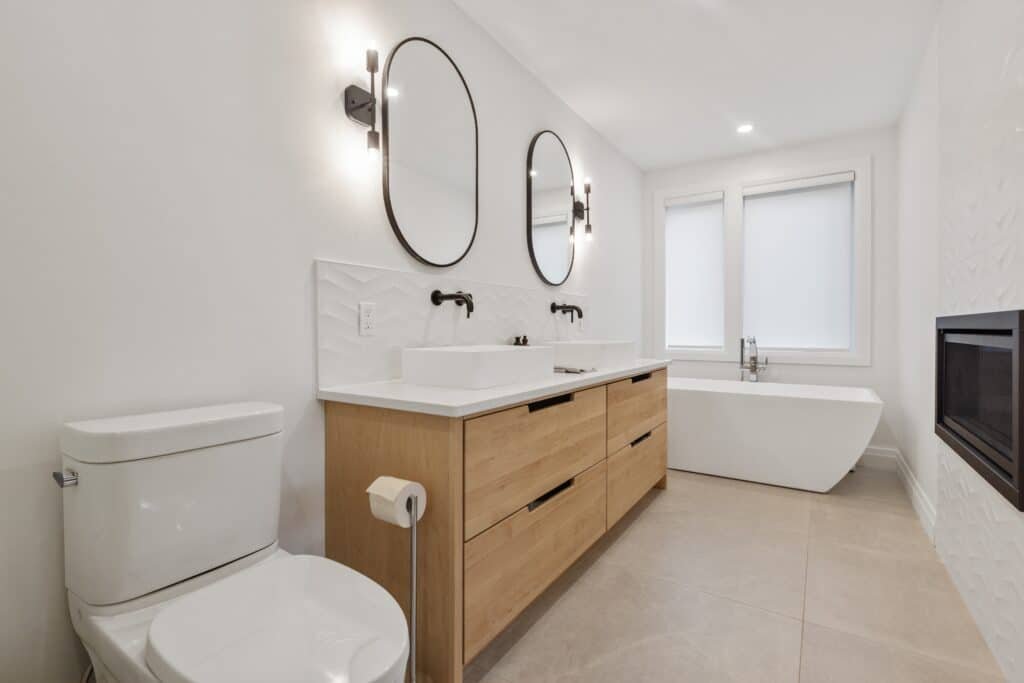
Your Complete Guide to a Bathroom That Sparkles Few rooms work harder than the bathroom, and few feel better when they are truly clean. This guide walks through one efficient top-to-bottom routine: start high, work down, and finish on the floor. The order matters, because dust you disturb overhead would otherwise land on surfaces you already wiped. Start at the Top: Ceilings, Fixtures, and Walls Working from the top stops falling dust from landing on areas you just finished. Corners and light fixtures are classic cobweb spots, so they set the tone for the whole job. Ceilings Reach high ceilings with an extendable duster or a clean, dry mop. Glide it gently across the surface, giving corners and edges extra attention where cobwebs gather. Work in sections so nothing is missed, and dampen the duster slightly to lift sticky patches. Light Fixtures Switch lights off and let fixtures cool first. From a stable step ladder, remove detachable parts, then wipe with a microfiber cloth and a gentle cleanser suited to the material. A soft-bristled brush reaches intricate shapes, and shades need attention inside and out. Walls Mix warm water with a gentle detergent and wipe the walls from top to bottom, corners and edges included. Light switches are high-contact points, so give them a careful pass. Wring the sponge well for textured wallpaper or delicate paint, which water damages easily, and rinse it often so dirt does not spread. A dry towel after each section prevents streaks, and opening a window clears the dust you disturbed and freshens the room. Mirrors and Glass: Small Effort, Big Impact Clean mirrors bounce light around the room and can make even a small bathroom feel more spacious. Smudged glass does the opposite, and it shows every fingerprint and water mark under bright lighting. For mirrors, reach for a glass cleaner or an equal-parts white vinegar and water mix plus a lint-free microfiber cloth. Wipe in circles to loosen dirt, then finish with vertical and horizontal strokes to avoid streaks. On shower doors and larger glass, a squeegee removes cleaner and water in smooth, overlapping passes from top to bottom. Hard water stains yield to vinegar or lemon juice left on for several minutes, while a soft-bristled brush handles corners and edges. Sinks, Countertops, and High-Touch Areas Bathroom sinks and counters pick up germs with every touch, and the faucet is a classic transfer point: hands that touched the toilet can leave microbes for the next person. Add toothpaste splatter, soap scum, makeup, and shaving residue, and these surfaces need regular attention before anything hardens into stains. Choose a bathroom-specific cleaner and a non-abrasive sponge so porcelain and ceramic stay scratch free, with an old toothbrush for the tight space around the faucet and drain. Mild detergent or an all-purpose cleaner is safe for most countertops, including laminate, tile, and even marble or granite, as long as it is not too acidic. A microfiber cloth removes residue without lint, then a disinfectant spray or wipe finishes the job. The CDC’s guide to cleaning and disinfecting your home explains why cleaning comes before disinfecting. Toilet, Then Tub and Shower For the toilet, apply a cleaner that fights germs and stains, or mix an eco-friendly version from baking soda and vinegar. Scrub the bowl thoroughly with a brush, including under the rim, then wipe the seat, lid, and base with a disinfectant. Spray the tub and shower with a tub and tile cleaner and give the foam several minutes to soften soap scum. Scrub the walls and basin, spend extra time on grout and crevices, rinse with the showerhead or a bucket, and dry with a clean towel to stop water spots. Finish With the Floor Floors see constant traffic plus hair, skin flakes, and dust that a moist bathroom turns into a perfect home for microbes. Sweep or vacuum first so dirt does not become muddy when you mop. Fill a bucket with warm water and a pH-neutral cleaner or mild detergent, then mop from the farthest corner back toward the door so you never tread on freshly cleaned tile. Rinse the mop and change the water as soon as it looks dirty. For grout, work a paste of baking soda and water into the lines with a small brush, give it a few minutes, then scrub and rinse. Once the floor is dry, buff glossy tiles with a soft cloth. Avoid over-wetting, since excess water can seep into seams and under baseboards, and post a wet floor sign in shared spaces. Order of Work at a Glance Step Zone Key tool 1 Ceiling, light fixtures, walls Extendable duster, microfiber cloth, gentle detergent 2 Mirrors and glass Vinegar and water spray, microfiber, squeegee 3 Sink and countertops Bathroom cleaner, non-abrasive sponge, old toothbrush 4 Toilet Toilet cleaner or baking soda and vinegar, brush 5 Tub and shower Tub and tile cleaner, scrub brush, towel 6 Floor Mop, pH-neutral cleaner, grout brush Daily Habits and Eco-Friendly Choices Wipe high-touch surfaces and dry the tub after use to slow soap scum and mildew. Keep the room ventilated so dampness does not linger; the CDC’s page on mold and health explains why moisture control matters. Reach for natural cleaners when you can, and never mix products such as bleach and vinegar or ammonia. Health Canada’s household chemical safety guidance covers safe use and storage. Clean regularly, and consider a scheduled service if the routine keeps slipping to the bottom of your list. Bathroom Cleaning Questions What is the correct order to clean a bathroom? Work top to bottom and finish with the floor: ceilings and fixtures, then mirrors and glass, sinks and counters, toilet, tub and shower, and finally the floor. Gravity carries dust downward, so this order avoids re-cleaning. How do I remove hard water stains from shower glass? Apply white vinegar or lemon juice to the spots, leave it on for several minutes, then squeegee from top to bottom. A soft-bristled brush helps in corners