Wall Cleaning

4 Easy Home Deep Cleaning Tips You Need to Try

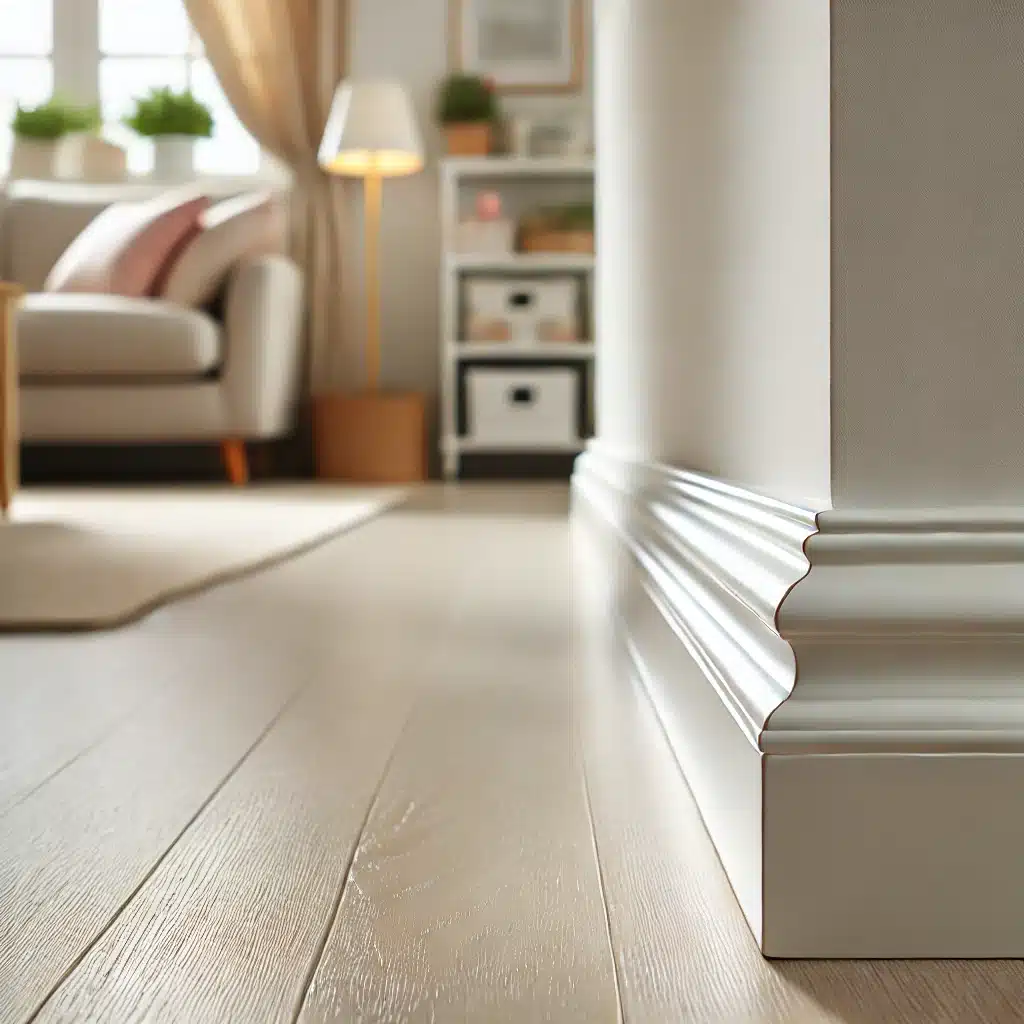
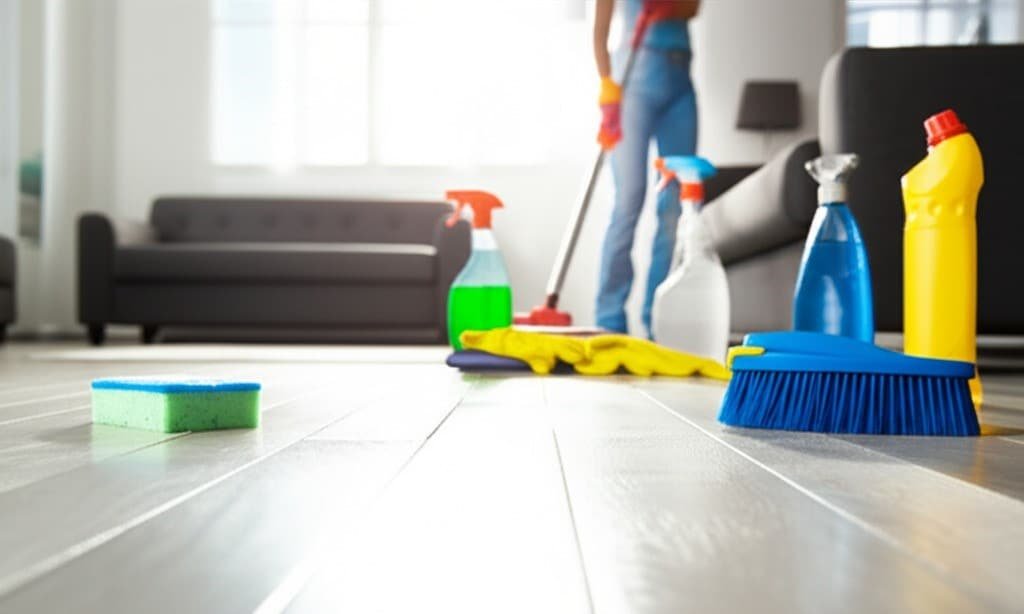
Home deep cleaning represents a far more comprehensive and intensive approach to household cleanliness than routine or daily tidying. While regular cleaning maintains a surface level of order, deep cleaning delves into the accumulated dirt, stubborn grime, pervasive bacteria, and hidden allergens that build up over time in every part of a home. It is a methodical process designed to sanitize and refresh spaces from top to bottom, reaching beyond the immediately visible to address areas often overlooked. This type of cleaning aims not just for visual appeal but to restore a home to its optimal hygienic condition. It involves meticulous attention to detail, often requiring significantly more time, focused effort, and the use of specialized cleaning agents and equipment compared to standard upkeep. The goal is to systematically eliminate layers of dust, grease, soap scum, limescale, and other residues that can compromise both the appearance and the healthfulness of a living environment. 1.Home Deep Cleaning – Kitchen   A home environment stands to gain substantially from periodic, thorough home deep cleaning. Over months and seasons, dust particles, pet dander, pollen, mold spores, and various pathogens can settle and multiply in hard-to-reach places like behind furniture, within carpet fibers, on high ledges, and in air vents. These hidden accumulations can degrade indoor air quality, potentially triggering or exacerbating allergies, asthma, and other respiratory conditions. Home deep cleaning directly targets and removes these reservoirs of contaminants, contributing to a healthier atmosphere for all occupants. Beyond health implications, this intensive cleaning also plays a crucial role in home maintenance. By removing corrosive substances like grease build-up in kitchens or hard water stains in bathrooms, home deep cleaning helps preserve the integrity and extend the lifespan of fixtures, surfaces, and appliances. A deeply cleaned home offers an enhanced sense of comfort and well-being, transforming the living space into a more pleasant, sanitary, and genuinely revitalized sanctuary. This can also be a factor in preventing pest infestations by removing food sources and disturbing potential hiding spots.   Numerous situations and life events make a professional home deep cleaning service particularly beneficial. Seasonal transitions, notably spring and autumn, are common triggers as individuals look to refresh their homes after a long winter or prepare for increased indoor living as temperatures drop. Before hosting significant events, such as holiday gatherings, family celebrations, or important social functions, a deep clean ensures the home is impeccably presentable and welcoming. Conversely, after such events, a deep clean helps restore order and cleanliness. Moving is another prime occasion; cleaning an old residence thoroughly before vacating or ensuring a new home is sanitized and fresh before moving in is standard practice. Properties being prepared for sale or rental greatly benefit from home deep cleaning to enhance their appeal to potential buyers or tenants. Post-renovation or construction work, a specialized deep clean is essential to remove fine dust, debris, and construction residues that settle everywhere. Furthermore, many homeowners integrate home deep cleaning into their annual or semi-annual maintenance schedule as a proactive measure to maintain a consistently high standard of cleanliness and hygiene, even without a specific event prompting it. Observable signs like persistent musty odors, visible dust build-up in corners or on less-disturbed surfaces, or a general feeling that the home isn’t truly clean despite regular efforts also indicate it’s time for a deep clean. Home deep cleaning services are characterized by their meticulousness and comprehensive scope, designed to address areas that routine cleaning simply cannot cover effectively. While the exact checklist can vary between providers and can often be customized, a typical comprehensive service will dedicate focused attention to all rooms. In the kitchen, deep cleaning is particularly intensive due to grease, food particles, and potential bacteria. This usually involves cleaning the interior and exterior of major appliances. Ovens are degreased inside and out, including racks and doors. Microwaves are cleaned internally and externally. Refrigerators are cleaned on the outside, and often the inside if requested and emptied, including shelves and drawers. Dishwasher exteriors are wiped, and sometimes an internal cleaning cycle is run. Range hoods and their filters are thoroughly degreased. Cabinet exteriors are wiped down to remove fingerprints, food splatters, and grease accumulation; interior cabinet cleaning may also be included if they are empty. Sinks, faucets, and fixtures are descaled, cleaned, and polished to remove water spots and build-up. Countertops and backsplashes are cleaned and sanitized, with specific attention paid to grout lines to remove discoloration and grime. Floors, including edges, corners, and under movable appliances, are scrubbed or mopped meticulously. Even small appliances’ exteriors and accessible areas around them receive attention. 2. Mold, Hard Water And Dust? No! Bathrooms, being high-moisture areas prone to mold, mildew, and soap scum, undergo rigorous sanitization. Showers and bathtubs, including walls, doors, and tracks, are scrubbed intensively to eliminate soap scum, hard water deposits, and any signs of mildew. Toilets are disinfected thoroughly, both inside the bowl and all exterior surfaces, including the base and the floor area surrounding it. Sinks, vanities, and countertops are cleaned, sanitized, and polished. Mirrors are cleaned to achieve a streak-free finish. Tiles and grout on both floors and walls are scrubbed to remove build-up and restore brightness. Light fixtures, exhaust fans, and vents are dusted or wiped down to remove accumulated dust and improve air circulation. Faucets, showerheads, and other chrome fixtures are often descaled and polished. Living areas, dining rooms, and bedrooms are also given detailed treatment. All surfaces are thoroughly dusted, encompassing high areas such as ceiling fans (blades and fixtures), light fixtures, picture rails, and curtain rods, as well as often-neglected low areas like baseboards, skirting boards, and electrical outlet covers. Furniture is typically vacuumed, including under cushions, and if feasible, moved to allow cleaning underneath and behind. Upholstery may receive more detailed vacuuming, targeting crevices. Window sills, ledges, tracks, and frames are wiped clean of dust and grime. Cobwebs are carefully removed from ceilings, corners, and light fixtures. Interior windows (glass and frames) and mirrors throughout these rooms are cleaned.

4 Easy Home Deep Cleaning Tips You Need to Try Read More »

Spotless white baseboard and clean floor in a well-lit room.

How to Clean Baseboards: 5 Easy Hacks

Cleaning baseboards might not be at the top of your cleaning list, but keeping them spotless can make a big difference in the overall appearance of your home. Dusty and dirty baseboards can be an eyesore, but don’t worry! With these five easy hacks, you can keep your baseboards looking pristine without spending hours scrubbing. Let’s dive in! 1. Dust Regularly with a Microfiber Cloth Dusting regularly is the first step in keeping them clean. A microfiber cloth is perfect for this job because it traps dust and dirt without scattering it around. Here’s how to do it: Use a dry microfiber cloth to wipe down the baseboards. For stubborn dust, lightly dampen the cloth with water. Remember to dust the tops and edges for a thorough clean. Dusting your baseboards regularly is the first step in keeping them clean. A microfiber cloth is perfect for this job because it traps dust and dirt without scattering it around. Here’s how to do it: Use a dry microfiber cloth to wipe down the baseboards. For stubborn dust, lightly dampen the cloth with water. Remember to dust the tops and edges for a thorough clean. Dusting your baseboards regularly is essential to maintaining their appearance and preventing the buildup of grime. A microfiber cloth works wonders for this task because it effectively traps dust and dirt, preventing it from simply being pushed around. When using a dry microfiber cloth, gently wipe along the surface of your baseboards, making sure to cover all areas, including the tops and edges. This will help you achieve a thorough clean without missing any spots. For those stubborn dust particles that refuse to budge, you can lightly dampen the microfiber cloth with water. This adds just enough moisture to lift the dust without leaving streaks or watermarks on your baseboards. It’s crucial to wring out the cloth well so it’s not too wet; just a little dampness is all you need. Regularly wiping down this way not only keeps them looking fresh but also reduces the amount of time you’ll need to spend on deeper cleaning sessions later on. Don’t forget that the tops and edges of your baseboards are just as important as the front-facing surfaces. Dust tends to accumulate in these areas, often going unnoticed until it becomes quite noticeable. By including these often-overlooked parts in your regular dusting routine, you’ll ensure that every inch is kept in top condition. Regular dusting with a microfiber cloth is a simple yet effective method to maintain the cleanliness and aesthetic appeal of your baseboards, contributing to a cleaner and more inviting home environment.     2. Use a Vacuum Cleaner Attachment A vacuum cleaner with a brush attachment can make cleaning baseboards a breeze. This method is great for quickly removing dust and debris. By using the brush attachment, you can easily reach into corners and crevices where dust tends to accumulate. This is especially useful for those tricky spots that are hard to clean with a cloth alone. First, attach the brush to your vacuum cleaner. The brush attachment is designed to loosen dust and dirt while the vacuum sucks it away, making it an efficient tool for cleaning baseboards. As you run the vacuum along the baseboards, make sure to move slowly to give the attachment enough time to pick up all the dust and debris. Pay special attention to corners and edges, as these areas often collect the most dirt. This method not only cleans but also helps maintain the condition of your baseboards by preventing the buildup of grime. If you have pets, this hack is particularly beneficial. Pet hair can easily get trapped along baseboards, making them look dirty even if the rest of your house is clean. The brush attachment on your vacuum cleaner can effectively remove pet hair, leaving your baseboards spotless. Regular use of the vacuum cleaner attachment ensures that pet hair and dust are kept under control, making your home look well-maintained and tidy. 3. Magic Erasers for Stubborn Stains Magic erasers are fantastic tools for removing scuffs and stains from baseboards. These cleaning marvels work exceptionally well on both painted and wooden baseboards, making them a versatile option for any home. The unique material of magic erasers allows them to lift and remove even the most stubborn marks that other cleaning tools might leave behind. To use a magic eraser effectively, start by wetting it with water and squeezing out any excess moisture. This step is crucial as it activates the cleaning properties of the eraser without making it too wet, which could potentially damage the baseboards. Once the eraser is ready, gently scrub the stained area using circular motions. This technique ensures that you cover all angles of the stain, effectively breaking it down and lifting it away from the surface of the baseboards. After scrubbing, it’s important to wipe away any residue with a clean cloth. This final step ensures that no remnants of the stain or the magic eraser are left behind, leaving your baseboards looking spotless and refreshed. Regular use of magic erasers can keep your baseboards in top condition, effortlessly handling those inevitable scuffs and marks that come with everyday life.     4. DIY Cleaning Solution A DIY cleaning solution can be incredibly effective in tackling the grime and dirt that builds up on baseboards over time. Creating your own cleaning solution is not only cost-effective but also allows you to use natural ingredients that are safe for your home and family. One simple yet powerful recipe involves using common household items like vinegar, water, and dish soap. These ingredients combine to create a solution that cuts through dirt and leaves your baseboards looking fresh and clean. To prepare this cleaning solution, mix one part vinegar with one part water in a spray bottle. Vinegar is a natural disinfectant and helps break down grime, while water dilutes the vinegar’s acidity to prevent any damage to your baseboards. Adding a few

How to Clean Baseboards: 5 Easy Hacks Read More »

Close-up of gray acoustic foam panels for soundproofing in studio.

How to Clean Acoustic Foam in 6 Easy Steps

When it comes to maintaining a pristine recording environment or ensuring your home studio remains top-notch, cleaning acoustic foam is a task you can’t overlook. Acoustic foam plays a vital role in managing sound quality by reducing noise and echoes, but it can also gather dust and other particles that may affect its performance. Fear not, for cleaning your acoustic foam isn’t as daunting as it sounds. Here are six easy steps to help you keep your foam looking and functioning like new. Step 1: Vacuum Gently The first step in cleaning your acoustic foam is to vacuum it gently. Using a vacuum cleaner with a soft brush attachment is crucial because the soft bristles are gentle on the foam’s delicate structure. Begin by running the vacuum slowly over the surface of the acoustic foam. This action helps to pull out any loose dust, hair, and small particles that have accumulated on the surface. It’s important to pay attention to the direction in which you vacuum. The foam has a specific texture and pattern, so moving the vacuum along the alignment of these patterns rather than against them helps prevent any potential snagging or pulling that could damage the foam. This method is not just effective but also ensures that the acoustic foam remains in good condition without compromising its ability to absorb sound. Regular vacuuming, perhaps once a week or bi-weekly depending on the location and usage of the foam, is usually sufficient for light cleaning and routine maintenance. This not only keeps the foam looking fresh but also extends its lifespan by preventing the buildup of dust and other particles that can eventually embed deeper into the foam, making them harder to remove later.   Step 2: Spot Clean Stains When maintaining your acoustic foam, addressing spots and stains promptly is essential to prevent permanent damage. After identifying areas that are particularly dirty or stained, it’s crucial to treat these spots separately to ensure thorough cleaning without soaking the entire piece of foam. Here’s how you can tackle those stubborn stains effectively: Begin by mixing a very mild laundry detergent with water to create a cleaning solution that is gentle yet effective. It’s important to use a mild detergent to avoid any harsh chemicals that could potentially degrade the acoustic properties of the foam. Once your solution is ready, immerse a clean, soft cloth into the mixture and wring it out until it is just damp, not wet. This control of moisture is critical because introducing too much water into the foam can lead to issues like mold growth or breakdown of the foam structure over time. Gently dab the damp cloth on the stained areas of the acoustic foam. The key here is to pat the stains rather than scrub them, as scrubbing can push the dirt deeper into the foam or cause surface damage. Pat the area until the stain begins to lift. This method may need to be repeated a few times with fresh portions of your damp cloth to fully remove the stain. After treating the stained areas, if you notice any soap residue, it’s a good idea to go over the spots with a clean cloth that has been dampened with plain water. This helps in removing any leftover detergent which, if left behind, could attract more dirt over time. Step 3: Use a Foam Cleaning Solution For those times when your acoustic foam needs more than just a light cleaning, opting for a specialized foam cleaning solution is a smart choice. These solutions are specifically designed to handle the unique material of acoustic foam, ensuring that they clean deeply without causing any harm to the structure or acoustic properties of the foam. To use a foam cleaning solution effectively, start by gently spraying a light coat across the surface of the acoustic foam. It’s important to cover all areas but avoid saturating the foam. These cleaning agents are formulated to act on the dirt and oils that can accumulate in the foam from airborne particles and environmental exposure. By letting the solution sit for a few minutes, you give it time to penetrate and break down this buildup, making it easier to wipe away. Once the solution has had time to work, take a clean, dry cloth and gently wipe over the surface of the acoustic foam. This step helps to lift away the dirt and debris that the cleaning solution has loosened. Be sure to use soft, gentle strokes to avoid damaging the foam’s surface. This wiping not only removes the cleaning agent but also any particles that have been broken down and brought to the surface. This deeper cleaning method can be particularly useful in environments where the foam is exposed to more frequent use or in areas with higher levels of dust and air pollution. Regular use of a foam cleaning solution can help maintain the visual appeal and functional integrity of your acoustic foam, ensuring it continues to perform its sound-absorbing duties effectively.     Step 4: Rinse with a Damp Cloth Once you’ve addressed specific stains or applied a cleaning solution to your acoustic foam, the next critical step is to rinse the foam with a damp cloth. This process is essential to ensure that no cleaning solution remains on the foam, as leftover chemicals can attract more dirt or degrade the foam’s quality over time. To do this effectively, select a clean cloth and slightly dampen it with clean water. It’s important to ensure the cloth is not overly wet—squeeze out any excess water so that it’s just damp enough to pick up any remaining soap without saturating the foam. Saturating your acoustic foam can lead to a range of problems, such as extended drying times and potential for mold growth if not properly aired out. Gently wipe the surface of the foam with the damp cloth, going over areas where the cleaning solution was applied. This gentle wiping helps lift and remove any traces

How to Clean Acoustic Foam in 6 Easy Steps Read More »