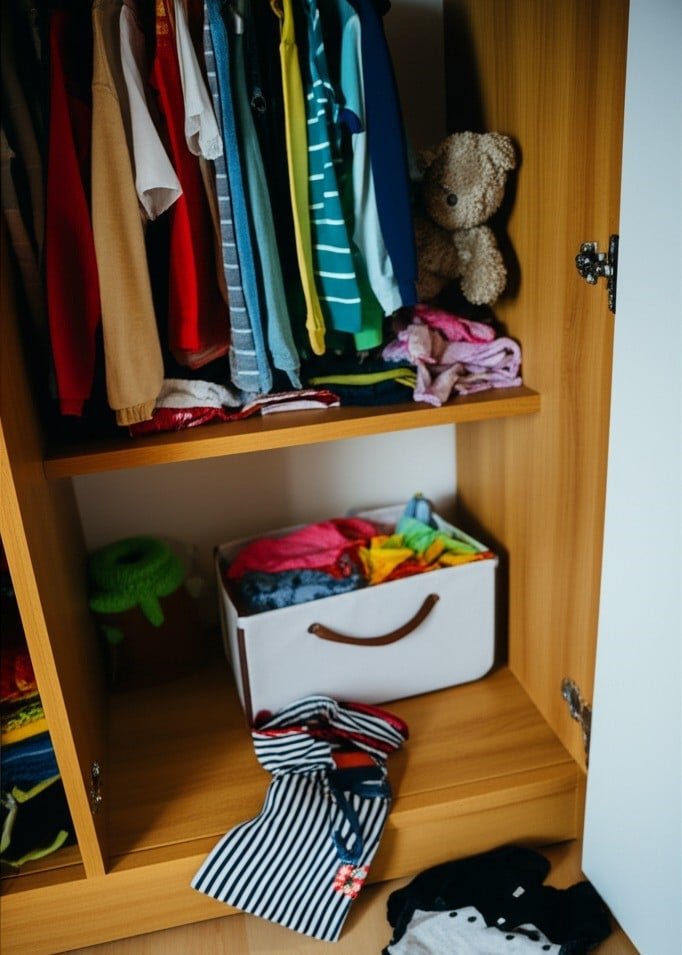
A child’s closet can quickly become a zone of chaos. It starts with a few misplaced shirts and, before you know it, transforms into a jumble of clothes that may or may not fit, single shoes, forgotten toys, and mystery items that defy categorization, all crammed into the child’s closet. Restoring order to a child’s closet is not just about making it look tidy; it’s about creating a functional system that a child can understand and, most importantly, help maintain. The goal is to move from a space that causes daily frustration to one that simplifies routines, from dressing in the morning to cleaning up at night.
1.Empty Everything
The first, and often most overwhelming, step is to pull everything out of the child’s closet. Every single item must be removed from the child’s closet and placed in an open area, like the middle of the bedroom floor. This includes every piece of clothing, every shoe, every belt, every long-forgotten stuffed animal, and every piece of sports equipment tucked into a corner of the child’s closet. The initial sight of this pile will likely be daunting. It will look significantly worse before it gets better. This is a necessary part of the process. It allows you to see the true volume of what you’re dealing with and prevents you from simply rearranging clutter. Before you begin, have four distinct containers ready: large bags or boxes labeled Keep, Donate, Trash, and Outgrown. This preparation prevents you from having to make decisions about where things go mid-sort.
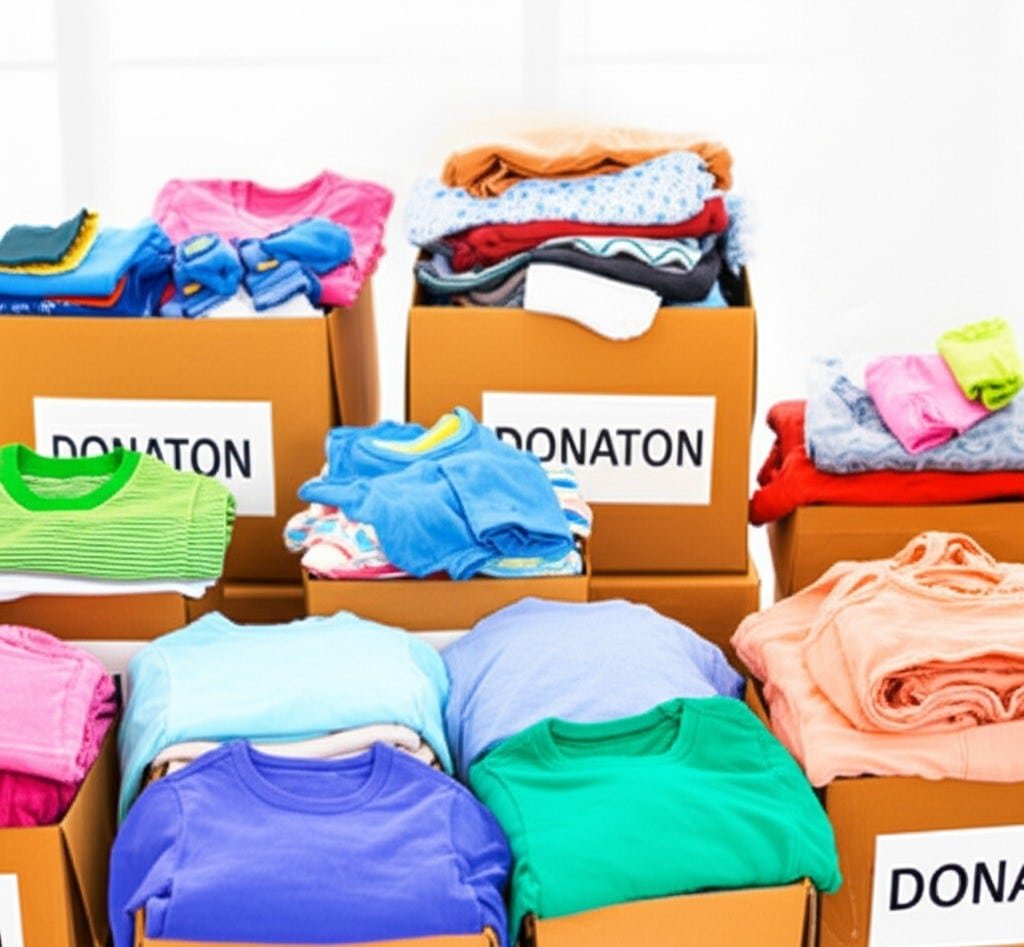
With the closet completely empty, you can begin the sorting process. This is a critical stage that requires ruthless honesty. Pick up each item one by one and make a decision. For clothing, ask a series of questions. Does it currently fit the child? If the answer is no, it does not belong back in the child’s closet. Is it stained, ripped, or damaged beyond reasonable repair? If so, it belongs in the “Trash” bag. Is it in good condition but simply isn’t worn? Perhaps the fabric is itchy, the style is disliked, or it’s for an occasion that never arises. These items, along with clothes in good condition that are too small, can go in the “Donate” box.
2.Boxes
The “Outgrown” box serves a specific purpose for families planning to have more children or who have younger relatives to pass things down to. This is for high-quality items that are too small but are worth saving. Be selective here. Only keep the best of the outgrown items; otherwise, you are simply shifting clutter from one storage area to another. Once this box is full, label it clearly with the sizes and season (e.g., “Boys Clothes, 3T, Summer”) and store it away from the primary closet space, perhaps in the attic, basement, or a storage bin under a bed.
Involving the child in this sorting phase can be beneficial, but it must be managed carefully. For a very young child, their involvement might be minimal. For a child old enough to have opinions, their input is valuable for items in the “Keep” pile. You can ask, “Do you still love wearing this shirt?” This gives them a sense of control and ownership over their belongings. However, be prepared to make the final executive decision on items that are clearly too small or damaged. Avoid asking questions like, “Do you want to get rid of this?” as the answer will almost always be no. Frame it differently: “Let’s put this in the donation box so another little boy who needs a coat can stay warm.” This reframes the act from one of loss to one of generosity.
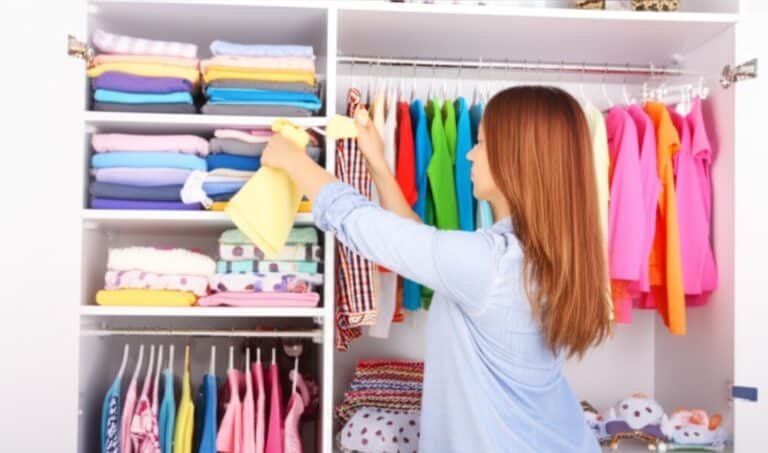
Once the sorting is complete and the piles have been dealt with trash taken out, donations placed in the car to be dropped off turn your attention to the now-empty child’s closet. Do not skip this step. This is your chance to create a truly clean slate. Wipe down every surface within the child’s closet: the shelves, the hanging rod, the walls, and the baseboards. Vacuum the floor of the closet thoroughly, getting into the corners. This is also the perfect time to make any small improvements. A fresh coat of light-colored paint can make a small, dark child’s closet feel brighter and larger. Consider adding a battery-operated, motion-sensor puck light if the closet is dim. This small touch makes finding things easier and the space more inviting for a child.
Now, with a clean and empty space, you can design the system for the child’s closet. The single most important principle for a child’s closet is accessibility. If a child cannot reach their clothes, they cannot dress themselves independently or put their clothes away. The standard child’s closet configuration with a high shelf and a high hanging rod is designed for adults, not for children.
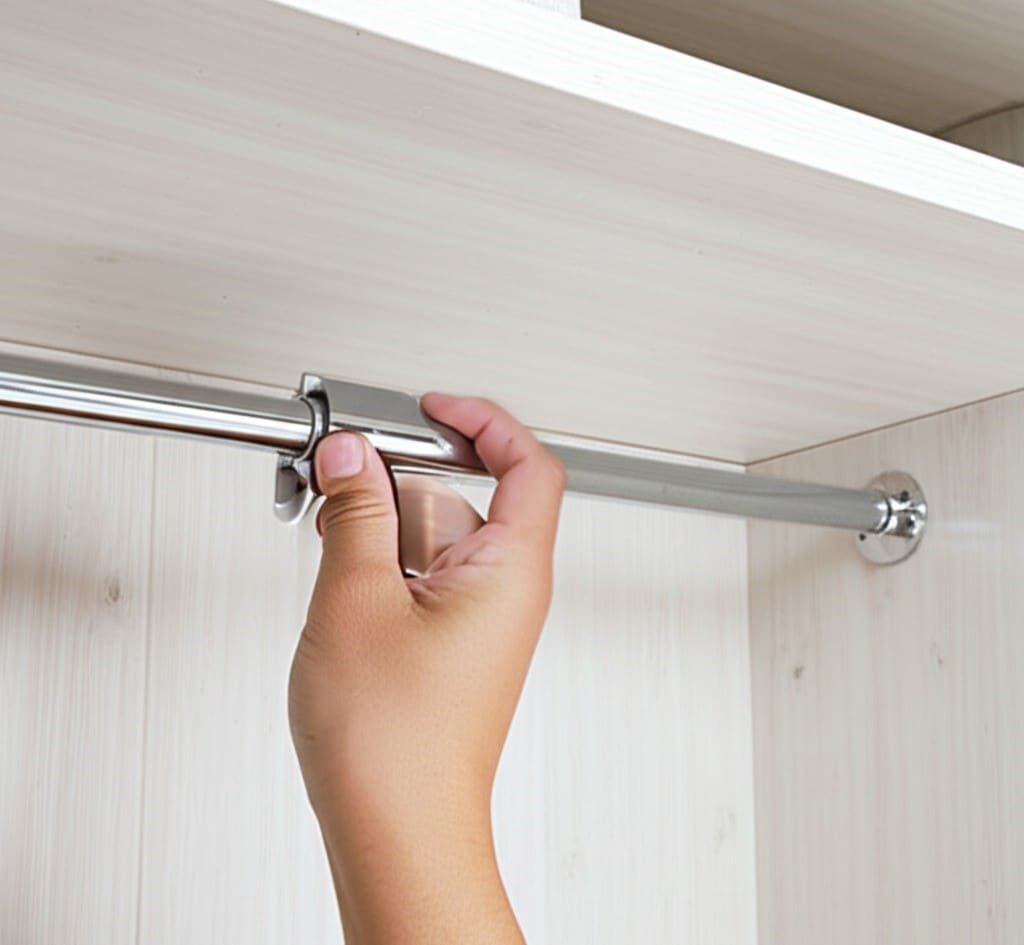
3.Adjust The Wardrobe Rod
The most impactful change you can make in a child’s closet is to adjust the clothing rod. In many a child’s closet, this is a simple fix. If you can, lower the main rod to a height where your child can easily see and reach their hanging clothes. If you cannot move the existing rod, a simple and inexpensive solution is a closet doubler. This is an adjustable second rod that hangs from the top rod, instantly creating a lower, kid-height hanging space. This one change can be revolutionary for a child’s independence. Use this lower rod for their everyday clothes: shirts, dresses, and jackets. The higher, original rod can then be used for out-of-season items, special occasion outfits, or costumes that are used less frequently.
Shelving and bins are the next core components for an organized child’s closet. Children are not naturally inclined to create neat, folded stacks of clothes. Bins and baskets bypass this issue by providing a designated “home” for categories of items. Use open-top bins or baskets on the child’s closet shelves or floor for bulky items. Assign one bin for pajamas, one for sweaters, and another for shorts or athletic pants. The key is to make it incredibly simple. The child doesn’t need to fold perfectly; they just need to get the item into the correct bin. For smaller items like socks and underwear, use smaller bins or drawer dividers within a larger bin or a set of drawers if the closet has them. Clear plastic shoebox-sized bins are excellent for this, as the child can see the contents.
Labeling is non-negotiable for this system to work long-term. For pre-readers, picture labels are essential. Take a photo of the type of item that belongs in a bin (a picture of socks, a picture of t-shirts), print it out, and tape it to the front of the bin. This visual cue is intuitive and empowers them to find what they need and, crucially, put it where it belongs. For older children who can read, simple printed labels from a label maker work perfectly. This act of labeling solidifies the purpose of each container and removes any guesswork.
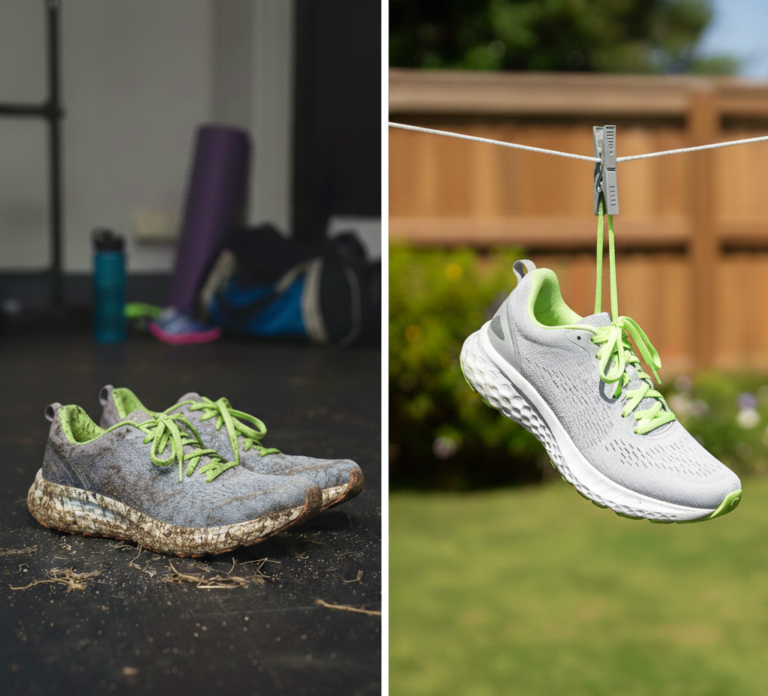
Shoes are a common source of chaos in a child’s closet. A pile of shoes on the floor of the child’s closet makes it impossible to find a matching pair. Address this with a dedicated shoe storage solution. A small, two-tiered shoe rack on the floor can work well for everyday shoes. Another excellent option is an over-the-door shoe organizer. The clear pockets are perfect for holding individual pairs of shoes and keep them off the floor entirely, freeing up valuable space. This can also be a great place to store accessories like hats, mittens, and scarves.
4.Organizing
Make use of all available space, particularly vertical space. Install a row of simple hooks on an empty wall inside the child’s closet. These hooks are incredibly versatile. They can be used to hang up a bathrobe, a backpack, a favorite costume, or tomorrow’s outfit. Preparing the next day’s outfit the night before and hanging it on a designated hook is a simple habit that can streamline morning routines and eliminate battles over what to wear.
Once your system of rods, bins, labels, and hooks is in place, it’s time to put the “Keep” pile back into the child’s closet. Be strategic. Group like items together. All the t-shirts should hang together, followed by all the long-sleeved shirts, then sweaters or jackets. Within these categories, you can even arrange them by color, creating a rainbow effect that is visually appealing and makes it even easier to find a specific item. Place the most frequently used items in the most accessible locations. Everyday shirts go on the low rod, pajamas go in a low bin, and special occasion shoes go on a higher shelf.
The final phase is maintenance. An organized child’s closet will not stay that way on its own. It requires building small, consistent habits. Introduce the “one in, one out” rule early on. When a new shirt is purchased, an old one must be donated or discarded. This prevents the slow accumulation of clutter. Establish a simple daily or weekly tidy-up routine. This might be a two-minute “closet check” before bed, where the child ensures their shoes are on the rack and any clothes on the floor are put in the hamper or back in their designated bin.
A seasonal swap is also a key maintenance task. Twice a year, as the weather changes, go through the child’s closet to pack away the out-of-season clothes and bring the new season’s clothes to the forefront. This is also a natural time to do a mini-purge, identifying any items that were not worn at all during the past season or that the child has outgrown since the last major clean-out. Store the off-season clothes in clearly labeled bins, placing them on the top shelf of the closet or in another storage area. This keeps the main closet space focused only on what is currently relevant and wearable, reducing visual clutter and making daily choices simpler. By creating a logical, accessible, and clearly defined system, you’re not just organizing a child’s closet; you’re teaching your child valuable life skills about organization, responsibility, and caring for their belongings.
Creating functional systems, like an accessible child’s closet with low rods and labeled bins, makes daily tidying manageable. When your entire home needs that same level of deep cleaning and systemic order, Toronto Shine Cleaning offers professional services to restore a pristine and organized environment throughout your space.