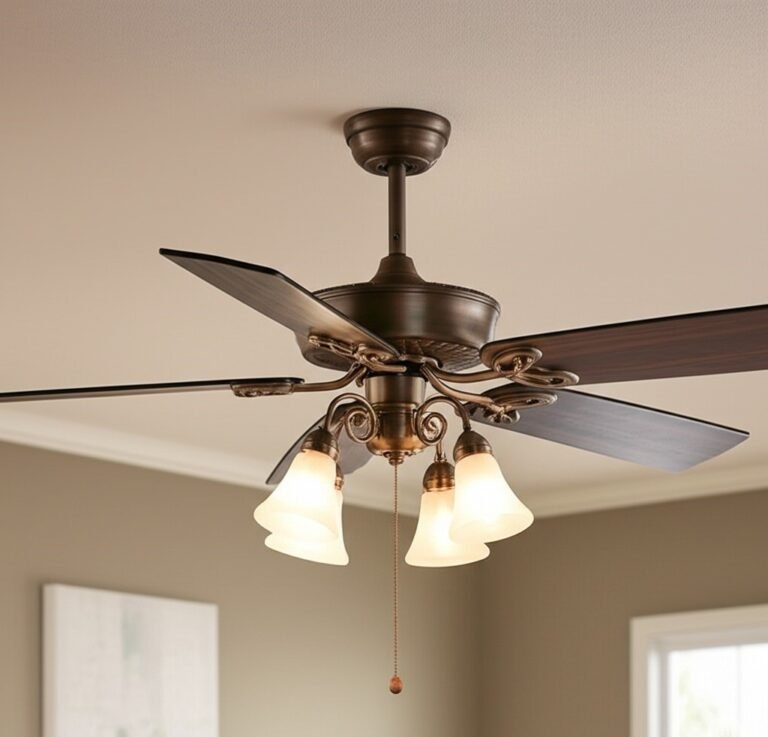
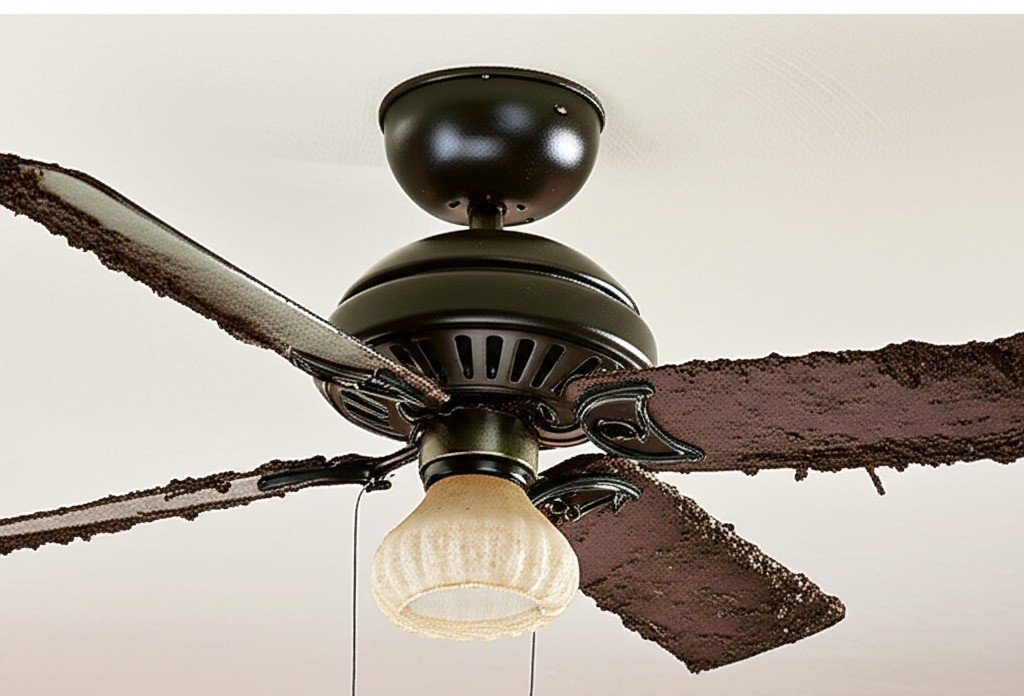
Cleaning a ceiling fan is an essential household chore that significantly improves the air quality in your home and maintains its operational efficiency. Dust and dirt that accumulate on fan blades are not only unsightly; they can be dispersed into the air with each rotation, potentially aggravating allergies and respiratory problems. Additionally, a substantial buildup of debris can cause the blades to become unbalanced, which can cause wobbling, noise, and excessive strain on the fan motor, reducing its lifespan. This guide provides a comprehensive and straightforward approach to cleaning your ceiling fan safely and effectively.
1.Protection
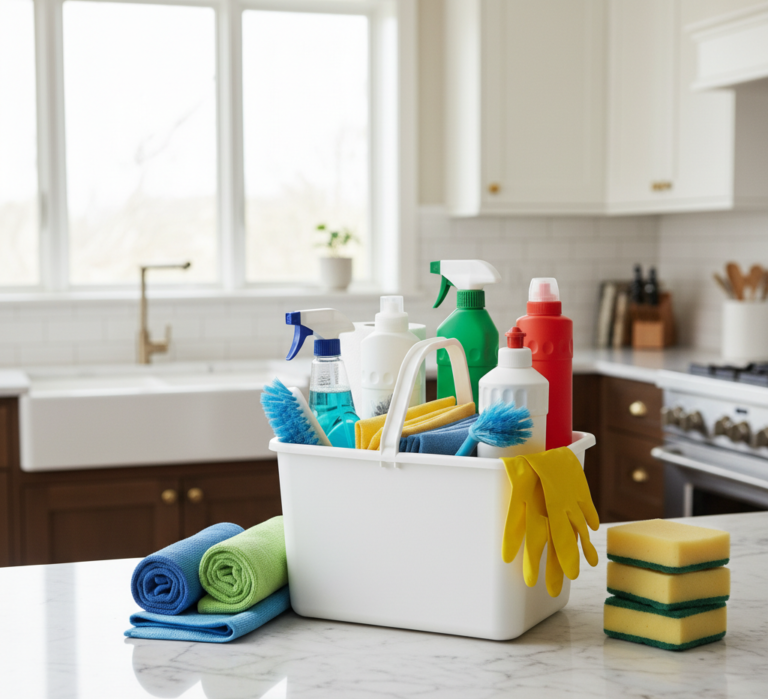
Before you begin the cleaning process, meticulous preparation is essential. Make sure you have all the necessary supplies readily available. A sturdy, stable ladder is essential; choose one that allows you to reach the fan comfortably without overreaching or standing on the top rungs. An A-frame ladder or platform ladder usually offers the best stability. You’ll need an old sheet, a painter’s tarp (canvas or plastic), or even large, flat cardboard boxes to cover the furniture and floor directly below the fan. This protective layer will catch any dust and debris that falls from the fan, making the cleanup process much easier. Personal protective equipment (PPE) is also crucial. Wear safety glasses, preferably the wraparound type, to protect your eyes from falling particles, and a dust mask (an N95 respirator offers superior protection) to avoid inhaling dust.
For the cleaning itself, gather an old pillowcase (cotton works well due to its light texture), a vacuum cleaner equipped with a soft brush attachment and possibly a crevice tool, several clean microfiber cloths (their electrostatic properties make them excellent at trapping dust), and a cleaning solution appropriate for cleaning your ceiling fan. For most fan blades made of metal, plastic, or finished wood, a mild all-purpose cleaner diluted with water will usually suffice. A common homemade solution is a mixture of equal parts white vinegar and water in a spray bottle. If your fan blades are made of delicate, unfinished or specialty wood, a wood-specific cleaner or simply a cloth lightly dampened with plain water is recommended to prevent damage. Always have a dry cloth on hand to wipe away excess moisture.

2.Circuit Breaker
The first and most critical step before making any physical contact with your ceiling fan is to ensure that it is completely de-energized. Turn off the fan using the designated wall switch or pull chain. For an added layer of safety and to eliminate any risk of accidental activation, go to your home’s electrical panel and turn off the circuit breaker that controls the power supply to the ceiling fan. It’s a good practice to test the fan’s switch again after turning off the circuit breaker to confirm that the power has indeed been cut off. You may even consider placing a piece of tape over the switch or circuit breaker as a reminder not to turn it back on prematurely. Ladder safety cannot be overemphasized: make sure the ladder is fully extended, your feet are firmly planted on level ground, and that you can comfortably access the fan blades. Maintain three points of contact with the ladder whenever possible (two feet and one hand, or two hands and one foot). Avoid overreaching; it’s safer to climb down and reposition the ladder. Having another person present to act as a spotter can provide additional safety so that you can clean your ceiling fan without any problems.
With all safety precautions in place and your supplies organized, carefully lay down your chosen tarp or old sheet over the floor and any furniture directly beneath the fan. This will be your main defense against a shower of dust that will spread throughout the room. Put on your safety glasses and dust mask before beginning any cleaning action.
One of the most efficient and least messy methods for cleaning dusty fan blades involves using an old pillowcase. Carefully climb up on a ladder. Grab the open end of the pillowcase and carefully slide it over an entire fan blade, as if you were putting on a sock, making sure the blade is completely enclosed in the fabric. Once the blade is inside, gently press the top and bottom surfaces of the pillowcase against the blade. Then, in a smooth, controlled motion, slide the pillowcase off the blade. The dust, dirt, and cobwebs will be contained in the pillowcase, rather than being blown into the air or onto the surfaces below. Repeat this procedure for each blade. Once all the blades have been treated, carefully take the dust-filled pillowcase outside and shake it out well, away from open windows or doors. If there is still some lingering residue on the blades, you can proceed with cleaning your ceiling fan.

3.Dust
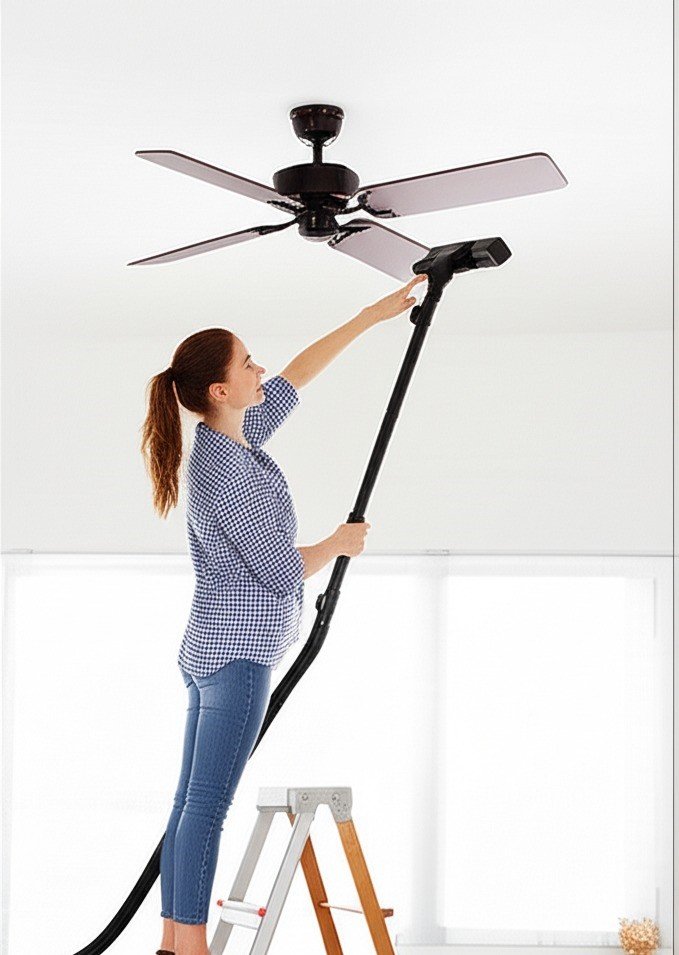
Alternatively, you can use a vacuum cleaner fitted with a soft brush attachment. This method is particularly suitable for light dust accumulations or for more regular, quick touch-ups between deeper cleanings. Before you begin, make sure the brush attachment is clean to avoid transferring dirt. Carefully and methodically vacuum the top, bottom, and all edges of each fan blade. Move the attachment slowly to maximize dust capture, and be careful not to scratch the blade surface or unbalance it inadvertently. The crevice cleaning attachment can be useful for cleaning the areas where the blades attach to the motor housing (the blade mounts or brackets) of your ceiling fan.
For more intensive cleaning, or if the blades are coated with an oily film or stubborn, caked-on dirt (often found on ceiling fans in or near kitchens), you will need to clean them directly. Dampen a clean microfiber cloth with your chosen cleaning solution. Wring the cloth out thoroughly; it should be damp, not soaking wet. Excess moisture can cause irreparable damage to the internal components of the fan motor and can also cause the wooden blades to warp, swell, or stain. Gently wipe down all surfaces of each blade—top, bottom, and the leading and trailing edges. For painted metal or plastic blades, an all-purpose cleaner is usually safe. For wooden blades, use a cleaner specifically formulated for wood or a cloth lightly dampened with plain water, always wiping in the direction of the wood grain. Avoid abrasive powders, harsh chemical solvents, or steel wool, as these can scratch, discolor, or damage the blade finish. You’ll probably need to rinse and dampen the cloth frequently or replace it with a clean one as it collects dirt. Don’t forget to clean the arms of your ceiling fan blades or the irons, these metal pieces that connect the blades to the fan motor can also collect a lot of dust.
Once the blades are spotless, focus your cleaning efforts on the fan’s motor housing and any built-in light fixtures. Wipe the outside of the motor housing with a dry microfiber cloth or a duster with an extendable handle. If there is dirt or stains on the housing, you can use a slightly damp cloth, but be very careful to avoid getting any liquid on the motor’s air vents or electrical connections. Never spray the cleaning solution directly onto the motor housing; always apply it to the cloth first. A dry, soft toothbrush can be helpful in gently removing dust from your ceiling fan’s air vents.
4.Greasy Ceiling Fan
If your ceiling fan includes light fixtures, these will also need attention. If the globes, domes, or glass bowls are removable, carefully remove them according to the manufacturer’s instructions (they usually twist or are held in place by small screws). These can usually be hand washed in a sink filled with warm, soapy water. Rinse them thoroughly with clean water to remove any soap residue, then dry them thoroughly with a lint-free cloth or allow them to air dry completely before replacing them. This prevents water spots and ensures that no moisture gets on the electrical components. If the domes are not easily removable, or if you prefer not to remove them, gently spot clean them with a damp microfiber cloth, then use a dry cloth to buff out any stains. Always make sure the lights are turned off and the bulbs are completely cool before attempting to clean any part of the light fixture. The bulbs themselves can be wiped down with a dry cloth once they have cooled. Don’t neglect the pull chains; they can also be cleaned with a damp cloth.
For particularly stubborn dirt, such as the sticky, greasy buildup often found on kitchen ceiling fans, a little more effort and a stronger cleaning agent may be necessary. You can use a specific degreasing cleaner that is safe for the blade material. Always test any new or stronger cleaner on a small, inconspicuous area of the blade first to ensure that it does not cause discoloration, staining, or damage to the finish. Apply the degreaser to your cloth, not directly to the ceiling fan blade, and gently scrub the affected areas. Let the degreaser sit for a few moments to dissolve the grease if necessary, then wipe away the residue with a clean, damp cloth. Finally, dry the blade thoroughly with another clean, dry cloth.
The ideal frequency for cleaning your ceiling fan will vary depending on a number of environmental and lifestyle factors. These include how often you operate your fan, whether you have pets that shed, whether any family members suffer from allergies, the general dust levels in your area, and how close you are to grease sources, such as your kitchen. As a general guideline, cleaning your ceiling fans thoroughly every two to three months is advisable for most homes. However, if you notice visible dust accumulating more quickly or if airborne allergens are a particular concern, you may want to consider cleaning more frequently, perhaps monthly. Ceiling fans in kitchens, due to the grease particles carried through the air during cooking, will almost certainly require more frequent and often more intensive cleaning. Regular and consistent cleaning prevents the buildup of heavy, stubborn layers of dust and grime, making each subsequent cleaning session significantly faster and less laborious. This is also a good time to visually inspect the fan for loose screws or signs of wobbling that may indicate the need for minor maintenance. Many ceiling fans also have a directional switch for summer (downdraft exhaust) and winter (updraft exhaust) modes; cleaning time is a good reminder to set this appropriately for the season.
After you have completed the cleaning of all components of the ceiling fan – blades, motor housing, and light fixtures – carefully remove the drop cloth from your floor and furniture. Fold it inwards from the edges to contain any captured dust and debris. This can then be shaken out thoroughly outdoors or laundered if it’s a fabric sheet. Allow any parts of the fan that were cleaned with damp cloths to air dry completely. This is especially important for wooden blades and around electrical components. Once you are confident that everything is dry, you can safely restore power to the fan at the circuit breaker. Turn the fan on at a low speed first to check for any wobbling or unusual noises. Smooth, quiet operation indicates a job well done.
Maintaining clean ceiling fans is a straightforward yet impactful aspect of overall home hygiene and maintenance. By diligently following these detailed steps for thorough preparation, prioritizing safety at all times, and employing the appropriate cleaning techniques for the specific materials of your fan’s blades, motor housing, and light fixtures, you can ensure your fan operates at peak efficiency, looks its best, and contributes positively to a healthier indoor air environment for you and your family. Consistent attention to this task prevents the daunting prospect of tackling excessive buildup and ultimately simplifies home care.
A clean ceiling fan directly impacts your home’s air quality and the fan’s longevity and performance. This guide has detailed essential preparation, critical safety protocols, various cleaning methods for blades including the pillowcase technique, vacuuming, and manual wiping, as well as how to address the motor housing, light fixtures, and stubborn grime, alongside advice on optimal cleaning frequency. If comprehensive home cleaning, including often-overlooked tasks like ceiling fans, feels overwhelming, Toronto Shine Cleaning provides professional and dependable cleaning services, ensuring every corner of your home, from top to bottom, is impeccably maintained for a fresh and healthy living space.