Liquid vs. Powder vs. Pods: A Complete Detergent Breakdown
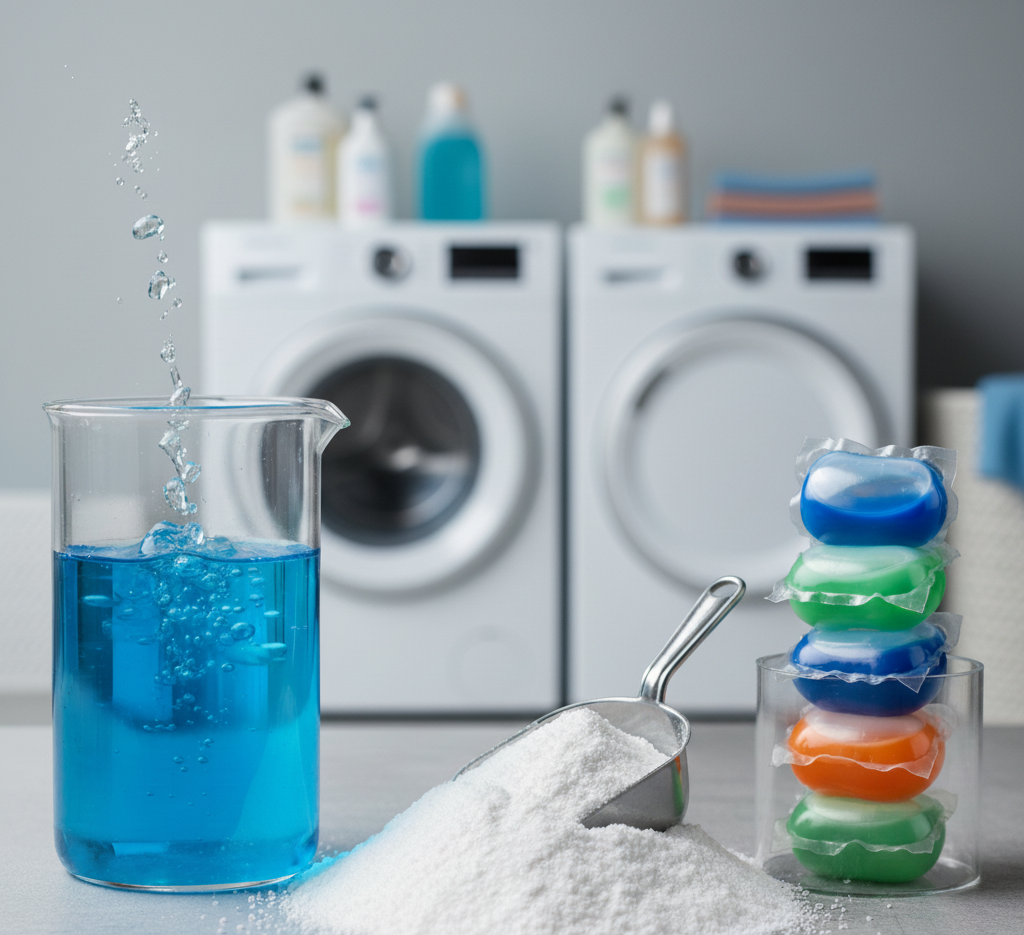
Detergent is the unsung workhorse of our household chores, a chemical marvel we rely on multiple times a week, yet give very little thought to. It sits in a bottle, a box, or a tub, a wall of promises in the supermarket aisle, each brand claiming brighter whites, bolder colors, and more stain-fighting power than the last. It is laundry detergent, and for most of us, our interaction with it is limited to a ritual of unthinking measurement, a capful, a scoop, a tossed-in pod, followed by the push of a button. But this simple act belies the complex science and crucial choices involved in getting our clothes truly clean. The right detergent, used correctly, can preserve the life of our garments, save us money, and deliver a level of clean we thought was only possible in commercials. The wrong detergent, or the right one used incorrectly, can do the exact opposite, leaving clothes dingy, irritating our skin, and even damaging our washing machines. To master the art of laundry is to first understand the powerful tool at the heart of the process: the detergent itself. Soap vs. Detergent To appreciate the modern detergent, we must first understand what it is not: it is not soap. For millennia, soap was the world’s primary cleaning agent. Made from natural fats and oils combined with an alkali, soap is a fantastic cleaner in the right conditions. However, it has one major, fatal flaw: it reacts poorly with the minerals present in hard water. When soap molecules encounter the calcium and magnesium ions in hard water, they bind together to form an insoluble, waxy precipitate known as soap scum. This is the same stuff that creates a ring in the bathtub. In laundry, it leaves a dingy, graying film on clothes and can build up inside the washing machine. The modern laundry detergent was invented as a direct solution to this problem. Detergents are synthetic, man-made compounds engineered in a lab to be immune to the effects of hard water. Their molecules are designed not to bind with minerals, allowing them to focus entirely on their primary job: removing dirt. This fundamental difference is why we use detergents for our laundry and not bars of soap. How Detergent Actually Works The magic of detergent lies in a specific type of molecule called a surfactant. The word itself comes from “surface active agent,” and that is precisely what it does. Imagine a surfactant molecule as being shaped like a tadpole, with a distinct head and a tail. The head is hydrophilic, which means it is attracted to water. The tail is hydrophobic (or lipophilic), meaning it repels water but is strongly attracted to oil, grease, and dirt. When you add detergent to your wash, millions of these surfactant molecules get to work. The hydrophobic tails seek out and attach themselves to the oily, greasy dirt on your clothes, burrowing into the grime. Meanwhile, the hydrophilic heads are trying to stay in the water. As the washing machine agitates, the water molecules pull on the hydrophilic heads, and this pulling action, combined with the agitation, literally lifts the dirt and grease right off the fabric fibers. The surfactants then form tiny spheres around the dirt particles, called micelles, with the greasy tails pointing inward, trapping the dirt, and the watery heads pointing outward. This keeps the dirt suspended in the wash water, preventing it from redepositing back onto your clean clothes before it is all rinsed away. But modern detergents are more than just surfactants. They are complex formulas containing several key ingredients: Enzymes: These are biological catalysts, like tiny Pac-Men, designed to break down specific types of stains. Protease targets protein-based stains (like grass and blood), amylase targets starches, and lipase targets fats and oils. This is why enzymatic detergents are so effective at stain removal. Builders: These are agents that soften the water by binding to the hardness minerals, allowing the surfactants to work even more effectively. Optical Brighteners: These are compounds that absorb ultraviolet light and re-emit it as visible blue light. This doesn’t actually remove stains, but it cleverly tricks our eyes into seeing whites as “whiter” and colors as brighter. Polymers: These special ingredients can help trap dirt in the water or create a protective layer on fabrics to help prevent future stains from setting in. Choosing the Right Detergent for You The sheer variety of detergents can be overwhelming. The choice can be simplified by breaking it down into three main categories: form, machine type, and specialty formula. 1. Liquid vs. Powder vs. Pods Liquid Detergent: This is the most popular form in many parts of the world, and for good reason. It is versatile, easy to measure, and dissolves well in all water temperatures, including cold. Liquids are particularly effective on greasy, oily stains, as they can be applied directly to the stain as a pre-treater. The main downsides are the heavy, plastic-intensive packaging and the tendency for users to pour with a heavy hand, leading to overuse. Powder Detergent: This is the classic, budget-friendly champion. On a per-load basis, powder is almost always the cheapest option. It is excellent at lifting mud and ground-in dirt, making it a great choice for families with kids or for work clothes. Its cardboard packaging is also more environmentally friendly. The drawbacks are that it can sometimes fail to dissolve completely in very cold water, leaving a chalky residue, and it can be a bit messy to measure. Pods/Packs: These are the peak of convenience. Perfectly pre-measured, you simply toss one into the drum and you are done. There is no mess and no guesswork. They are fantastic for those who tend to overuse liquid detergent. However, this convenience comes at a premium price; pods are by far the most expensive option per load. Their formulation is also fixed, meaning you cannot adjust the amount for a very small or lightly soiled load. Safety is also a major concern, as their small, colorful appearance can be dangerously appealing to children and pets. 2. High-Efficiency
Liquid vs. Powder vs. Pods: A Complete Detergent Breakdown Read More »