DIY vs. Store-Bought: What’s the Best Carpet Cleaning Solution?
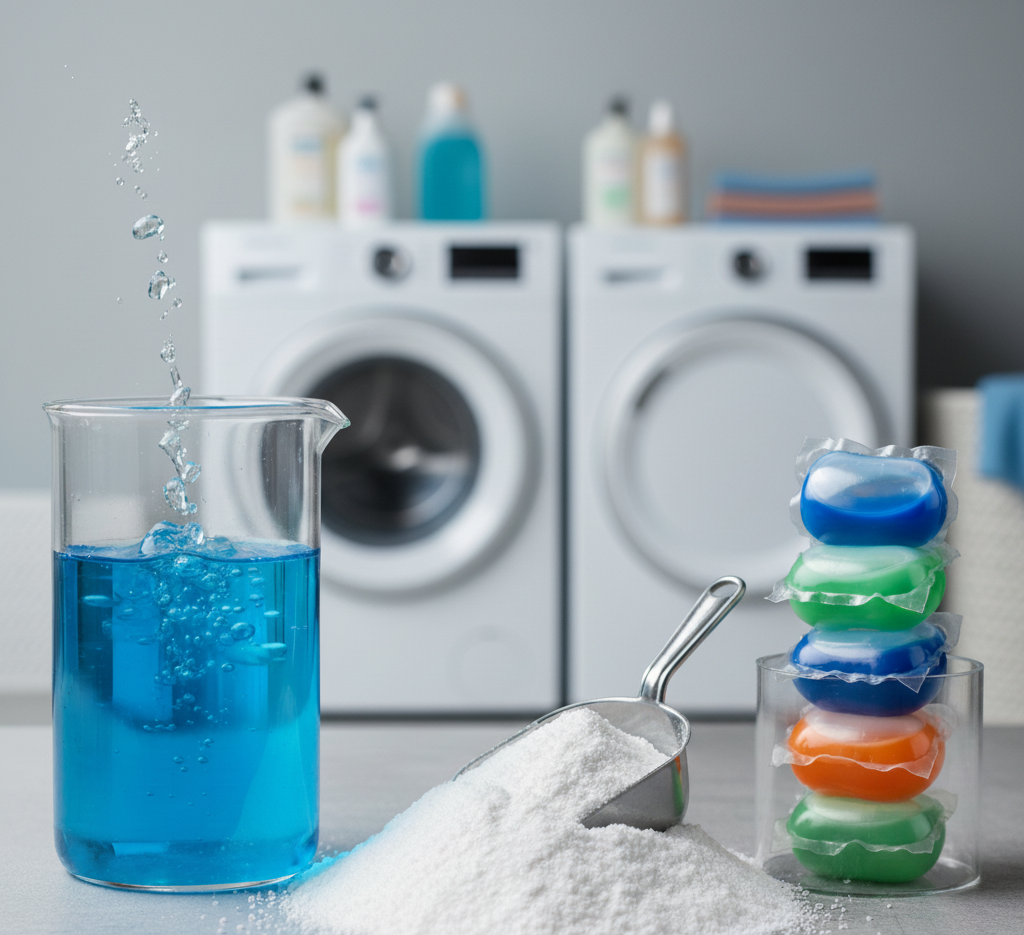
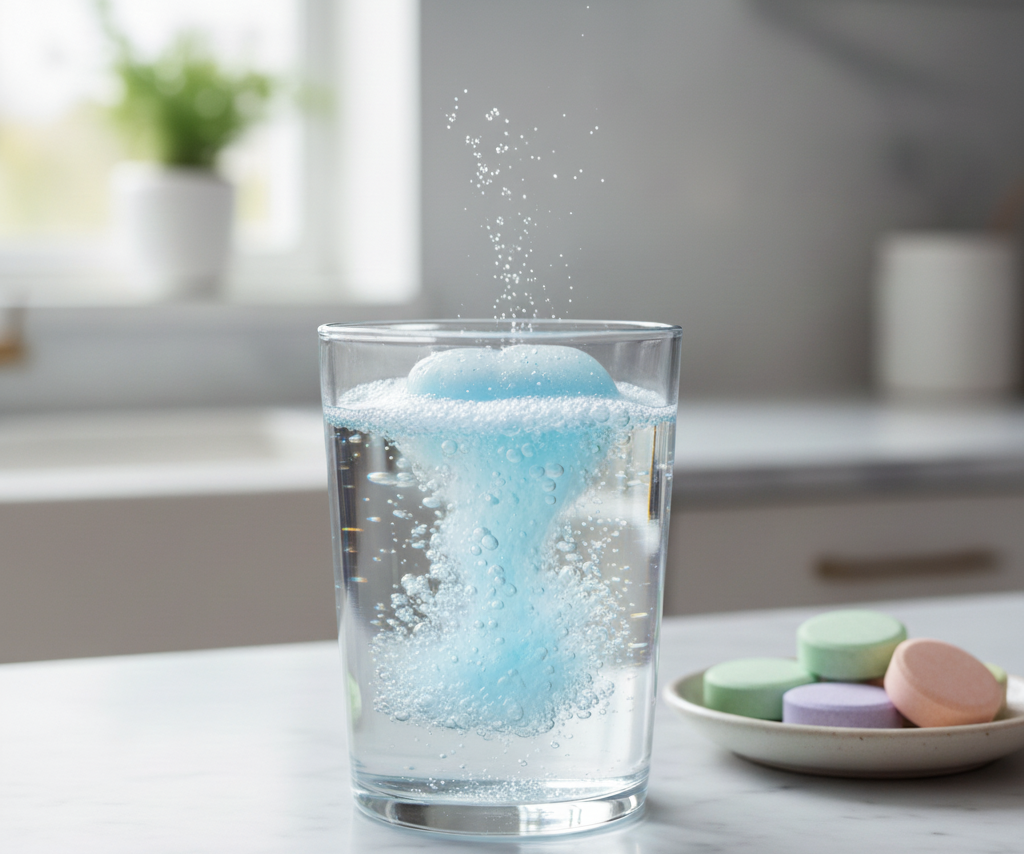
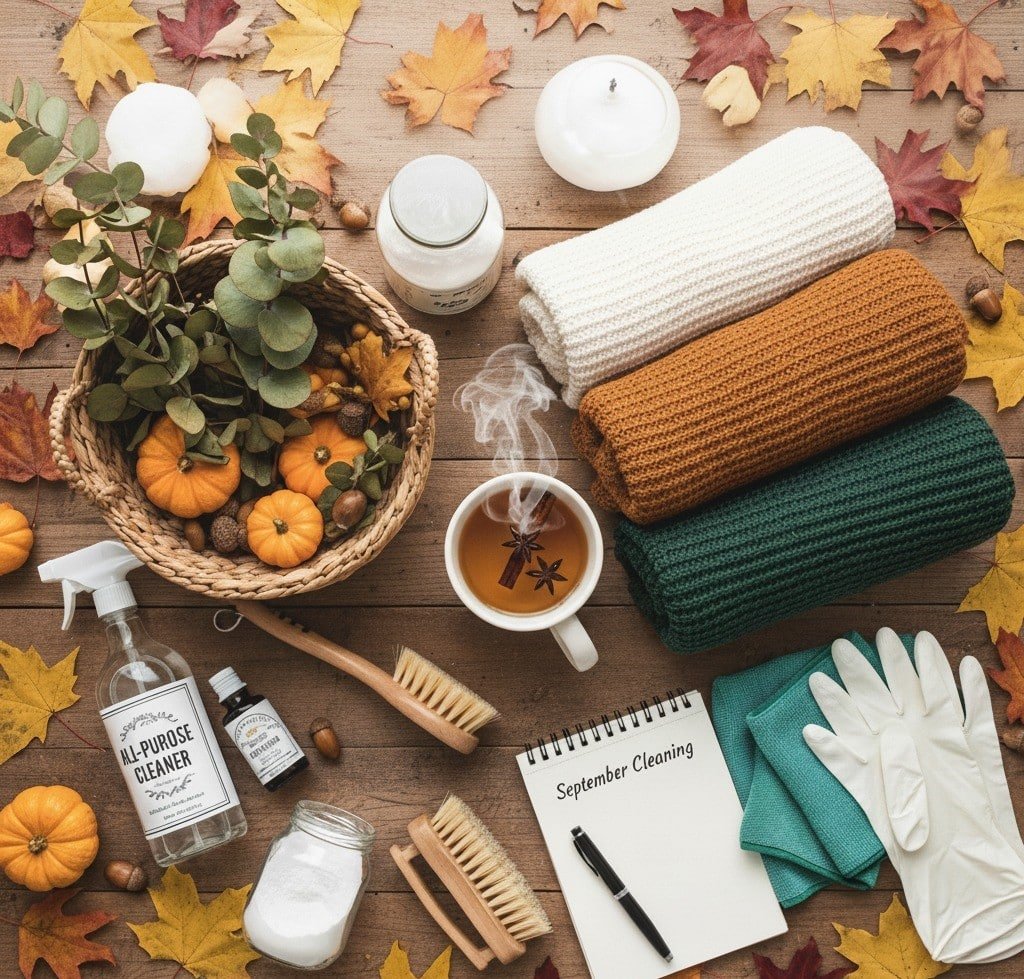
The search for the “best” carpet cleaning solution is a universal quest for homeowners. The carpet is the soft, comforting foundation of a room, but it is also a magnet for everything life throws at it: spilled coffee, muddy footprints, pet accidents, and the slow, steady accumulation of dust and daily grime. The cleaning aisle presents a bewildering array of options, each in a bottle promising miraculous results, while online forums champion an equally vast number of DIY concoctions. The truth is, there is no single “best” solution. The best carpet cleaner is not a specific brand or a magic formula; it is the right solution for the right problem. The cleaner that effortlessly lifts a pet stain may be useless against a grease spot. The mixture that works for a small spill is different from what you need for a full-room deep clean. To truly master carpet care, you must move beyond the search for one perfect product and instead build an arsenal of knowledge, understanding what each type of cleaner does and when to deploy it. Chemistry of a Clean Carpet Before you can choose a product, it is crucial to understand the science of what you are trying to achieve. Carpet cleaners, whether commercial or homemade, rely on a few key types of ingredients to do their work. Surfactants: This is the foundation of most cleaners. “Surfactant” stands for “surface active agent.” These are molecules designed to break the surface tension of water, allowing it to penetrate fibers more effectively. They have a unique structure that is attracted to both water and oil, enabling them to latch onto greasy dirt, lift it from the carpet fibers, and hold it in suspension in the water so it can be blotted or extracted away. Simple dish soap is a basic surfactant. Enzymes: These are the biological powerhouses of stain removal. Enzymes are proteins that are designed to break down other, specific proteins, starches, and fats. This makes them incredibly effective on organic stains. A protease enzyme will break down protein-based stains like blood, grass, or urine. An amylase enzyme targets starches, and a lipase enzyme targets fats and oils. An enzyme-based cleaner is essential for any home with pets or children. Solvents: Some stains are not water-soluble. Grease, oil, ink, and tar will not be lifted by water-based cleaners alone. Solvents are chemicals that can dissolve these types of substances, breaking them down so they can be blotted away. Rubbing alcohol and citrus-based degreasers are common examples. Oxidizers: These are stain removers that work through a chemical reaction. They release oxygen molecules that break the chemical bonds of a stain, altering its structure so it no longer reflects colored light. This “bleaches” the stain away. Hydrogen peroxide and sodium percarbonate (the active ingredient in OxiClean) are the most common oxidizing agents. They are highly effective on colored stains from things like red wine, coffee, tea, and juice. Powerful Solutions from Your Pantry For many common carpet issues, you do not need to look any further than your own kitchen. These homemade solutions are cost-effective, readily available, and surprisingly powerful when used correctly. White Vinegar and Water The Formula: A simple solution of 50% distilled white vinegar and 50% water in a spray bottle. How it Works: Vinegar is a mild acid. This gives it the ability to dissolve general grime, break down some light stains, and neutralize alkaline messes. It is also an excellent natural deodorizer. Best For: Lightly soiled areas, general freshening-up, and some food-based stains. It is a fantastic first response to many spills. How to Use: Lightly spray the affected area (do not saturate). Let it sit for 5-10 minutes, then blot thoroughly with a clean, white cloth. Caution: Because it is an acid, it can react with and “set” certain protein-based stains like eggs or blood. It is not the best choice for those. Baking Soda How it Works: Baking soda is a mild alkali that is brilliant at absorbing both moisture and odors. Its fine, crystalline structure also makes it a very gentle abrasive. Best For: Deodorizing the entire carpet and for treating wet, greasy spills. How to Use (Dry): For general odors, liberally sprinkle dry baking soda over the entire carpet. Let it sit for several hours, or even overnight, to absorb odors, then vacuum it up thoroughly. How to Use (Wet): For a greasy spill, first blot as much as you can. Then, generously cover the stain with baking soda. The powder will wick the grease and oil up out of the carpet fibers. Let it sit until it forms a dry crust, then scrape it up and vacuum. Dish Soap The Formula: No more than one-quarter teaspoon of a clear, simple dish soap (without bleach or moisturizers) mixed into a cup of warm water. How it Works: This is a basic surfactant solution that can help lift general dirt and some greasy spots. Best For: Basic spills and dirt when you need a little more lifting power than vinegar. How to Use: Apply the solution sparingly with a cloth, blot, then “rinse” by blotting with a separate cloth dampened with plain water. CRITICAL CAUTION: Overuse is the enemy. Using too much soap, or failing to rinse it completely, will leave a sticky residue that will attract dirt faster than ever before, creating a dark spot over time. Hydrogen Peroxide (3%) How it Works: As an oxidizer, hydrogen peroxide is excellent at breaking down colored, organic stains. It naturally decomposes into just water and oxygen, making it a safe choice. Best For: Tough organic stains like blood, wine, or coffee. It is also great for sanitizing pet accident areas after the initial mess has been cleaned. How to Use: Apply a small amount directly to the stain. You should see it start to bubble and fizz as it reacts with the stain. Let it sit for 10-15 minutes, then blot thoroughly with a clean cloth. CRITICAL CAUTION: Hydrogen peroxide can have a mild bleaching effect. You must test it in a hidden, inconspicuous spot first (like inside a closet or under a large piece of furniture) to ensure it does not
DIY vs. Store-Bought: What’s the Best Carpet Cleaning Solution? Read More »