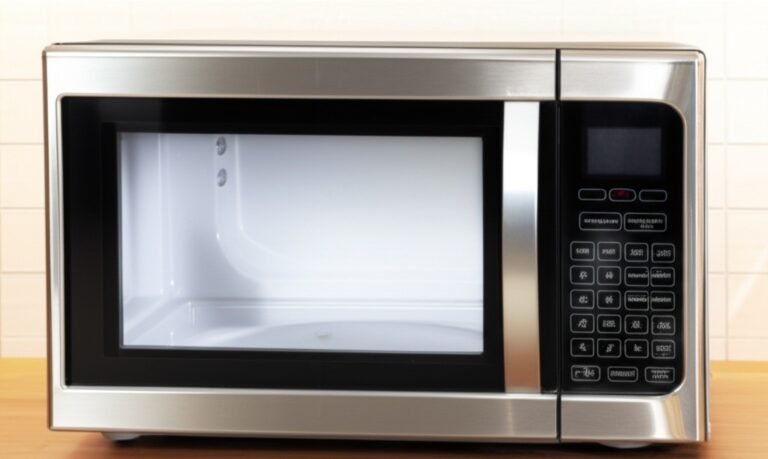
A microwave is an appliance of convenience, yet it often becomes a container for neglect. Splatters from reheating spaghetti, explosions from soup, and the lingering scent of burnt popcorn can turn this kitchen workhorse into a source of grime and odor. Cleaning it is not a complex task, but it requires the correct approach to dissolve cooked-on food without resorting to harsh chemicals or abrasive scrubbing that can damage the interior.
1-Steam
The foundational method for cleaning most microwave messes relies on steam. Steam gently loosens hardened food particles, making them easy to wipe away. This method is effective, safe for the appliance, and uses common household items.
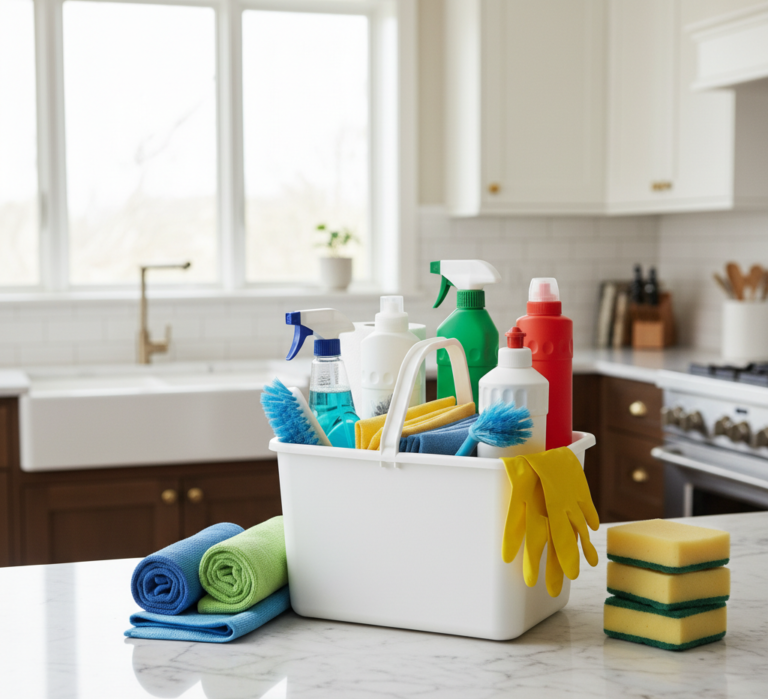
For this primary steam-cleaning method, you will need a microwave-safe bowl or a large glass measuring cup, water, and an acid component like white vinegar or a lemon. You will also need several microfiber cloths and potentially a non-scratch sponge for any remaining stubborn spots.
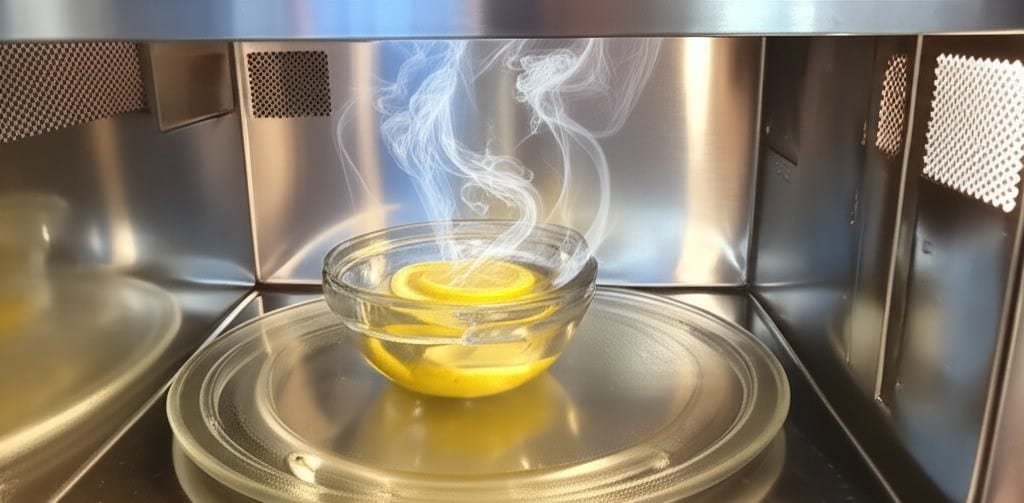
Begin by filling the microwave-safe bowl with one cup of water. To this, add either two tablespoons of distilled white vinegar or the juice of half a lemon. You can drop the squeezed lemon halves directly into the water as well; the oils in the rind will release during the heating process, adding a fresh, clean scent. The purpose of the acid is twofold: it helps to break down greasy residue and acts as a natural deodorizer, combating any unpleasant smells that have taken hold.
Place the bowl of water and vinegar or lemon inside the microwave. Close the door and set the microwave to run on high power for three to five minutes. The goal is to bring the water to a rolling boil so that a significant amount of steam is produced. You should see condensation forming on the interior window of the microwave door. This is a clear sign the process is working.
Once the microwave cycle is complete, the most critical step is to do nothing. Leave the microwave door closed for at least five to ten minutes. This waiting period traps the hot, acidic steam inside the appliance, giving it ample time to work its magic. The steam will soften and dissolve the baked-on food splatters on the ceiling, walls, and floor of the microwave. Attempting to wipe the interior immediately after the cycle ends will be far less effective and presents a burn risk from the hot steam and water.
2.Microfiber Cloth
After waiting, carefully open the microwave door. Use an oven mitt to remove the bowl of hot water, as it will still be very hot. Next, take a clean microfiber cloth and begin wiping down the interior. It is most efficient to start with the ceiling, then move to the side walls, the back wall, and finally the floor of the microwave. You will find that most of the grime, even splatters that have been there for weeks, will wipe away with minimal effort. The condensation has done the heavy lifting for you.
For any slightly more resistant spots, you can dip your microfiber cloth directly into the warm lemon or vinegar water you just removed from the microwave. The added moisture and warmth will help lift the remaining residue. If a spot is particularly stubborn, use the non-scratch side of a kitchen sponge. Never use steel wool, a scouring pad, or any other abrasive metal scrubber, as these will permanently scratch and damage the interior coating of the microwave.
3.Toothbrush
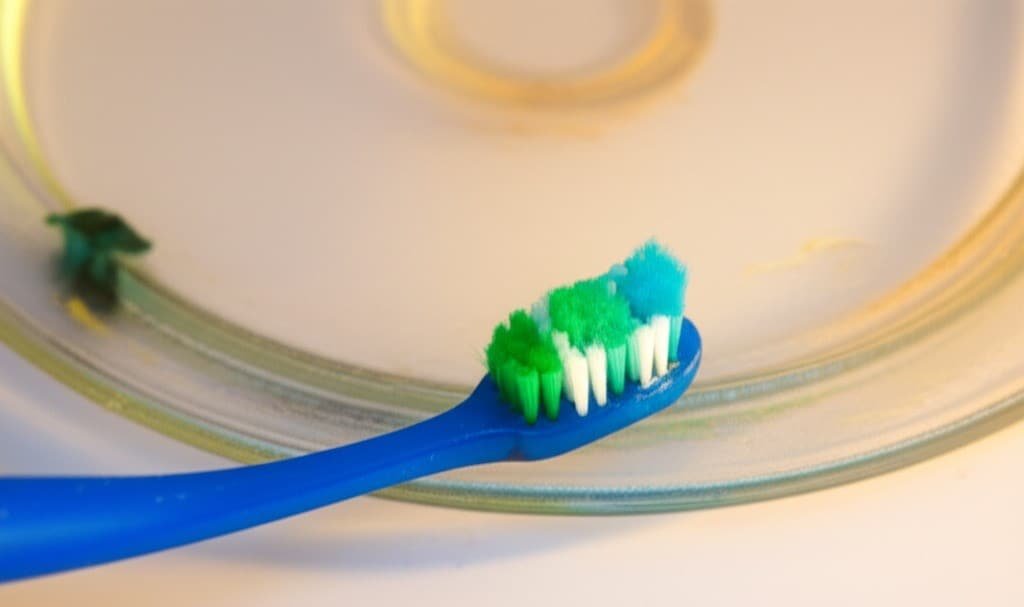
While the interior is now clean, the job is not complete. Remove the glass turntable plate and the plastic roller ring that sits beneath it. These components are often the collection point for drips and crumbs. The glass plate can typically be washed by hand in the sink with warm, soapy water, just like any other dish. Most are also top-rack dishwasher safe, but it is always wise to consult your appliance’s manual to be certain. The roller ring can be washed in the same manner. Pay close attention to the small wheels on the ring, as food particles and grease can get trapped in them, impeding the smooth rotation of the turntable. An old toothbrush can be useful for scrubbing these small, hard-to-reach areas.
Before returning the clean turntable and roller ring, give the floor of the microwave a final wipe to ensure it is completely clean and dry. Once dry, place the roller ring back in its track and set the glass plate on top.
4.Baking Soda
For microwaves with more significant, caked-on, or burnt food messes, the steam method alone might not be sufficient. In these cases, a baking soda paste is an excellent second step. Baking soda is a mild alkali and a gentle abrasive, making it perfect for scrubbing away tough grime without scratching surfaces.
To create a baking soda paste, mix approximately two parts baking soda with one part water in a small bowl. Stir until it forms a thick paste, similar in consistency to toothpaste. If it’s too watery, add more baking soda; if it’s too thick, add a few more drops of water. Apply this paste directly to the stubborn, burnt-on spots inside the microwave. Do not smear it all over; target only the problem areas.
Let the paste sit on the spots for at least fifteen minutes. During this time, the baking soda will work to break down the carbonized food. After waiting, take a damp microfiber cloth or a non-scratch sponge and gently scrub the areas in a circular motion. The paste will provide the necessary friction to lift the grime. Wipe away the paste and the loosened food particles. You may need to rinse your cloth several times to remove all the residue. Finish by wiping the area with a clean, damp cloth to ensure no baking soda remains.
5.Careful
The microwave door also requires specific attention. The inside of the door can be wiped down with the same vinegar or lemon water solution used for the interior. Pay special attention to the mesh screen and the edges where food can become trapped. The exterior of the door and the control panel should be cleaned with care. Never spray a cleaner directly onto the control panel, as moisture can seep behind the buttons and damage the electronics. Instead, spray a gentle, all-purpose cleaner or your vinegar solution onto a microfiber cloth, and then wipe the keypad and handle. If your microwave has a stainless steel exterior, use a cleaner specifically designed for stainless steel and wipe with the grain of the metal to avoid streaks and smudges.
Grease is another common problem, especially for microwaves situated over a stovetop. These over-the-range models are equipped with grease filters on their underside to trap airborne grease from cooking. These filters are often forgotten but are crucial for the microwave’s ventilation performance. Most grease filters can be removed by sliding a latch. Once removed, you will likely see a layer of sticky, yellowed grease. To clean them, submerge the filters in a sink filled with hot water and a generous amount of degreasing dish soap. Let them soak for at least twenty minutes. For very heavy grease buildup, you can carefully add a quarter cup of baking soda to the hot water to help dissolve the grime. After soaking, use a soft-bristled brush to scrub away the loosened grease. Rinse them thoroughly with hot water and let them air dry completely before reinserting them into the microwave. Some over-the-range models also have a charcoal filter for air recirculation. These filters are generally not washable and need to be replaced periodically according to the manufacturer’s instructions.
6.Odors
At the end, addressing lingering odors is the last step to a fully clean microwave. The steam-cleaning with lemon or vinegar is often enough to deodorize the appliance. However, for a persistent smell, such as burnt popcorn, you may need a stronger solution. After cleaning the interior, place a small, open bowl of baking soda inside the microwave and leave the door shut overnight. The baking soda will absorb the offending odors. Alternatively, a bowl of used or fresh coffee grounds left inside overnight can also be very effective at neutralizing strong smells.
To maintain a clean microwave and prevent the need for frequent deep cleaning, the best strategy is prevention. The single most effective tool is a microwave splatter cover. These simple plastic or silicone lids sit over your bowl or plate and contain any splatters, keeping the interior of your microwave pristine. If you do not have a cover, even a paper towel placed over the food can help significantly.
Furthermore, make it a habit to wipe up spills and splatters as soon as they happen, or at least before you use the microwave again. Fresh spills are soft and wipe away easily. Once they are cooked on by subsequent uses, they become the hard, stubborn messes that require a full cleaning procedure. A quick weekly wipe-down with a damp cloth can also go a long way in preventing buildup. By integrating these small habits, you can ensure your microwave remains a clean and efficient tool in your kitchen.
From steam-cleaning with vinegar and lemon to tackling stubborn, burnt-on food with a baking soda paste and properly degreasing your filters, a clean microwave is achievable with the right techniques. If a deep clean of your entire kitchen is what you need, Toronto Shine Cleaning offers professional services to handle the details, ensuring every appliance, including your microwave, is spotless.