The end of a construction or renovation project is a moment of pure anticipation. The final nail has been hammered, the last coat of paint has dried, and the blueprint that once existed only on paper has been transformed into a tangible, three-dimensional space. But in the quiet aftermath, after the contractors have packed up their tools and driven away, the dream space remains just out of reach, separated from reality by a formidable, often underestimated barrier: the post-construction mess.
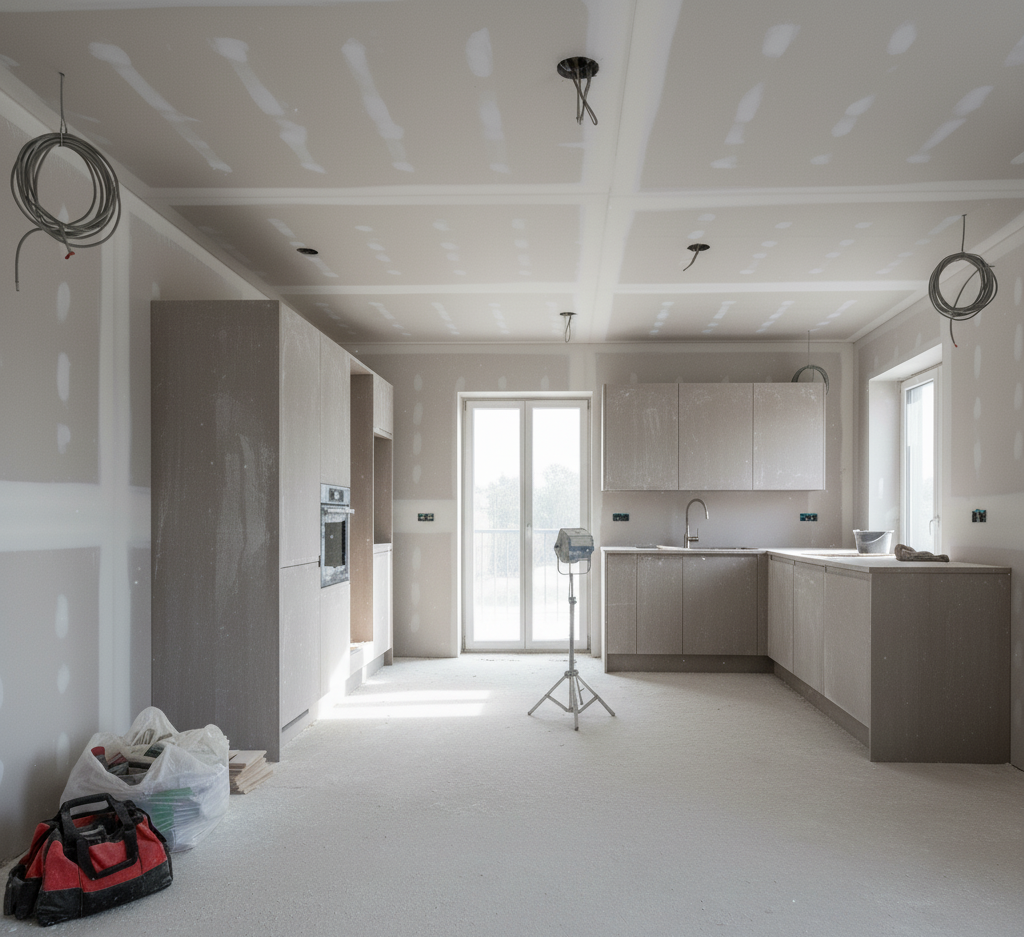
This is not the familiar, everyday dirt of a lived-in home. Post-construction cleaning is a specialized, intensive discipline, a top-to-bottom reclamation project that deals with a unique and pervasive type of grime. It is the final, essential bridge that transforms a hazardous, dusty worksite into a clean, breathable, and truly livable home.
1.The Anatomy of a Construction Mess
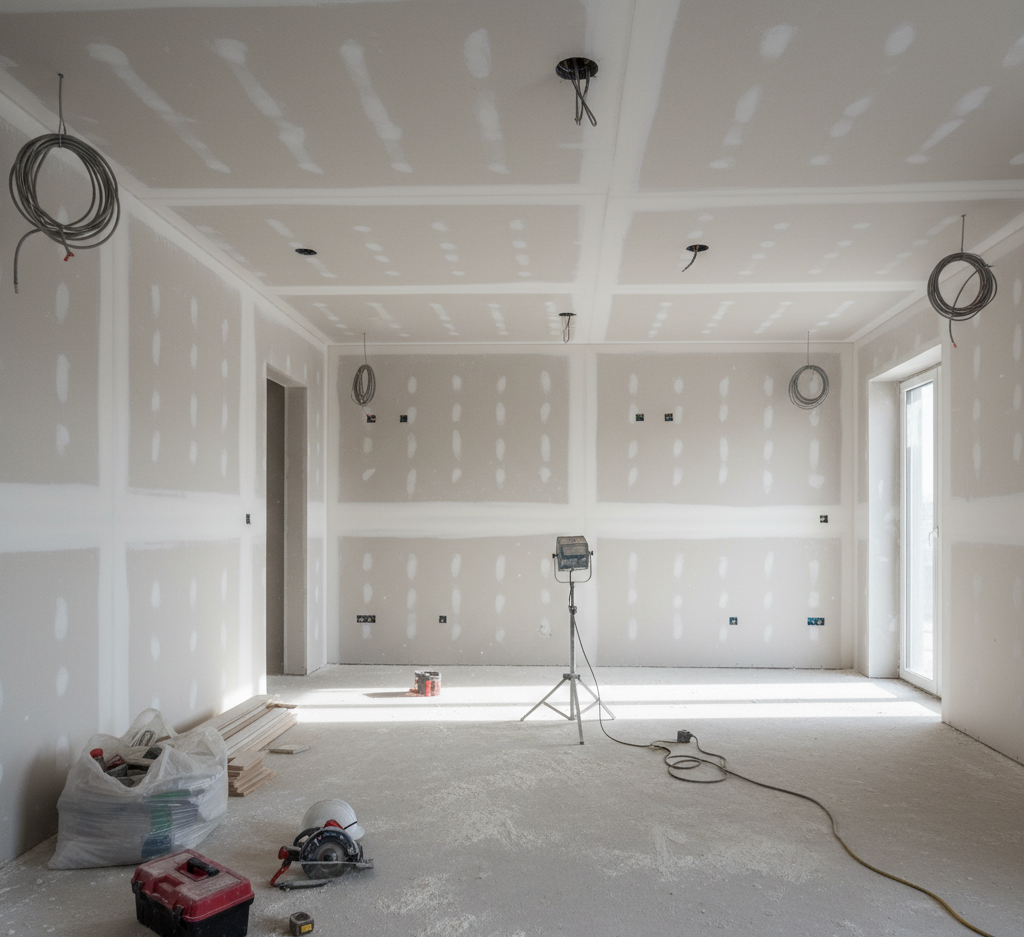
To appreciate the scope of a post-construction clean, one must first understand the nature of the debris left behind. It is a class of dirt all its own, requiring a specific strategy and a different set of tools than your weekly cleaning routine.
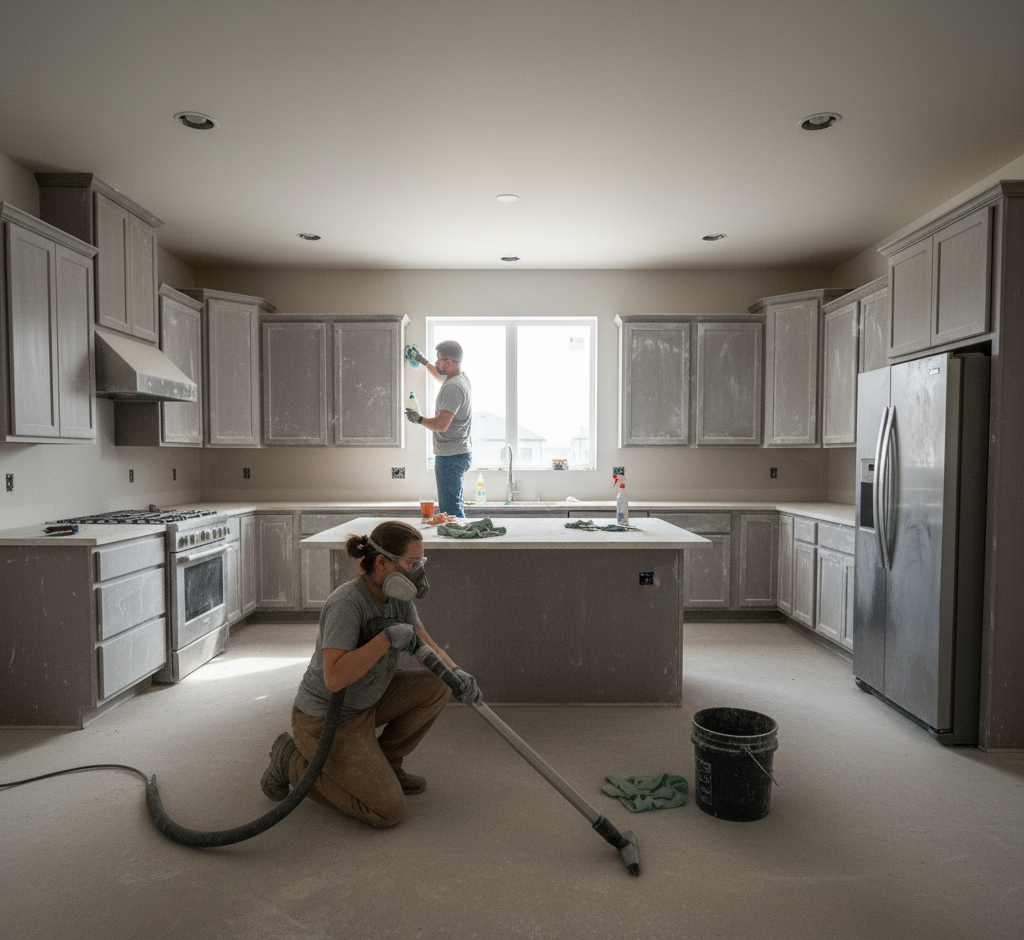
The undisputed villain of any construction project is the dust. This is not the soft, fluffy dust that gathers on bookshelves. Construction dust is a fine, gritty, and abrasive particulate matter composed of a cocktail of materials: drywall compound (gypsum), plaster, sawdust, cement powder, silica, and more. Its particles are so fine that they become airborne with the slightest disturbance, traveling through HVAC systems and settling in a uniform, ghostly layer on every single conceivable surface. It’s not just on the floors and countertops; it’s inside cabinets, on top of door frames, within light fixtures, coating the blades of a ceiling fan, and settled deep within the fibers of any existing carpet. This dust is more than an eyesore; it can be a significant respiratory irritant, making its complete and total removal a matter of health and safety, not just aesthetics.
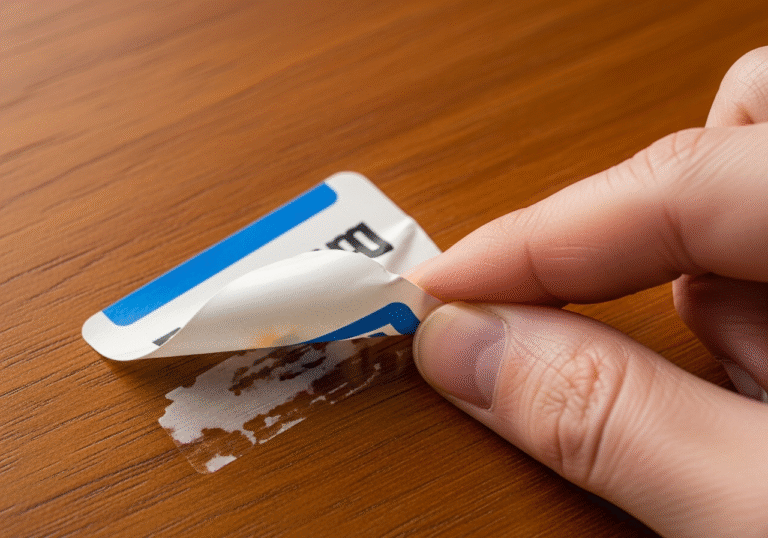
Beyond the all-encompassing dust, a construction site is littered with other forms of debris. You will find stray nails, orphaned screws, small chunks of wood and drywall, plastic shavings from plumbing work, and hardened blobs of caulk or adhesive. New windows, appliances, and fixtures are typically covered in protective plastic films and manufacturer’s stickers, which often leave behind a stubborn, sticky residue when removed. There are almost always errant paint splatters on hinges, glass panes, or flooring, and scuff marks on newly installed baseboards from ladders and equipment. Attempting to tackle this complex mess with a household all-purpose cleaner and a roll of paper towels will result in frustration, smeared grime, and potentially permanent damage to brand-new, expensive surfaces.
2.Professional Post-Construction Clean
A truly effective post-construction clean is not a single, chaotic event. It is a systematic, multi-phase process where each stage builds upon the last, ensuring that every corner is addressed and no detail is overlooked.
Phase 1: The Rough Clean
This initial phase is about clearing the battlefield. It often takes place during the final days of construction or immediately after the contractors have departed. The primary objective of the rough clean is to remove the bulk of the large-scale debris, making the space safe and accessible for the meticulous, detailed cleaning to follow.
A standard rough clean includes:
The collection, removal, and proper disposal of all large trash and debris. This includes wood scraps, leftover materials, hardware packaging, and cardboard boxes.
Scraping and sweeping up large piles of drywall dust, sawdust, and other major accumulations from the floors.
Peeling off all protective plastic films from windows, doors, appliances, and fixtures.
A preliminary pass with a heavy-duty shop-vac over all surfaces to remove the thickest, most obvious layers of dust.
At the conclusion of the rough clean, the space will still be visibly dirty, but it will be free of major hazards and clutter. This crucial first step clears the way for the much more intensive and detailed work of the deep clean.
Phase 2: The Deep Clean
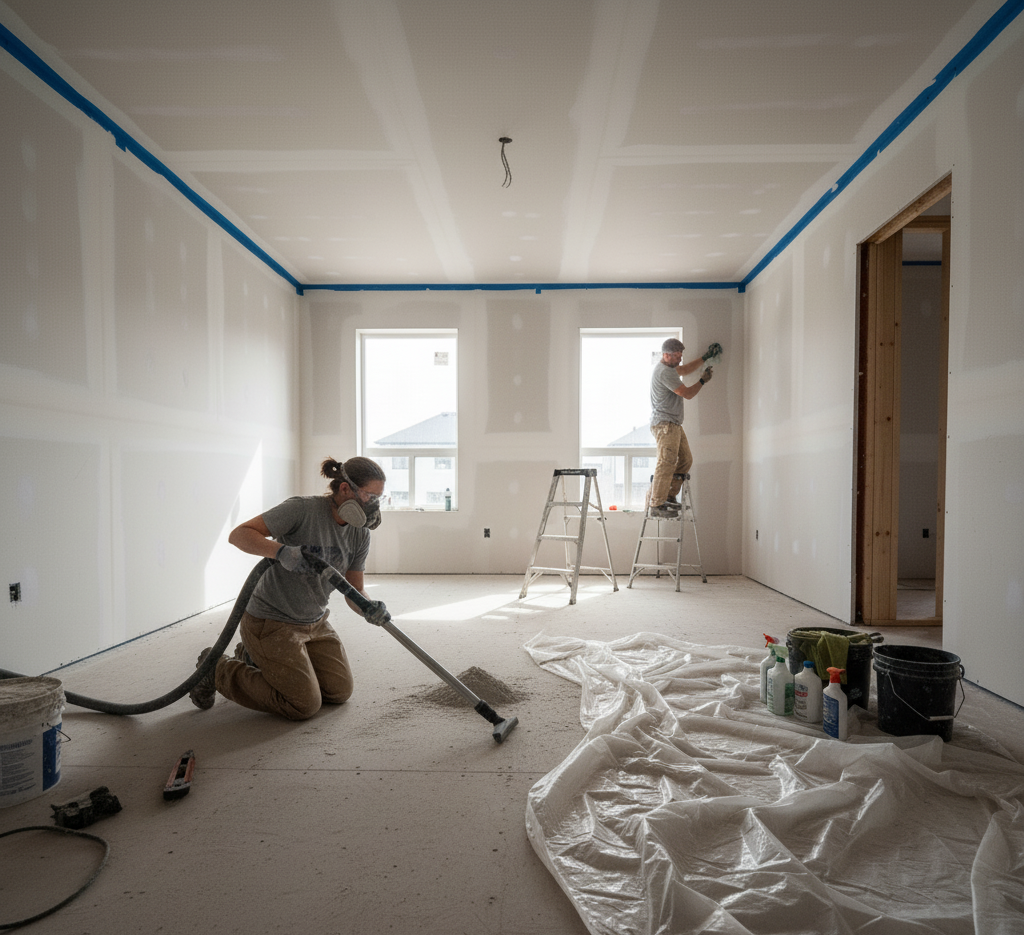
This is the heart and soul of the post-construction cleaning process. It is a methodical, top-to-bottom cleaning of every single surface in the renovated area. The guiding principle is universal to all serious cleaning: start high and work your way down. This ensures that any dust or debris you dislodge from a high surface falls onto a surface you have yet to clean, preventing you from having to re-clean areas.
A comprehensive deep clean checklist is exhaustive:
Ceilings, Walls, and High Fixtures:
Wiping down ceilings and walls to remove the fine layer of settled dust. This may involve dry dusting or using a damp microfiber cloth, depending on the paint finish.
Cleaning all light fixtures, ceiling fans, and recessed lighting, both inside and out.
Wiping down the tops of all door frames, window casings, and any high-up molding.
Doors and Windows:
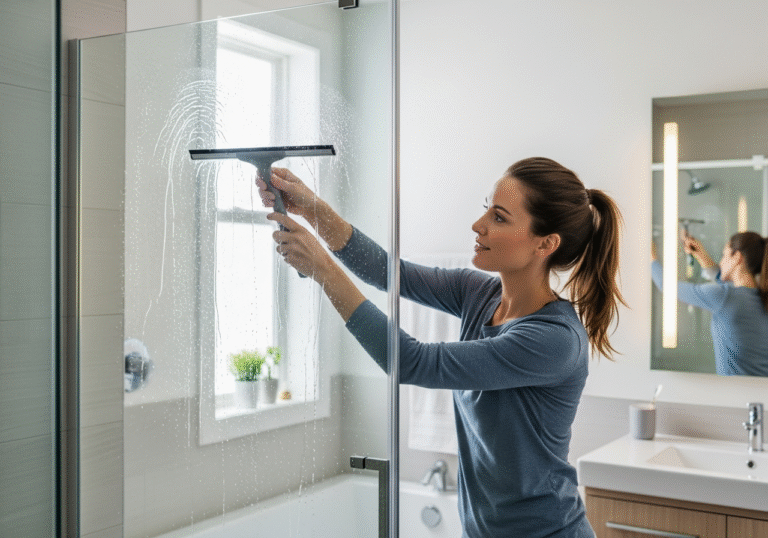
Cleaning both sides of every window and glass door. This critical step includes carefully scraping off any paint splatters, caulk, or sticker residue with a professional razor scraper.
Thoroughly cleaning window sills and tracks. These areas are notorious collection points for a surprising amount of sawdust and drywall debris.
Wiping down every part of the doors, including the hinges, doorknobs, and the often-forgotten top edge where dust loves to settle.
Trim, Baseboards, and Cabinetry:
Wiping down every inch of trim, molding, baseboards, and any built-in shelving. This is often a detailed, hands-and-knees job that requires patience.
Cleaning the inside and outside of all cabinets, cupboards, and drawers. This is especially vital for kitchens and bathrooms. You must ensure these storage spaces are completely free of sawdust and drywall dust before storing clean dishes, food, or linens.
Kitchen and Bathrooms:
Cleaning, disinfecting, and polishing all countertops.
Scrubbing and shining sinks and faucets, making sure to remove any plumber’s putty or installation residue.
Cleaning the exteriors and interiors of all new appliances.
Thoroughly cleaning showers, bathtubs, and toilets to remove the fine film of dust that has inevitably settled on them.
Polishing all fixtures, mirrors, and chrome to a brilliant shine.
Floors:
The floors are the final step in the deep clean. This is a multi-stage process.
First, all edges and corners are detailed with a vacuum crevice tool to suck up the dust that brooms and mops miss.
Hard surface floors (like hardwood, tile, or LVP) are then vacuumed and meticulously mopped. Depending on the level of grime, this may require multiple passes with fresh water.
Carpets are vacuumed thoroughly with a commercial-grade vacuum cleaner. This often involves multiple passes in different directions to pull up the fine dust that has settled deep into the pile.
Phase 3: The Final
After the intense deep clean is finished, it is wise to let the space rest for 24-48 hours. This allows any remaining airborne dust that was agitated during the cleaning process to settle one last time. The final phase is a light, touch-up clean performed just before the homeowners are ready to move in their furniture and belongings.
This final pass is the polish on the project:
A final, light vacuum of all floors and carpets.
Wiping down all horizontal surfaces, such as countertops, tables, and window sills, to capture the last traces of settled dust.
Checking for any smudges or fingerprints on glass, mirrors, and shiny fixtures.
The goal of this phase is to deliver a truly pristine, sparkling, and move-in-ready space that feels brand new from every angle.
3.The Essential Tools for a True Post-Construction Clean
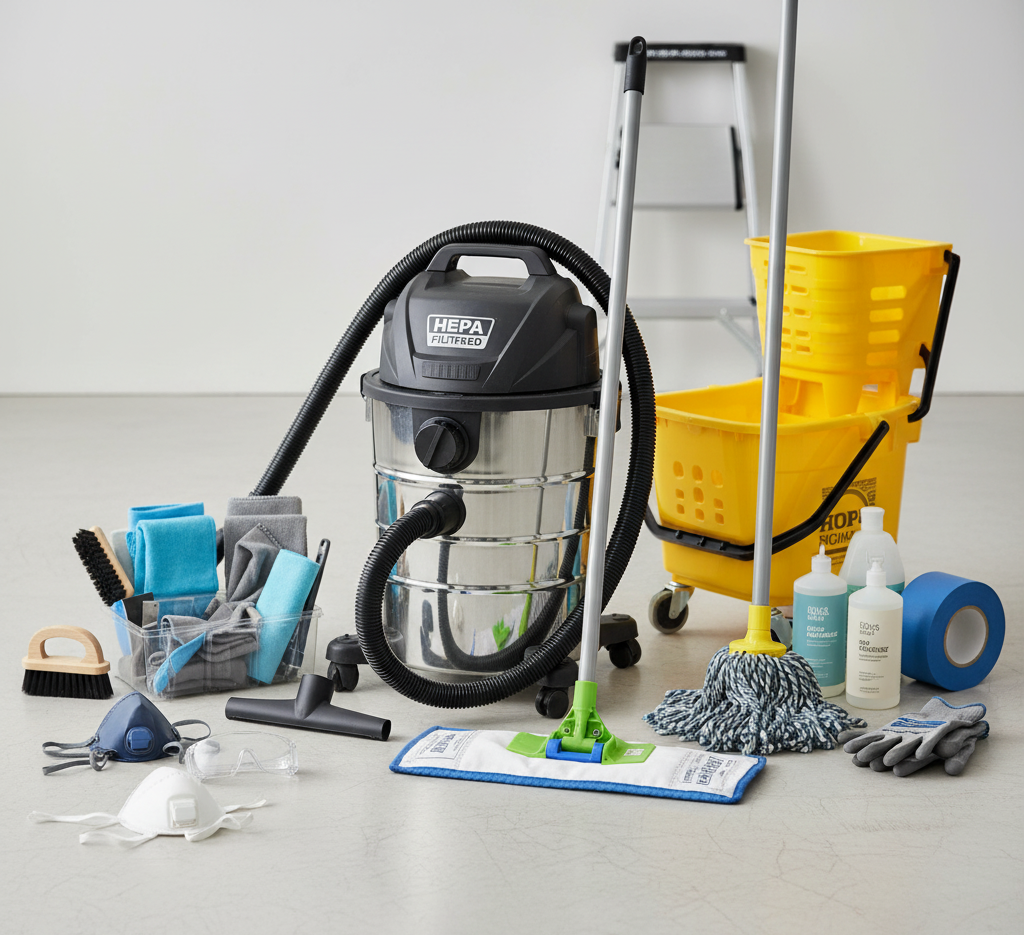
The effectiveness of this process is heavily reliant on having the right equipment. This is not a job for standard household cleaning supplies.
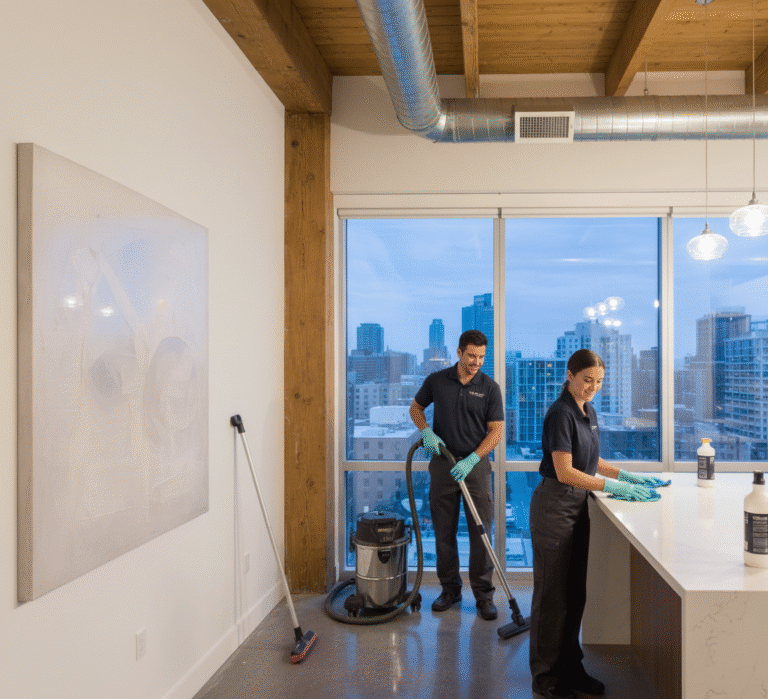
Shop-Vac with a HEPA Filter: This is the most crucial piece of equipment. A household vacuum will quickly clog with fine dust, and many will simply exhaust these microscopic particles back into the air. A shop-vac is built for heavy debris, and a HEPA (High-Efficiency Particulate Air) filter is essential for trapping the tiniest dust particles and ensuring they are permanently removed from the environment.
Microfiber Cloths: A large supply of high-quality microfiber cloths is non-negotiable. Their split fibers are designed to trap and hold dust particles, whereas cotton rags or paper towels tend to push dust around, smearing it across surfaces.
A-Frame Ladders and Extension Dusters: For safely and effectively reaching high ceilings, light fixtures, and the tops of cabinets and windows.
Scrapers: Both plastic scrapers (for more delicate surfaces) and razor blade scrapers (for glass and durable tile) are necessary for removing stubborn stickers, paint, and caulk without causing damage.
Appropriate Cleaning Solutions: This includes a good degreaser for kitchens, a pH-neutral floor cleaner that is safe for the specific new flooring material, and a mineral deposit remover for bathroom fixtures.
The journey from a blueprint to a finished living space is a long one. A post-construction clean is the final, essential chapter in that story. It is a meticulous, labor-intensive process that bridges the gap between the chaos of construction and the calm of a clean home. It is an investment in the health, beauty, and enjoyment of your newly created space.
From the fine dust hiding in your air ducts to the stubborn sticker residue on your new windows, a post-construction clean is an exhaustive project. For a truly professional finish that handles every detail, Toronto Shine Cleaning provides the specialized expertise and heavy-duty equipment needed to transform your new construction into a pristine, move-in-ready home.


