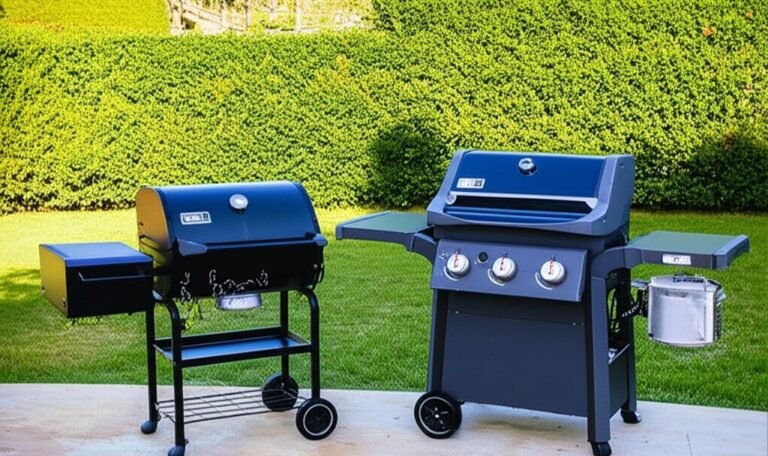
The residue of past meals clings to your barbecue grates. It’s a combination of carbonized sugars from marinades, polymerized fats from meats, and the general ash and debris of open-flame cooking. This build-up is not a badge of honor or a layer of “seasoning.” It is a detriment to your cooking. It imparts a bitter, burnt flavor to fresh food, causes flare-ups that scorch your meal, and can harbor bacteria. A clean barbecue is not just an aesthetic choice; it is a functional necessity for better-tasting, safer food and for prolonging the life of your equipment. The grates are the most critical component, as they make direct contact with your food.
1.Grill Brush
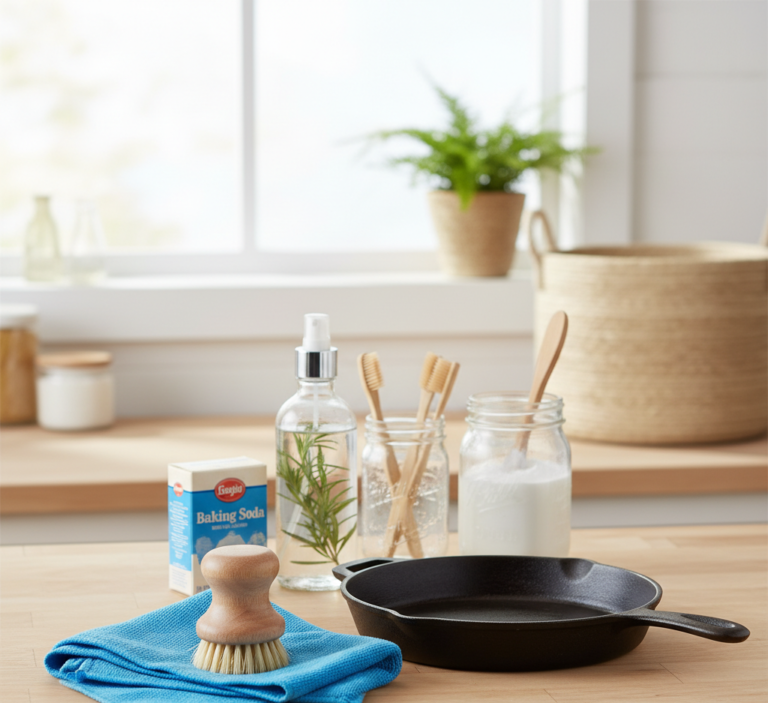
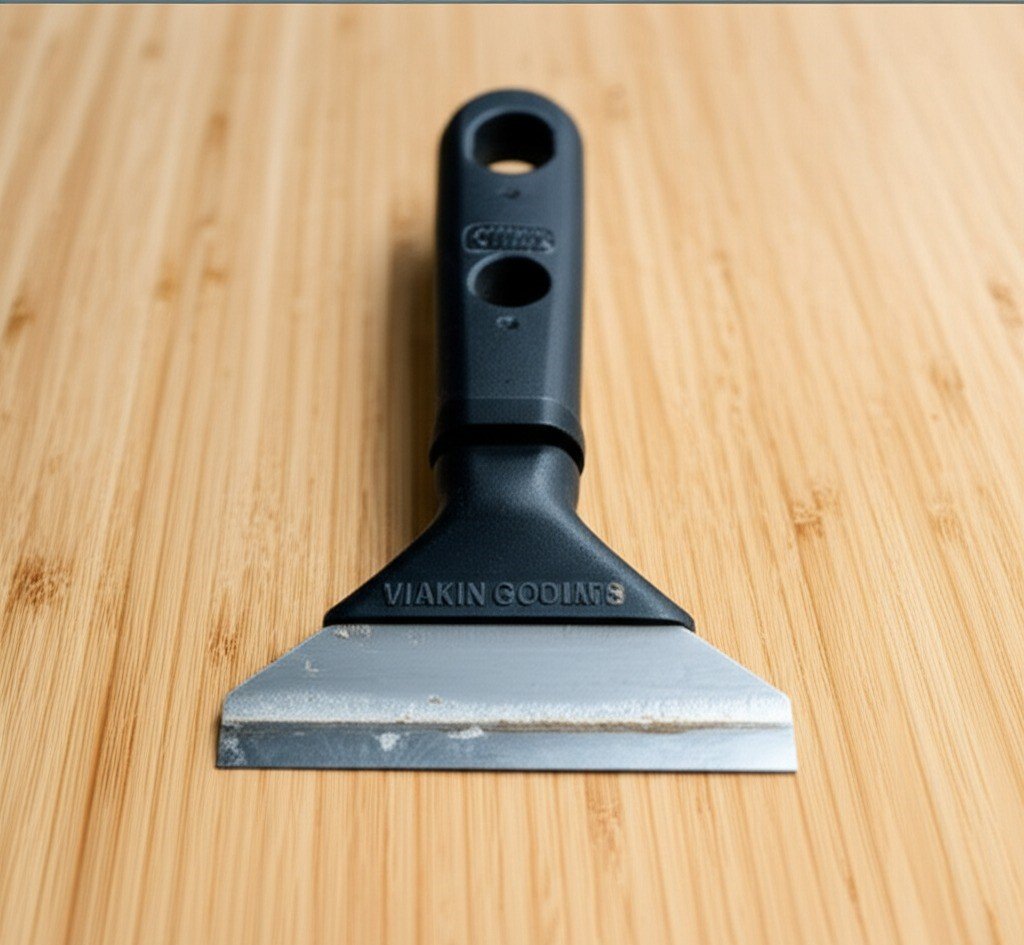
Before you begin any deep cleaning, you need the right tools. Your success is dictated by your preparation. You will need a high-quality grill brush. The debate between traditional wire bristle brushes and bristle-free alternatives is significant. Wire bristles are effective but carry a small risk of detaching and ending up in food. If you use one, inspect it before each use for loose bristles and replace it regularly. Bristle-free brushes, often made of coiled stainless steel or featuring nylon bristles for cool-grate cleaning, are a safer alternative. A long handle is non-negotiable for safety. You will also need a metal or plastic scraper for stubborn, flat deposits, gloves (heavy-duty rubber or nitrile) to protect your hands from grease and cleaning agents, and a bucket for hot, soapy water. For cleaning solutions, simple dish soap with degreasing properties is a workhorse. For more natural methods, distilled white vinegar and baking soda are essential. For extreme cases, a specialized barbecue degreaser or oven cleaner can be used, but with significant caution. Finally, have a collection of microfiber cloths, paper towels, and perhaps a non-abrasive scour pad on hand.

2.Warm Up
The process always begins with heat. This is the single most effective step you can take after every cook and as the precursor to a deep clean. Turn your barbecue on to its highest setting, close the lid, and let it run for 15 to 20 minutes. The intense heat will incinerate most of the fresh food residue, turning it into a dry, white or gray ash. This process, known as pyrolysis, makes the subsequent scraping significantly easier. The goal is to carbonize the gunk, not to cook it further. After the burn-off period, turn off the gas or extinguish the charcoal. While the grates are still very hot, use your grill brush to scrape them clean. Work in the direction of the grate bars. Apply firm, steady pressure. The ash and carbon should flake off relatively easily. The scraper on your brush is useful here for any particularly thick, flat areas of carbon. This immediate post-cook or pre-deep-clean scrape is a fundamental habit that reduces the need for intensive deep cleans.
For a true deep clean, the hot scrape is only the beginning. You must remove the grates from the grill. Ensure they have cooled enough to be handled safely with gloves. Your approach from here depends on the level of grime and the type of grates you have. Cast iron, stainless steel, and porcelain-coated grates have slightly different tolerances.
3.Submerge
The most common and straightforward deep-cleaning method is the soap and water soak. Place the grates in a large utility sink, a bucket, or a plastic tub large enough to submerge them. If you don’t have a container large enough, a heavy-duty trash bag laid inside a tub or even on your driveway can work. Fill the container with the hottest water you can safely handle and a generous amount of degreasing dish soap. Let the grates soak for at least 30 minutes, but several hours or even overnight for severely neglected grates is better. The hot, soapy water will work to soften and dissolve the polymerized grease that the burn-off couldn’t completely eliminate. After soaking, use a stiff, non-abrasive brush or scour pad to scrub every surface of the grates. Pay attention to the corners and undersides. The gunk should come off with moderate effort. Once you are satisfied, rinse the grates thoroughly with clean water to remove all soap residue. Any leftover soap can impart an unpleasant taste to your food. Dry the grates immediately and completely with a cloth or paper towels, especially if they are cast iron, to prevent flash rust.
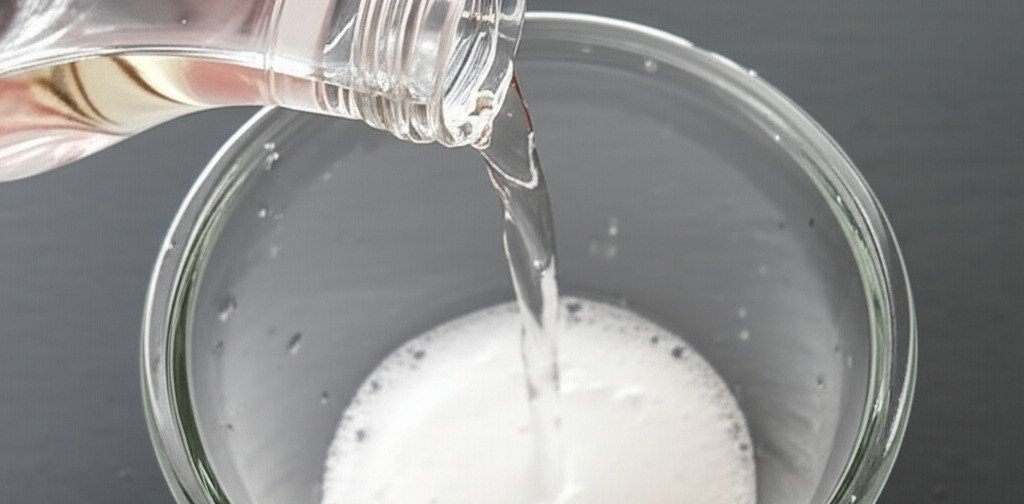
4.Mixtures
For a more natural approach, or for those who prefer to avoid detergents, the vinegar and baking soda method is highly effective. Place the cool grates in a large, heavy-duty trash bag. Pour in a solution of two parts distilled white vinegar to one part water, enough to coat the grates. Seal the bag and let it sit for a few hours or overnight. The acetic acid in the vinegar is excellent at breaking down grease and rust. After the initial soak, open the bag and generously sprinkle baking soda over the grates. The chemical reaction between the acidic vinegar and the alkaline baking soda will create a fizzing foam. This gentle abrasive action helps to lift the loosened grime from the metal. Close the bag again and let it sit for another 20-30 minutes. Then, open the bag and use a scour pad or brush to scrub the grates. The combination of the two agents makes the caked-on residue surprisingly easy to remove. Rinse them thoroughly with water and dry them completely. This method is particularly good for grates with surface rust.
5.Protection
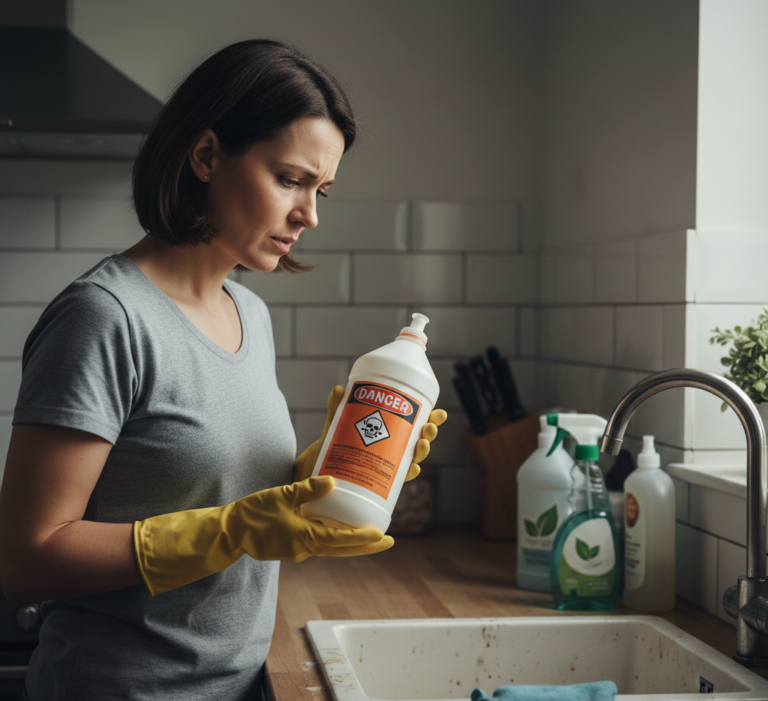
In extreme situations, where layers of black carbon have fused to the grates over years of neglect, you may consider a commercial oven cleaner or a dedicated barbecue degreaser. This is the most aggressive option and requires caution. This method should be performed outdoors in a well-ventilated area, away from children and pets. Always wear gloves and eye protection. Place the grates on several layers of newspaper or cardboard to protect the surface underneath. Spray the cleaner evenly over all surfaces of the grates, following the product’s instructions precisely. Typically, you will place the coated grates into a heavy-duty plastic bag, seal it, and let it sit for the recommended time—anywhere from 30 minutes to several hours. The powerful chemicals will dissolve the baked-on carbon and grease. After the waiting period, open the bag carefully, avoiding any fumes. Use a hose to rinse the grates with extreme thoroughness. Any residual oven cleaner is caustic and hazardous if ingested. You must rinse until you are absolutely certain all chemical residue is gone. Scrub with a brush while rinsing to ensure all crevices are clean. Then, wash the grates with soap and water as an extra precaution, rinse again, and dry completely. This method should not be used on porcelain-coated grates unless the product specifically states it is safe, as the harsh chemicals can etch or damage the coating.
While the grates are removed and being cleaned, you must address the rest of the barbecue’s interior. Look inside the cook box. You will see heat tents or “flavorizer bars” covering the burners. These metal shields are designed to catch drippings, vaporize them to create smoke and flavor, and protect the burners from clogs. They get just as dirty as the grates. Remove them and scrape them clean with your scraper or brush. They can also be soaked in hot, soapy water.
Next, inspect the burner tubes. They have small holes or ports where the gas exits. These ports can become clogged with debris and grease, leading to uneven heating and yellow, inefficient flames. Use a clean grill brush or a dedicated venturi brush to gently clean the exterior of the burners. For clogged ports, carefully use a paperclip or a small pin to clear each hole. Do not use anything that could break off inside the port or enlarge the hole, as this can alter the gas flow.
6.Scraper
The interior of the cook box itself needs attention. Use your scraper to remove all the flaking carbon and grease from the sides and bottom of the grill lid and basin. This material can flake off during cooking and land on your food. Scrape everything down into the bottom of the cook box. Once everything is loosened, use a wet/dry shop vacuum to suck out all the loose debris. This is far more effective than trying to wipe it out.
At the end, locate the grease management system. This is usually a slide-out tray and a disposable or reusable catch pan at the bottom of the grill. This is where all the rendered fat and grease collects. It is a fire hazard if left to accumulate. Scrape the tray clean of all hardened grease and wash it with hot, soapy water. If you use a disposable pan, replace it. If your catch pan is reusable, empty it and wash it thoroughly.
Once all components are clean and completely dry, it’s time for reassembly. Place the grease tray, burner tubes, and heat tents back in their proper positions. The last step before returning the grates is arguably as important as cleaning them: seasoning. Seasoning creates a protective, non-stick layer on your grates that prevents food from sticking and protects the metal, especially cast iron, from rust. To season your clean, dry grates, apply a very thin layer of a high-smoke-point cooking oil. Canola, grapeseed, or vegetable oil are all excellent choices. You are not trying to drench them; you are aiming for a barely-there sheen. Wipe off any excess with a paper towel. Place the oiled grates back in the barbecue. Turn the grill on to a medium-high heat, close the lid, and let it heat up for about 15-20 minutes, or until the oil stops smoking. This process polymerizes the oil, bonding it to the metal to create that hard, protective, non-stick finish. Your barbecue is now not just clean; it is primed and ready for its best performance.
This entire process, from the initial burn-off to the final seasoning, is a comprehensive reset for your barbecue. Performing a quick scrape after every use will dramatically extend the time between these necessary deep cleans. But undertaking a full deep clean at the beginning and end of the grilling season will ensure your equipment lasts for years and the food you cook on it is always delicious and safe.
From the initial high-heat burn-off to the meticulous scrubbing of the grates, the clearing of burner ports, and the final, crucial seasoning process, a thoroughly clean barbecue is essential for taste, safety, and longevity. For those in the Greater Toronto Area who prefer a professional touch, Toronto Shine Cleaning provides this level of meticulous care, ensuring your grill is restored to its optimal condition for a perfect cooking experience.