A Water Temperature Guide: Never Wash These 7 Things in Hot Water
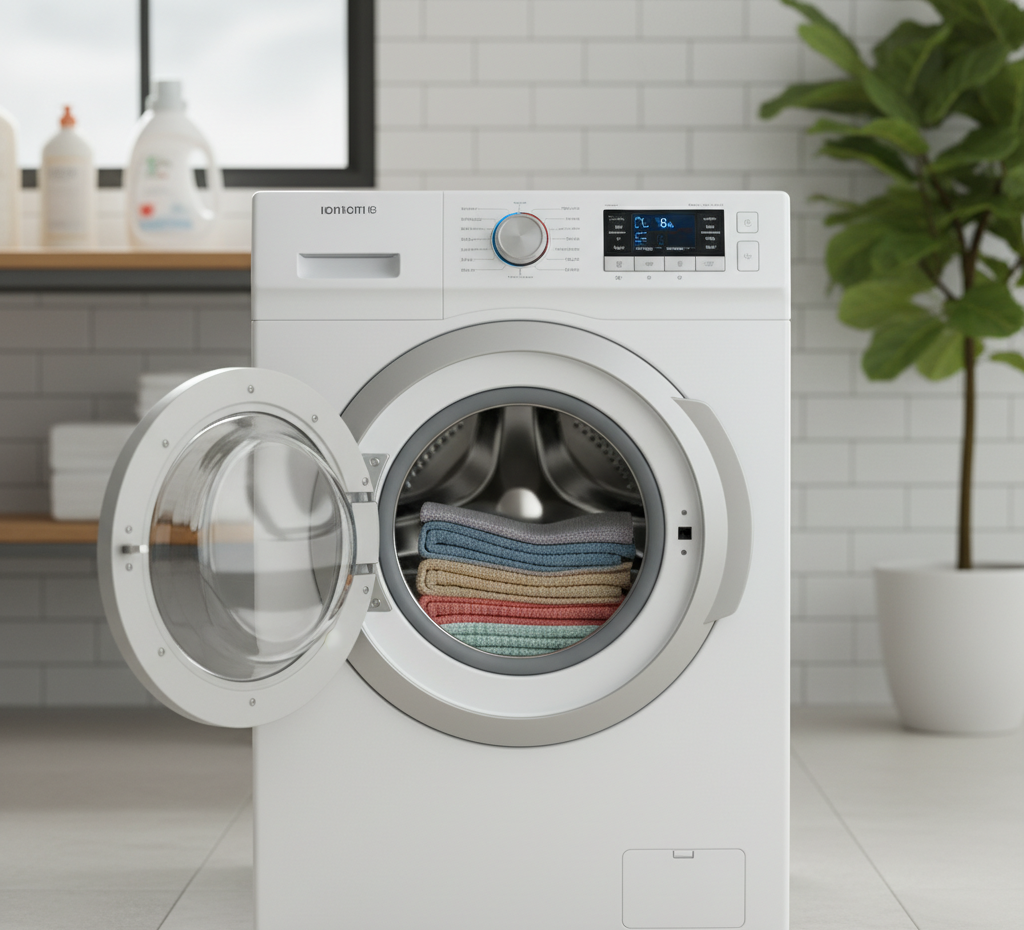
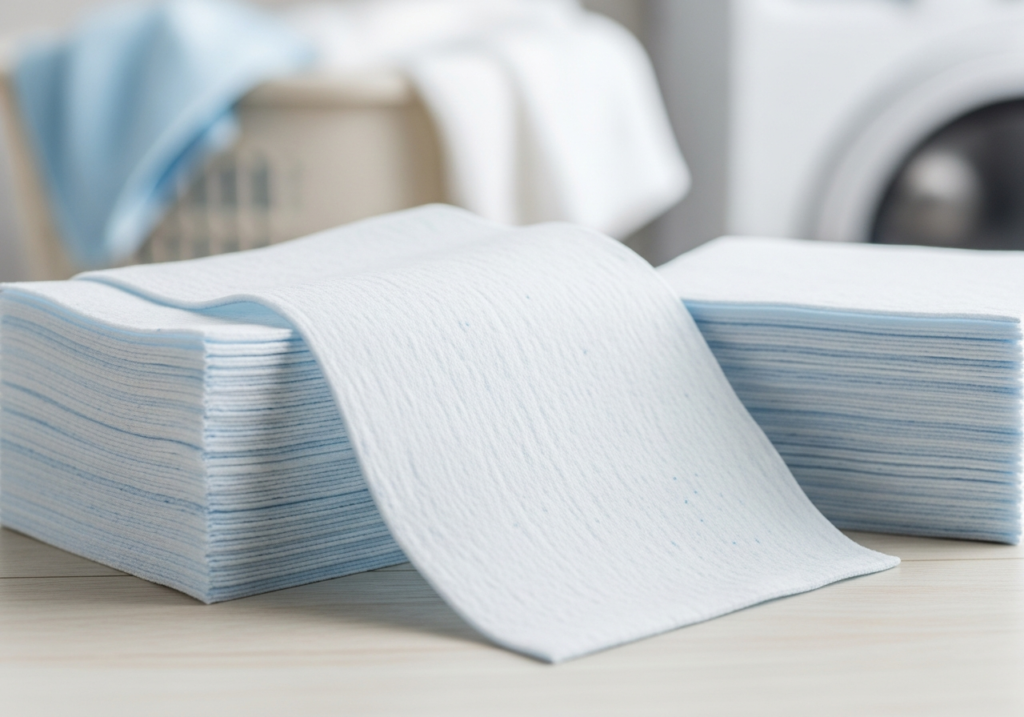
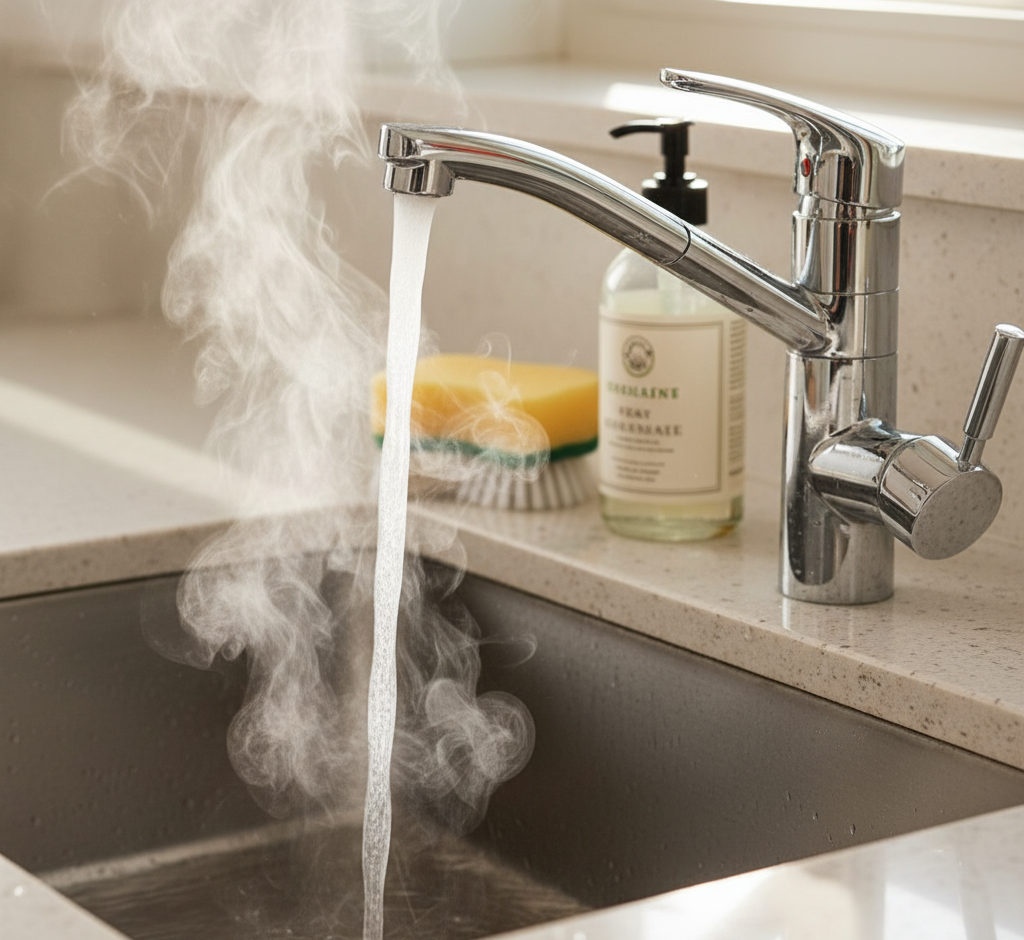
Water temperature is one of the most powerful variables in any cleaning process, acting as a silent catalyst that can either make a task infinitely easier or cause irreversible damage. In both laundry and household cleaning, the choice between hot, warm, and cold water is often made out of habit rather than a deliberate understanding of the science involved. Hot water is frequently associated with a superior clean, credited with the ability to dissolve grease, kill bacteria, and blast away stubborn grime. While this is true in many scenarios, heat is also a highly reactive force that can set stains permanently, shrink delicate fabrics, warp plastics, and ruin expensive flooring. Mastering the proper application of hot water requires understanding the chemical and physical properties of the materials you are cleaning, ensuring you harness the power of heat effectively without causing harm. Aggressive To understand what can and cannot be washed with hot water, it is helpful to look at the molecular level. Hot water possesses significantly more kinetic energy than cold water. Its molecules are moving faster and more aggressively, which allows it to more effectively agitate and break down the bonds holding dirt and oils to a surface. Heat acts as a solvent accelerator, increasing the rate at which detergents dissolve and chemical reactions take place. This increased energy is what makes so effective at melting fats and oils, which is a cornerstone of cleaning in the kitchen and on heavily soiled fabrics. However, this same energy can be too aggressive for materials with weaker structures or those that are sensitive to temperature shifts. Let us first examine the world of laundry, where the question of water temperature is most frequently asked and where the consequences of a mistake are most visible. There is a specific category of items and stains where hot water is not only safe but is the absolute best choice for achieving a hygienic, thorough clean. Heavily soiled white fabrics made from durable natural fibers like cotton and linen are the prime candidates for hot water washing. This includes bed sheets, bath towels, kitchen dishcloths, and durable white undergarments. These items are in constant contact with our bodies, absorbing sweat, dead skin cells, and body oils, or in the case of kitchen cloths, food residue and grease. Typically defined as sixty degrees Celsius or one hundred and forty degrees Fahrenheit, is necessary to effectively melt and wash away these heavy organic oils. Sanitization Furthermore, hot water at this temperature is required for sanitization. It is the only temperature high enough to effectively kill dust mites, which thrive in bedding, and to neutralize many common bacteria and viruses. If someone in your household has been sick, washing their bedding, towels, and clothing in hot water is a crucial step in preventing the spread of illness. The heat provides a level of disinfection that cold or even warm water simply cannot achieve, ensuring that these high-contact items are truly safe and hygienic to use again. However, the list of items that cannot, and should not, be washed with hot water in the laundry room is extensive and requires careful attention. The most notorious victim is wool. Wool fibers are made of protein and possess a microscopic structure of overlapping scales, similar to the scales on a human hair or a pinecone. When wool is subjected to hot water and the mechanical agitation of a washing machine, these scales open up and become interlocked with one another. This process, known as felting, causes the fabric to shrink dramatically and become dense, stiff, and coarse. Once a wool garment has felted and shrunk in hot water, the process is largely irreversible, and the garment is ruined. For this reason, wool, as well as other delicate animal fibers like cashmere and mohair, must always be washed in cool or cold water with minimal agitation. Silk is another delicate natural protein fiber that is highly sensitive to heat. Hot water can dull the natural sheen of silk, weaken the fibers making them prone to tearing, and cause the fabric to lose its soft, smooth texture. Silk should always be treated with the utmost gentleness, washed by hand or on a delicate cycle in cold water with a specialized, gentle detergent. Synthetic Fabrics Moving to synthetic fabrics, hot water poses a different set of problems. Many modern clothes contain elastic fibers like spandex or elastane to provide stretch and comfort, found in everything from athletic wear and leggings to the waistbands of underwear and socks. Heat is the ultimate enemy of elastic. Washing these items in hot water, or drying them on high heat, causes the elastic polymers to break down and become brittle. Over time, the garments will lose their stretch, become misshapen, and effectively wear out long before their time. To preserve the fit and longevity of your activewear and any garment with stretch, cold water is always the recommended choice. Similarly, many synthetic fabrics like polyester and nylon can be sensitive to high heat. While they are more durable than wool or silk, hot water can cause these fabrics to develop permanent wrinkles, can weaken the fibers, and can contribute to the accumulation of static electricity. More importantly, hot water is the primary cause of color bleeding in laundry. The heat opens up the fibers of the fabric, allowing the dyes to escape into the wash water, leading to faded clothes and the dreaded accidental dyeing of other items in the load. To keep your brights bright and your darks dark, washing in cold water is the most effective strategy, as it keeps the fabric fibers closed and the dyes locked inside. Protein-Based Stains The rules for hot water in the laundry are dictated not just by the fabric type, but also by the nature of the stain you are trying to remove. This is where the most common mistakes are made. Hot water is catastrophic for protein-based stains. This category includes some of the most common household
A Water Temperature Guide: Never Wash These 7 Things in Hot Water Read More »