When it comes to your Indoor Air Quality After Renovation, appearances can be deceiving. The final nail is driven, the last coat of paint is dry, and your home renovation is officially complete. You have invested significant time, financial resources, and emotional energy into transforming your living space, and the visual result is undoubtedly stunning.” However, beneath the surface of this newly updated and beautiful environment lies a significant, invisible problem. The indoor air quality after renovation is typically abysmal, saturated with a complex, lingering mixture of microscopic debris and chemical gases. Breathing this compromised air is not merely unpleasant; it poses a genuine, immediate hazard to your respiratory health and overall well-being. During the construction process, building materials are aggressively cut, sanded, glued, and painted, releasing millions of fine particulates and synthetic chemical compounds directly into the enclosed environment of your home.
These contaminants do not simply fall heavily to the floor and stay there. Because of their microscopic size, they remain suspended in the air for extended periods, circulate aggressively through your heating and cooling systems, and infiltrate every conceivable corner, crevice, and fabric in the house. Addressing the indoor air quality after renovation is therefore an absolute necessity, a critical and non-negotiable phase of the project that ensures your beautiful new space is actually safe to inhabit. Ignoring this essential step can lead to persistent dry coughs, irritated eyes, chronic headaches, skin rashes, and severe allergic reactions for you, your family, and your pets. A standard weekly cleaning routine, using a regular broom and a basic household vacuum, is completely insufficient for this extreme level of contamination. In fact, standard cleaning methods can often make the situation worse by kicking settled dust back into the breathing zone. It requires a targeted, highly methodical approach designed specifically to extract fine particulate matter and neutralize toxic chemical emissions, restoring the atmosphere of your home to a clean, breathable, and healthy state.
Indoor air Quality After Renovation
To effectively clean the indoor air and manage your indoor air quality after renovation, you must first understand exactly what you are trying to remove. The contaminants generated during a residential remodeling project fall into two primary and distinct categories: physical particulate matter and chemical emissions. Knowing how each behaves in an enclosed space dictates the method required for their removal.
The most obvious and pervasive physical pollutant is construction dust. You must understand that this is not the standard household dust made of dead human skin cells, pet dander, and soft fabric fibers. Renovation dust is a heavy, gritty, and highly abrasive combination of pulverized building materials. The chief offender in almost every project is drywall dust, which is composed primarily of gypsum and silica. When joint compound on drywall is sanded smooth, it shatters into an ultrafine, chalky powder that is so exceptionally light it can remain airborne for days, riding the slightest air currents from room to room. Inhaling silica dust is highly irritating to the mucous membranes and can cause long-term respiratory damage if exposure is prolonged. Alongside this pervasive drywall dust, the air will be thick with fine sawdust from cutting lumber, microscopic, needle-like shards of fiberglass from installing new insulation, and pulverized cement or tile dust from masonry and bathroom upgrades. These physical particulates coat the inside of your lungs just as easily and thoroughly as they coat your new kitchen counters, severely compromising your indoor air quality after renovation.
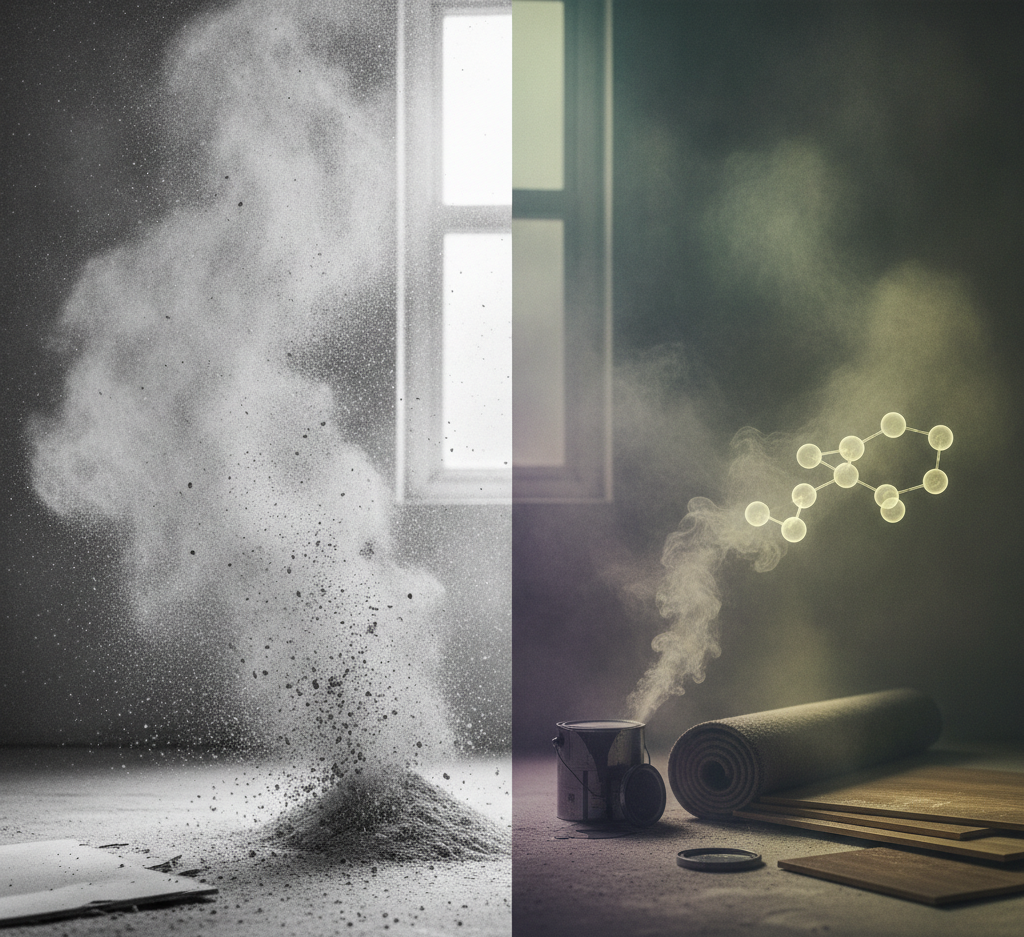
The second category of pollutants is entirely invisible to the naked eye but arguably much more insidious: Volatile Organic Compounds, universally known as VOCs. These are toxic chemical gases emitted by the brand new materials introduced into your home, a continuous chemical evaporation process known as off-gassing. Fresh paint is a massive and notorious source of VOCs, releasing harsh solvents and chemical binders into the air as it dries and cures on the walls. New carpeting, along with the thick adhesives used to glue it down, emits a potent cocktail of industrial chemicals, frequently including formaldehyde and benzene. Engineered wood products, such as laminate flooring planks, MDF baseboards, and particleboard kitchen cabinets, are held together by synthetic resins and glues that continuously off-gas for months after installation. Even the heavy varnishes and polyurethanes used to seal hardwood floors or restore wooden furniture release high concentrations of noxious fumes. As these materials sit in your home, they slowly evaporate these toxic chemicals into the indoor air at room temperature. The characteristic “new house smell” is not a sign of cleanliness or freshness; it is the distinct, heavy chemical odor of concentrated VOCs. Prolonged exposure to these chemical pollutants is the primary reason why poor indoor air quality after renovation can trigger severe headaches, dizziness, nausea, and exacerbate asthma and other chronic respiratory conditions.
How to Clean and Restore Indoor air Quality After Renovation
Restoring the indoor air quality after renovation requires a multi-faceted, aggressive strategy that combines powerful ventilation, high-efficiency mechanical filtration, and meticulous physical cleaning techniques. You cannot rely on a single method; the physical dust and the chemical gases must be attacked simultaneously.
1.Ventilation
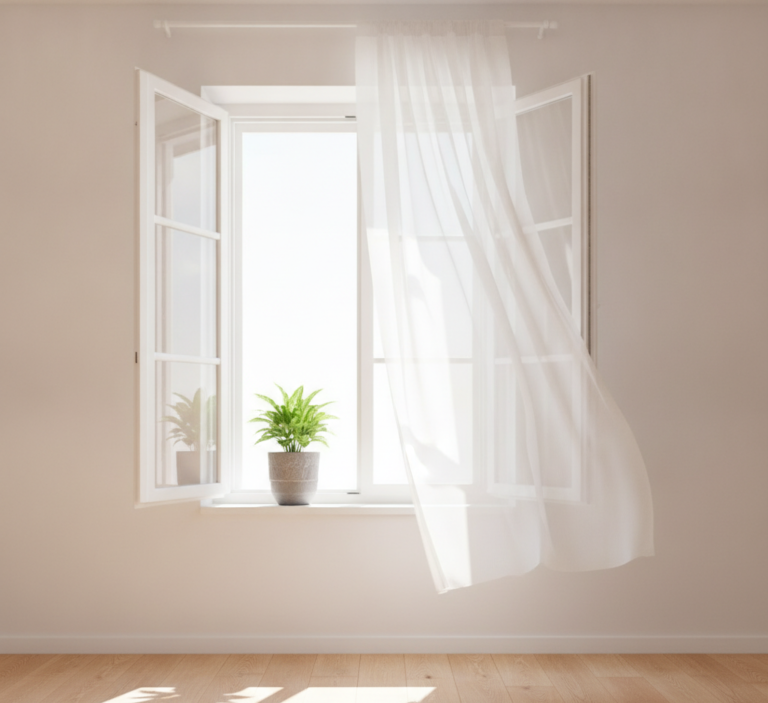
The absolute most effective way to immediately improve indoor air quality after renovation and reduce chemical concentration is to dilute the contaminated indoor air with fresh outdoor air. This means maximizing ventilation at every opportunity. Open every window and exterior door in the renovated area, as well as in all the surrounding rooms. Use large box fans or industrial window fans to create a powerful, continuous cross-breeze. Position one fan at a window blowing fresh air inward, and position another fan at a window on the opposite side of the room blowing the stale, contaminated air outward. This constant, forced cycling of air physically pushes the suspended dust particles and the highly concentrated VOC fumes out of the house. You should maintain this extreme level of ventilation not just during the active cleaning process, but for several hours a day over the course of the first few weeks following the project, as the off-gassing of paints and adhesives is a continuous, slow-release process.

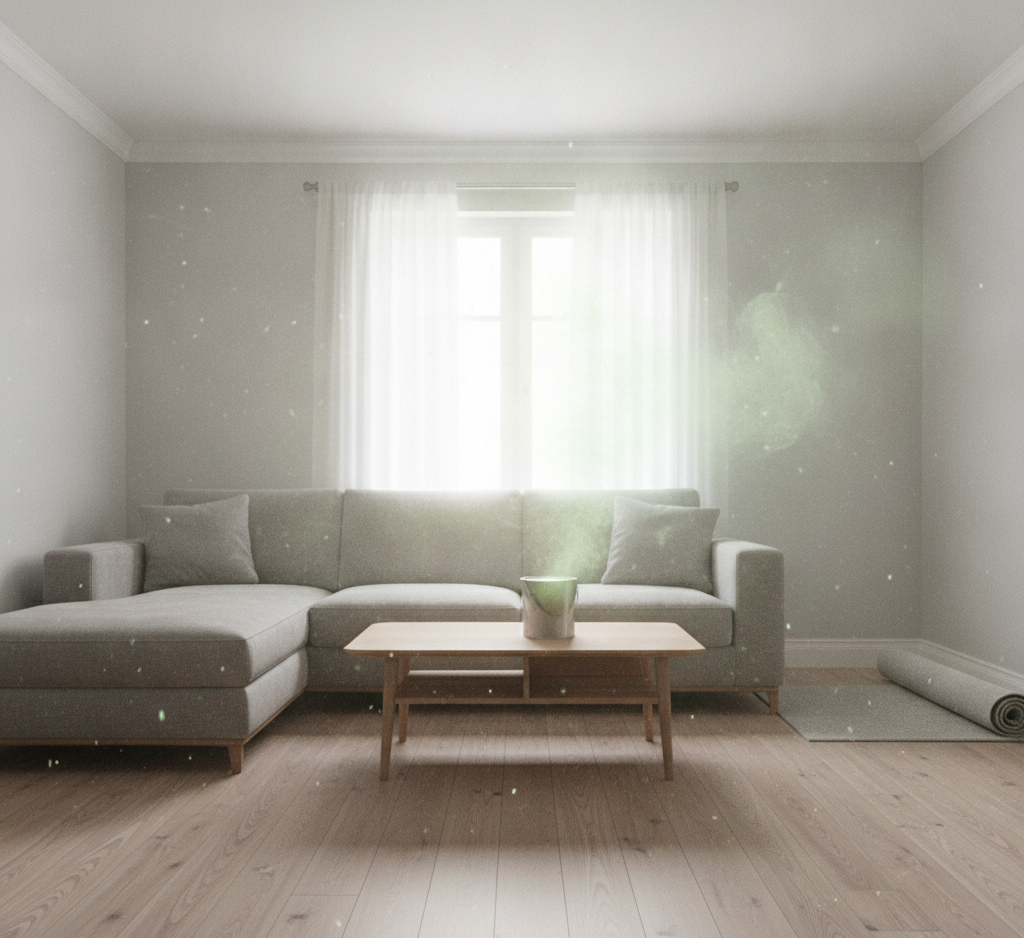
2.Air Purifier
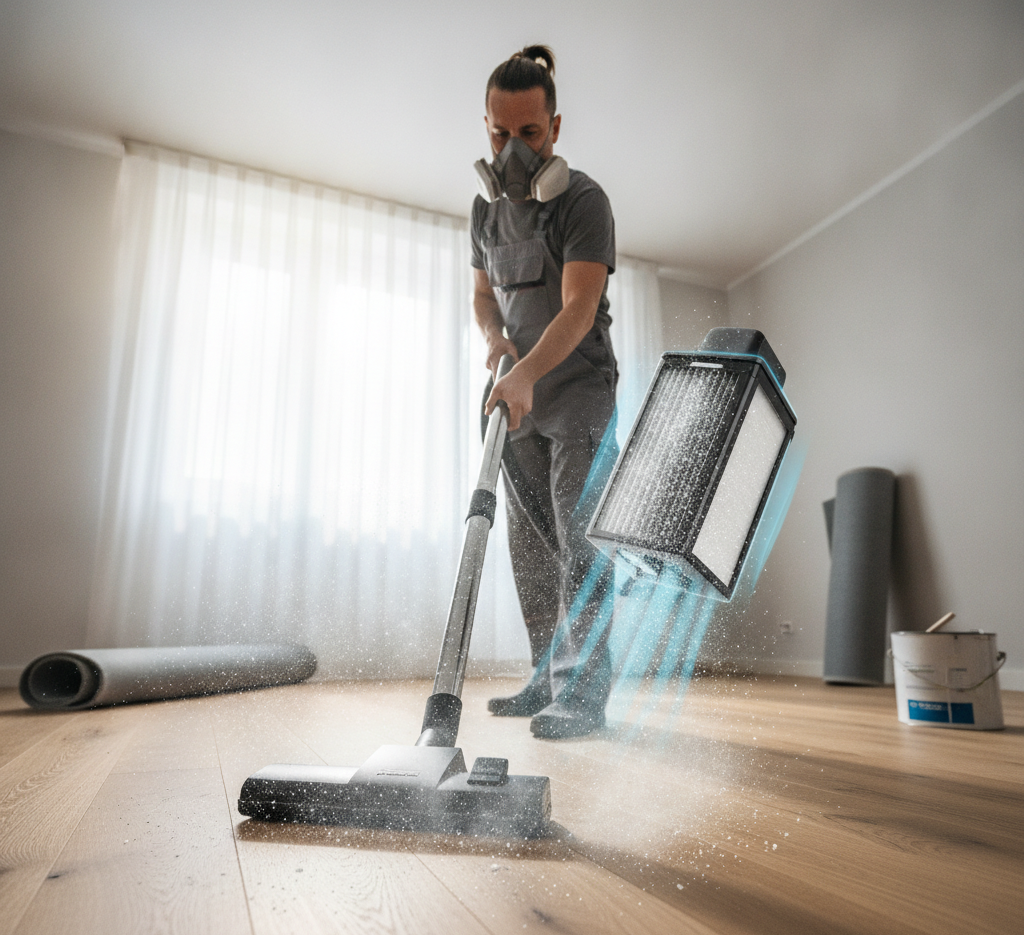
While ventilation actively pushes dirty air out, mechanical filtration is required to capture and trap the contaminants circulating within the home. The most critical tool for this task is a heavy-duty, standalone air purifier equipped with a true HEPA (High-Efficiency Particulate Air) filter and a thick activated carbon filter. The HEPA filter is a dense mechanical web designed to physically trap microscopic particles, capturing the floating drywall dust, sawdust, and dangerous fiberglass shards. The activated carbon filter is equally important, as it utilizes the scientific principle of adsorption to chemically trap and neutralize the invisible VOC gases, formaldehyde, and lingering paint fumes. Place the air purifier directly in the center of the newly renovated space and run it continuously on its highest setting for at least forty-eight to seventy-two hours, moving it to different rooms as necessary to scrub the air throughout the house.
3.HVAC System
Concurrently, you must address your home’s central HVAC system. The ductwork acts as a superhighway for dust, pulling it from the active construction zone and distributing it to every other clean room in the house. Before you turn on your heating or central air conditioning, you must replace the standard furnace filter with the highest quality pleated filter your system can accommodate to catch the fine dust. Check this filter daily during the first week and replace it repeatedly, as it will clog with construction dust with shocking rapidity. If the renovation was extensive, hiring a professional to deep clean the air ducts is strongly advised to remove the heavy, settled debris hidden within the walls.
4.High-Quality Vacuum
The final component of cleaning the air is permanently removing the settled dust from all physical surfaces before it can become airborne again. This requires a strict adherence to a dry-cleaning phase followed immediately by a wet-cleaning phase. Begin by vacuuming every single surface in the room, starting from the ceiling and working down to the floor, using a high-quality vacuum equipped with a completely sealed HEPA filtration system. A standard household vacuum will simply suck up the fine drywall dust and blow it right back out the exhaust port, making the indoor air quality after renovation significantly worse. Vacuum the walls, the windowsills, the inside and outside of all cabinets, the light fixtures, and finally the floors.
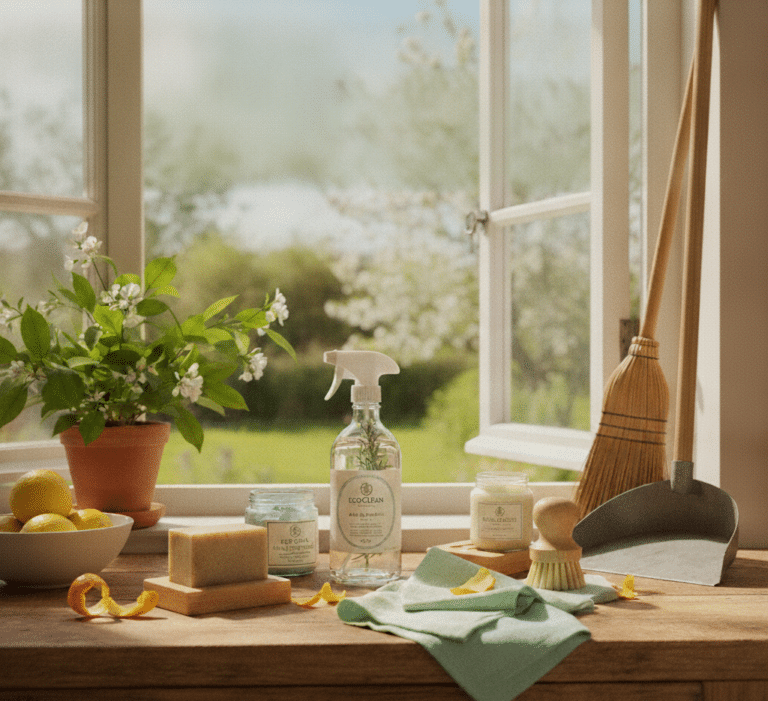
5.Extra Tips
Once the dry dust is mechanically captured, you must wet-clean the area to trap the remaining microscopic residue. Use a clean microfiber cloth slightly dampened with plain warm water to wipe down the walls, baseboards, and hard surfaces. Microfiber is absolutely essential for this task, as its split synthetic fibers physically trap and hold the abrasive dust rather than just pushing it around into a muddy smear. Mop the hard floors repeatedly, changing the rinse water constantly until it runs perfectly clear. You can also place bowls of baking soda or activated charcoal in the corners of the room to act as passive odor absorbers, pulling residual paint smells from the air over time. By meticulously removing the settled dust and absorbing the fumes, you prevent pollutants from being kicked back up into the breathing zone every time someone walks through the room or opens a door.
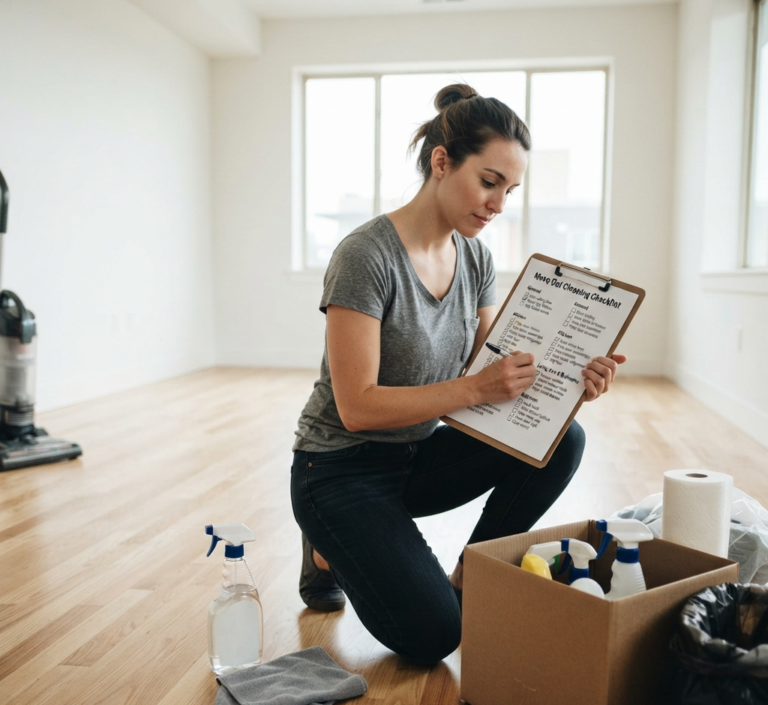
Practical Checklist
Executing a successful post-renovation cleanup requires a structured and highly orderly approach to ensure no crucial step is missed in the restoration process, as dealing with indoor air quality after renovation is a complex task. Your practical checklist for restoring the atmosphere begins with immediate containment and aggressive ventilation. The very first item on your agenda must be opening all accessible windows and doors to establish a strong cross-breeze, actively flushing the toxic chemical fumes and suspended dust particles out of the house. Once the air is moving, the second step requires you to deploy your mechanical filtration systems. You must position HEPA-certified air purifiers equipped with heavy activated carbon filters directly in the renovated spaces, turning them to their maximum fan setting and leaving them to run continuously.

The third phase of your checklist focuses heavily on protecting the home’s permanent infrastructure. You must immediately inspect your central HVAC system, replacing the standard furnace filter with a high-efficiency pleated filter to trap circulating debris, and you must schedule a professional duct cleaning if the construction dust was severe to clear the hidden pathways. Next, you must systematically capture the settled physical dust working methodically from top to bottom. This involves taking a completely sealed HEPA vacuum and methodically vacuuming the ceilings, the walls, the intricate window tracks, the interior hinges of all new cabinetry, the light fixtures, the ceiling fan blades, and finally, the floors.
Following this exhaustive dry extraction, the next item on your checklist is the detailed wet-wipe down. You must take lightly dampened microfiber cloths and gently wipe every single horizontal and vertical surface to lift the final, stubborn film of construction grit, ensuring you change the water frequently to avoid smearing the dirt across your new finishes. After the hard surfaces are pristine, you must address the soft, porous materials in the home. You must thoroughly wash all curtains, deep-clean the carpets, and vacuum any upholstered furniture that remained in the house during the project, as these textiles act as giant sponges that absorb both the abrasive dust and the foul chemical odors. Finally, conclude your checklist by wiping down all high-touch areas, changing the air purifier filters once they become saturated, and placing bowls of activated charcoal around the room to manage any lingering off-gassing. Working methodically through this exact sequence guarantees that you address the indoor air quality after renovation from every possible physical and chemical angle.
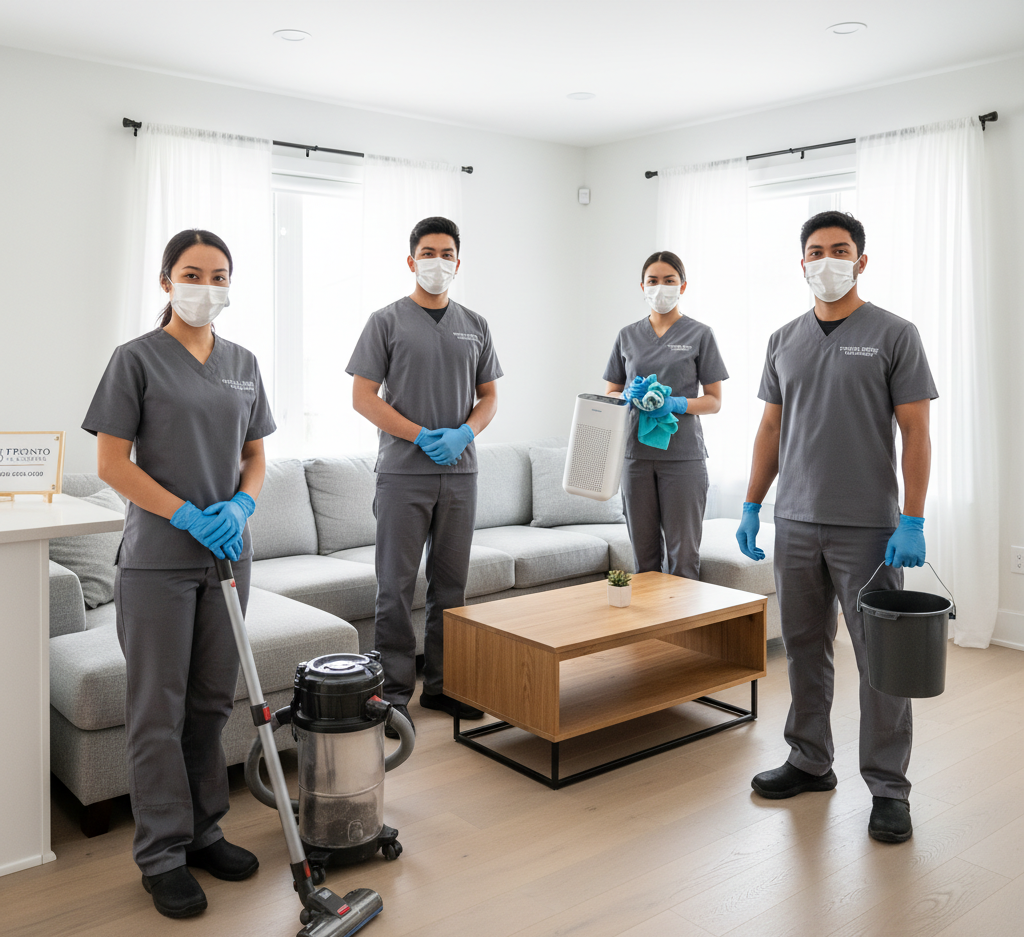
A beautiful new room is only truly finished when the air inside it is safe, fresh, and completely free of toxic off-gassing and abrasive dust particles. If you want to guarantee optimal indoor air quality after renovation, the process cannot be ignored. The aftermath of a remodeling project presents a complex and hazardous cleaning challenge, demanding specific tools, meticulous techniques, and a deep understanding of indoor air pollutants. Attempting to clear heavy construction debris and chemical fumes without the proper equipment can prolong your exposure to hazardous materials and ruin the pristine look of your new upgrades. If the prospect of extracting microscopic drywall powder, neutralizing harsh chemical fumes, and executing this intensive checklist feels overwhelming, allow the professionals to intervene and secure your indoor air quality after renovation. Toronto Shine Cleaning provides comprehensive, top-to-bottom post-renovation cleaning services, utilizing commercial-grade HEPA equipment and expert, systematic methodologies to eliminate harmful airborne particulates, neutralize chemical odors, and meticulously clean every newly installed surface. We handle the heavy lifting of post-construction sanitation so you do not have to, ensuring your entire living space is not just visually stunning, but hygienically safe from top to bottom. Contact Toronto Shine Cleaning today to schedule your post-renovation deep clean, and step into your newly transformed home with absolute confidence, peace of mind, and a breath of truly fresh air.