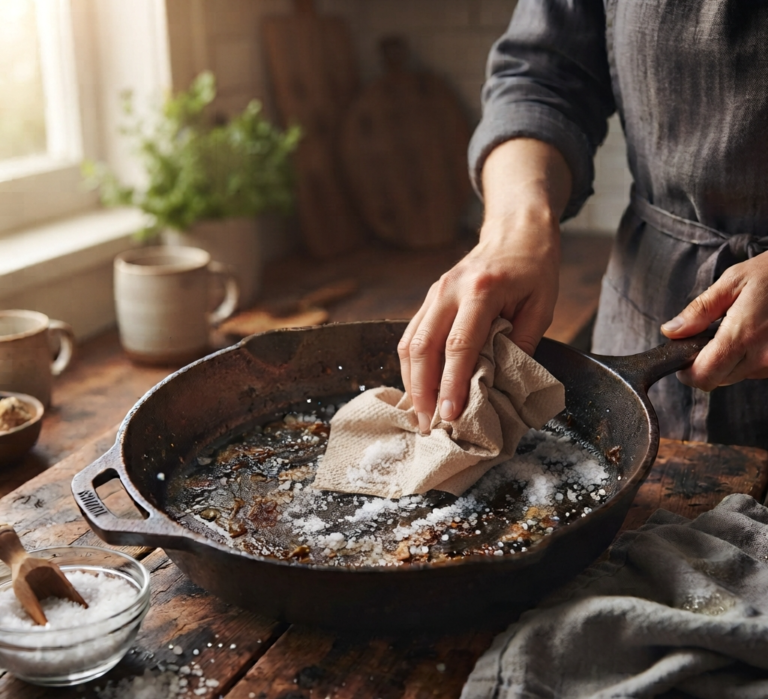










Discover how to clean cast iron with salt. This natural, highly effective Canadian guide restores your skillet’s seasoning and removes stuck-on food safely.
The Ultimate Guide: How to Clean Cast Iron with Salt
The cast iron skillet is the undisputed workhorse of the modern Canadian kitchen. Valued for its unparalleled heat retention, incredible durability, and ability to transition seamlessly from a screaming-hot stovetop to a blazing oven, it is a culinary tool that, with proper care, can literally last for generations. From searing the perfect steak to baking a rustic fruit cobbler, a well-seasoned cast iron pan is indispensable.
However, its rugged nature also makes it intimidating for many home cooks, primarily when it comes to cleaning. Unlike modern Teflon or ceramic non-stick pans, cast iron requires a specialized maintenance routine. Using harsh dish detergents or abrasive steel wool can strip away the precious “seasoning”-the polymerized layer of oil that gives the pan its natural non-stick properties and protects the raw iron from rusting.
When faced with stubborn, baked-on food residue, the secret to preserving your pan doesn’t lie in expensive chemical cleaners. The most effective, traditional, and natural solution is likely sitting in your pantry right now. If you want to know how to clean cast iron with salt, you are about to unlock the simplest and safest method for maintaining your favorite cookware.
In this comprehensive guide, we will break down the science behind this traditional cleaning method, provide a step-by-step tutorial on how to execute it perfectly, and share expert tips for maintaining that coveted, glass-smooth seasoning.
Why Use Salt to Clean Cast Iron?
Before diving into the steps, it is helpful to understand why learning how to clean cast iron with salt is the preferred method among chefs and cast iron enthusiasts.
The magic of this technique lies in the physical properties of coarse salt, particularly kosher salt or sea salt. Salt acts as a powerful, yet gentle, mechanical abrasive. The large, hard crystals provide the precise amount of “elbow grease” needed to scour away charred food particles, sticky deglazing remnants, and excess grease.
Crucially, however, salt is not hard enough to scratch the microscopic layers of polymerized oil that make up your pan’s seasoning. If you were to use a wire brush or steel wool, you would aggressively gouge through this protective layer, exposing the bare, silvery iron underneath, which immediately invites rust and causes food to stick furiously the next time you cook.
Furthermore, salt is an excellent absorbent. As you scrub, the salt crystals soak up the excess liquid fat and grease left in the pan, binding with the food debris to create a slurry that is easily wiped away. Finally, salt is naturally antibacterial and completely food-safe, ensuring no toxic chemical residues are left behind to taint your next meal.

How to Clean Cast Iron with Salt
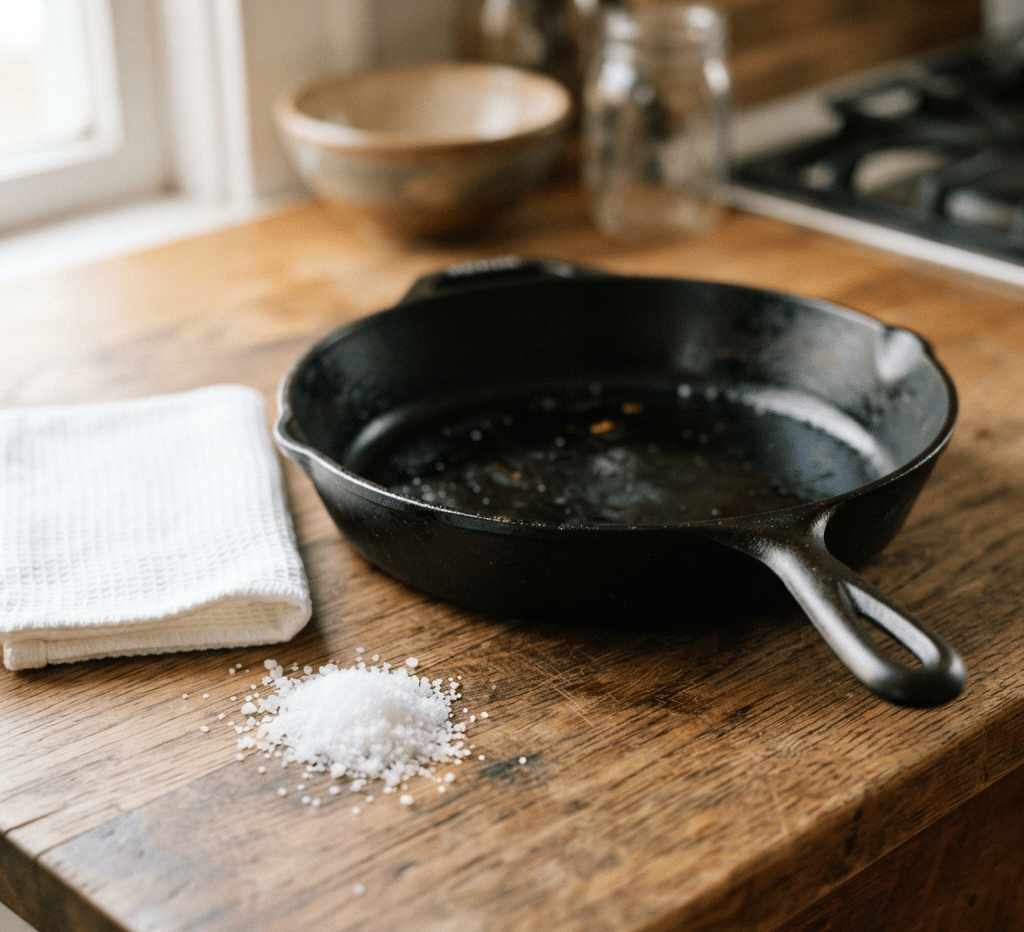
To effectively execute this method, you will need three things: your dirty cast iron pan, a generous handful of coarse kosher salt (table salt is too fine to be effective), and a sturdy paper towel or a dedicated, clean cloth.
For the best results, you should begin this process while the cast iron pan is still slightly warm from cooking. A warm pan keeps the grease in a liquid state and prevents the food residue from hardening completely, making the salt’s job much easier.
Step 1: Remove the Bulk Debris
Do not immediately pour salt into a pan filled with liquid oil or large chunks of food. Use a wooden spatula or a paper towel to scrape out and discard the majority of the loose food scraps and excess liquid fat. You want to leave the pan relatively empty, with only the stubborn, stuck-on bits remaining.
Step 2: Apply the Coarse Salt
Once the bulk of the mess is removed, pour a generous layer of coarse kosher salt directly into the warm pan. You do not need to be precise; simply ensure that the bottom of the pan and any areas with burnt-on food are well covered. Generally, two to three tablespoons of salt are sufficient for a standard 10-inch skillet.
Step 3: The Scrubbing Process
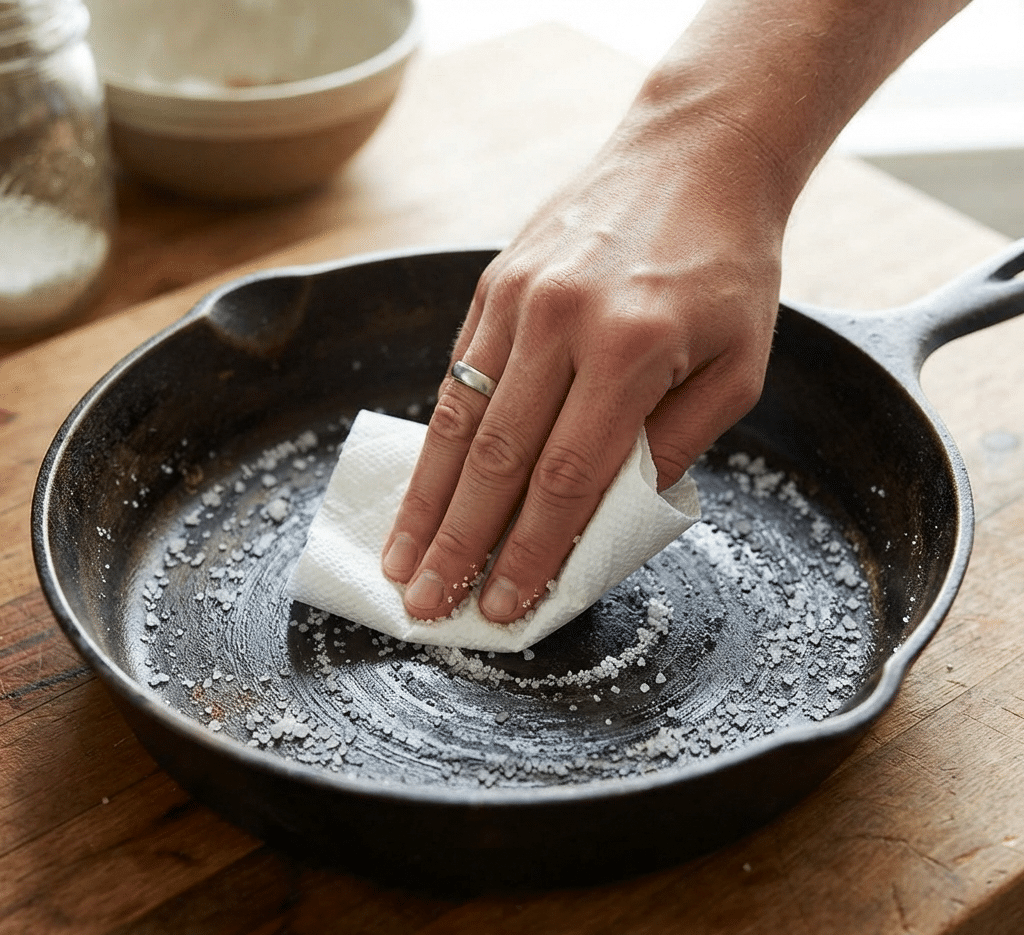
Take your folded paper towel or clean cloth. Pressing down firmly, begin to scrub the salt into the surface of the pan using circular motions. Focus your energy on the areas with the heaviest food residue.
As you scrub, you will notice the bright white salt crystals quickly turning brown or black. This is a visual indicator that the method is working. The salt is simultaneously scouring the burnt food from the iron and absorbing the dark, residual grease. Continue scrubbing until the surface feels completely smooth beneath the paper towel and all the stuck-on food has been dislodged.
Step 4: Discard and Wipe Clean
Once the pan is smooth, carry it over to your kitchen sink or garbage can and dump out the dirty, blackened salt slurry. Take a fresh, clean paper towel and wipe the interior of the pan thoroughly to remove any remaining salt crystals or fine dust.
At this stage, your pan should be perfectly clean, smooth, and free of food debris, all without a single drop of water or harsh dish soap touching the seasoned surface.
Final Step: Re-Seasoning and Drying
Knowing how to clean cast iron with salt is only the first half of the maintenance equation. The second, and arguably more important, half is properly drying and re-seasoning the pan before storing it. Cast iron’s greatest enemy is moisture; even the ambient humidity in your Canadian kitchen can cause a bare pan to develop a thin layer of flash rust overnight.
1. The Stovetop Drying Method
Even though you used a dry cleaning method with salt, it is vital to ensure zero moisture remains on the pan. Place the cleaned skillet on your stovetop over medium-low heat for three to five minutes. This gentle heating process evaporates any microscopic moisture that may be lingering on the surface.
2. Applying the Protective Oil Layer
Once the pan is bone dry and still warm (but not smoking hot), turn off the heat. It is time to apply a micro-layer of protective oil. This process, often called a “maintenance season,” reinforces the pan’s non-stick properties and prevents rust.
Pour roughly half a teaspoon of a neutral, high-smoke-point oil into the center of the pan. Canola oil, grapeseed oil, or vegetable oil are excellent choices. (Avoid olive oil or butter, as their low smoke points can cause the pan to become sticky and rancid over time).
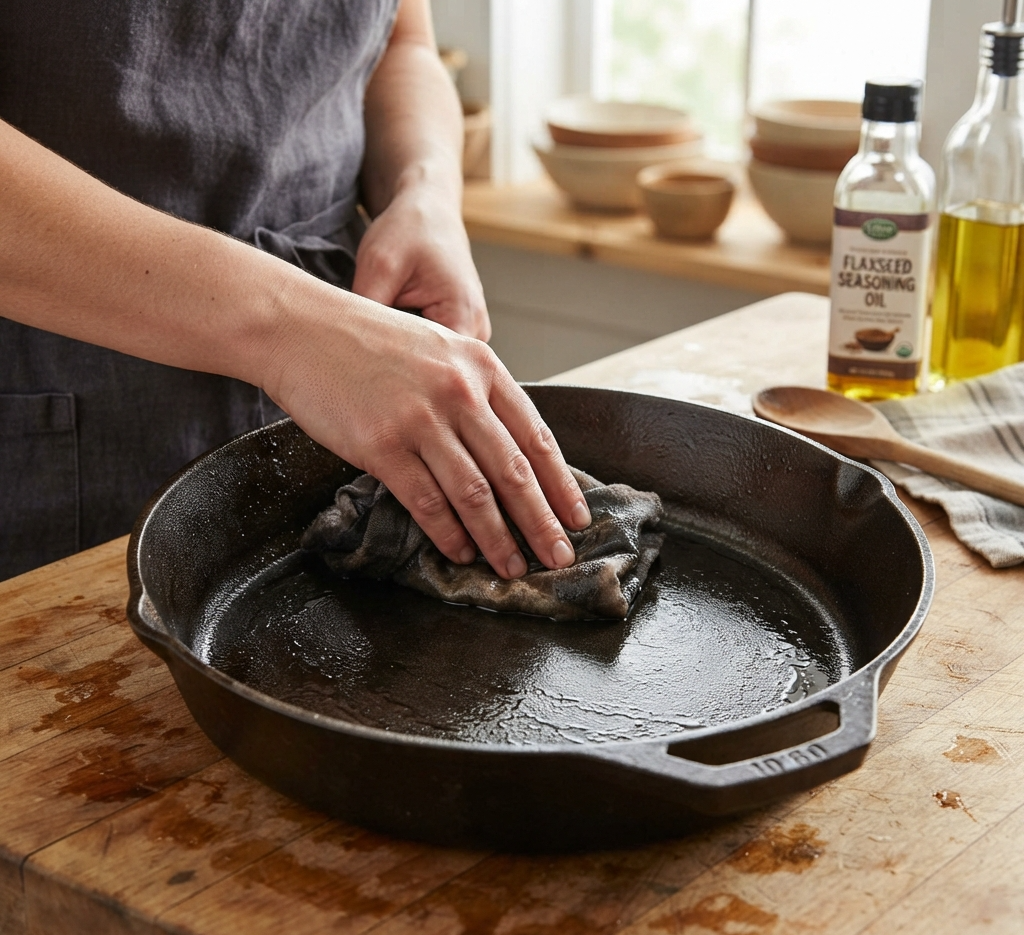
Take a fresh paper towel and rub the oil aggressively all over the entire interior surface of the pan, including the sides.
3. Buffing Away the Excess
This is the step where most beginners make a critical error. You must wipe the oil off as if you made a mistake putting it there.
Take a completely dry, clean paper towel and aggressively buff the interior of the pan to remove as much oil as possible. The pan should look dark and slightly shiny, but it should not feel greasy, sticky, or wet to the touch. If you leave a thick layer of liquid oil on the pan, it will turn into a gummy, sticky mess while sitting in your cupboard, which will require a harsh stripping and re-seasoning process to fix.
Once buffed, let the pan cool completely on the stove before storing it in a dry place.
Common Cast Iron Issues
While the salt method is incredibly effective for daily maintenance, cast iron can occasionally present more severe challenges. Here is how to handle them:
What if the food is completely burnt and cemented to the pan?
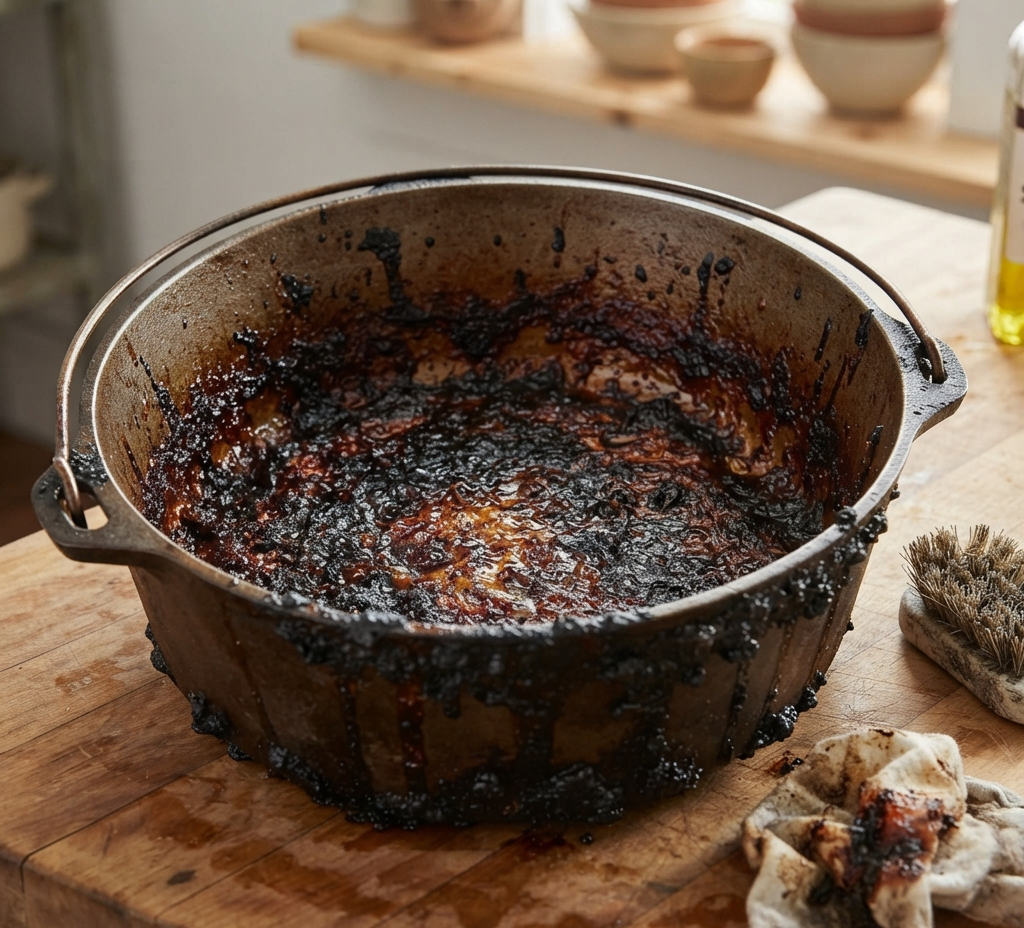
If the salt alone is not enough to break through severely carbonized food, you can create a deglazing effect. While the pan is hot, pour in a very small amount of water (about two tablespoons). The water will immediately boil and steam, violently lifting the burnt food from the iron. Use a wooden spatula to scrape the loosened debris, dump the dirty water, place the pan back on the heat to dry completely, and then proceed with the oiling step.Can I ever use dish soap on cast iron?
Yes, but sparingly. The old adage that “soap will ruin cast iron” stems from a time when dish soaps were made with harsh lye, which would indeed strip the seasoning. Modern liquid dish soaps are remarkably gentle. If your pan is covered in an excessively smelly or sticky residue (like cooking fish or a sugary glaze), a single drop of mild dish soap and warm water applied with a soft sponge is perfectly acceptable. Just ensure you dry it immediately on the stove and apply the protective oil layer afterward.My pan has developed rust spots. Is it ruined?
Absolutely not. Cast iron is incredibly resilient. If you spot surface rust, you can no longer use the gentle salt method. You must aggressively scrub the rust away using fine steel wool or a harsh scouring pad until you reach bare, silver iron. Wash the pan, dry it thoroughly, and then perform a full oven-seasoning process (coating the pan in oil and baking it upside down at 400°F for an hour) to rebuild the protective layer.
Conclusion
Mastering the care of a cast iron skillet transforms it from a daunting piece of heavy metal into the most reliable and cherished tool in your culinary arsenal. By understanding exactly how to clean cast iron with salt, you are employing a time-tested, natural, and highly effective method that scours away stubborn food residue while diligently protecting the pan’s essential seasoning. This simple routine of scraping, salting, scrubbing, and applying a micro-layer of oil ensures your skillet remains hygienically clean, rust-free, and naturally non-stick for a lifetime of cooking.
While the satisfying, hands-on maintenance of your cast iron skillet is a manageable daily task, keeping your entire home or commercial space to that same standard of pristine cleanliness requires a much larger investment of time and energy.

When your Canadian home requires a comprehensive, top-to-bottom deep clean that goes beyond the kitchen counters, Toronto Shine Cleaning is the definitive solution. We specialize in expert residential and commercial cleaning services across the Greater Toronto Area. Our professional teams utilize safe, highly effective methodologies to restore every surface in your property, from degreasing ovens to sanitizing bathrooms and deep-cleaning floors. Let Toronto Shine Cleaning handle the meticulous, heavy lifting of home maintenance, allowing you to simply relax and enjoy your impeccably clean living space.