









Ceramic tile rewards a gentle, repeatable routine
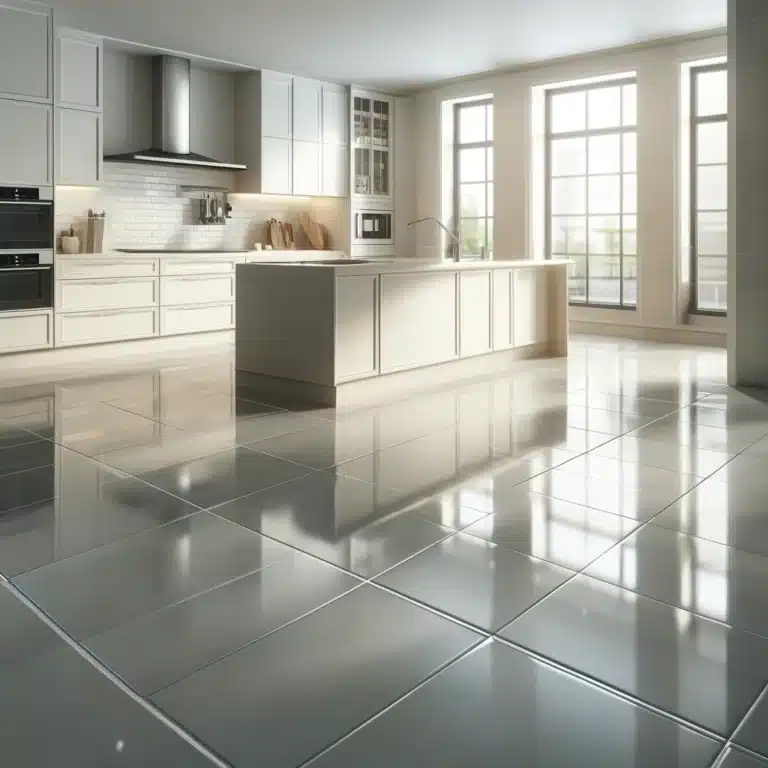
Ceramic flooring stays bright for decades when you clean it with the right tools and skip anything aggressive. A broom, a mop, a bucket, warm water, and a mild detergent handle nearly every mess a household throws at tile. This seven-step routine takes you from prep to the final dry pass, leaving floors polished instead of streaky.
The approach matches public-health guidance, too. The CDC treats floors as hard surfaces that do well with soap and water or a suitable product, and notes that regular cleaning removes most germs, so consistency beats chemical strength. If a weekly mop keeps slipping off your calendar, a regular cleaning plan can carry the routine for you.
Step 1: Gather everything before water hits the tile
Assemble your kit up front to avoid mid-mop scavenger hunts. You will need:
- A broom or vacuum to lift loose debris before washing
- A mop and bucket for the wet pass
- A mild detergent or a cleaner made specifically for ceramic tile
- Warm water to help dissolve stuck-on residue
- A microfiber cloth or towel that soaks moisture fast without streaks
- A scrub brush for spots the mop cannot shift
Skip harsh chemicals. Strong products can damage both tile and grout surfaces, so a gentle formula is the smarter pick.
Step 2: Sweep or vacuum to protect the glaze
Clearing dust, crumbs, and grit first is not just a warm-up. Loose particles act like abrasives, and a wet mop drags them across the surface, causing scratches that dull the tiles and lead to long-term damage. A broom handles open floor well, while a vacuum pulls tiny particles out of grout lines where they hide.
Daily sweeping also keeps buildup low, turning weekly or bi-weekly mop sessions into quick jobs.
Step 3: Mix a cleaning solution that is kind to tile
Fill the bucket with warm water and add a few drops of mild detergent or a cleaner formulated for ceramic floors. Warmth helps break down clinging residue so it mops away easily. Harsh chemicals, by contrast, can discolor tiles and wear down the protective sealant, leaving the floor dull and tired over time.
Stir until the detergent is fully dispersed: an even mix cleans consistently and lifts dirt without leaving a film. Health Canada keeps a helpful reference on using household products safely if you want guidance on handling the liquids under your sink.
Step 4: Mop with a figure-eight, not a scrub
Dip the mop, then wring out the excess: a soaking-wet floor slows the job and invites streaks and water spots. Start at one corner and work toward the opposite side so every stretch gets covered.
Push the mop in a figure-eight pattern rather than circles or straight passes. That motion lifts soil and traps it in the mop head instead of smearing it into cleaned areas. Give high-traffic lanes extra passes and ease over grout lines, where dirt packs into the crevices. Rinse and wring the mop often so you never spread grey water.
Step 5: Spot-treat stubborn marks by hand
Even a well-kept floor develops stubborn spots. Apply extra cleaner straight onto the mark and work it in with a scrub brush in small circles, helping the solution penetrate the stain. Keep pressure light and bristles soft: hard scrubbing can scratch or dull the finish.
If a stain refuses to budge, let the cleaner sit a few minutes to break down the dirt. Once the spot lifts, wipe the area with a damp cloth; leftover cleaner attracts fresh dirt and can discolor the tile over time.
Step 6: Rinse away the invisible film
Empty and rinse the soapy bucket, then refill with clean warm water. This pass matters because detergent left behind dries into a dull, sticky residue that grabs dirt. Mop the same corner-to-corner path with water only, rinsing and wringing the mop often so you never reintroduce soap. Warm water lifts the last of the residue, leaving the ceramic’s natural shine visible instead of hazy.
Step 7: Dry the floor for a true sparkle
Dry it the moment rinsing ends. Microfiber drinks water fast and finishes streak-free, preventing the spots that spoil an otherwise pristine floor. Work section by section and check edges and corners where moisture collects. Thorough drying also removes the slip hazard wet tile creates.
If you own a floor protector, apply it now, while the surface is clean and bare. It adds shine and forms a barrier against future spills and stains, keeping the luster and making later clean-ups easier.
Ceramic floor care at a glance
| Task | When to do it | Why it matters |
|---|---|---|
| Sweep or vacuum | Daily | Keeps grit from scratching the glaze and shortens mop days |
| Mop with mild solution | Weekly or bi-weekly | Removes ground-in dirt before it dulls the tiles |
| Spot-treat stains | As they appear | Stops marks from setting in tile or grout |
| Rinse with clean water | Every wash | Removes sticky soap film that attracts dirt |
| Dry with microfiber | Every wash | Prevents water spots and slip hazards |
| Apply floor protector | After deep rinses, as needed | Shields the surface from spills and future stains |
Frequently asked questions
What cleaner is safest for ceramic floors? Mild detergent diluted in warm water, or a product formulated for ceramic tile. Harsh chemicals discolor the surface and wear down the sealant over time, so the gentle option is also the one that protects your investment.
Why do my tiles look dull after mopping? Leftover soap is the usual culprit. Residue dries into a sticky film that attracts dirt and clouds the shine. Fix it with a rinse pass of clean warm water and no cleaner, then dry with a microfiber towel.
Can I let the mop soak the floor? No. Oversaturation slows drying and leaves streaks and water spots without cleaning any better. Wring the mop until damp rather than dripping, and rinse it often so you never reapply dirty water.
Do I really need to dry the floor by hand? It is the difference between clean-looking and truly shiny. Drying removes water before it spots the surface, clears moisture that pools at edges, and eliminates the slippery film on wet tile.
Sparkling tile without the elbow grease
Follow these seven steps and your ceramic floors stay glossy with far less drama. When mopping falls to the bottom of your to-do list, Toronto Shine Cleaning can take over. Regular cleaning starts at $212.63 for a studio or one-bedroom, $273 for two bedrooms, and $327 for three, before HST. Our deep cleaning tackles built-up grime, and every quoted price is upfront. We are bonded and insured, with a $1,000,000 insurance policy plus a $10,000 accidental breakage and surety bond, at 140 Yonge St Suite 285, Toronto ON M5C 1X6. See our reviews page or call (647) 424-0355 to book.