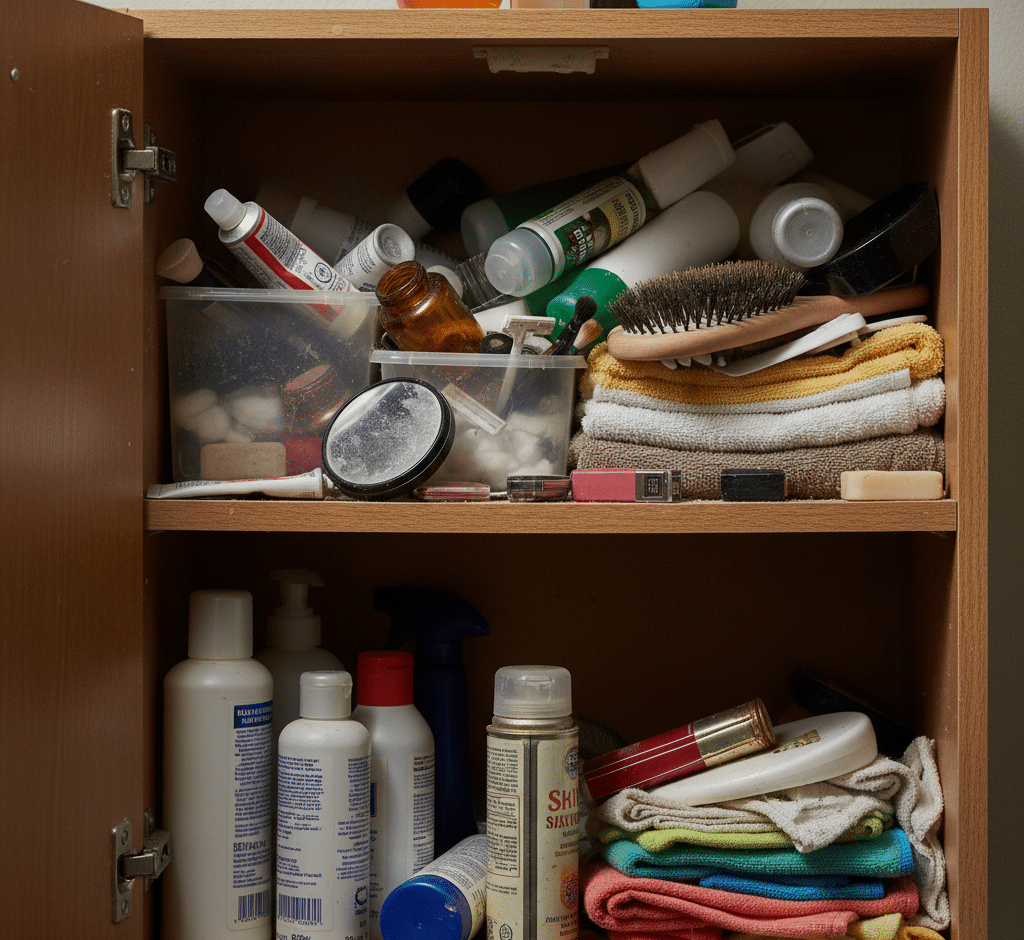
It is a space of quiet chaos, a small, dark cabinet that holds the first and last tools of our day. The bathroom cabinet is a paradox; it is a place of hygiene and personal care that is, for many of us, one of the most disorganized and stressful corners of our home. It is the jumble of half-empty toothpaste tubes, the graveyard of expired medications, the tangled mess of hair ties, and the sticky residue of leaked hairspray. We open it in a bleary-eyed state each morning and rummage through it in exhaustion each night. Its disorganization is a small but constant source of friction in our daily routines.
To organize a bathroom cabinet is not merely to tidy up. It is to perform a full system reset. It is an act of reclaiming a small but significant piece of your personal space and transforming it from a source of frustration into a bastion of calm and efficiency. This is a project that requires more than ten minutes and a vague intention. It demands a methodical approach, a bit of ruthlessness, and a clear vision for how you want the space to function. When done correctly, the result is more than just a neat cabinet; it is a smoother morning, a more peaceful evening, and the quiet satisfaction of having a system that works for you, not against you.
1.Preparation
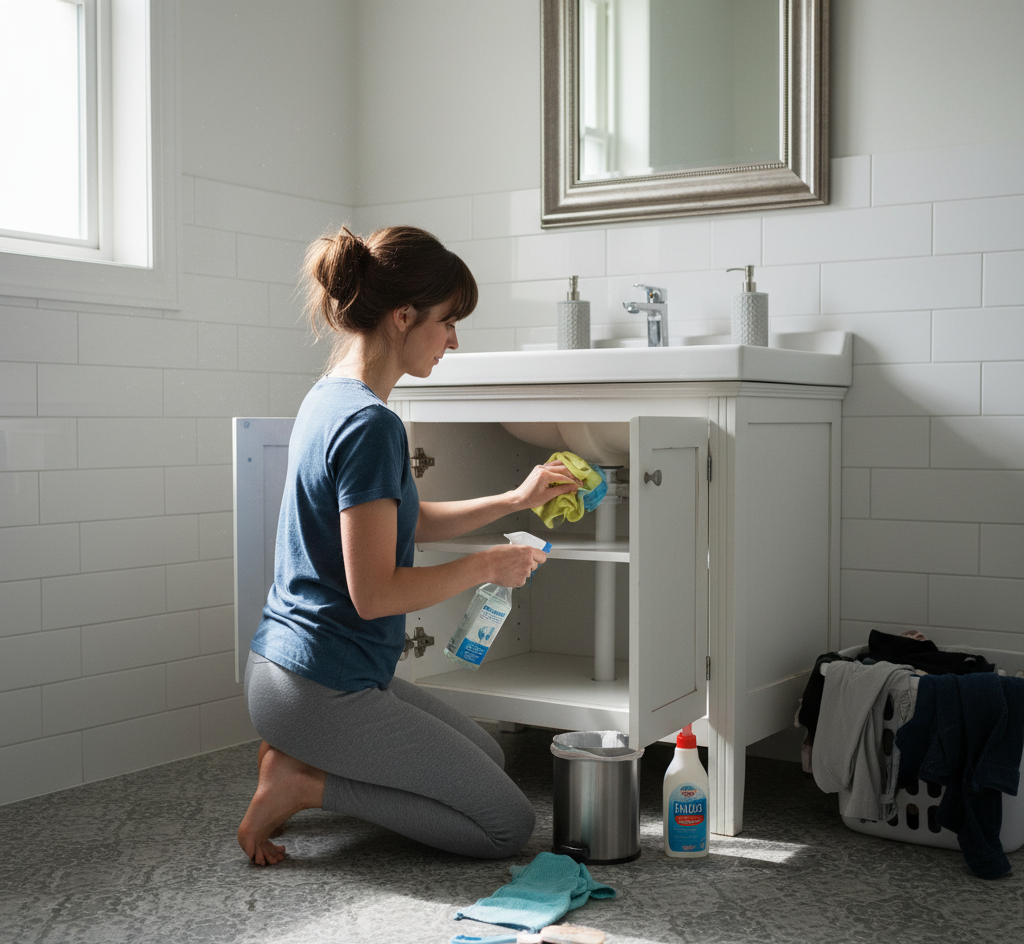
The first phase of this project begins not with the cabinet itself, but with preparation. To dive in without a plan is to invite a bigger mess than the one you started with. You must first gather your arsenal. You will need a trash bag for the inevitable purge, a box for items that need to be relocated or donated, and your cleaning supplies. A good all-purpose cleaner and a few microfiber cloths are essential. Most importantly, you need to gather your organizing tools. This does not have to be an expensive endeavor. A few small, clear bins, some drawer dividers, or even a small turntable can be transformative. The final, and most critical, supply is time. Block out at least an hour on your calendar. Treat this as a scheduled appointment with your home, a commitment to creating order.
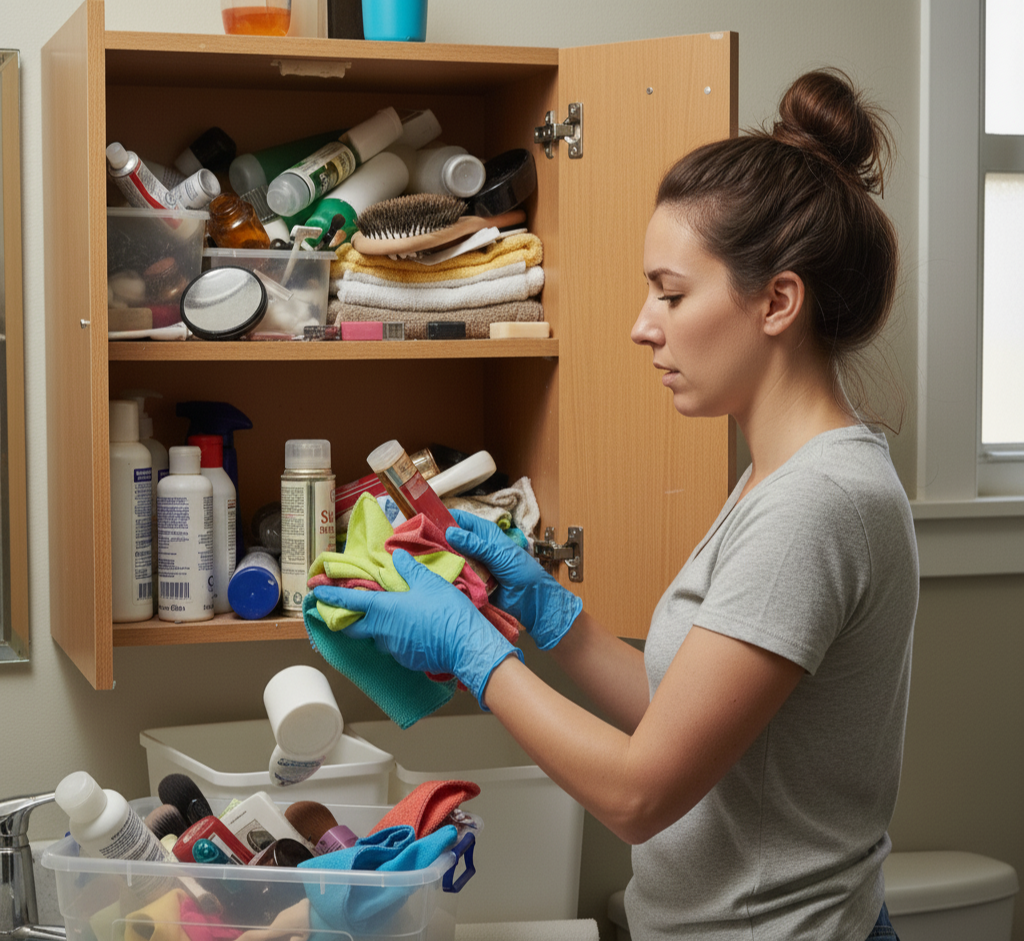
With your supplies at the ready, the second phase can begin: the great emptying. This is the most crucial and often the most intimidating step. Every single item must come out of the cabinet. There are no exceptions. You cannot properly clean or assess a space while its contents are still inside. Remove everything and lay it all out on a towel on the bathroom floor or a nearby counter. This act of creating a completely blank slate is psychologically powerful. It allows you to see the space for what it is and forces you to make a conscious decision about every single item that will be allowed to return.
2.Removing Items
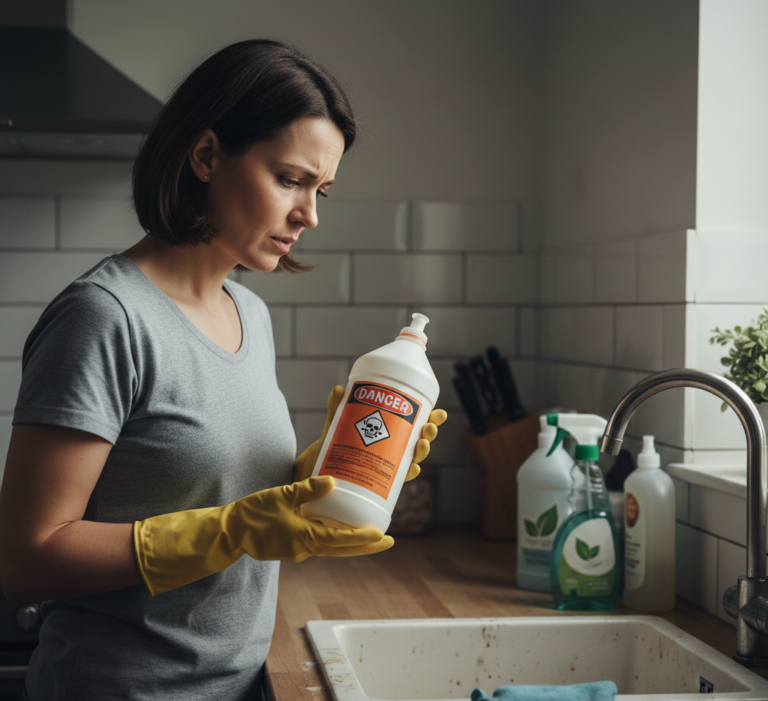
As you remove each item, you must immediately sort it into one of three designated piles. The first pile is for items you intend to keep. The second is for things that need to be thrown away. The third is for items that need to be relocated to a more appropriate home. This is where you must be ruthless. The trash pile will likely be the largest, and you must not be sentimental. This is your chance to perform a thorough edit. Throw away any expired medications; they can be ineffective or even dangerous. Dispose of old, expired cosmetics and skincare products; they can harbor bacteria and cause skin irritation. That half-empty bottle of sunscreen from two summers ago must go. The rusty razor blades, the stretched-out hair ties, the crusted bottle of nail polish—all of them must be discarded. Be honest with yourself about the products you tried once and will never use again. Keeping them only contributes to the clutter.
The relocate pile is for items that are in good condition but simply do not belong in the prime real estate of your daily-use cabinet. Bulk supplies of cotton balls, a large first-aid kit, or extra bars of soap can be stored in a linen closet. Items that belong to other family members should be returned to their designated spaces. The goal is to ensure that the only items that will return to this cabinet are the ones you personally use on a regular basis.
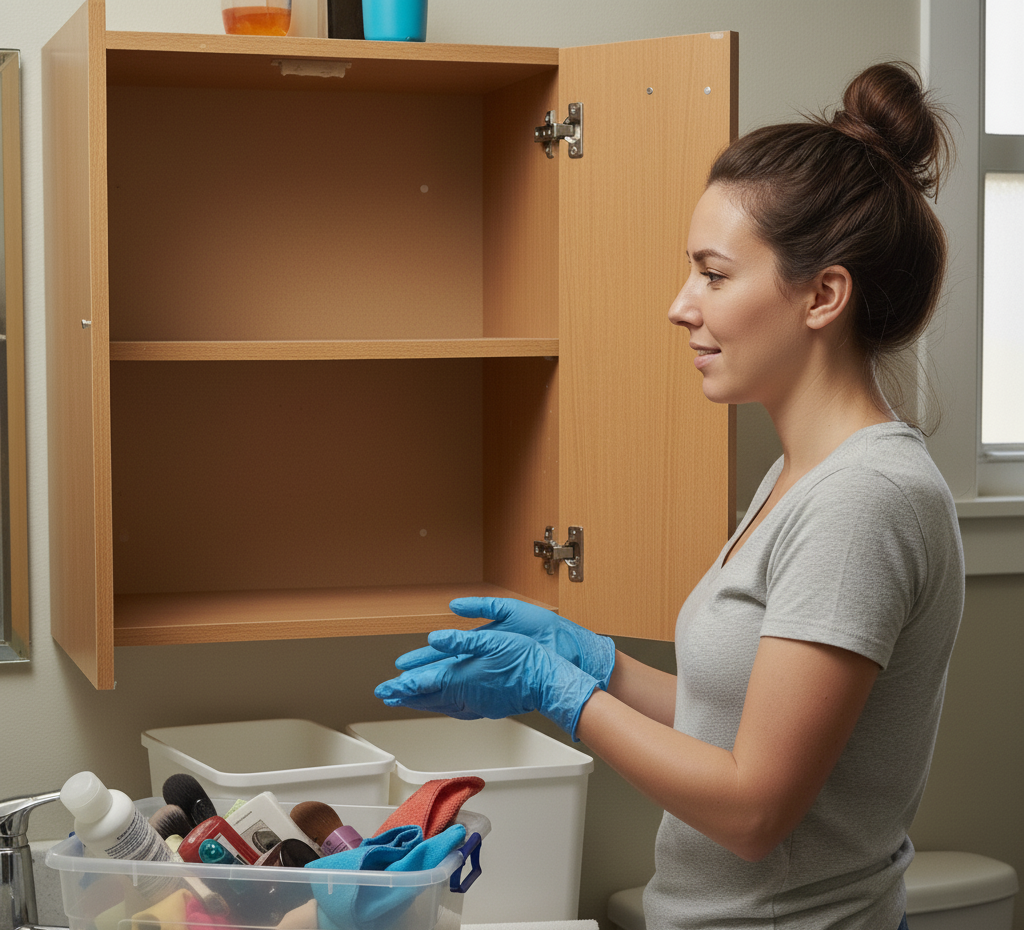
Once the cabinet is completely empty and your sorting is complete, you can move on to the third phase: the deep clean. This is a deeply satisfying step that solidifies the feeling of a fresh start. Spray the inside of the cabinet, including the shelves, the back wall, and the inside of the door, with your all-purpose cleaner. Wipe every surface down with a clean microfiber cloth. Pay special attention to any sticky rings left by bottles or drips of old toothpaste. This is your one chance to get the space truly pristine before you begin to refill it. Make sure you allow the interior to dry completely before you move on to the next step.
3.Reorganization
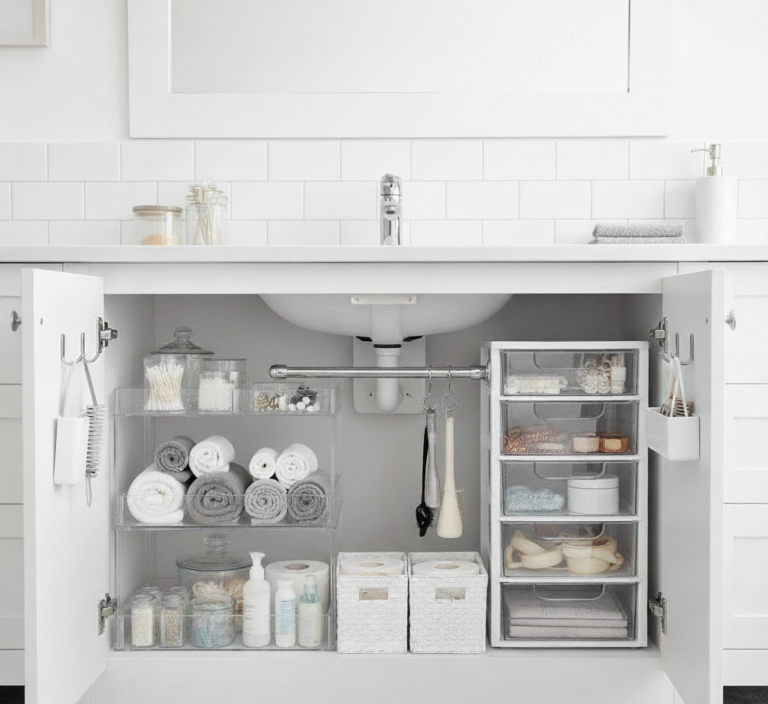
Now comes the most strategic and rewarding part of the process, the fourth phase of reorganization. Before a single item goes back into the clean, empty cabinet, you must first organize your “keep” pile. Group all like items together. Put all your dental care products in one group, all your skincare in another, your hair products in a third, and so on. This act of pre-categorization is the foundation of your new, functional system.
With your items grouped, you can begin to think about placement and containment. This is where your organizing bins and dividers come into play. The principle of containment is simple: assigning a specific home to each category prevents items from mingling and creating chaos. Small, clear acrylic bins are a fantastic tool. Use one for your daily skincare, another for your dental supplies. The clarity allows you to see everything at a glance, so you are not rummaging through an opaque container. For deeper cabinets, a small turntable, or Lazy Susan, is a game-changer. Place your less-frequently used but still necessary items on it, like face masks or weekly treatments. A simple spin brings everything from the back of the cabinet to the front, ensuring nothing gets lost and forgotten in the dark recesses.
The concept of prime real estate is crucial here. The items you reach for every single morning and every single night should be in the most accessible spot. For most people, this is the shelf at eye level, right at the front. This is where your toothbrush, toothpaste, face wash, and daily moisturizer should live. Items you use less frequently, like travel-sized toiletries or special occasion makeup, should be placed on the higher shelves or toward the back. This simple act of prioritizing placement based on frequency of use is the key to a system that feels intuitive and effortless.
Do not forget to utilize all the available space. The inside of the cabinet door is one of the most underutilized organizational opportunities. You can attach small magnetic strips to hold bobby pins, tweezers, and nail clippers. Small, stick-on acrylic pods can hold cotton swabs or hair ties. This gets small, easily lost items out of the main cabinet space and keeps them perfectly organized and within easy reach. If you have tall shelves with a lot of wasted vertical space, consider adding a small, freestanding shelf riser to create a second level for smaller items.
4.Final Phase
The final phase of this project is about long-term maintenance. An organized cabinet is not a one-and-done achievement; it is a system that requires a small amount of upkeep. The most important habit to adopt is to put things back in their designated home immediately after use. It takes only a few seconds. Another helpful strategy is the “one-in, one-out” rule. When you buy a new bottle of face wash, make sure you have finished and discarded the old one. This prevents the accumulation of half-empty bottles that creates so much clutter. Plan to do a quick, five-minute reset once a month to straighten up any items that have strayed and wipe down any spills.
The transformation of a cluttered bathroom cabinet is about so much more than just a tidy space. It is about creating a small pocket of order and calm in your daily life. It is about starting your day with a sense of control and ending it with a feeling of peace. By taking the time to methodically purge, clean, and organize, you are investing in a smoother, more efficient, and more pleasant daily routine.
A methodical, step-by-step approach is the key to transforming a cluttered bathroom cabinet from a source of stress into a space of calm efficiency. For the same level of detailed, professional cleaning throughout your entire home, Toronto Shine Cleaning uses the right tools and techniques for every surface, ensuring a flawless, organized, and truly spotless result every time.