Oh, the joy of jumping into a fresh, clean mattress at the end of a long day! But when was the last time you gave your mattress a little TLC? If you can’t remember, it’s probably overdue for a refresh. Not to worry, though! I’ve got a super simple 5-step guide to help you make your mattress feel brand new again. Trust me, it’s easier than you think, and you don’t need any fancy gadgets or harsh chemicals. Let’s dive in and get your bed feeling like a dreamy cloud!
1. Strip and Wash
When you start with stripping your bed, it’s not just about removing the sheets and covers; it’s about setting the stage for a thorough clean. Begin by peeling away every layer, including any decorative items like throw pillows and blankets that often get overlooked. These items collect dust and allergens just as much as your regular bedding, so giving them a clean (according to their care instructions) can really freshen up the whole bed.
As you load your washing machine, make sure to separate items by color and material type. This is important because different fabrics require different washing temperatures and settings to avoid damage. For example, cotton sheets can generally handle a hot wash, which is great for killing germs, but more delicate materials might need a gentler approach.
If your washing machine has a sanitize cycle, using it for your bed linens can be particularly effective in eliminating dust mites and other allergens. If you’re concerned about using too much heat or have items that are too delicate for hot temperatures, adding a laundry sanitizer to your wash can offer a similar level of deep cleaning without the risk.
For duvets and comforters, consider their size and material before deciding whether to wash them at home or take them to a professional. Large or particularly bulky items might not fit properly in a standard washing machine and could benefit from the larger capacity of commercial machines at laundromats or from professional cleaning services that know how to handle them without causing damage.
Drying your bedding is just as crucial as the washing process. Make sure to thoroughly dry sheets, pillowcases, and mattress covers to prevent any mildew or mustiness. Again, pay attention to fabric care labels. While many items can go in the dryer, others might be better off air-dried to preserve their quality and shape.
2. Vacuum the Mattress
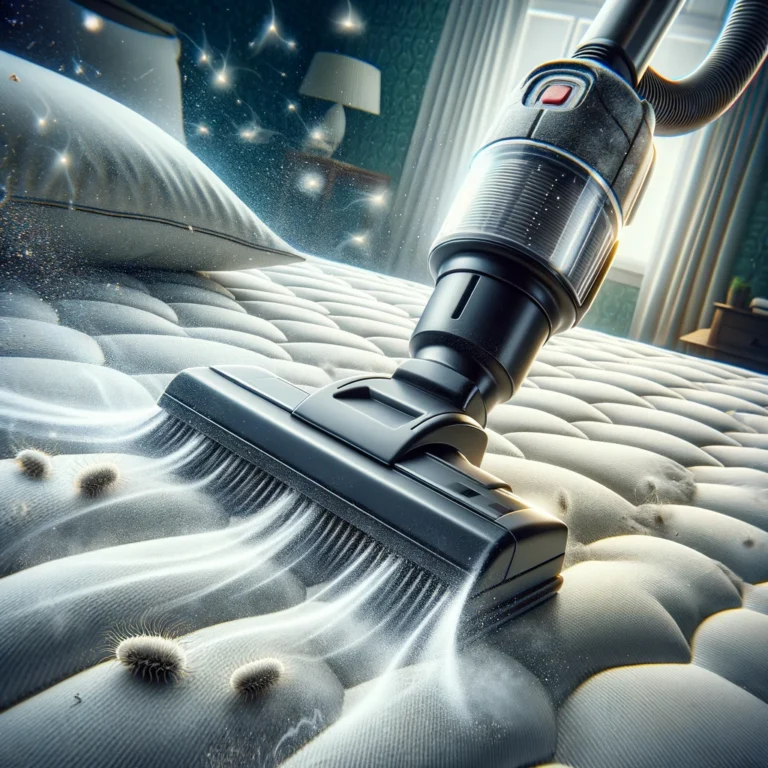
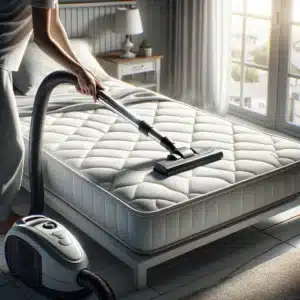
When you start vacuuming, it’s best to do so in a methodical manner. Begin at the top of the mattress and work your way down in overlapping, narrow paths to ensure you’re covering every inch of the surface. This systematic approach helps to make sure no spot is missed, especially since it’s easy to overlook areas that don’t seem dirty at first glance.
The sides of your mattress are just as important as the top. Many people forget about this part, but the sides can harbor just as much dust and debris, particularly if you have a bed frame that allows dust to settle from the floor onto the mattress edges. Use the same careful, overlapping strokes here, and don’t rush. It’s these often-ignored areas that can make a significant difference in the overall cleanliness of your bed.
Seams and crevices are indeed hotspots for dust and allergens. These areas provide the perfect hiding spots for particles to accumulate undisturbed. When you reach these parts, slow down and use the vacuum’s crevice tool if available. This attachment is specifically designed to get into tight spaces and remove debris that other tools might miss. Sometimes, giving these areas an extra pass or two can lift out dust that’s been compacted over time.
If your mattress has any buttons, fabric folds, or embroidery, these are areas where dust can easily be trapped. Carefully vacuum around these decorations, being careful not to damage the mattress. The goal is to remove dust without harming the mattress’s structure or appearance.
This vacuuming process not only helps in removing visible dust and particles but also aids in reducing the number of allergens, such as dust mites and pet dander, that can cause nighttime allergies and affect sleep quality. Moreover, removing dead skin cells lessens the food supply for dust mites, contributing to a healthier sleeping environment.
3. Spot Clean Stains
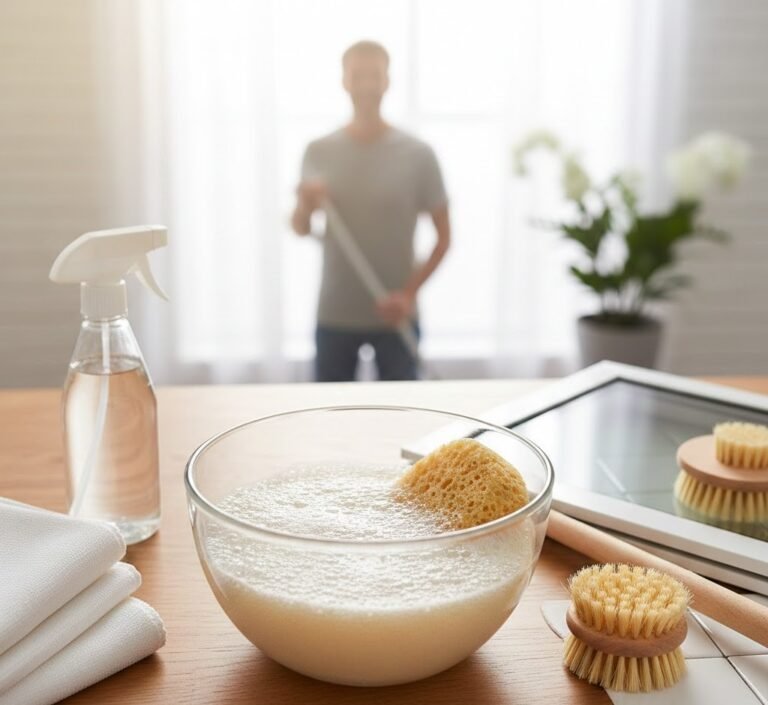
When mixing your cleaning solution, it’s important to consider the type of stain you’re dealing with. A general mixture of dish soap and water is a great starting point for most stains, as it’s gentle enough not to damage the fabric but effective enough to tackle light to moderate stains. However, the ratio of soap to water should be low to avoid creating too much suds, which can be difficult to rinse out. A teaspoon of dish soap to two cups of water is a good guideline.
For more stubborn stains, such as blood or urine, you might need a different approach. Hydrogen peroxide, for example, can be effective for blood stains, but it should be used sparingly and tested on a small, inconspicuous area of your mattress first to ensure it doesn’t bleach the fabric. Always dab the stain rather than rub, as rubbing can spread the stain further or embed it deeper into the mattress fibers.
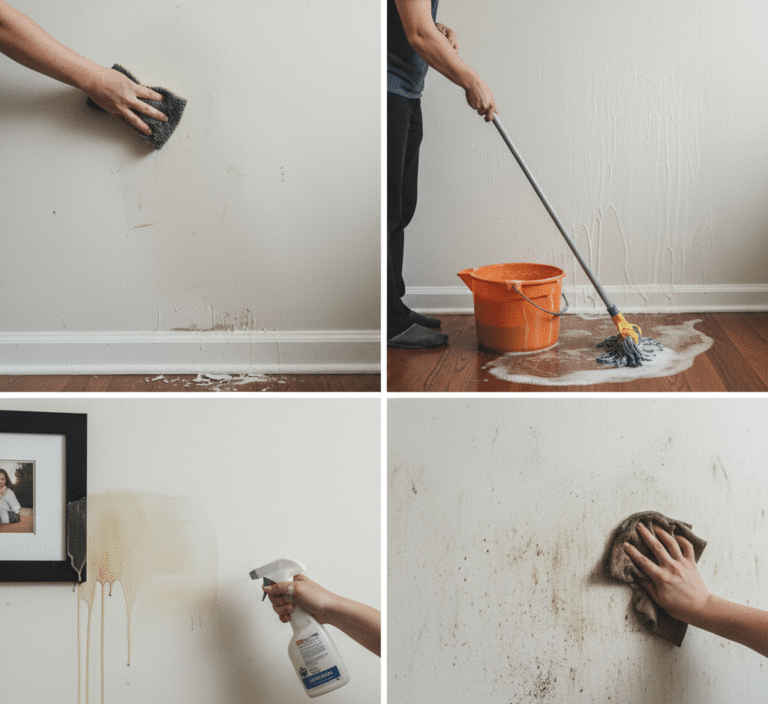
Applying the cleaning solution should be done with a light hand. Use a clean, white cloth to avoid any color transfer from the cloth to the mattress. Dab the stain gently, working from the outside in to prevent the stain from spreading. Allow the solution to sit for a few minutes to break down the stain, then dab again with a dry cloth to absorb the solution and lifted stain. This may need to be repeated several times for tougher stains.
For oil-based stains, such as makeup or greasy food, a solution of baking soda and water can be effective. Make a paste and apply it directly to the stain, letting it sit for 30 minutes to an hour. Baking soda helps to lift the oil out of the fabric, and once vacuumed away, you’ll often find the stain has significantly lightened or disappeared.
After treating any stain, it’s crucial to let the area dry completely. A fan or hair dryer on a cool setting can speed up the process, but avoid using heat, as this can set the stain permanently into the fabric. If the stain remains after drying, it may be worth repeating the treatment or consulting with a professional cleaner for more stubborn or sensitive cases.
4. Deodorize with Baking Soda
Taking the deodorizing step further, this is not just about masking odors; it’s a deep-cleaning process that neutralizes and eliminates them, ensuring your mattress remains a fresh and inviting place to rest. Baking soda, with its natural odor-absorbing properties, is a powerful ally in maintaining the freshness of your sleeping environment without the need for harsh chemicals.
When adding essential oils to the baking soda, it’s important to choose oils not just for their fragrance but also for their properties. Lavender, as mentioned, is renowned for its calming effects, which can enhance sleep quality. However, other oils like eucalyptus or tea tree have antibacterial properties, adding an extra layer of cleanliness to your mattress. A few drops are all you need, as the scent will be subtle but effective once spread over the surface.
Sprinkling the baking soda mixture should be done evenly, ensuring a light but thorough coverage. A kitchen strainer can be a handy tool for this task, allowing you to distribute the powder finely and evenly across the entire mattress surface, including the edges and corners. This even distribution is key to ensuring that every part of your mattress benefits from the deodorizing effect.
Allowing the baking soda to sit for several hours—or even overnight if possible—gives it ample time to absorb odors. This waiting period is crucial, as it allows the baking soda to draw out moisture, body oils, and odors from deep within the mattress fabric and padding. The longer the baking soda stays, the more effective it will be at neutralizing and removing unwanted smells.
Vacuuming up the baking soda is the final step in this deodorizing process. Using the upholstery attachment, go over the mattress slowly to ensure all baking soda is removed. This not only lifts away the powder but also any odors it has absorbed. Pay special attention to seams and crevices, as these areas can trap powder. A thorough vacuuming leaves your mattress not only smelling fresh but also feeling cleaner.

5. Flip and Protect
Flipping your mattress serves multiple purposes. For one, it promotes even wear, which is crucial for preventing dips and sagging that can affect your sleep quality and potentially cause back pain. Not all mattresses are designed to be flipped, especially those with a designated top and bottom layer composition, such as memory foam or pillow tops. However, for those that can be flipped, doing so seasonally can significantly extend the life of your mattress by distributing the wear and tear more evenly.
After flipping, rotating your mattress is also a good practice. This means turning the mattress 180 degrees so that the head becomes the foot. This rotation further ensures even wear, especially if you tend to sleep in the same spot every night. Combining flipping and rotating offers the most comprehensive approach to extending your mattress’s longevity and maintaining its support and comfort.
Once the mattress is flipped and positioned correctly, adding a mattress protector is the next critical step. Mattress protectors are not just about shielding your bed from spills and stains; they play a significant role in keeping dust, allergens, and even bed bugs at bay. A quality mattress protector acts as a barrier, preserving the cleanliness of your mattress and contributing to a healthier sleeping environment. They come in various materials, including hypoallergenic options, to cater to those with sensitivities or allergies.
Choosing the right mattress protector involves considering breathability, waterproofing, and comfort. A breathable protector ensures that air circulation is not compromised, maintaining a comfortable sleeping temperature throughout the night. Waterproof protectors offer an additional layer of defense against spills, which is particularly beneficial for those with young children or pets. Meanwhile, comfort is paramount; a protector should not detract from the feel of your mattress but should seamlessly integrate with it, maintaining the bed’s intended comfort level.
Investing in a good-quality mattress protector not only makes future cleaning efforts more manageable but also contributes to the overall health and longevity of your mattress. It’s a simple addition that can have a profound impact, ensuring that your mattress remains a clean, comfortable, and supportive foundation for a good night’s sleep for years to come.
Clean Mattress With Toronto Shine Cleaning!
And there you have it – 5 simple steps to a cleaner, fresher mattress! Investing a bit of time and effort into the care of where you rest can transform not just your sleep quality but your overall health and wellbeing. It’s easy to overlook our mattresses during regular cleaning routines, but they play a crucial role in our daily lives. A clean, well-maintained mattress can be the difference between waking up feeling refreshed and struggling with sneezing or back pain. Plus, taking these steps can extend the lifespan of your mattress, making it a wise investment in long-term comfort and health.
However, we know that life can get busy, and sometimes, these tasks might feel overwhelming or too time-consuming. If you’re in the Toronto area and find yourself needing a helping hand to achieve that deep clean for your mattress, Toronto Shine Cleaning is here to assist. Their team of professionals is well-equipped and experienced in providing thorough cleaning services, ensuring your mattress is left feeling fresh and rejuvenated. Opting for a professional clean can sometimes reach those deep-down particles and allergens that regular home cleaning might miss, offering peace of mind and an even cleaner sleep environment.
So, why not treat yourself and your mattress to a professional clean? Toronto Shine Cleaning not only offers exceptional mattress cleaning services but a range of other household cleaning options to keep your home sparkling and hygienic.
