Flu Season: Is Your “Clean” Home Making You Sick? The Hidden Germs You Missed
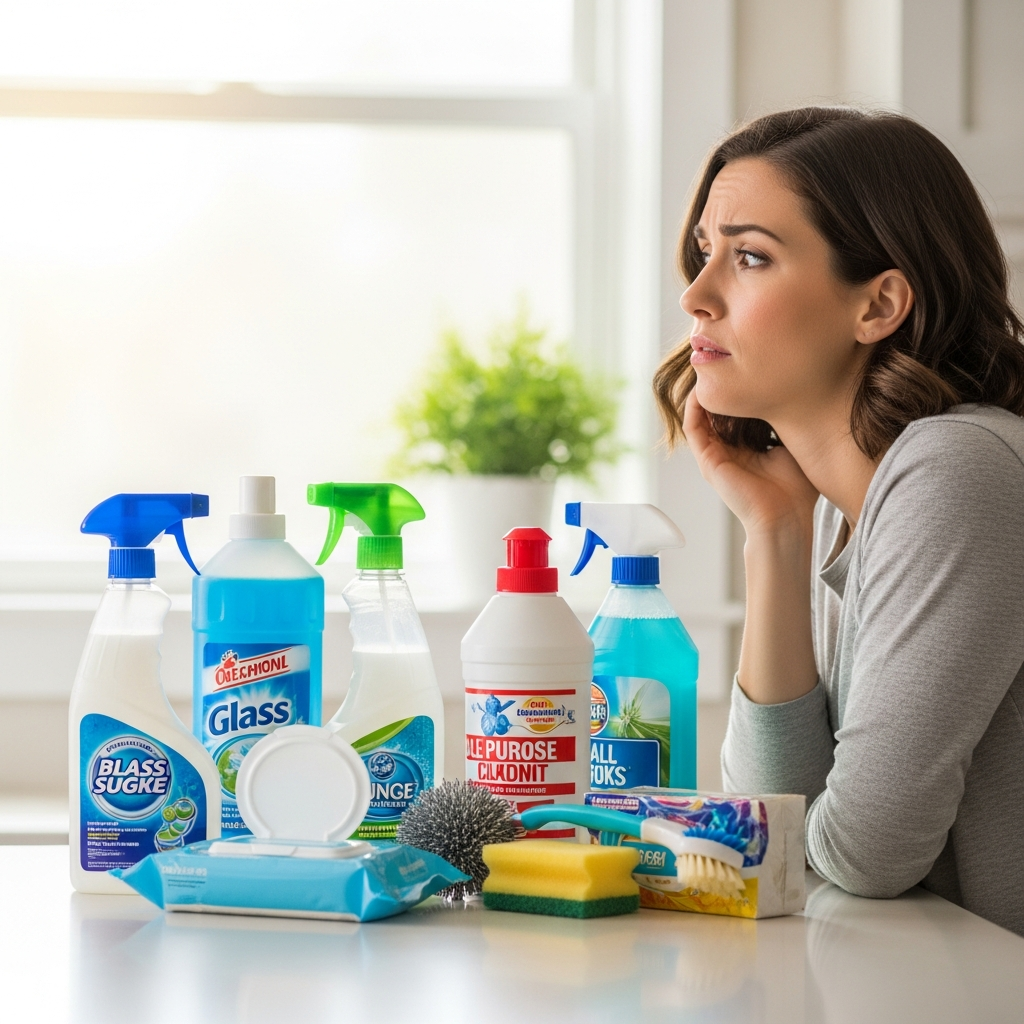
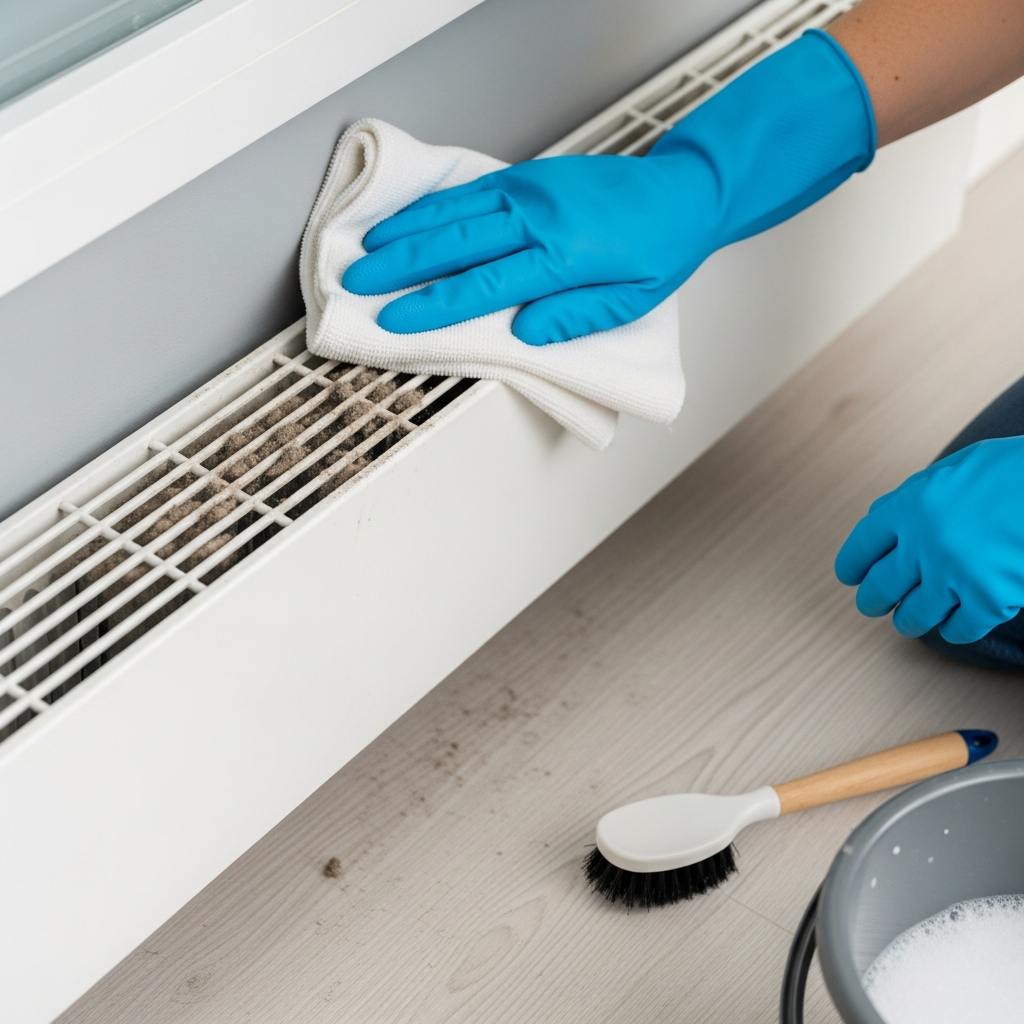
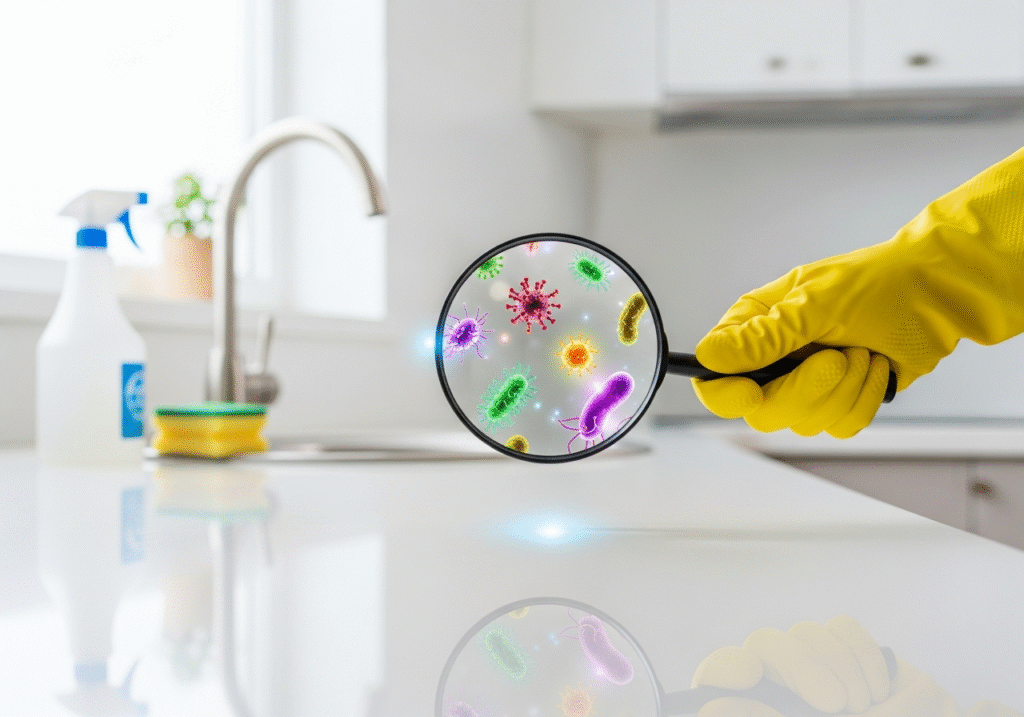
Get ready for flu season, december in Canada is a time of duality. On one hand, it is the season of warmth, celebration, and gathering, where homes are filled with the scent of baking and the sounds of family. On the other hand, it is the undisputed peak of the viral season, a time when the harsh weather forces us indoors, sealing us into environments where air is recirculated and physical proximity is unavoidable. As the temperature drops and the windows are latched tight to preserve heat, our homes transform into perfect incubators for the influenza virus, the common cold, and various other respiratory pathogens. While we often focus on washing our hands, we frequently neglect the environment those hands interact with. We scrub the floors and vacuum the carpets to make the house look presentable for guests, but we often miss the invisible landscape of germs that colonize the small, high-traffic areas of our homes. True sanitation during flu season requires a shift in perspective from cleaning for aesthetics to cleaning for health, focusing intensely on the “high-touch” points that serve as the transit hubs for infection. Cleaning and Disinfecting The first step in fortifying your home against illness is understanding the crucial distinction between cleaning and disinfecting. These terms are often used interchangeably in casual conversation, but in the world of hygiene, they represent two distinct physical processes. Cleaning is the removal of visible soil, dust, and debris using soap, water, and friction. It physically lowers the number of germs by washing them away, but it does not necessarily kill them. Disinfecting, conversely, is a chemical process designed to destroy pathogens on a microscopic level. The mistake most homeowners make is attempting to disinfect a dirty surface. If a doorknob or a countertop has a layer of grease, dust, or sticky residue on it, that organic matter acts as a shield for bacteria and viruses. The disinfectant cannot penetrate the soil to reach the germ underneath. Therefore, the rule for flu season is rigid: clean first, then disinfect. You must remove the barrier of dirt before you can effectively neutralize the threat. Once the surface is clean, the efficacy of your disinfection efforts depends entirely on a concept known as dwell time. We live in a culture of immediacy, conditioned by commercials that show a person spraying a counter and wiping it dry instantly. In reality, this “spray and wipe” technique is almost useless against robust viruses like the flu. Chemical disinfectants require time to break down the cell walls of bacteria or the protein shells of viruses. If you wipe the product away immediately, you are essentially just giving the germs a bath. Most EPA-registered disinfectants require the surface to remain visibly wet for anywhere between three to ten minutes to achieve the kill rate promised on the label. This requires patience. It means spraying the light switch or the faucet handle and walking away, letting the liquid sit and do its work before wiping up any excess. Ignoring dwell time is the primary reason why flu spreads through households even when they claim to be cleaning regularly. Door Handle The entryway of the Canadian home is the primary breach point for pathogens. It is where the outside world makes contact with the sanctuary of the interior. When we come in from the cold, our hands are often the first things to touch the hardware. The exterior and interior doorknobs, the deadbolt turn, and the handle of the storm door are constantly bombarded with bacteria from public transit, grocery carts, and workplace surfaces. Yet, these hardware pieces are rarely scrubbed. The keypad of a garage door opener or a smart lock is even worse, as the textured buttons trap oils and dirt, creating a sticky medium that holds onto viruses for days. Sanitizing these points should be the first ritual of returning home. It is not enough to just wipe the knob; the edge of the door where people grab to pull it shut is often overlooked and heavily contaminated. Kitchen Utensils Moving into the heart of the home, the kitchen acts as the central gathering hub during the holidays, making it a high-risk zone for cross-contamination. While countertops usually get wiped down, the hardware of the kitchen is frequently ignored. Think about the refrigerator handle. It is touched by every member of the family, often while cooking, eating, or snacking. It is grabbed by unwashed hands reaching for milk or leftovers. The same applies to the handle of the microwave, the oven, and the dishwasher. These appliances are touched dozens of times a day, yet they are often only cleaned when there is a visible spill. Small appliances are equally guilty. The handle of the coffee pot, the button on the kettle, and the knobs on the toaster are fomites—objects capable of carrying infection. Even the salt and pepper shakers, passed from person to person during a holiday dinner, can act as vectors for the flu. A nightly routine of wiping these specific handles with a disinfectant can significantly reduce the viral load in the kitchen. Controls The living room offers a different set of challenges, primarily centered around entertainment and relaxation. The remote control is arguably the single filthiest object in the entire house. It is handled by everyone, often while eating popcorn or snacks, and it inevitably falls on the floor or gets stuffed between sofa cushions. The rubber buttons are difficult to clean, trapping debris and moisture that bacteria thrive on. Similarly, video game controllers are held for hours at a time in warm, sweating hands, creating a perfect environment for bacterial growth. These electronics cannot be sprayed directly with liquid, as moisture will damage the circuitry. They require careful cleaning with disinfectant wipes that are damp but not dripping, ensuring that the chemical gets into the crevices between the buttons without seeping into the device. Light switches in the living room and hallways are another universal touchpoint. The toggle switch itself
Flu Season: Is Your “Clean” Home Making You Sick? The Hidden Germs You Missed Read More »