The Tools and Gadgets Professionals Use for a Perfect Spring Clean
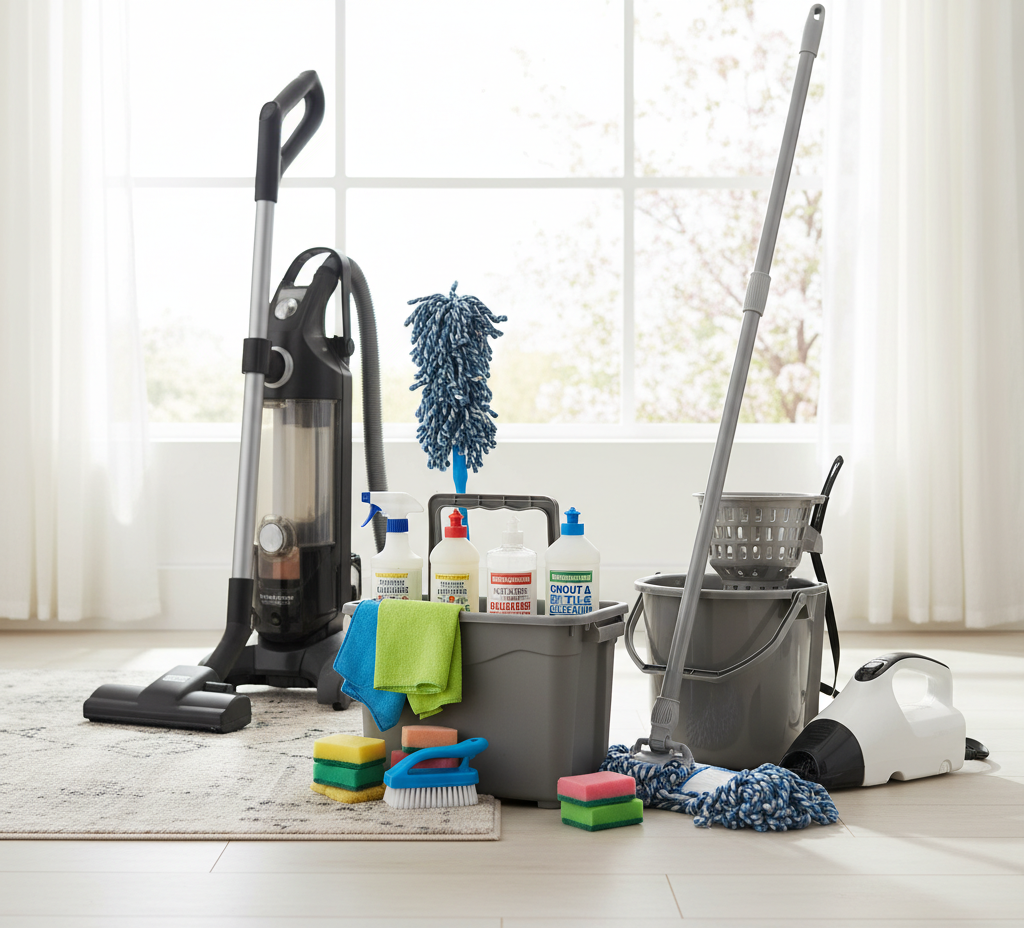
Do you know what the main gadgets are for spring cleaning? Spring cleaning is a ritual of renewal, a deep, restorative process that goes far beyond the scope of a routine weekly tidy. It is a full-scale assault on the accumulated dust, grime, and clutter of a long winter. This ambitious undertaking, however, can quickly become overwhelming when approached with the standard tools of daily maintenance. Trying to scrub a winter’s worth of soap scum with a simple sponge or reaching the dusty tops of cabinets with a flimsy duster is an exercise in frustration and wasted effort. The secret to transforming this monumental task into a manageable and even satisfying project lies in equipping yourself with a small arsenal of specialized gadgets designed to amplify your effort and deliver a truly professional level of clean. The Best Gadgets 1.Vacuum Cleaner The most fundamental and non-negotiable tool in any spring cleaning toolkit is a high-quality vacuum cleaner with a full suite of attachments. This is not just a machine for cleaning floors; it is the primary weapon in the war against dust and allergens. After months of sealed windows, the air in a home is laden with dust, pet dander, and pollen that has settled on every conceivable surface. A vacuum equipped with a HEPA (High-Efficiency Particulate Air) filter is essential. This type of filter is designed to trap microscopic particles, removing them from your home’s environment rather than simply recirculating them back into the air as a standard vacuum might. The true versatility of this gadget, however, is revealed through its attachments. The long, narrow crevice tool is your key to the forgotten spaces. It is the perfect instrument for pulling the dense accumulation of dirt, dead insects, and dust from deep within your window tracks. It can reach between couch cushions, along baseboards, and into the narrow, grimy space between your stove and your countertops. The soft-bristled dusting brush attachment is a champion for delicate and irregular surfaces. Use it to gently remove the thick layer of winter dust from blinds, lampshades, and intricately carved furniture without causing damage. It is also the ideal tool for cleaning dusty air vents and registers, directly improving the quality of the air being circulated through your home. The upholstery attachment is crucial for the deep cleaning of all your home’s textiles, from sofas and armchairs to curtains and, most importantly, your mattress, where it can remove the dead skin cells that feed dust mites. A powerful vacuum with the right attachments is the foundational gadget that does the heavy lifting of dust and allergen removal before any wet cleaning begins. 2.Drill Brush While a vacuum handles the loose debris, the true “deep clean” often involves tackling stubborn, caked-on grime that requires serious scrubbing power. This is where a set of drill brush attachments can be a revolutionary addition to your cleaning arsenal. This simple but ingenious gadget consists of a set of durable, nylon-bristled brushes of various shapes and sizes that attach directly to a standard cordless drill. This instantly transforms a common household tool into a high-speed power scrubber, delivering hundreds of rotations per minute and obliterating grime with a fraction of the physical effort of manual scrubbing. The large, flat brush is perfect for scouring large surface areas like the floor of a fiberglass shower or a tile floor. The smaller, bullet-shaped brush is a miracle worker on tile grout. When combined with a paste of oxygen bleach, the high-speed agitation of the brush can lift years of discoloration from grout lines, restoring them to their original color in a fraction of the time it would take by hand. The round corner brush is perfectly designed to get into the curved, hard-to-reach areas of a bathtub or sink, effortlessly removing the stubborn ring of soap scum that builds up at the waterline. This gadget is the ultimate solution for “elbow grease,” saving your muscles and your time while delivering a level of clean that is difficult to achieve manually. 3.Microfiber Duster Spring cleaning is also about reaching the high and low zones of neglect, the areas that are out of sight and out of mind during routine cleaning. For this, an extendable microfiber duster is an indispensable gadget. This tool typically features a telescoping handle that can reach up to the highest ceilings and a flexible, bendable duster head covered in a removable, washable microfiber sleeve. The long reach allows you to safely clean the blades of a ceiling fan from the ground, preventing the dangerous balancing act on a wobbly chair. The flexible head can be bent to a ninety-degree angle, making it the perfect tool for cleaning the tops of tall kitchen cabinets, bookcases, and door frames, which are notorious for collecting a thick, furry layer of dust. The science of microfiber is key here; its statically charged fibers attract and trap dust particles, removing them completely rather than just flicking them into the air to resettle elsewhere. The same tool, with the handle shortened, is also a back-saver for cleaning the low zones. Instead of getting on your hands and knees with a rag, you can stand comfortably and run the duster along every baseboard in your home, lifting scuffs and dust with ease. 4.Steam Cleaner For a truly hygienic, chemical-free deep clean, a handheld steam cleaner is a sanitizing powerhouse. This gadget uses a small internal boiler to heat water past its boiling point, creating a jet of high-pressure, high-temperature steam that can be directed through various nozzle attachments. This superheated steam is a triple threat: it is a powerful solvent, a potent disinfectant, and a targeted cleaning tool. The heat is incredibly effective at melting and dissolving stubborn, greasy, and sticky messes without any chemicals whatsoever. It can liquefy the baked-on grease on a stovetop, dissolve the grimy buildup around sink faucets and drains, and even soften the burnt-on food inside a microwave. As a sanitizer, the steam is hot enough to kill
The Tools and Gadgets Professionals Use for a Perfect Spring Clean Read More »