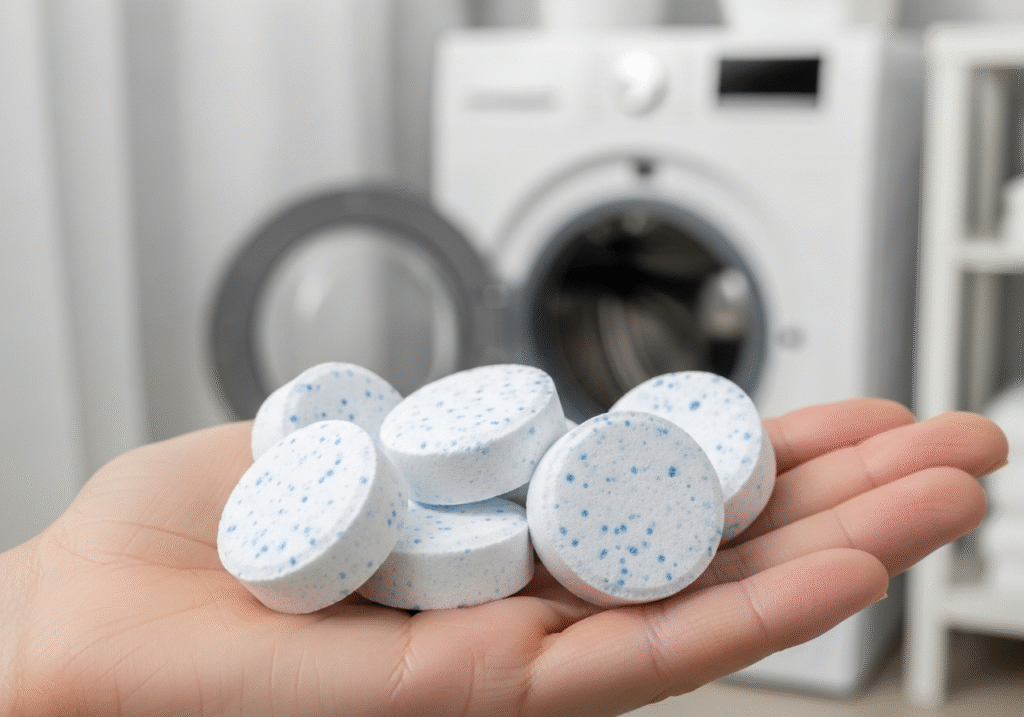
Washing Machine Cleaning Tablets: Are You Wasting Money on Washer Tablets?
Let’s understand how to use washing machine cleaning tablets? The modern laundry room is often viewed as a sanctuary of hygiene, a place where the grime of the outside world is washed away, leaving behind only the scent of fresh linen. Central to this operation is the washing machine, an appliance that we instinctively trust to be the cleanest object in the house. We assume that because gallons of hot water and detergent flow through it daily, it must be self-cleaning. However, this assumption is the primary cause of a domestic crisis that affects millions of households: the slow, invisible accumulation of biological sludge that destroys appliances and ruins clothing. In response to the rise of high-efficiency machines and the foul odors that accompany them, the market has introduced a specific chemical solution: washing machine tablets. These small, effervescent pucks have become a staple in the cleaning aisle, promising to strip away years of neglect with a single cycle. Yet, to truly understand their value and their limitations, one must look past the marketing and understand the chemistry and mechanics of why our machines get dirty in the first place. Sustainability or Disaster? To understand the necessity of washing machine tablets, one must first look at the engineering shift that created the problem. Decades ago, traditional top-loading washers used massive volumes of water. They filled the tub to the brim, allowing clothes to float freely, and the aggressive mechanical agitation flushed soil and residue down the drain effectively. Today, in the name of environmental preservation and energy efficiency, we use front-loading or high-efficiency top-loading machines. These devices use a fraction of the water, relying on the tumbling action of the drum to clean clothes through friction and gravity. While this is a victory for sustainability, it is a disaster for internal hygiene. The dirt, dead skin cells, body oils, and excess detergent that are stripped from your clothing are not always flushed away. Instead, due to the low water volume, they are often cast onto the walls of the outer tub—a stationary drum that surrounds the spinning basket you see. In this dark, warm, and damp crevice, a layer of biofilm begins to grow. This biofilm is a sticky, living matrix of bacteria and mold that feeds on the residual laundry products we leave behind. Washing machine tablets are engineered specifically to target this hidden environment. Unlike laundry detergent, which is chemically formulated to lift soil from fabrics and suspend it in water using surfactants, cleaning tablets are designed to be aggressive against hard surfaces. They are typically composed of concentrated oxidative agents, such as sodium percarbonate, which breaks down into hydrogen peroxide and soda ash when dissolved in water. When a tablet is dropped into the drum and the cycle begins, it effervesces violently. This fizzing action is not merely theatrical; it serves a crucial mechanical purpose. It helps to disperse the active chemical ingredients throughout the entire volume of the drum, splashing the cleaning solution up to the “roof” of the tub and into the crevices of the spider arm—the metal bracket that holds the drum in place and is notorious for corroding and snapping due to chemical buildup. Alkaline Cleaning Products The chemistry of washing machine tablets is typically alkaline, which is essential for their function. Most of the grime inside a washer is acidic in nature—fatty acids from soap scum, body lipids, and grease. By introducing a highly alkaline solution, the tablets can saponify these fats, turning them into a soluble soap that can be rinsed away. Many advanced formulations also include specific enzymes. These enzymes act as biological catalysts that digest the organic matter within the biofilm, effectively eating away the food source that allows mold to thrive in the damp recesses of the pump and drain lines. By breaking down the structural integrity of the sludge, the tablet allows the water to flush it out of the system. However, a dangerous misconception exists regarding what these tablets can actually achieve. Many homeowners treat them as a repair tool rather than a maintenance tool. If a washing machine has been neglected for five years and has developed a thick, black ring of mold on the rubber door gasket, a washing machine tablet will not remove it. Mold has root structures that penetrate the porous rubber of the seal. No amount of splashing chemical water will scrub that physical infestation away. The tablet is designed to maintain the hard, non-porous surfaces—the stainless steel of the drum and the heavy plastic of the outer tub. Relying solely on a tablet while ignoring the physical gaskets is why many frustrated users claim the product “doesn’t work.” It works perfectly for its intended chemical purpose, but it cannot perform miracles on permanent organic staining that requires manual agitation and a mildewcide. Water Temperature The effectiveness of washing machine tablets is also entirely dependent on how they are used, particularly regarding water temperature. This is where user error runs rampant. Almost all cleaning tablets rely on chemical reactions that require heat energy to activate. The oxygen release from the bleaching agents is significantly more vigorous and effective in scalding hot water. If a user throws a tablet in and runs a “Quick Wash” or a cold cycle, they are essentially wasting their money. The tablet may not even fully dissolve, leaving a gritty, chalky residue at the bottom of the drum that adds to the mess rather than resolving it. To get the full benefit, the machine must be set to its hottest possible setting—often labeled “Sanitize” or “Extra Hot.” This heat ensures that the tablet dissolves completely and that the chemical solution is energetic enough to penetrate the layers of calcified grime. A major contributor to the sludge that tablets are fighting is the overuse of fabric softener. Fabric softener is, essentially, liquid fat. It is designed to coat the fibers of your clothing with a thin layer of lipids to make them feel slick and reduce static.
Washing Machine Cleaning Tablets: Are You Wasting Money on Washer Tablets? Read More »