How to Manage the Spring Thaw Mess: A Step-by-Step Guide
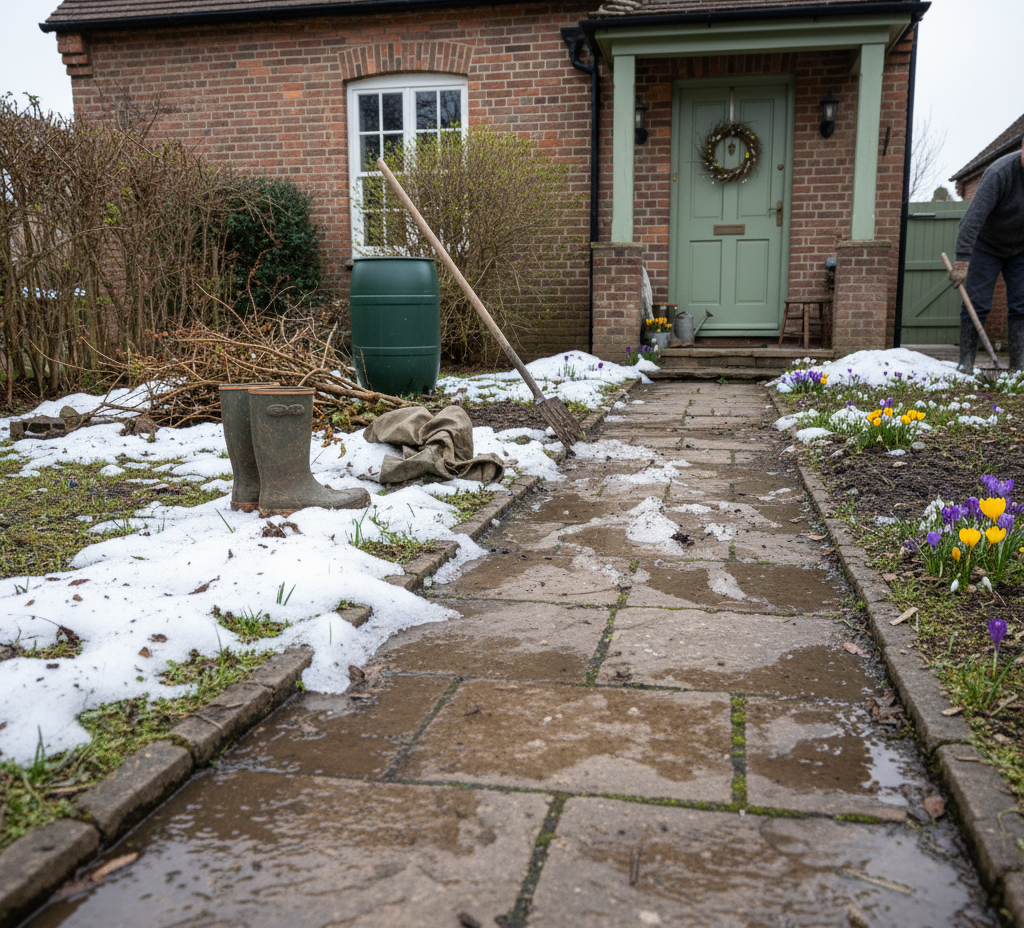
The Canadian spring is not a gentle awakening; it is a messy, protracted thaw. The transition from the frozen stillness of winter to the vibrant life of summer is a period defined by melting snow, persistent rain, and the unavoidable consequence of both: mud. For homeowners, the month of April is a constant battle fought at the entryways of the home, a relentless effort to keep the gritty, wet reality of the season from encroaching upon clean interior floors. Managing this seasonal mess is not about a single, grand cleaning effort, but about adopting a systematic, defensive strategy that contains the chaos at its source. Entryway The primary battleground is the entryway or mudroom. This high-traffic zone bears the brunt of the assault from salt-stained boots and muddy paws. The most visible and frustrating damage appears on the floors, particularly in the form of chalky, white salt stains on tile grout and floor mats. These stains are an alkaline residue, and they require a mild acid to be broken down effectively. The most effective tool for this is plain white vinegar. Before introducing any liquid, the first step is always a thorough dry clean. Vacuum the entire area meticulously, using a crevice tool to pull up all the loose salt crystals, sand, and dried dirt from the floor and especially from deep within the grout lines. Once the loose debris is gone, mix a solution of equal parts white vinegar and warm water in a bucket or spray bottle. Apply this solution directly to the salt-stained areas, letting it sit for five to ten minutes to allow the acid to work on dissolving the alkaline salt. Then, using a stiff-bristled scrub brush, agitate the grout lines and stained surfaces. You will see the stains begin to lift. The final, crucial step is to rinse the area with a mop or cloth using only plain, clean water. This removes any lingering vinegar solution, which can leave a sticky residue if left to dry. For general mud and grime on durable flooring like ceramic tile or vinyl, frequent mopping is key. The goal is to prevent layers of mud from being tracked further into the home. For hardwood floors in the entryway, extreme care must be taken. Water is the enemy of wood, so never use a soaking wet mop. Instead, use a microfiber mop that is only lightly dampened with a pH-neutral wood floor cleaner. Any spills or puddles from wet boots should be wiped up immediately to prevent moisture from seeping between the boards and causing them to warp or stain. The walls and baseboards in this area also take a beating, collecting splatters of mud and dirty water. A simple wipe-down with a damp cloth and a drop of mild dish soap is all that is needed to keep these surfaces clean and prevent staining. Doormat A highly effective strategy for managing the thaw is to implement a robust, two-mat system. This is not simply placing a mat at the door; it is creating a two-stage cleaning process for footwear. The first mat should be placed directly outside the door. Its sole purpose is to be a scraper. This should be a coarse, durable mat made of coir, rubber with deep grooves, or another abrasive material designed to shear off the heaviest mud, slush, and grit from the treads of boots. This mat will get filthy, and it should be cleaned regularly by hosing it down and scrubbing it with a stiff brush. The second mat is placed on the inside. Its purpose is absorption. This mat should be made of a highly absorbent fabric with a non-slip rubber backing, designed to trap the remaining fine dirt and moisture. This indoor mat should be vacuumed daily during the messiest weeks of spring and should be machine-washed or hosed down whenever it becomes saturated. This system ensures that by the time a foot steps onto your clean interior floor, it has already passed through two distinct cleaning zones. Winter Gear With the entryway fortified, the next step is to properly deal with the winter gear that is being retired for the season. Storing boots and mats while they are still dirty is a critical mistake. The salt residue will continue to degrade leather and synthetic materials over the long months in storage, and the dirt can attract pests. Every pair of winter boots should be thoroughly cleaned before being put away. Begin by dry-brushing all the caked-on mud from the soles and uppers. Then, wipe down the entire boot with a damp cloth to remove surface dirt. To treat stubborn salt stains, use a cloth lightly dampened with the same 50/50 vinegar and water solution, dabbing gently at the white lines until they disappear. Allow the boots to air dry completely, away from direct heat, before stuffing them with paper to help them hold their shape and storing them in a cool, dry place. The heavy-duty boot trays that have been collecting pools of dirty, salty water all winter should be taken outside, hosed off, and scrubbed clean before being stored. Garage For homes with an attached garage, the garage floor itself is an often-overlooked but significant source of tracked-in grime. Over the winter, the floor becomes a repository for all the salt, sand, and slush that drips off your vehicle. This gritty residue is then easily tracked into the house on the bottom of shoes. Performing a “spring sweep” of the garage is a deeply satisfying task that dramatically reduces the amount of dirt entering your home. Begin by moving the cars and any other large items out of the garage to give you a clear workspace. Using a heavy-duty push broom, start at the back wall and systematically sweep all the loose debris towards the main garage door and out onto the driveway. For a more thorough clean, you can hose down the concrete floor and use a floor squeegee to push the dirty water out. This
How to Manage the Spring Thaw Mess: A Step-by-Step Guide Read More »