Are You Cleaning Your Running Shoes Wrong? 5 Mistakes to Avoid
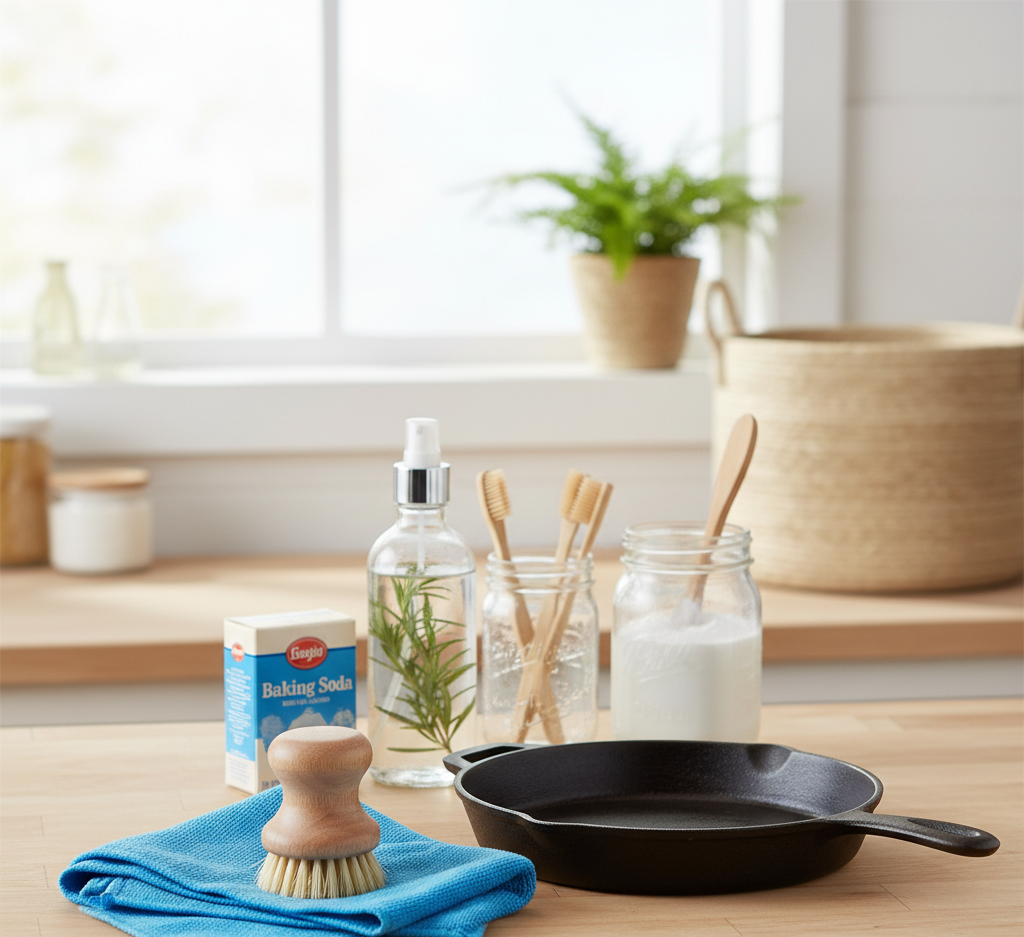
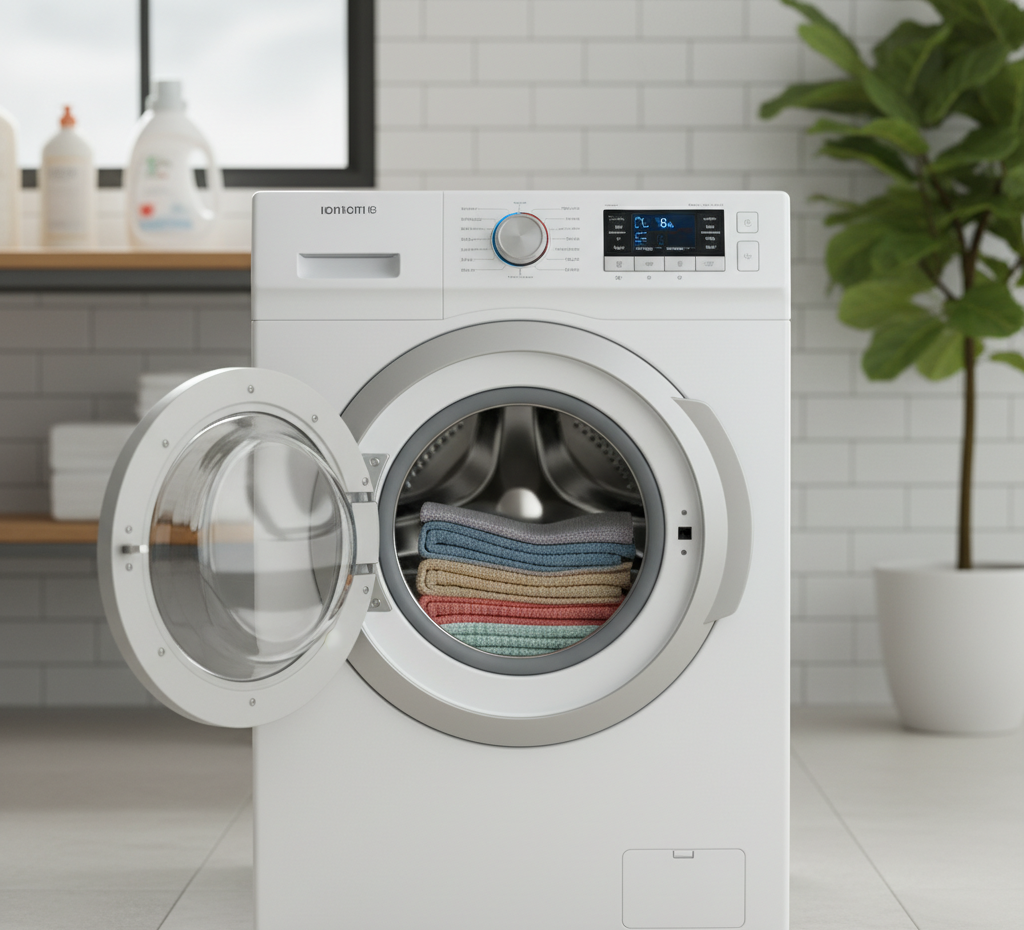
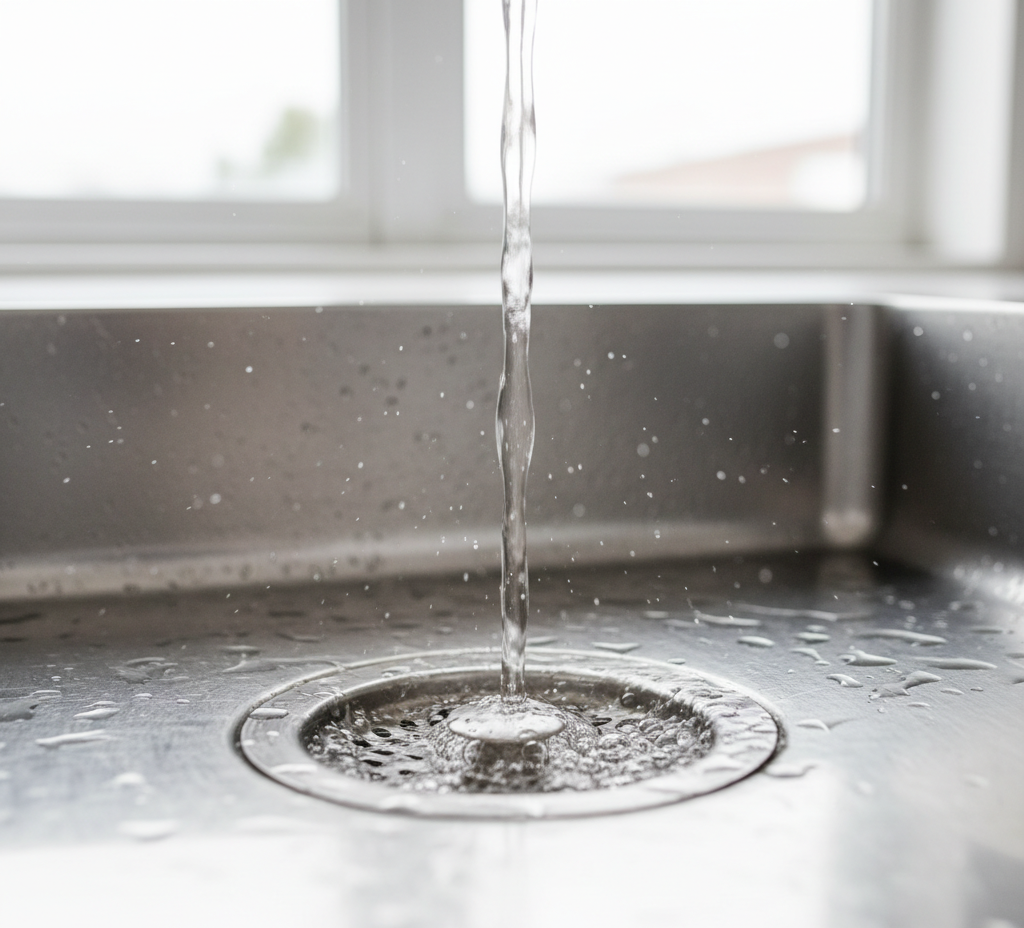
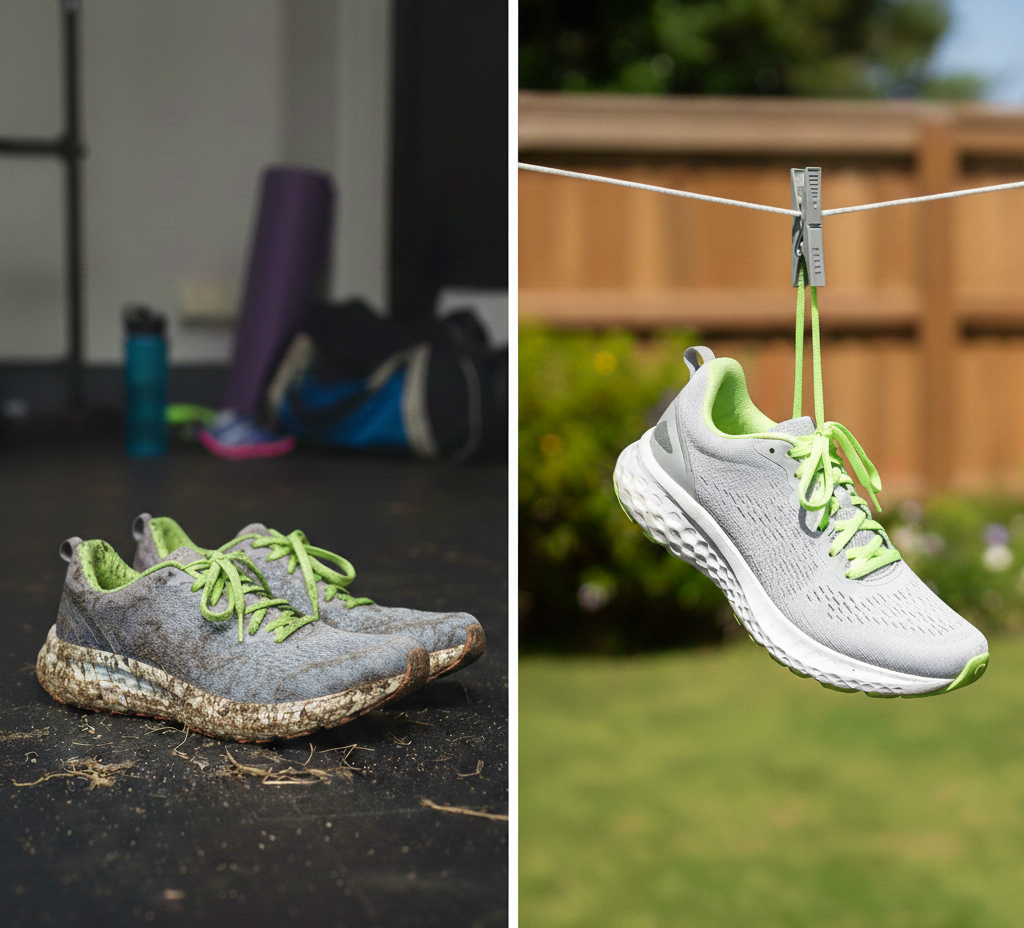
Running shoes are a unique piece of equipment, a perfect marriage of high-performance materials and biomechanical engineering designed to absorb impact and support the foot through countless miles. Over time, however, they inevitably become a testament to the miles they have endured, accumulating a grimy mixture of trail mud, road dust, grass stains, and the unavoidable salt stains from sweat. Cleaning them is not merely a matter of cosmetic preference; it is an essential act of maintenance that preserves the integrity of the materials, extends the lifespan of the shoe, and can even contribute to a healthier, more comfortable run. A shoe caked in dried mud is less flexible, and one saturated with sweat is a breeding ground for odor-causing bacteria. Neglect The most common and most damaging mistake in cleaning running shoes is treating them like any other piece of dirty laundry. The temptation to toss them into the washing machine and then the dryer is strong, but this is a guaranteed way to destroy a sophisticated piece of athletic gear. A washing machine’s aggressive tumbling action can bend the shoe’s supportive structures out of shape and weaken the delicate mesh uppers. More importantly, the combination of hot water and harsh detergents is catastrophic for the specialized foams, like EVA, that make up the midsole. This foam is engineered with tiny air pockets to provide cushioning and rebound. The heat and chemicals can cause these pockets to break down, permanently compressing the midsole and stripping the shoe of its essential cushioning properties. The clothes dryer is even more destructive. The intense, direct heat will warp the shoe’s shape, shrink the upper materials, and, most critically, melt the industrial-strength adhesives that hold the entire shoe together, causing the layers to delaminate and separate. Similarly, harsh chemical cleaners like bleach must be avoided at all costs. While effective at whitening, bleach will degrade and discolor the synthetic fabrics and delicate mesh that make up the upper, making them brittle and prone to tearing. The correct approach to cleaning running shoes is a gentle, methodical, hands-on process that respects the materials and the construction of the shoe. Dry-Brushing Before you even introduce water, the first and most critical step is preparation and dry-brushing. Find a suitable workspace, either outdoors or on an old towel to contain the mess. The first action is to deconstruct the shoe. Remove the laces completely. This is essential for getting a thorough clean on both the laces themselves and the tongue and eyelets of the shoe. Next, remove the insoles. The insoles are a major source of odor as they absorb the most sweat, and they must be cleaned and dried separately to allow the interior of the shoe to air out properly. With the shoe disassembled, the dry work begins. Your goal is to remove as much caked-on, loose dirt and dust as possible before it turns into mud. Using a shoe brush or a dry, stiff-bristled brush, vigorously scrub the outsole and the midsole of the shoe. Use the tip of the brush to dig into the grooves of the tread and dislodge any trapped pebbles, dirt clods, or grit. Once the lower parts are clean, switch to a softer-bristled brush, like an old toothbrush, to gently brush away any loose dust and dirt from the delicate mesh and fabric uppers. Being thorough in this dry-brushing stage will make the subsequent wet cleaning phase significantly easier and more effective. Wet Cleaning Now, you can move on to the wet cleaning. Create a simple, mild cleaning solution by mixing a small amount of gentle soap into a bowl of warm water. A clear, gentle dish soap or a specialized shoe cleaner is ideal. Avoid using laundry detergent, as it can be too harsh and may leave a residue. Begin with the uppers. Dip your soft-bristled brush into the soapy solution and gently scrub the fabric in small, circular motions. Work on one section at a time, paying extra attention to any stained areas. Do not saturate the shoe with water; the goal is to use the suds and the gentle agitation of the brush to lift the dirt from the surface. Once you have scrubbed an area, use a clean, damp microfiber cloth to wipe away the suds and the lifted grime. Continue this process until the entire upper of the shoe is clean. Next, focus on the midsole. This is the foam section of the shoe that often shows the most scuffs and dirt. You can use a slightly stiffer brush on this area, as it is more durable than the upper. Use the same soapy solution to scrub away the dirt and scuff marks. For particularly stubborn marks on white midsoles, a magic eraser can be surprisingly effective, but use it gently to avoid abrading the surface. Outsole At the end, clean the outsole. This is the most durable part of the shoe, so you can scrub it vigorously with your stiff brush and soapy water to remove any remaining grime from the treads. You can rinse the outsole under a gentle stream of cool water from a tap, being very careful not to get the interior or the uppers of the shoe soaking wet. With the main body of the shoe clean, turn your attention to the laces and insoles. Submerge the laces in the bowl of soapy water and let them soak for a few minutes. Then, rub them between your hands or scrub them with a brush to work out the dirt. Rinse them thoroughly under clean water and squeeze out the excess moisture. For the insoles, use your brush and the soapy solution to give them a thorough scrubbing on both sides. These are a primary source of odor, so do not neglect this step. After scrubbing, rinse them completely to remove all soap residue. A final sprinkle of baking soda on the damp insoles can help to neutralize any lingering odors as they dry. Air Dry The final
Are You Cleaning Your Running Shoes Wrong? 5 Mistakes to Avoid Read More »