7 Amazing Uses for Stain Remover Powder You Need to Know
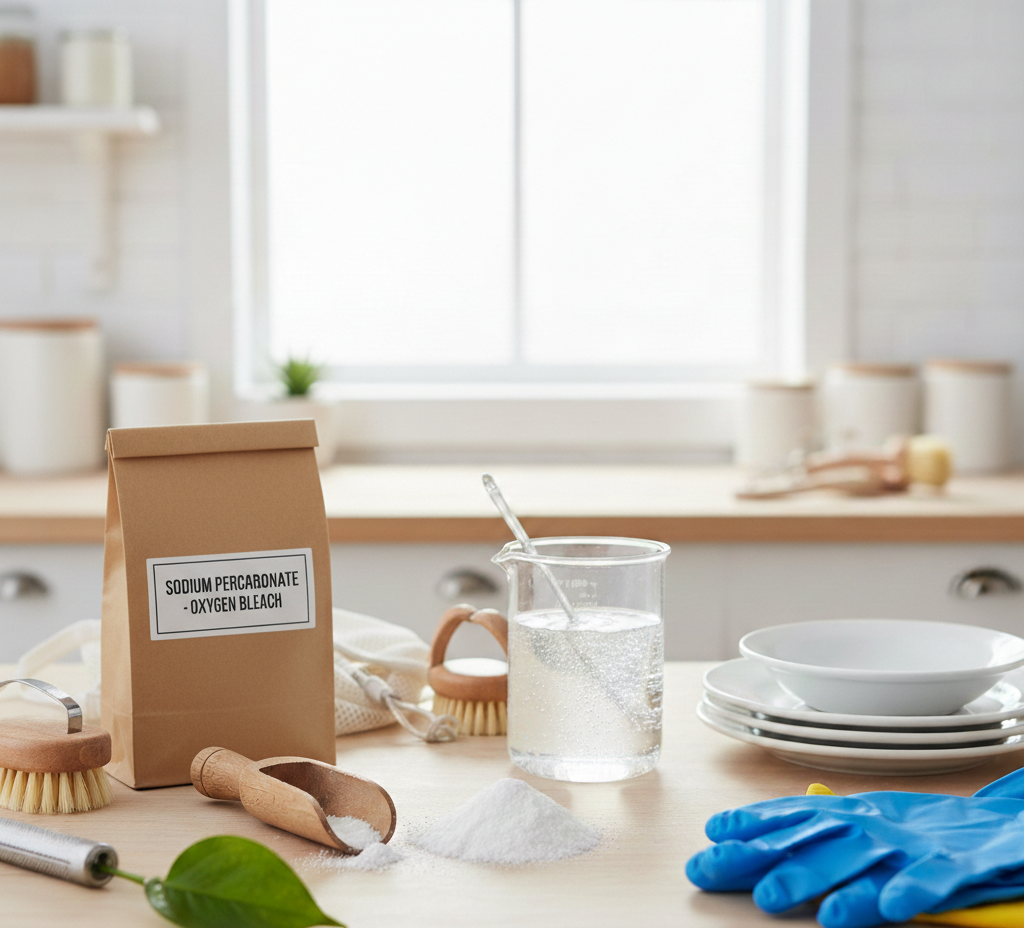
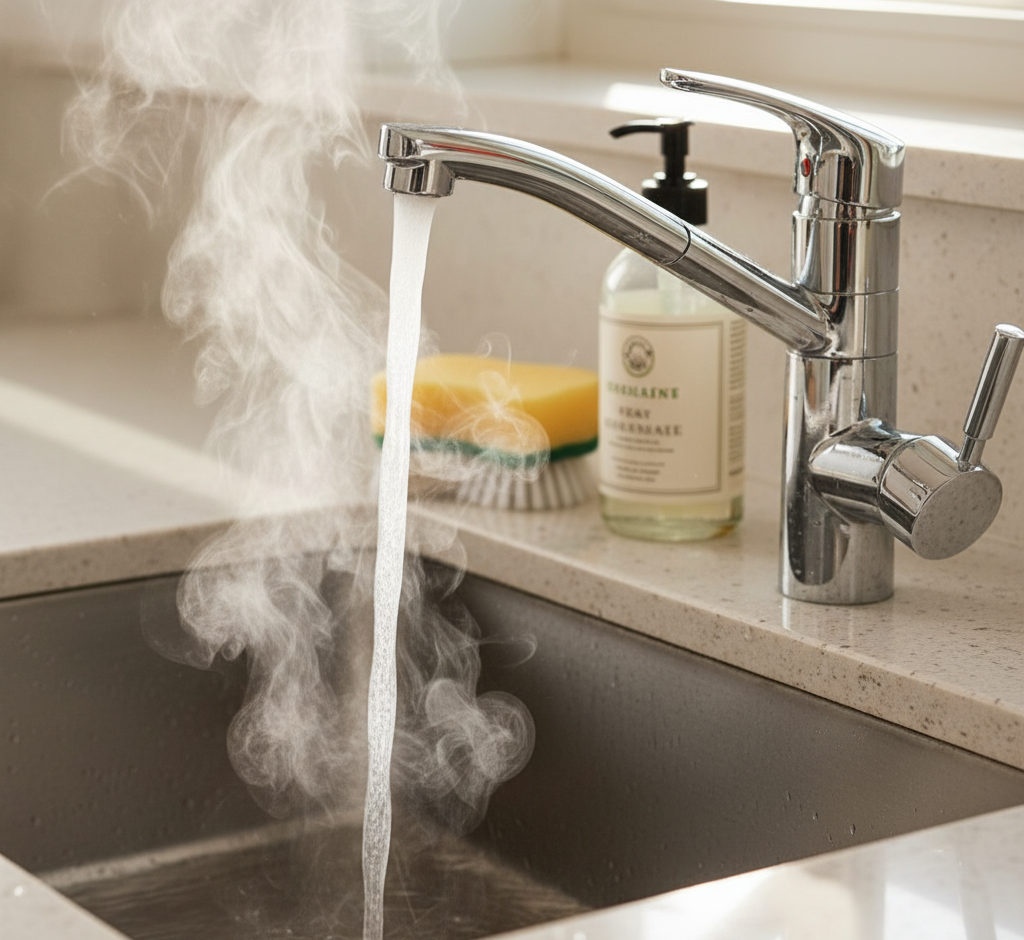
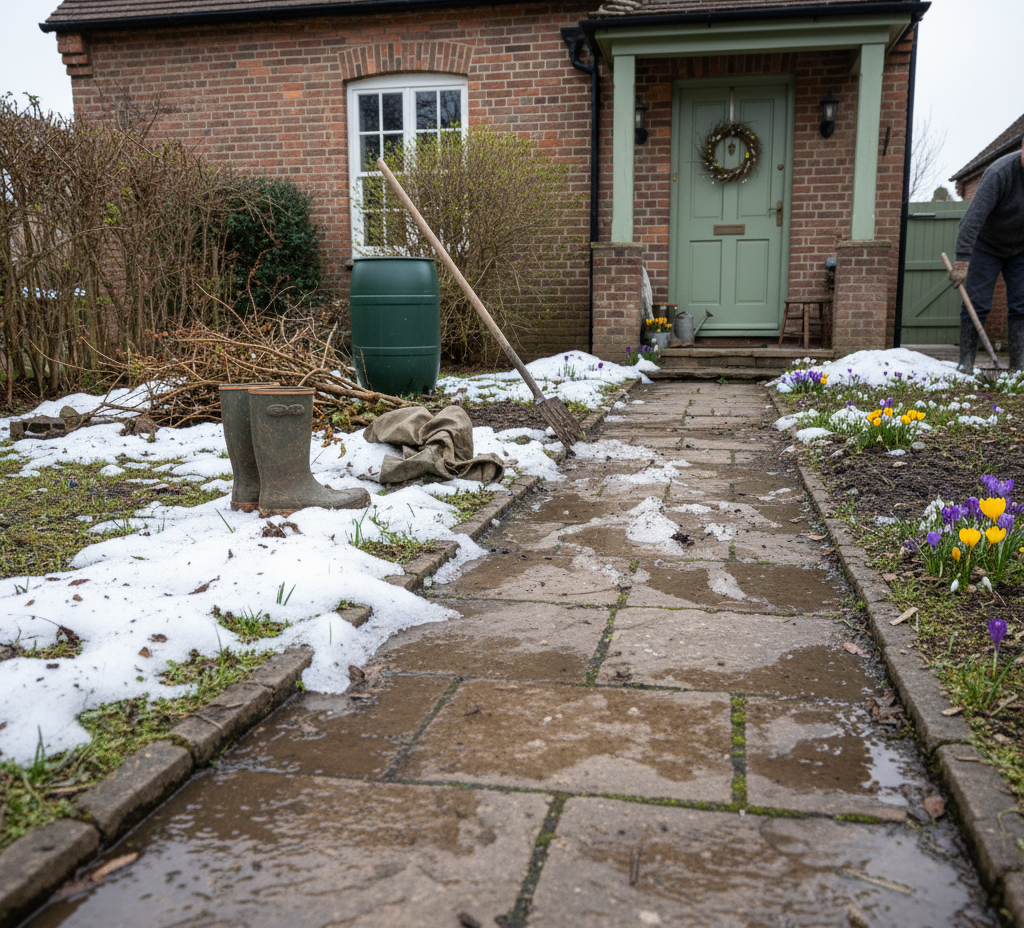
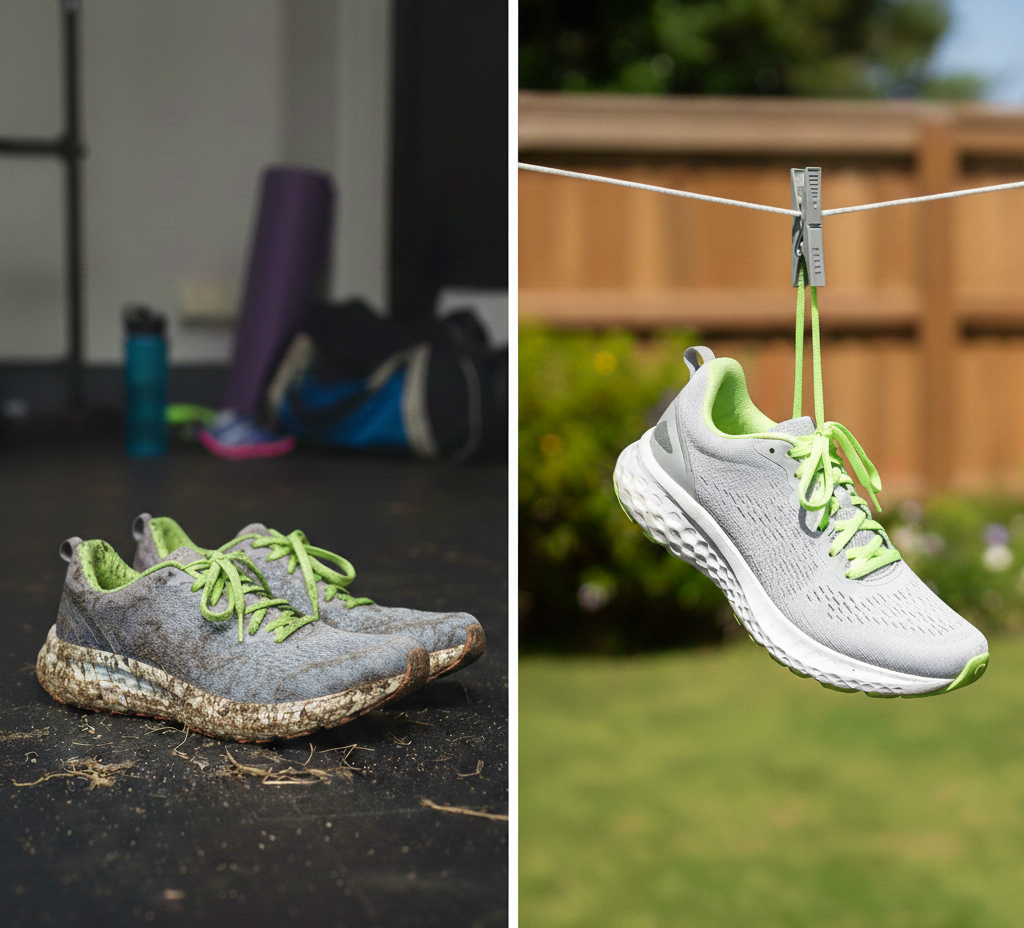
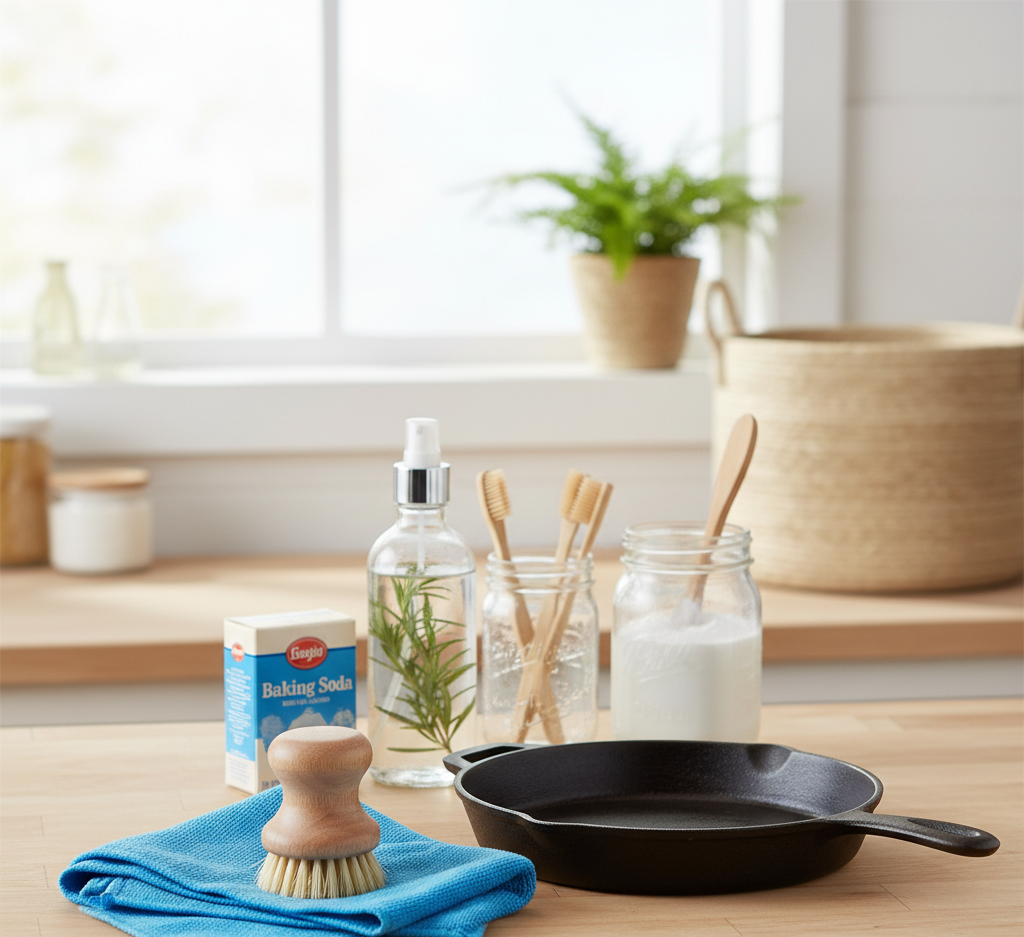
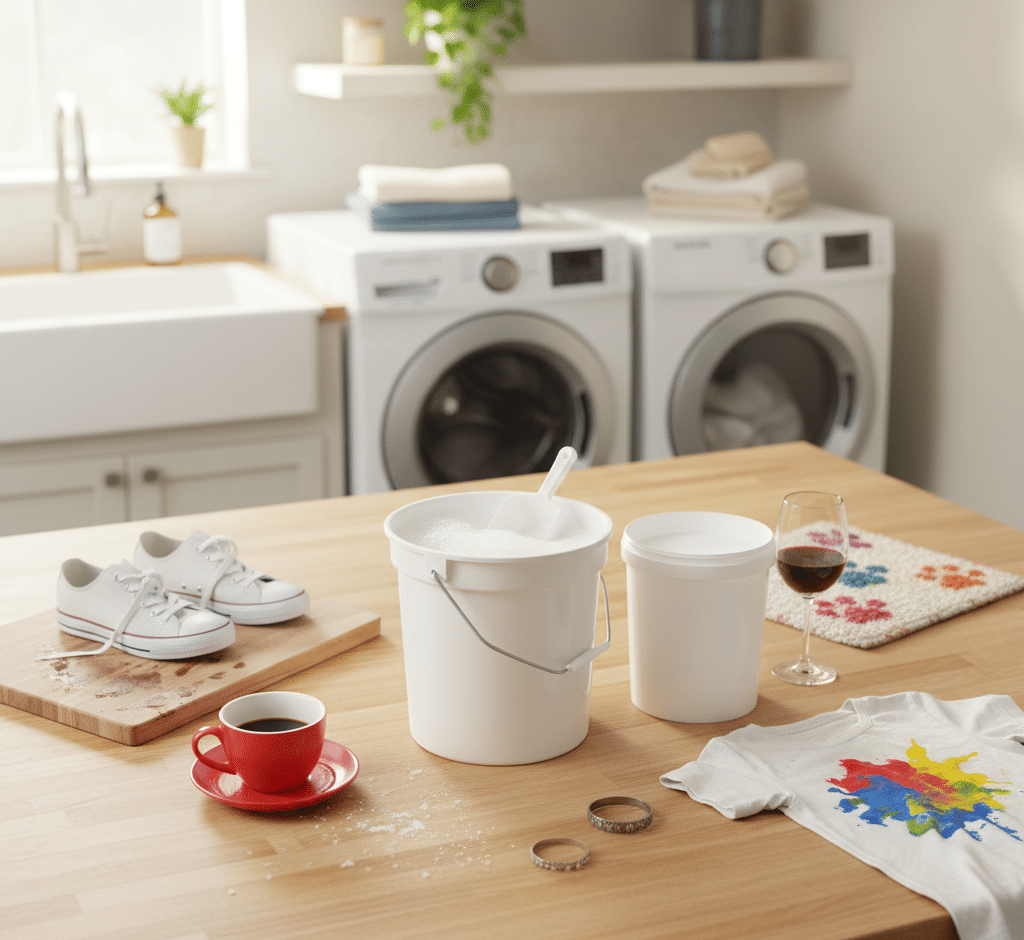
Where does Stain Remover Powder fit into the ongoing quest for a truly clean and stain-free home? The market is flooded with a dazzling array of specialized sprays, gels, and liquids, each promising miraculous results on a specific type of dirt. Yet, hidden among these is a simple, unassuming, and incredibly powerful tool that often gets overlooked: the stain remover powder. This is not just another detergent booster; it is a versatile cleaning agent whose power is rooted in basic, yet potent, chemistry. Often marketed as “oxygen bleach,” this granulated powder is a secret weapon that can whiten, brighten, and eliminate a vast range of stubborn organic stains from fabrics and surfaces throughout the home, all without the harsh, corrosive nature of traditional chlorine bleach. Sodium Percarbonate The magic of a quality stain remover powder lies almost entirely in one key ingredient: sodium percarbonate. In its dry, powdered form, this compound is a stable and inert adduct of sodium carbonate and hydrogen peroxide. The wonder begins when it is introduced to water, particularly hot water. The heat and moisture act as a catalyst, breaking the sodium percarbonate down into its two core components. The first, sodium carbonate, also known as washing soda, is a powerful cleaning agent in its own right, softening the water and helping to break down grease and oils. The second, hydrogen peroxide, is where the true stain-fighting power is unleashed. The hydrogen peroxide works as a powerful oxidizer. This means it chemically breaks down the chromophores—the parts of a molecule that give a stain its color. The oxidation process effectively dismantles the stain molecule, rendering it colorless and allowing it to be easily washed away. This is a fundamentally different and gentler process than that of chlorine bleach, which can be harsh on fabric fibers and is only safe for whites. Oxygen bleach, by contrast, is color-safe on most washable fabrics, making it an incredibly versatile tool. Laundry Room The most celebrated application for stain remover powder is, without a doubt, in the laundry room. It is a true champion for restoring dingy whites, brightening light-colored fabrics that have become dull, and removing a formidable list of stubborn organic stains. For a general whitening and brightening boost to a whole load, you can simply add one to two scoops of the powder directly to the drum of your washing machine along with your regular detergent. For this method to be most effective, you must use a warm or, preferably, a hot water cycle. The heat is essential for fully activating the compound and ensuring the maximum amount of oxygen is released to work on your laundry. This is an excellent way to maintain the brightness of bed sheets, bath towels, and white t-shirts. Pre-Soak Method However, to witness the true, transformative power of stain remover powder, the pre-soak method is unparalleled. This is where the quiet chemistry of oxygen bleach is given the time it needs to perform miracles. This method is the ultimate solution for deeply set-in stains from coffee, tea, red wine, grass, juice, and even old, yellowed stains on vintage linens. To create a pre-soak, dissolve two to four tablespoons of the powder for every gallon of the hottest water the fabric can safely tolerate. It is crucial to dissolve the powder completely in the hot water before adding the garment to ensure even distribution of the cleaning agent. Submerge the stained item entirely in this solution and let it soak. The required dwell time is the key to success. This is not a quick process. A soak can range from one hour for lighter stains to a full eight hours, or even overnight, for deeply set-in, stubborn stains. You will often see the water change color as the stain is literally lifted from the fabric fibers. After the soak, simply remove the garment, wring it out gently, and launder it as you normally would. This method is incredibly effective for rescuing stained baby clothes, yellowed pillowcases, and hopelessly grimy dish towels, restoring them to a brightness that regular washing alone cannot achieve. Ceramic Mugs, Teacups, and Coffee Carafes The wonders of stain remover powder extend far beyond the laundry room and into the kitchen, where it can tackle a host of stained and grimy surfaces. One of its most satisfying uses is on ceramic mugs, teacups, and coffee carafes that have developed a stubborn brown film from tannins. To restore them, place one to two teaspoons of the powder in the bottom of the stained vessel, then carefully fill it with boiling water. The solution will begin to fizz gently as the oxygen is released. Let it sit for at least thirty minutes. When you pour it out, the brown stains will have vanished, revealing a sparkling clean interior with absolutely no scrubbing required. Cutting Boards This same principle can be applied to other challenging kitchen items. Stained plastic cutting boards can be revived by making a thick paste of the powder and a little hot water. Scrub this paste into the surface, let it sit for twenty minutes, and then rinse it clean. It will lift stains from things like berries and tomato sauce while also deodorizing the board. For burnt-on food on stainless steel or ceramic bakeware, a long soak is the answer. Place the dish in a sink, sprinkle it liberally with the powder, and carefully fill it with boiling water. Let it soak for several hours, and the carbonized food that once required intense scraping will soften and lift away with ease. Bathroom In the bathroom, stain remover powder is an excellent tool for deep cleaning discolored tile grout. Grout, being porous, easily absorbs soap scum, dirt, and mildew. To clean it, create a thick paste of the powder and hot water. Apply this paste directly to the grout lines with an old toothbrush or a small brush. Let it sit and work its magic for at least thirty minutes, keeping it moist by occasionally spritzing it
7 Amazing Uses for Stain Remover Powder You Need to Know Read More »