How to Clean Composite Decking: The Safe Cleaning Method
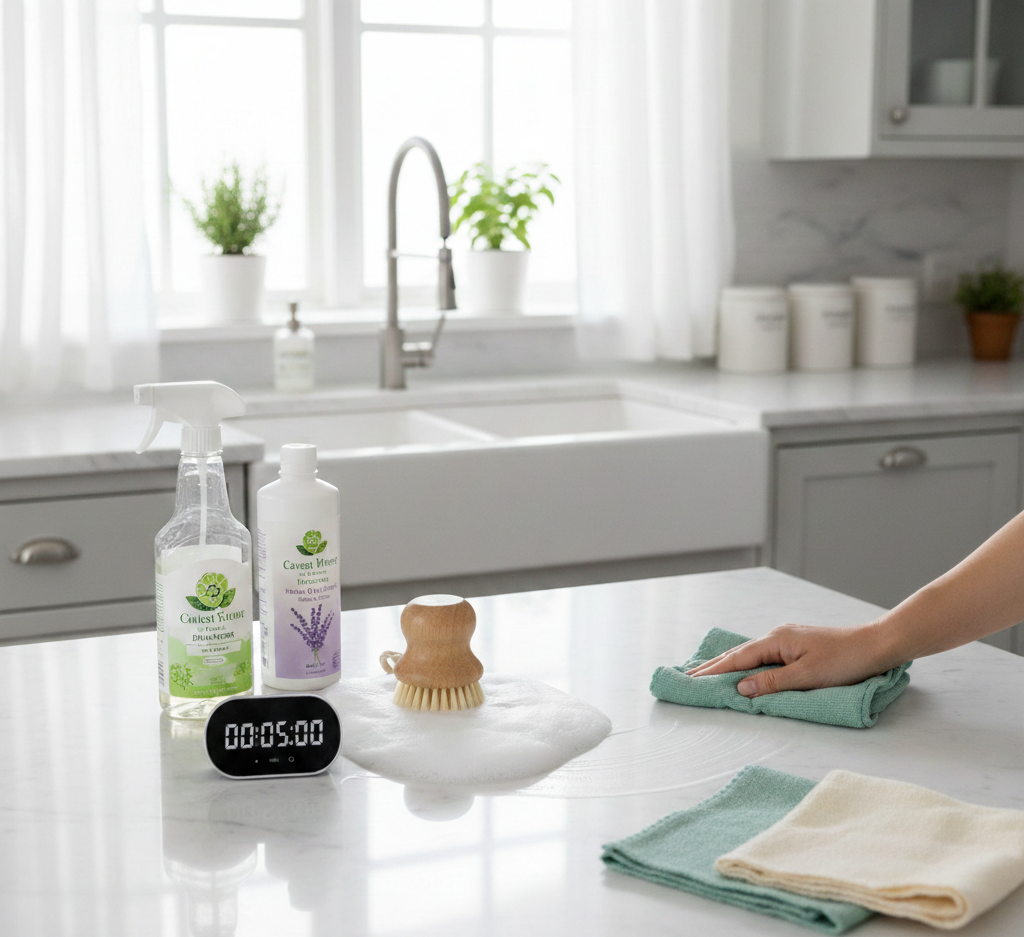
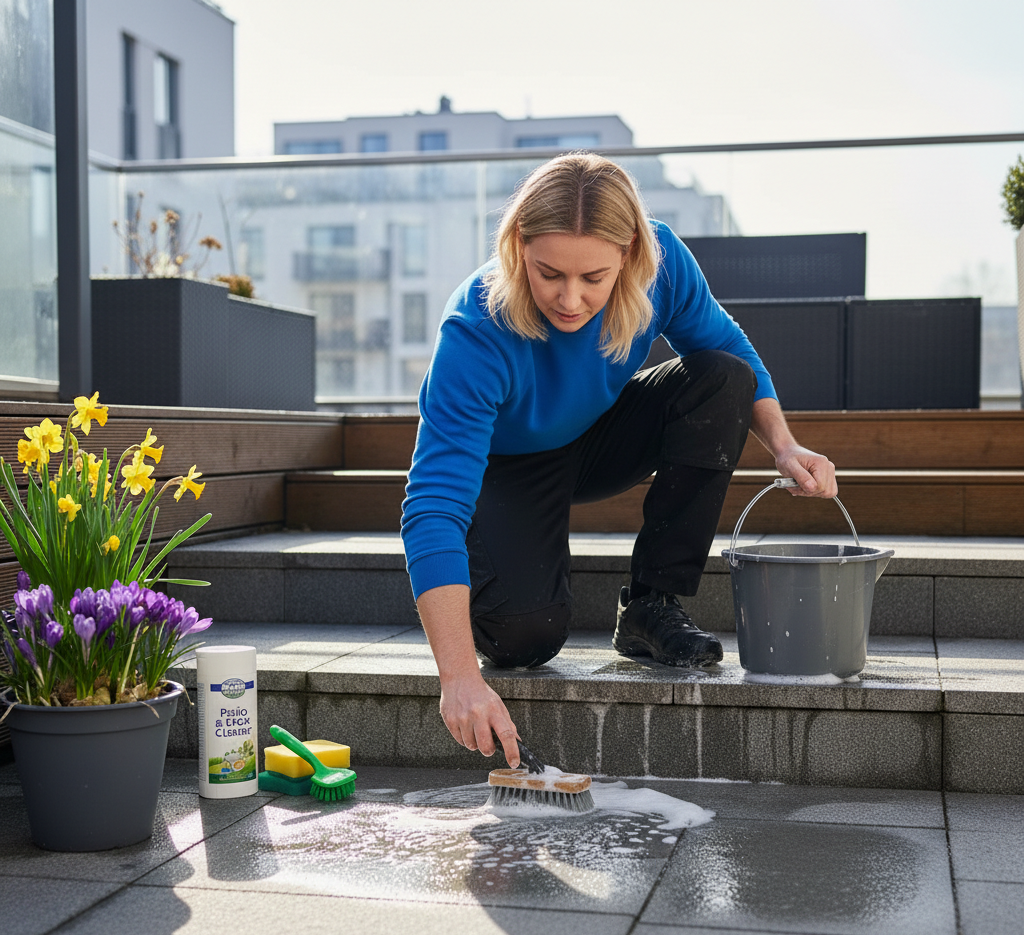
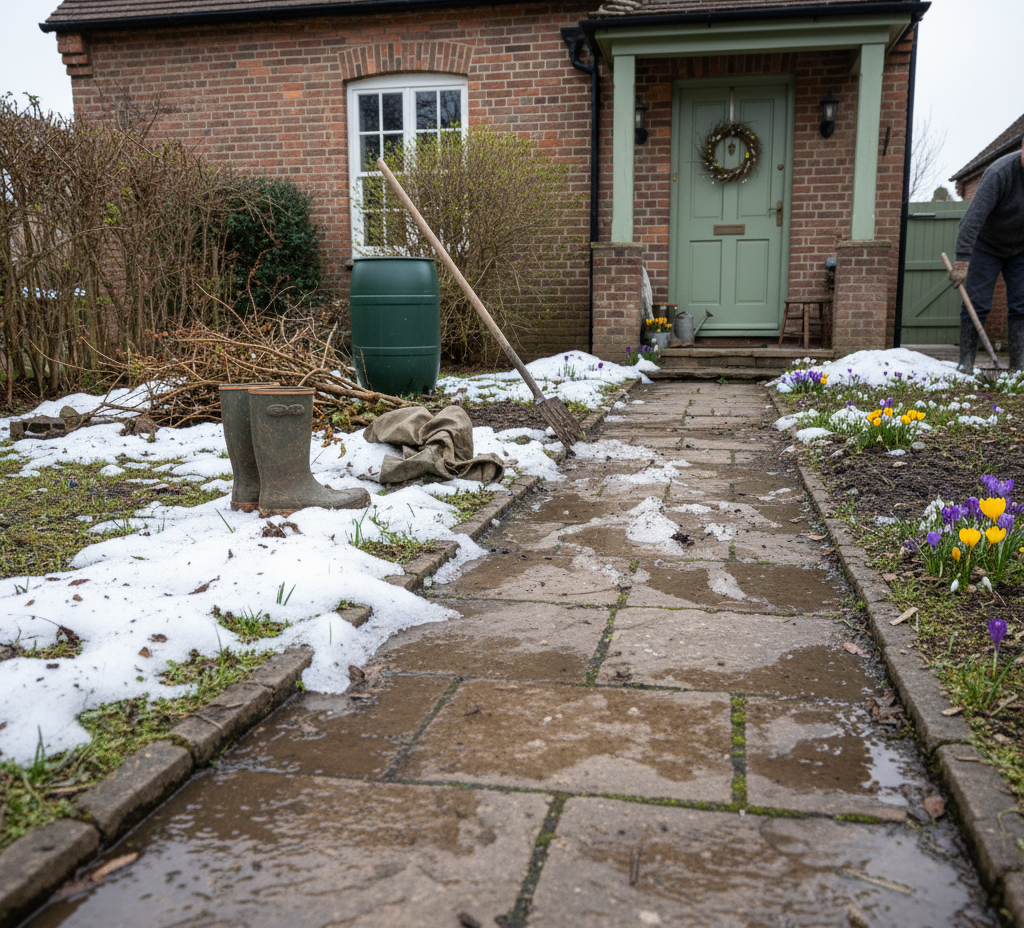
Composite decking has become a dominant force in the world of outdoor living, and for good reason. It offers a compelling alternative to traditional wood, promising a low-maintenance, splinter-free, and rot-resistant surface that withstands the harsh cycles of the seasons. However, the term “low-maintenance” has been widely misinterpreted as “no-maintenance.” While composite decking does not require the annual sanding, staining, and sealing that wood demands, it is far from impervious to the biological and environmental assaults of the outdoors. Dirt, pollen, algae, and grease can all accumulate on its surface, leading to a dull, stained, and sometimes dangerously slippery deck. To preserve the beauty and longevity of this significant investment, homeowners must adopt a cleaning protocol that respects the specific chemistry and structure of the material. Cleaning composite decking is not just about aesthetics; it is about preventing the growth of organic matter that can compromise the surface and create a hygiene issue. What is a Composite Deck? To understand how to clean composite decking effectively, one must first understand what it is. Composite decking is an engineered product, typically made from a mixture of recycled wood fibers (like sawdust) and plastic polymers (like polyethylene). This slurry is heated and extruded into boards. The earliest generations of composite decking were “uncapped,” meaning the wood fibers were exposed to the elements. This made them highly susceptible to staining and mold growth, as the organic wood material served as a food source. Modern, higher-quality composites are “capped,” which means the core of the board is wrapped in a durable, non-porous PVC shell. This cap is the protective layer that resists stains, scratches, and fading. The cleaning method you choose must be aggressive enough to remove the dirt but gentle enough not to damage this critical outer shell. The most common enemy of a composite deck is biological growth. In shaded, damp areas, particularly on north-facing decks or under heavy tree cover, green algae or black mold can form on the surface. This is not just unsightly; it is incredibly slippery when wet, creating a serious fall hazard. The instinct is often to blast this growth away with a pressure washer set to its highest setting. This is a critical error. The intense, focused jet of a pressure washer, especially with a zero-degree nozzle, can etch the plastic cap, permanently scarring the surface and creating a rough texture that will trap dirt even more readily in the future. Furthermore, it can strip away the embossed wood grain pattern that gives the decking its aesthetic appeal. A pressure washer can be used, but it must be used with caution and finesse. The pressure should be set no higher than 1500 PSI, and a fan-tip nozzle must be used to distribute the force over a wider area. Keep the nozzle at least a foot away from the surface and move in the direction of the grain, not against it. However, for most biological growth, a chemical approach is often safer and more effective than pure force. A solution of one part oxygen bleach (sodium percarbonate) to three parts water is an excellent fungicidal cleaner that is safe for composite decking and surrounding plants. Unlike chlorine bleach, which can discolor the composite material, oxygen bleach works by releasing oxygen bubbles that lift the algae and mold from the surface without harsh chemicals. This solution should be applied with a pump sprayer, allowed to dwell for about fifteen minutes, and then gently scrubbed with a soft-bristled deck brush before being rinsed away with a standard garden hose. Susceptible to Everyday Stains 1.Grease Beyond biological growth, composite decks are susceptible to staining from everyday life. Grease from the barbecue is a common offender. When hot grease drips onto the plastic cap, it can cool and solidify, creating a dark, oily spot. To remove a grease stain, you must act quickly. The longer the oil sits, the deeper it penetrates. First, absorb the excess grease with an absorbent material like kitty litter or baking soda. Let it sit for twenty minutes to draw the oil out of the pores of the material. Once the absorbent is swept away, scrub the area with a commercial degreaser or a strong solution of dish soap and hot water. It is crucial to rinse the area thoroughly, as any soap residue left behind will create a slippery film. 2.Tannins Another frequent stain source is tannins from fallen leaves and debris. When leaves sit on a wet deck, they release tannic acid, which can leave behind brown, tea-like stains. These are often immune to soap and water. An oxalic acid-based deck brightener, often sold for wood decks, is effective at removing tannin stains from composite as well. It works by chemically bleaching the organic pigment without harming the plastic. As with any chemical, a spot test in an inconspicuous area is essential to ensure it does not affect the color of your specific decking brand. 3.Rust Rust stains are another common issue, often caused by metal patio furniture, planters with steel bottoms, or stray nails from a construction project. These orange stains are iron oxide and require a specific chemical reaction to remove. Like with tannin stains, an oxalic acid-based cleaner is the most effective solution. The acid reacts with the iron oxide, dissolving it and allowing it to be rinsed away. Scrubbing rust with a standard brush often just smears the orange color over a larger area. Maintenance The general maintenance clean, which should be performed at least twice a year—once in the spring to remove winter grime and once in the fall to remove leaf debris—is a simpler process. For a deck that is not heavily stained, a bucket of warm soapy water and a soft-bristled deck brush are all that is needed. The key is the brush. A stiff brush, while effective on concrete, can dull the finish of the composite cap. A soft brush provides enough friction to dislodge pollen and dirt without abrading the surface. The sweeping motion
How to Clean Composite Decking: The Safe Cleaning Method Read More »