A well-worn cap is more than just an accessory; it is a sign of a life lived, a loyal companion on sunny days, during workouts, and at sporting events. Over time, it inevitably becomes a testament to this service, accumulating a grimy mixture of road dust, sweat stains, and the natural oils from our hair and skin. Cleaning a cap, however, can be a source of significant anxiety. The fear of ruining its shape, fading its color, or, in the case of a vintage find, disintegrating its cardboard brim is enough to make many people simply retire a dirty hat rather than risk washing it. The truth is that cleaning a cap is a straightforward process, but it is a craft that demands a specific, gentle approach, one where the material and construction of the cap dictate the method.
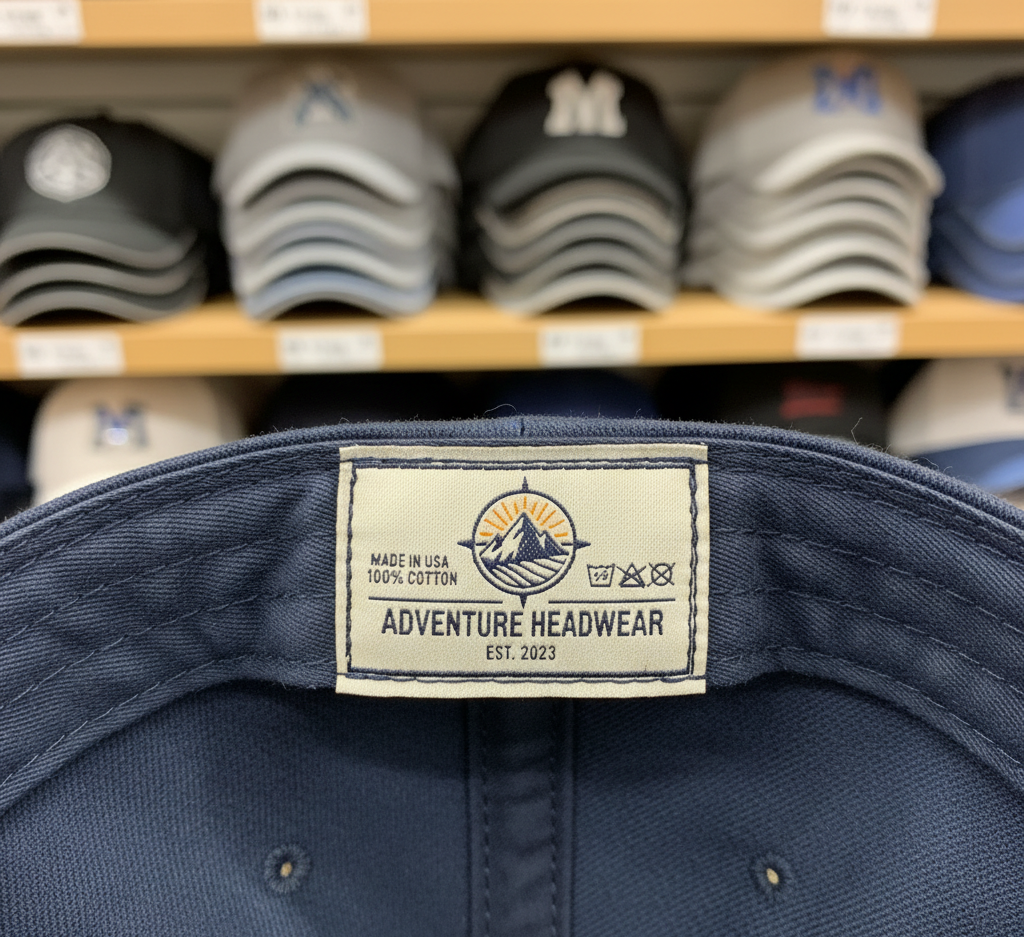
Label
Before any cleaning can begin, there are three universal preparatory steps that apply to almost every type of hat. The first and most important is to check for a care label. While often absent on older hats, modern caps will usually have a small tag on the interior that provides the manufacturer’s specific instructions for washing. These instructions are your most reliable guide and should always be followed if available. The second step is to perform a spot test. Whatever cleaning solution you plan to use, test it first on a small, inconspicuous area of the cap, like the underside of the brim or the interior sweatband. Apply a small amount, let it sit for a few minutes, and then blot it with a white cloth to ensure it does not cause any color bleeding or damage. The third step is a thorough dry-brushing. Using a soft-bristled brush, gently brush the entire surface of the cap to remove any loose, caked-on dirt and dust. This is a crucial step that prevents you from turning dry dirt into mud when you introduce water.
Baseball Cap
Let us begin with the most common and versatile piece of headwear: the classic baseball cap, typically made from durable materials like cotton, canvas, or synthetic blends like polyester. The most common and most damaging mistake people make with these caps is tossing them into the washing machine or dishwasher. While some modern, sturdily constructed caps may survive a machine wash on a gentle cycle, it is an inherently risky method that can deform the cap’s structured crown and damage the brim. The dishwasher, a popular internet “hack,” is even more perilous. The combination of extremely hot water and harsh, caustic dishwasher detergent can be catastrophic for the cap’s fabric, causing severe color fading and weakening the fibers. The safest and most effective method for cleaning a baseball cap is always to do it by hand.
To hand-wash a baseball cap, you will need a clean sink or a basin, cool to lukewarm water, and a mild, gentle detergent. A small amount of a clear dish soap or a specialized hat cleaner is ideal. Avoid using standard laundry detergent, as it can be too harsh. Fill the sink with water and add a few drops of your chosen soap, swishing it around to create a light lather. Before submerging the entire cap, focus on the most heavily soiled area: the interior sweatband. This area absorbs the most sweat and oil and is often the primary source of stains and odors. Apply a small amount of your cleaning solution directly to the sweatband and gently scrub it with a clean, soft-bristled brush, like an old toothbrush.

Once you have pre-treated the sweatband, submerge the entire cap in the soapy water. Let it soak for at least thirty minutes, or up to a few hours for a very dirty cap. This dwell time is essential, as it allows the soapy water to penetrate the fibers and loosen the embedded grime. After the soak, you can gently agitate the cap in the water and use your brush to lightly scrub any remaining spots on the exterior. Once you are satisfied that the cap is clean, drain the dirty water and rinse the cap thoroughly under a stream of cool, clean running water. Gently squeeze the cap to remove excess water, being careful not to wring or twist it, which can permanently ruin its shape.
Now we move to the most critical phase of the process: drying. The way you dry a cap is what preserves its shape. Never put a cap in a clothes dryer. The high heat will shrink the fabric and can warp or damage the brim, especially if it is a modern plastic one. The proper method is to reshape the cap and let it air dry. Find an object that mimics the shape of a head, such as a large coffee can, a glass canister, or a small bowl turned upside down. Place the damp cap over this form. This will ensure that the crown dries in its intended, rounded shape rather than collapsing into a wrinkled mess. You can also stuff the crown tightly with a balled-up, clean white towel. Place the cap on its form in a well-ventilated area, away from direct sunlight, which can cause colors to fade. Allow it to air dry completely, which may take up to 24 hours.
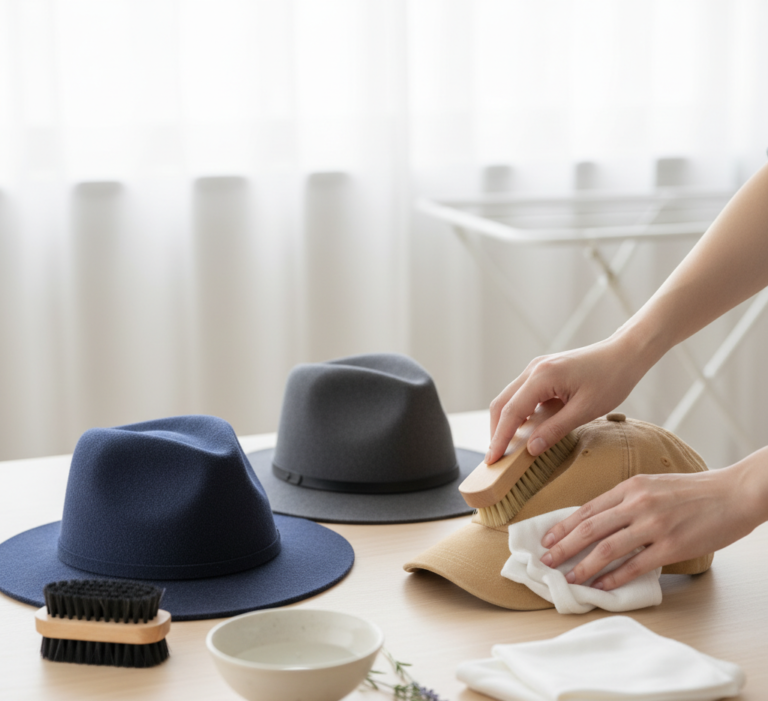
Delicate Materials
For more delicate materials, the approach must be even more cautious. A wool cap, for example, is highly susceptible to shrinking and felting if submerged in water and agitated. For wool, spot cleaning is always the preferred method. Use a very small amount of a wool-safe detergent mixed with cool water. Apply the suds to a clean cloth and gently dab at any stained areas. Do not scrub vigorously. To rinse, use another cloth dampened with plain cool water to blot the area. Dry the cap using the same air-drying method on a form.
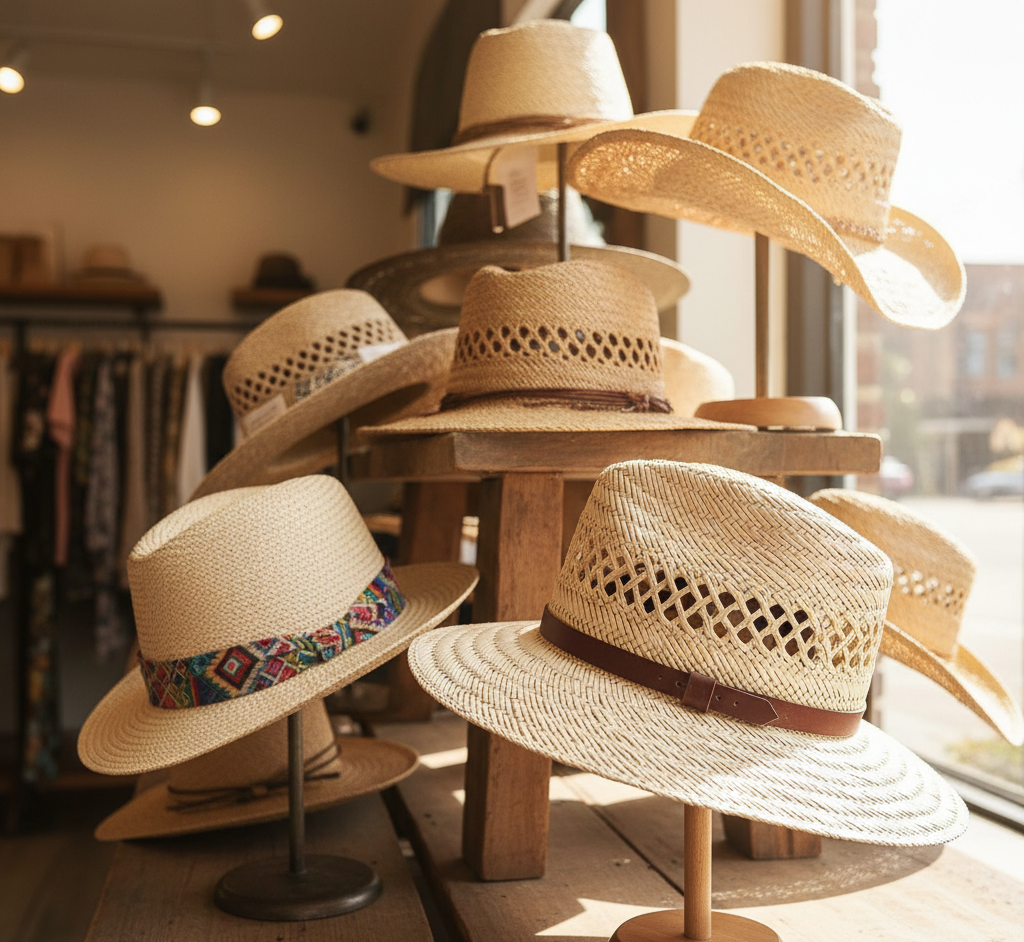
1.Straw Hats
The cleaning process for straw hats, such as Panama hats or fedoras, is entirely different, as water can cause the straw to become brittle, misshapen, or discolored. Cleaning a straw hat is a dry or near-dry process. Begin by using a soft brush or a clean, dry cloth to gently wipe away any surface dust. For specific spots or stains, you can use a cloth that is very lightly dampened with a solution of water and a tiny amount of gentle soap. Gently dab at the stain, being careful not to saturate the straw. The interior sweatband of a straw hat can be cleaned by folding it outwards and gently scrubbing it with a toothbrush and a mild soapy solution, being careful not to let the moisture seep into the straw itself.
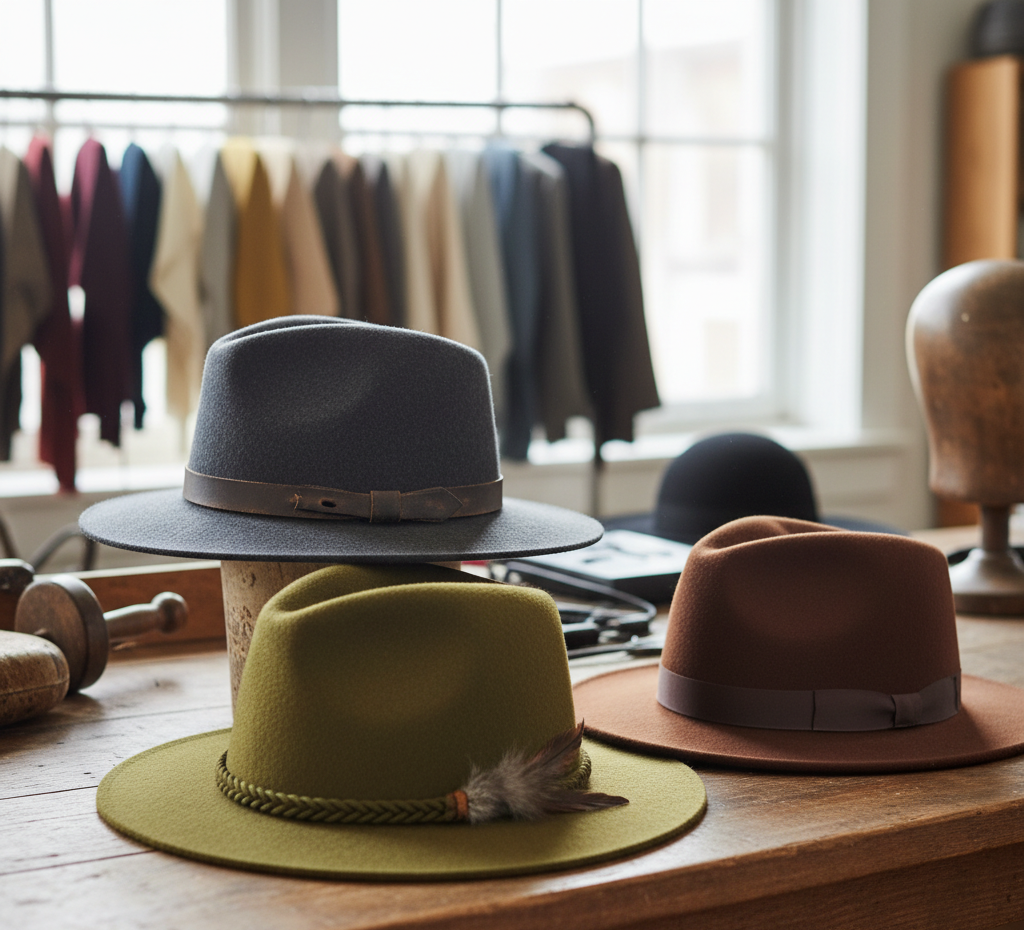
2.Felt Hats
Felt hats, like wool fedoras or trilbies, also require a water-free approach. The essential tool for felt is a dedicated hat brush. Brushing a felt hat regularly, always in a counter-clockwise direction, is the primary way to keep it clean, as it removes dust and revives the nap of the material. For specific spots, a dry sponge or a specialized felt cleaning sponge can be used to gently lift the stain. For greasy stains from hair products or hands, the best method is to apply an absorbent powder like cornstarch. Cover the greasy spot with the powder, let it sit for several hours to absorb the oil, and then gently brush it away. Small amounts of steam, from a kettle or a garment steamer, can be used to help reshape a felt hat that has lost its form, but it should never be saturated with water.
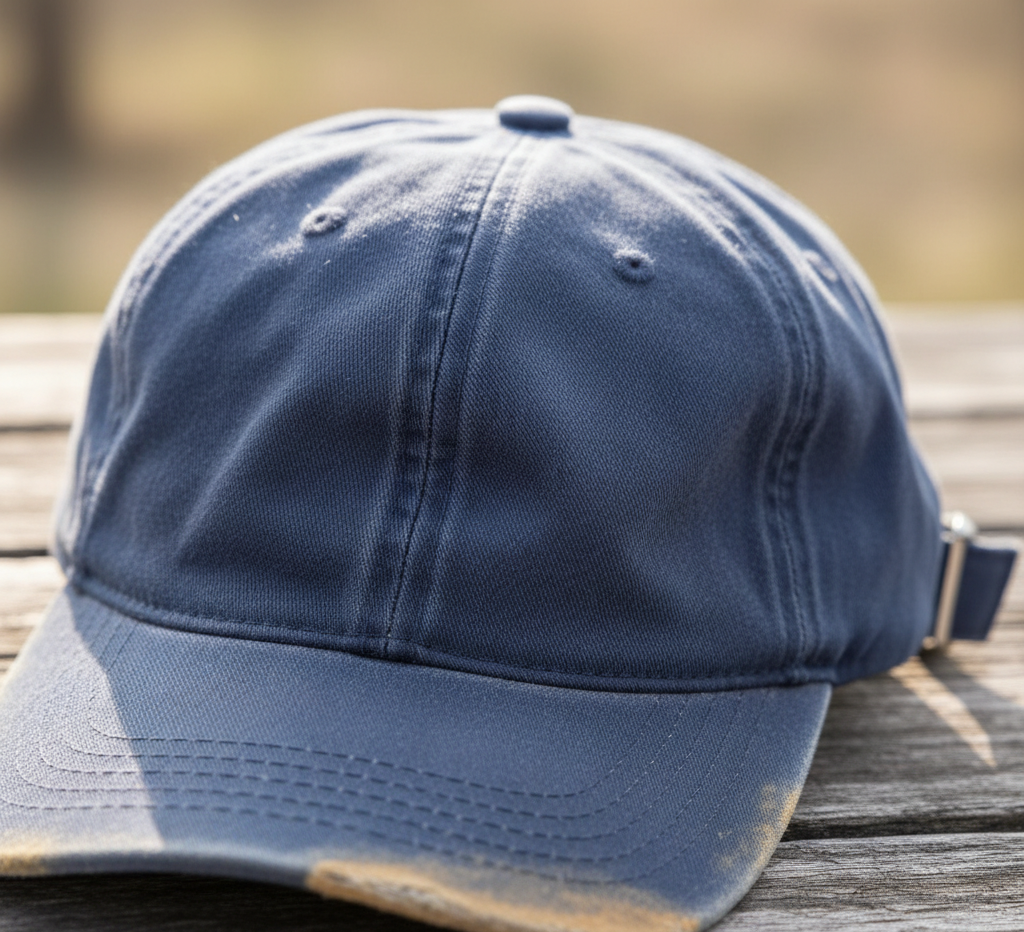
Sweat Stain
Regardless of the hat type, one of the most common and stubborn problems is the yellow sweat stain. These stains are a combination of salt, proteins, and oils from sweat. For white or light-colored hats made of durable materials like cotton or canvas, a paste made from oxygen bleach powder and a little water can be highly effective. Apply the paste to the stained area, let it sit for thirty minutes, and then proceed with the hand-washing method. For colored hats, a gentler paste made from baking soda and water, or a solution of equal parts white vinegar and water, can be used to treat the stain before washing. Always remember to spot test these solutions first.
For hats that are not necessarily dirty but have developed an unpleasant odor, a dry deodorizing treatment is the best solution. Place the cap in a large, sealable plastic bag with a generous amount of baking soda. Seal the bag and shake it well to coat the cap, then let it sit for at least 24 hours. The baking soda will absorb the odors. After the waiting period, simply remove the cap and brush off all the powder. Another effective method is to place the cap in a bag and put it in the freezer overnight. The cold temperature can kill some of the odor-causing bacteria without any risk to the cap’s material or shape.
By understanding the unique needs of each material, from the rugged durability of a cotton baseball cap to the delicate nature of a felt fedora, you can confidently clean and restore your entire collection of headwear, ensuring your favorite caps remain a clean, comfortable, and stylish part of your life for years to come.
Just as the right technique can restore a cherished cap to its original freshness and shape, Toronto Shine Cleaning uses expert methods and meticulous care for every surface in your home. From the delicate fabrics of your upholstery to the durable surfaces of your floors, we provide a comprehensive, restorative clean for your entire living space.