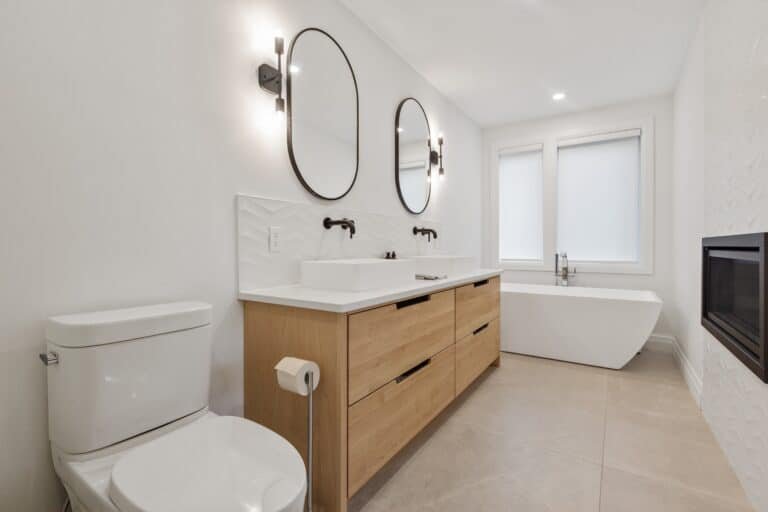
Hey there! Let’s be honest, clean your bathroom is probably not on your list of favorite things to do, but it’s definitely on the list of “must-do’s” for a fresh and hygienic home. But worry not, because we’ve got your back with a complete guide to get that bathroom sparkling without spending your entire weekend scrubbing. Whether you’re doing a quick tidy-up or going for that deep-clean gleam, we’ve got tips, tricks, and everything in between to make the process as painless as possible. Let’s dive in!
Complete Guide to a Flawless Bathroom Clean-Up
Hey there! Ready to make your bathroom sparkle from top to bottom? Let’s dive into a step-by-step guide on how to achieve a perfectly clean bathroom. Trust me, it’s easier than you think, and the results will be totally worth it!
Start at the Top – Ceilings, Light Fixtures, and Walls

Why Starting at the Top Matters
Gravity Plays a Role
- Downward Dust Movement: When you clean, any dust or debris that you disturb tends to fall downwards due to gravity. If you start cleaning from the top of the room, such as the ceiling, you ensure that this falling dust doesn’t land on already cleaned lower surfaces like floors or countertops.
- Preventing Double Cleaning: By tackling the highest areas first, you prevent having to re-clean lower areas that get dirty from the dust falling from above. This makes your cleaning process more efficient and less time-consuming.Dust and Cobwebs in High Places
- Common Accumulation Spots: Ceilings, especially in the corners, and light fixtures are common places where dust and cobwebs accumulate. These areas are often overlooked during regular cleaning routines.
- Ensuring Thorough Cleanliness: By focusing on these high areas first, you ensure that your bathroom is thoroughly cleaned, contributing to better air quality and overall cleanliness.
- How to Effectively Clean the Top AreasCeilings
- Tools Needed: A duster with an extendable handle is ideal for reaching high ceilings. Alternatively, a clean, dry mop can also be effective, especially for larger ceiling areas.
- Technique: Extend the duster or mop to its full length and gently glide it across the ceiling surface. Pay particular attention to the corners and edges where cobwebs and dust are more likely to accumulate. If you come across any stubborn or sticky spots, slightly dampen the duster to help lift the dirt off. It’s important to work in sections and systematically move across the entire ceiling to ensure no areas are missed.
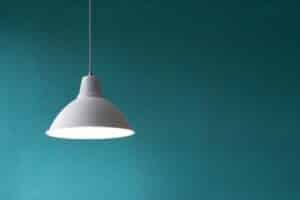
- Light Fixtures
- Tools Needed: A stable step ladder to safely reach higher fixtures, a gentle cleanser that won’t damage the fixture’s material, and a microfiber cloth for gentle, effective cleaning.
- Technique: Before cleaning, ensure that the lights are turned off and cool to the touch. Carefully climb the step ladder to reach the fixtures. If any parts of the fixture are detachable, gently remove them for easier cleaning. Use the damp cloth with a mild cleaner to gently wipe the fixture. For more intricate designs or hard-to-reach areas, a soft-bristled brush can gently remove dust without scratching the fixture. Be sure to clean both the inside and outside of any shades or covers.
- Walls
- Tools Needed: A sponge or a soft cloth, a bucket filled with warm water mixed with a gentle detergent, and a dry towel for drying the walls after cleaning.
- Technique: Start by moistening the sponge or cloth in the soapy water. Begin wiping the walls from the top and move downwards, ensuring you cover all areas, including corners and edges. Pay extra attention to areas around light switches, as they are high-contact points and may have more dirt and fingerprints. For textured wallpapers or delicate paint finishes, use a less damp sponge to avoid water damage. Rinse the sponge frequently in the cleaning solution to avoid spreading dirt. After cleaning a section, use the dry towel to pat the area dry, preventing water streaks and aiding in faster drying.
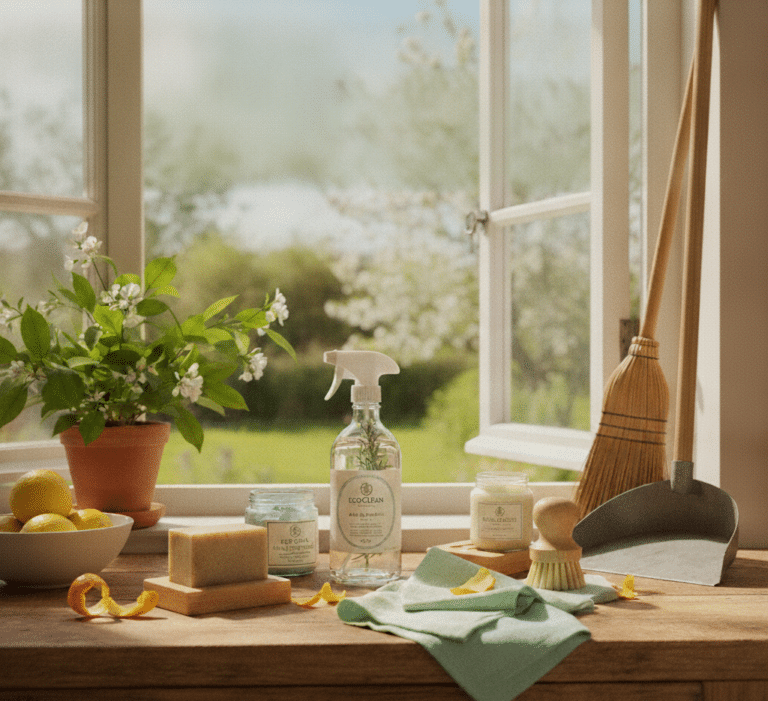
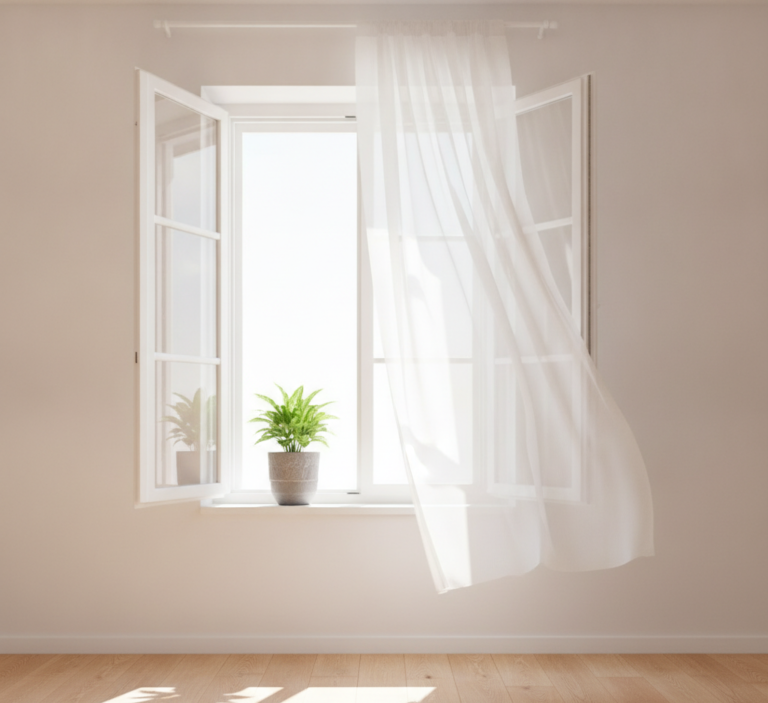
Additional Tip:Freshening the Air: After cleaning the higher areas, it’s a good time to let fresh air in. Open a window to help clear out any disturbed dust and to refresh the room.
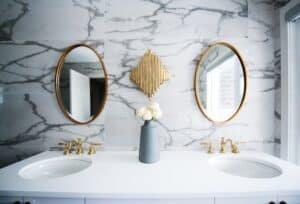
Mirror and Glass Surfaces

Why Cleaning Mirrors and Glass
Enhances Bathroom Brightness and Appearance
- Reflection of Light: Mirrors and glass surfaces significantly impact how light is reflected and distributed throughout the bathroom. A clean mirror can act like a light amplifier, making the space appear brighter and more inviting.
- Spatial Illusion: Mirrors, in particular, have the ability to create an illusion of space, making even smaller bathrooms feel more expansive. However, this effect is greatly diminished if the mirror is smeared or dirty.
- Visibility of Marks and Smudges
- Shows Every Mark: Glass surfaces, including mirrors, display every fingerprint, water mark, and smudge, more so than most other surfaces. These marks are particularly noticeable in the bright lighting typically found in bathrooms.
- Aesthetics and Hygiene: Streaks, smudges, and spots can make the bathroom appear unkempt and less hygienic. Regular cleaning is necessary to maintain the aesthetic appeal and the sense of cleanliness in the bathroom.
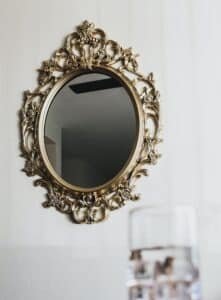
- Cleaning Mirrors
- Tools Needed: A high-quality glass cleaner or a homemade solution (such as one part white vinegar to one part water) can be effective. A microfiber cloth is preferred for cleaning as it doesn’t leave lint and is gentle on the surface.
- Technique: Spray the cleaner directly onto the mirror. Begin by gently wiping in a circular motion to loosen any dirt or grime. Then, switch to vertical strokes followed by horizontal swipes to cover the entire surface. This method ensures that you clean every part of the mirror and helps to avoid streaking.
- Cleaning Glass Surfaces
- Tools Needed: For larger glass surfaces, such as shower doors or glass walls, a squeegee is an ideal tool. It helps to effectively remove cleaner and water without leaving streaks. For dealing with hard water stains, vinegar or lemon juice can be effective. A soft-bristled brush is useful for cleaning corners and edges where grime tends to accumulate.
- Technique: Apply your chosen cleaner to the glass surface. If you’re addressing hard water stains, apply vinegar or lemon juice to these areas first and let it sit for a few minutes. Then, use the squeegee to remove the cleaner in smooth, overlapping strokes, starting from the top and working your way down. This method prevents drips and ensures a streak-free finish. For the corners and edges, use the brush to gently scrub away any build-up.
Sink, Countertops, and High-Touch Areas

Why Cleaning Sinks and CountertopsHigh-Touch Areas Gather Germs
- Frequent Contact: Sinks and countertops in a bathroom are constantly touched throughout the day, often without a second thought. Each touch can transfer germs and bacteria from hands to these surfaces.
- Cross-Contamination: These areas can become vectors for the spread of germs. For instance, if someone touches the faucet after using the toilet, microbes can transfer to the sink area, which another person may then touch.
- Accumulation of Daily Residues
- Variety of Residues: From toothpaste splatters and soap scum to makeup and shaving remnants, these surfaces witness a variety of substances daily. These residues, if not cleaned, can harden over time, making them difficult to remove and potentially causing permanent stains or damage to the surface.
- Water Spots and Dampness: Constant exposure to water, especially in areas with hard water, can leave mineral deposits and water spots on both sinks and countertops, diminishing their appearance and potentially affecting the material over time.
- Sink Cleaning Process
- Bathroom Cleaner: Opt for a cleaner that’s formulated for bathroom use, as it will be more effective in dealing with the types of stains and residues typically found in this area.
- Non-Abrasive Sponge: Essential for ensuring that you don’t scratch or damage the surface of the sink, especially if it’s made of delicate materials like porcelain or ceramic.
- Old Toothbrush: Perfect for getting into tight spots around the faucet and drain, where grime and mineral deposits often accumulate. It can also be used to scrub around the base of the faucet, where gunk commonly builds up.
- Countertop Cleaning Process
- Mild Detergent or All-Purpose Cleaner: These are typically safe for most countertop materials, including laminate, tile, and even more delicate surfaces like marble or granite, as long as they’re not too acidic.
- Microfiber Cloth: This type of cloth is effective at cleaning countertop without leaving streaks or lint behind. It’s also gentle enough to use on all types of surfaces without the risk of scratching.
- Disinfectant: After cleaning, it’s vital to disinfect the surface, especially in a bathroom setting where germs are prevalent. A disinfectant spray or wipes can kill bacteria and viruses that might be lingering on the surface.
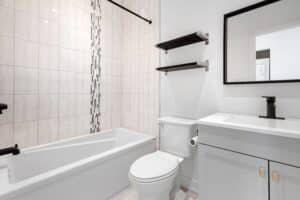
Toilet and Bathtub/Shower Combo

- Toilet Cleaning Process
- The Right Cleaners: Grab a good toilet cleaner – something that packs a punch against germs and stains. You can find these at any store, or if you’re into eco-friendly options, baking soda and vinegar can work wonders.
- Scrub-a-Dub-Dub: Using a toilet brush, give the inside of the bowl a thorough scrub, making sure to get under the rim.
- Wiping Down: Don’t forget the rest of the toilet! A disinfectant wipe or spray can be used to clean the seat, lid, and even the base.
- Bathtub/Shower Cleaning Process
- The Right Cleaner is Key: For a clean bathtub/shower, find a good tub and tile cleaner. Spray it generously and let it sit for a few minutes to loosen up all that soap scum and grime.
- Scrub Time: A scrub brush or a sponge with a rough side can work wonders. Give the tub and the walls a good scrub. Pay special attention to the grout and any nooks and crannies.
- Rinse Thoroughly: Use your showerhead or a bucket of water to rinse everything off. You want to make sure all the cleaner and grime is gone.
- Dry to Shine: Take a clean, dry towel and wipe down the surfaces. This step helps prevent water spots and gives your tub that extra sparkle.
- Toilet Cleaning Process
Floor Finale

Why Mopping the Bathroom Floor
- High Traffic Area: The bathroom floor endures constant foot traffic. This not only brings in dirt and debris from outside but also contributes to the accumulation of hair, skin flakes, and other particulate matter. These elements, combined with the moist environment of a bathroom, create an ideal setting for dirt and microbial growth.
- Completes the Cleanliness Cycle: Cleaning your bathroom floor is the final, crucial step in a comprehensive cleaning routine. A clean floor ties together the cleanliness of the entire room, enhancing both the hygiene and aesthetic appeal of the space. It ensures that every surface, from ceiling to floor, has been attended to, providing a sense of completeness and satisfaction.
- Floor Cleaning Process:
- Preparation: Before mopping, it’s essential to prepare the floor by removing loose dirt, hair, and other debris. This can be achieved through sweeping or vacuuming. This step is crucial as it prevents dirt from turning into mud when mixed with water during mopping.
- Tools Needed: Choose a mop that suits your floor type. For smooth floors, a flat microfiber mop is effective, while string mops work well on textured surfaces. You’ll also need a bucket filled with a cleaning solution. The choice of cleaner depends on your floor type – a pH-neutral cleaner is safe for most floors, while a mild detergent solution can be used for more thorough cleaning.
- Mopping Technique: Fill your bucket with warm water mixed with the chosen cleaner. Warm water helps to dissolve the cleaning agent and lift dirt more effectively. Begin mopping from the farthest corner of the bathroom, gradually working back towards the door. This method ensures that you clean the entire floor without stepping on the freshly mopped areas. It’s important to regularly rinse the mop and change the cleaning solution if it becomes visibly dirty to avoid spreading dirt around.
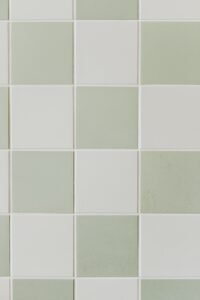
- Addressing Grout and Tile:
- Grout Cleaning: Grout lines can harbor bacteria and become discolored over time, detracting from the appearance of your floor. For effective grout cleaning, apply a grout cleaner or a paste made from baking soda and water using a small brush (an old toothbrush works well). Allow the paste to sit for a few minutes to penetrate and loosen the dirt, then scrub the grout lines before rinsing. This helps restore the grout’s color and prevents the growth of mold and mildew.
- Tile Shine: After mopping and allowing the floor to dry, you can enhance the shine of your tiles. Buffing the tiles with a soft, dry cloth removes any remaining water marks and gives the tiles a polished look. This step is particularly effective on glossy tile surfaces, where a noticeable shine can be achieved.
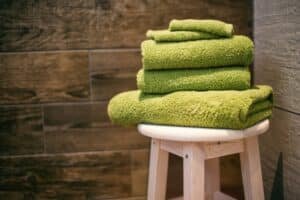
Freshen Up with Towels and Toiletries

High Traffic Area
The bathroom floor is consistently used throughout the day. Every time someone enters and exits, they bring in small particles of dirt, dust, or even mud on their feet. These particles accumulate over time, making the floor one of the dirtiest parts of the house. Moreover, bathrooms are a common site for hair shedding, and strands tend to gather on the floor, especially around the sink and shower areas.
Microbial Growth
Bathrooms, due to their moist environment, are breeding grounds for microbes like bacteria and fungi. These microorganisms can thrive on the floor, especially in the grout lines and corners where moisture and debris accumulate. Regular mopping helps to keep these harmful microbes in check.
Completes the Cleanliness Cycle
A clean floor is crucial for the overall sense of cleanliness in a bathroom. It’s the last step in a top-to-bottom cleaning routine, ensuring that every part of the bathroom is hygienic and presentable. A dirty floor can undermine the cleanliness of the other freshly cleaned areas, so it’s important to finish your cleaning process with a thorough mopping.
Floor Cleaning Process
- Tools Needed: A good-quality mop, a sturdy bucket, an appropriate floor cleaner or a mild detergent solution. The mop should be chosen based on the type of flooring – a string mop for textured floors and a flat mop for smooth surfaces work best.
- Technique: The cleaning process should begin with sweeping or vacuuming. This preliminary step is important to remove any loose dirt, hair, or debris. Once sweeping is done, fill your bucket with warm water mixed with the floor cleaner or a mild detergent. Warm water helps to dissolve the cleaning solution evenly and also works better at breaking down grime. Mop the floor, starting from the farthest corner of the bathroom and working your way towards the door. This technique ensures you are not walking over the cleaned areas, which could leave footprints or redistribute the dirt. Regularly rinse the mop and change the water in the bucket if it gets too dirty. This prevents you from spreading the dirt around instead of cleaning it.
- Addressing Grout and Tile
- Grout Cleaning: Discolored or dirty grout can make even the cleanest floors look unkempt. For deep cleaning the grout, a grout cleaner or a paste made from baking soda and water can be very effective. Apply the paste to the grout lines, let it sit for a few minutes to break down the dirt, and then scrub with a grout brush or an old toothbrush. This action helps in lifting any deep-set dirt and stains.
- Tile Shine: To bring back the shine to tile floors, after mopping and ensuring the floor is completely dry, buff the tiles with a soft, dry cloth. This extra step removes any remaining cleaning solution residue and polishes the tiles, giving them a nice shine.
- Special Considerations
- Avoid Excess Water: Don’t oversaturate the floor with water, as it can seep into seams or under baseboards and cause damage.
- Safety First: Be cautious as wet floors can be slippery. Use a “wet floor” sign if necessary, especially in shared spaces.
Quick Tips:
- Regular Maintenance: Cleaning regularly can help you find some places you didn’t cleaned before.
- Ventilation: Keep it airy to prevent dampness and mildew.
- Eco-Friendly Choices: Natural cleaners can be effective and kinder to the environment.
Clean Your Bathroom With Help
Cleaning your bathroom might feel like a daunting task, but with the right approach, it can be transformed into a manageable part of your routine. The key is consistency and using effective, simple-to-implement strategies that prevent dirt and grime from building up. Incorporating daily habits such as wiping down surfaces and keeping the area dry can significantly lessen the need for those time-consuming deep cleans. Remember, dedicating just a few minutes each day to maintain cleanliness can make a world of difference in how your bathroom looks and feels. It’s all about creating a space that you can enjoy and feel comfortable in, without it feeling like a huge burden to keep clean.
However, we understand that life gets busy, and sometimes, despite our best intentions, deep cleaning the bathroom falls to the bottom of the to-do list. That’s where Toronto Shine Cleaning steps in. Imagine coming home to a bathroom that’s not just clean, but deeply sanitized and sparkling, without you having to lift a finger. Our team of professional cleaners specializes in turning any bathroom into a spotless sanctuary, using eco-friendly products and meticulous attention to detail. From the grout between your tiles to the hard-to-reach corners, we ensure every inch of your space is thoroughly cleaned.
Why not treat yourself to the luxury of professional cleaning services? Toronto Shine Cleaning offers a range of options tailored to fit your needs, whether you’re looking for a one-time deep clean or regular maintenance to keep your bathroom in top shape. Our bathroom cleaning services are designed to provide you with peace of mind and more free time to spend on the things you love, rather than worrying about scrubbing and sanitizing.