Hey there, pet parents and clean freaks alike! Today, we’re diving into a super common yet pesky problem: those stubborn pet stains on your beautiful hardwood floors. Whether it’s a little accident from your furry friend or some muddy paw prints, we’ve got you covered with 7 easy-peasy steps to get your floors looking spick and span. Let’s jump right in!
Step 1: Identify the Pet Stains Early
You know the saying, “a stitch in time saves nine”? Well, it couldn’t be more true when it comes to pet stains on hardwood floors. The key is all about timing. The quicker you catch that sneaky stain, the easier it will be to clean it up without leaving a mark.
Why Fresh Stains are Easier to Handle
- Less Absorption: Hardwood floors, while sturdy, are like sponges with spills. The longer a stain sits, the deeper it seeps into the wood. Fresh stains are mostly on the surface, making them less of a headache to clean.
- Color Prevention: Older stains can discolor your hardwood, leaving an unsightly spot that’s tough to reverse. Acting fast helps preserve the natural beauty of your floors.
- Odor Control: Let’s not forget the smell! Fresh stains haven’t had time to set in and start smelling. Tackling them early helps keep your home smelling fresh and clean.
Tools to Keep Handy
- Absorbent Cloths: Always have these within easy reach. The quicker you can blot a stain, the better.
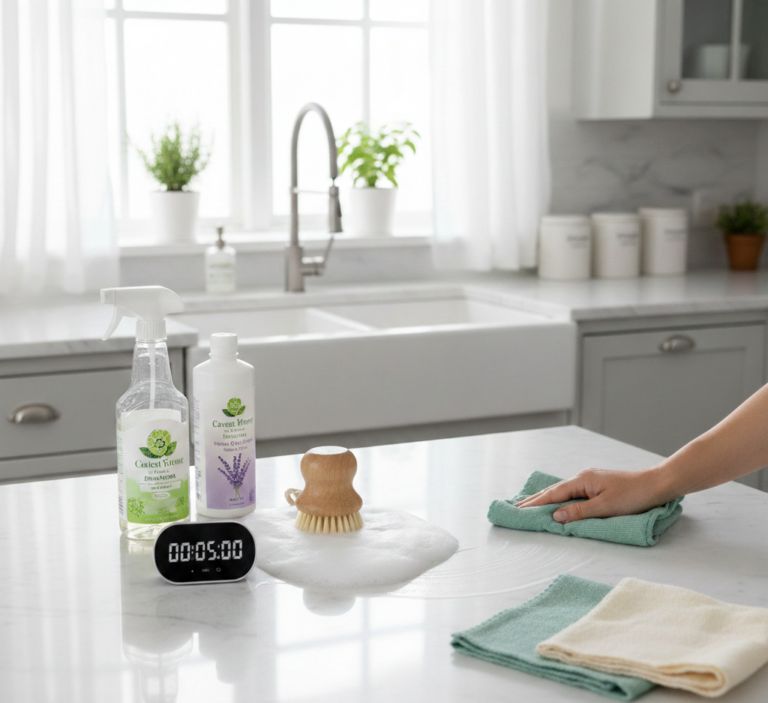
- Enzyme-based Cleaner: These are great for breaking down pet messes and are safe for hardwood floors. Keep a bottle in a convenient spot.
- Flashlight or Black Light: Sometimes, stains aren’t obvious. A quick scan with a light can reveal hidden spots.
Step 2: Blot, Don’t Rub
When you rub a stain, especially on a porous surface like wood, you’re actually helping the stain set in deeper. It’s kind of like rubbing dirt into a white shirt – the more you rub, the worse it gets. Instead, what you want to do is gently dab at the stain with a clean, absorbent cloth or paper towel. This way, you’re soaking up the liquid without spreading it around.
This method is particularly important for hardwood floors. Unlike some other surfaces, wood absorbs liquids and can be easily damaged. By blotting, you’re minimizing the risk of the liquid seeping into the wood and causing swelling, warping, or permanent discoloration. Imagine trying to clean a spill on a beautiful piece of wood furniture – you wouldn’t go at it with a scrub brush, right? The same principle applies to your floors.
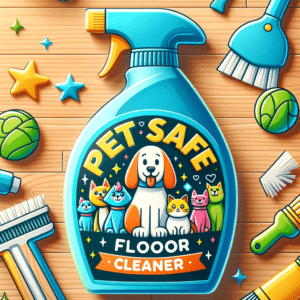
Step 3: Use a Pet-Safe Cleaner
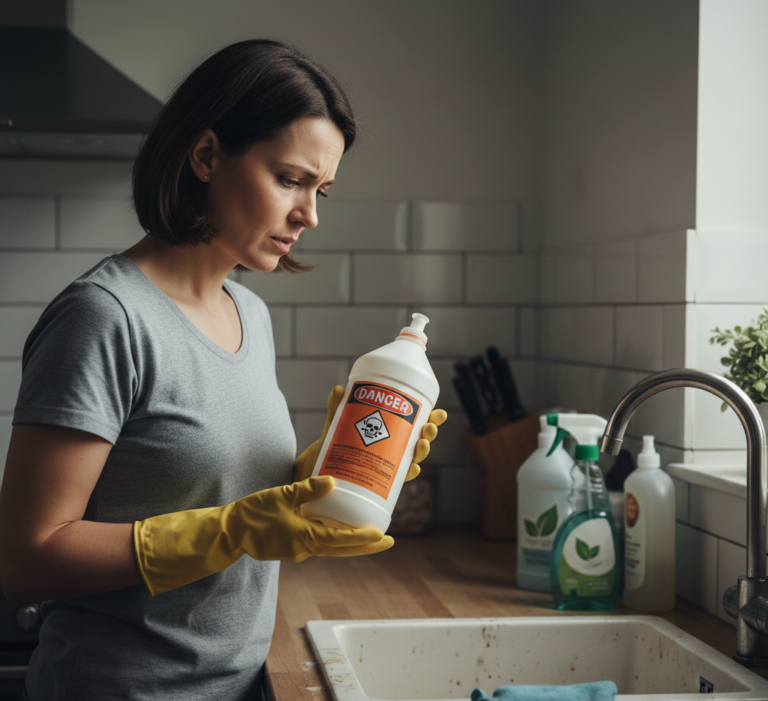
When it comes to pet stains, not all cleaners are created equal. You might be tempted to grab the strongest, most heavy-duty cleaner you can find, but pause for a second. Those harsh chemicals might be great at tackling tough stains, but they can also be harmful to your pets. Our four-legged friends are much closer to the floor than we are and can easily come into contact with residue from cleaning products. This can lead to skin irritations, allergic reactions, or even more serious health issues if they ingest any of the chemicals.
That’s where pet-safe cleaners come in. These products are specifically formulated to be tough on stains but gentle on your pets. They usually contain non-toxic, natural ingredients that are effective at breaking down the stain without posing any risk to your furry family members. Plus, many of these cleaners are environmentally friendly, which is a nice bonus for keeping your home green.
But wait, it gets better. These cleaners aren’t just safe for pets; they’re also perfect for your hardwood floors. We all know that wood can be a bit finicky when it comes to moisture and chemicals. Pet-safe cleaners are designed to be gentle on your floors, avoiding any potential damage like warping or discoloration.
Finding these cleaners is a breeze. You can usually pick them up at your local pet store or order them online. Having one of these in your cleaning arsenal means you’re always prepared to tackle any accidents without worry.
Step 4: Gentle Scrubbing
Picture this: you’re armed with a soft brush or a cloth, and you’re ready to tackle the stain. The key word here is ‘gentle.’ Hardwood floors are like the sensitive skin of your home; they need to be treated with care. Vigorous scrubbing might seem like the way to go to get that stain out, but in reality, it can do more harm than good. Aggressive scrubbing can scratch the beautiful finish of your hardwood floors, leaving them looking dull and worn.
Instead, think of it like massaging a lotion into your skin. Use a soft brush or cloth and apply the cleaner to the stained area. Then, with a light touch, gently scrub in a circular motion. This method helps to lift the stain from the wood without causing any abrasions. It’s all about applying just enough pressure to address the stain while preserving the integrity of your floor’s finish.
As you scrub, you might find that the stain requires a bit more elbow grease than anticipated. If that’s the case, don’t be tempted to scrub harder. Instead, reapply your cleaner and continue with gentle, circular motions. Sometimes, patience and persistence are your best tools in cleaning.
Step 5: Rinse with Water
After you apply and scrub in the shampoo, you need to rinse it out thoroughly, right? The same principle applies here. After scrubbing, take a clean cloth and dampen it with water. Now, you don’t want this cloth dripping wet – just moist enough to do the job. Use this damp cloth to gently wipe over the area where you applied the cleaner. This helps to lift and remove any remaining cleaning solution from your hardwood floor.
Why is this step so crucial? Well, if any cleaner is left behind on the floor, it could potentially damage the wood over time. Residue from cleaning products can attract more dirt, dull the finish of your floor, or even cause it to become sticky or discolored. We definitely don’t want that! By rinsing with water, you’re making sure that the floor is not only clean but also free from any substances that could harm its appearance and integrity.
As you rinse, it’s important to frequently change the water or rinse out your cloth to avoid spreading the cleaner around. You’re aiming for a fresh, clean finish, free of any soapiness or stickiness.
Once you’ve thoroughly wiped the area, you might want to go over it one more time with a dry cloth, just to ensure there’s no excess water left on your hardwood floor. Remember, water is wood’s not-so-good friend, so we want to keep the floor as dry as possible after cleaning.
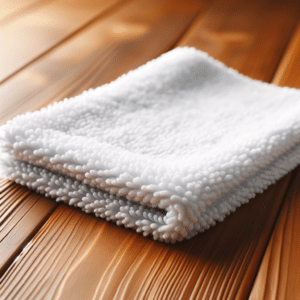
Step 6: Dry Thoroughly
Just like you wouldn’t leave your freshly washed dishes dripping wet, the same goes for your hardwood floors. Once you’ve rinsed off the cleaner, it’s time to bring out a clean, dry cloth. This cloth is your final tool in ensuring that your floors remain in top condition.
Here’s what you need to do: gently pat the cleaned area with the dry cloth. The goal here is to absorb any remaining moisture from the rinsing process. It’s a bit like drying off after a shower – you want to be thorough and make sure there’s no water left to linger.
Why all the fuss about drying? Well, when wood gets wet and stays wet, it can start to warp, swell, or even rot. These are issues you definitely want to avoid, as they can lead to costly repairs or replacements down the line. Moisture can also seep into the seams or cracks of hardwood floors, causing hidden damage over time.
So, as you dry the area, check the cloth frequently. If it starts to get damp, switch to a fresh, dry one. You might need a couple of cloths, depending on the size of the cleaned area. The key is to be gentle but thorough – no moisture should be left behind.
Step 7: Check for Damage
After a thorough cleaning, take a moment to really look at the spot where the stain was. What you’re doing here is checking for any signs of discoloration or damage to the wood. It’s similar to examining a piece of clothing after treating a stain – you want to make sure the fabric looks just as good as before, if not better.
Why is this step important? Well, sometimes, despite our best efforts, pet stains can be a little more stubborn or damaging than we anticipate. This could be due to the nature of the stain, the sensitivity of the wood, or a myriad of other factors. Discoloration can occur if the stain was particularly acidic or if it sat for too long before being cleaned. Similarly, the wood itself might show signs of damage like warping or swelling if it absorbed too much moisture.
So, take a good, close look at the floor. Is the color consistent with the surrounding area? Does the finish look intact, without any cloudiness or peeling? If you notice any changes in the wood, this is a sign that the stain might have had a deeper impact than surface level.
In such cases, it might be time to call in professional help. A flooring specialist or a professional cleaning service can offer more advanced solutions, like refinishing or deep cleaning, to restore your hardwood floors to their former glory.
Conclusion
These seven simple steps are your secret weapon in keeping your floors looking shiny and new, even in the face of our adorable, but sometimes messy, furry friends. Remember, the key to success is acting quickly, being gentle, and using the right products. By following these tips, you’re not just cleaning up after your pets; you’re also preserving the beauty and longevity of your hardwood floors.
However, we know that life can get busy and sometimes these stains can be more stubborn than expected. Maybe you’ve tried everything, and that pesky stain is still glaring at you, or perhaps your floors need a little extra TLC after a particularly adventurous pet episode. Whatever the case, don’t worry – you’re not alone in this.
This is where Toronto Shine Cleaning comes into play. Our team of cleaning wizards is equipped with the tools, expertise, and pet-friendly products to tackle any challenge your floors might throw at them. From those tough pet stains to regular maintenance and deep cleaning, we’ve got you covered. We understand the nuances of different flooring types and the best ways to care for them, ensuring that your home not only looks great but feels great too.