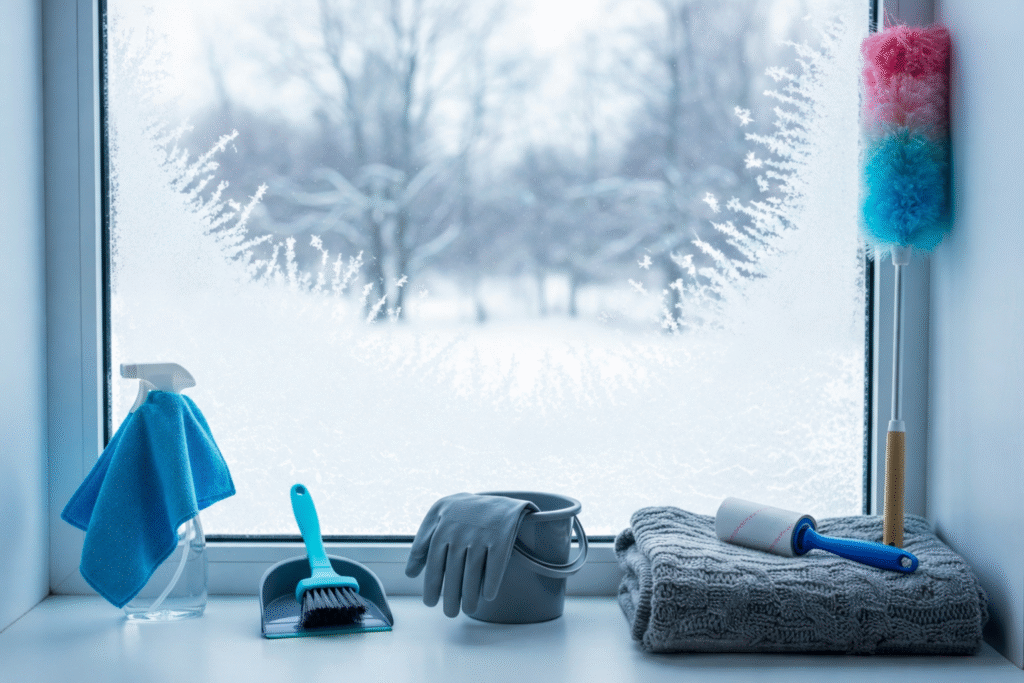
February Checklist: 5 Cleaning Tasks That are Actually Easier and More Efficient in Winter
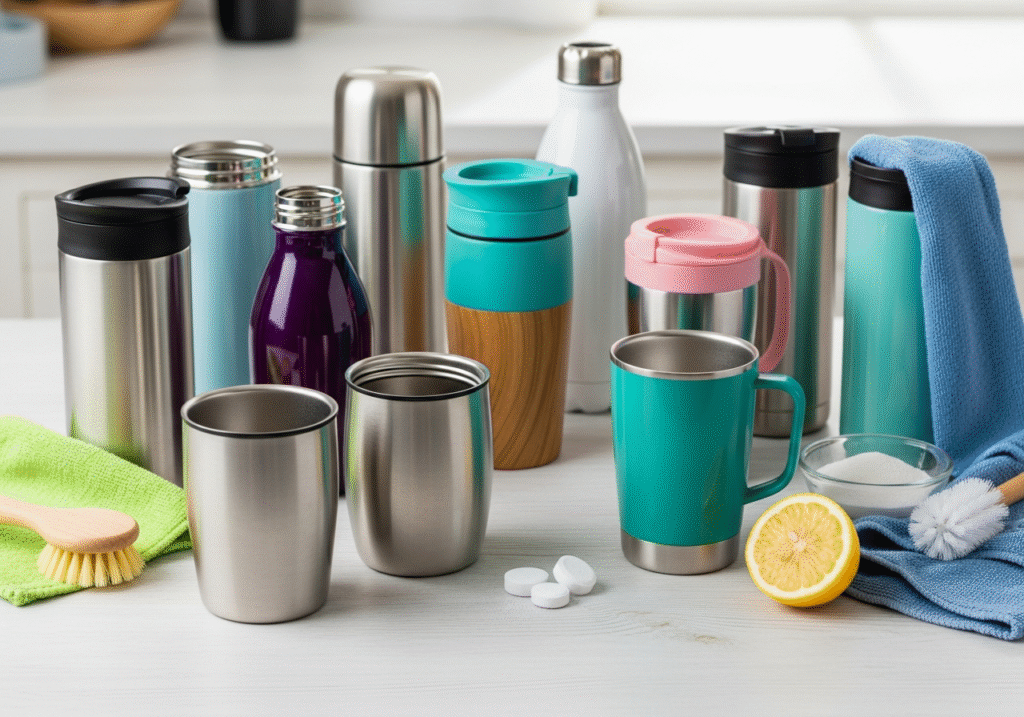
February occupies a unique and often challenging position in the Canadian calendar. It is the shortest month of the year, yet psychologically, it frequently feels like the longest. The novelty of the first snowfall has long since evaporated, replaced by the gritty reality of grey slush and biting wind. The “New Year, New Me” energy of January has typically waned, leaving homeowners in a state of maintenance fatigue. We are deep in the heart of winter, a time when our homes are subjected to the maximum stress of the elements. The windows have been sealed tight for months, the furnace has been running relentlessly, and the entryway has become a battleground against road salt. A cleaning checklist for February is not about the optimism of spring cleaning; it is about resilience and defense. It is a strategic intervention designed to protect your property from the specific chemical and physical assaults of the deep freeze, while simultaneously combating the stale, dusty atmosphere that contributes to the mid-winter blues. 1.Entryway Floors The absolute priority for any Canadian home in February is the management of the entryway floors. By this point in the season, the mats are saturated, and the hardwood or tile surrounding the door is likely coated in a chalky, white haze. This residue is not merely dirt; it is a chemical compound, usually calcium chloride or rock salt, tracked in from the municipal plow trucks. These salts are highly alkaline and hygroscopic, meaning they draw moisture from the air and the wood itself. If left to sit, this brine eats through the polyurethane finish of hardwood floors and degrades the sealants in tile grout, leading to permanent staining and pitting. A standard wet mop is often insufficient here, as it merely dilutes the salt and spreads it over a larger surface area. The February protocol requires neutralization. A solution of warm water and white vinegar provides the necessary acidity to dissolve the salt bonds. This must be applied carefully—damp, not soaking—to lift the mineral deposits without waterlogging the wood. Furthermore, the boot trays themselves, often filled with a grim slurry of melted snow and gravel, must be emptied and scrubbed in a utility sink to prevent them from overflowing and damaging the baseboards. 2.Air As we move inward from the door, the focus must shift to the air we breathe. Canadian homes are built to be airtight for thermal efficiency, but in February, this virtue becomes a vice. We are living in a closed-loop system where dust, pet dander, and cooking oils are recirculated endlessly by the HVAC system. The result is a home that feels stuffy and surfaces that become dusty within hours of being wiped. February is the critical month to address the “lungs” of the house. The furnace filter, likely installed in early winter, is now clogged with the debris of the heavy heating season. Replacing it is non-negotiable for maintaining airflow and protecting the furnace motor from overheating. Beyond the filter, the vents and cold air returns require vacuuming. Removing the vent covers and using a hose extension to extract the dust bunnies hiding in the ducts prevents them from being blown back into the room every time the heat cycles on. This simple act significantly reduces the ambient dust load and improves the respiratory health of the household during flu season. The humidity balance in February is a delicate dance that requires cleaning intervention. The furnace dries the air out aggressively, leading to static electricity, dry skin, and cracking wood furniture. To combat this, we run humidifiers. However, a humidifier that has been running constantly since December is a prime breeding ground for mold and bacteria if not maintained. The pink slime often found in the water tank is a bacterial biofilm that, when aerosolized, can cause respiratory irritation. A weekly descaling of the humidifier with vinegar and a thorough disinfection is essential to ensure that the moisture being added to the air is clean. Conversely, on the windows, the clash between the warm interior air and the freezing exterior glass creates condensation. This water pools on the window sills, creating a perfect environment for black mold. Inspecting every window sill and wiping away any black spots with a fungicide or a bleach solution is a vital February task to prevent the mold from rooting into the drywall or wood casing. 3.Bedroom and Bathroom Mid-February brings Valentine’s Day, which offers a thematic excuse to tackle the master bedroom and bathroom with a level of detail usually reserved for guests. We spend more time in bed in winter than in any other season, turning the mattress into a reservoir for sweat and dead skin. February is the time to strip the bed completely, including the mattress protector and the duvet. While the linens wash, vacuum the mattress surface thoroughly to remove dust mites and allergens. If the mattress is flip-able or rotatable, do so now to prevent sagging. In the ensuite bathroom, the focus should be on the tub and shower. The desire for long, hot baths in winter leads to a buildup of soap scum and bath oil residue. A deep restorative clean of the tub, removing the mineral deposits from the faucet and the biological film from the grout, transforms the bathroom from a utility space into a sanctuary. It allows for a moment of relaxation that is actually hygienic. 4. Kitchen The kitchen in February suffers from what can be called “comfort food fatigue.” We tend to cook heavier, greasier meals in the winter—roasts, stews, and fries. This airborne grease settles on the tops of the kitchen cabinets, the top of the refrigerator, and the range hood. This sticky layer attracts dust, creating a stubborn gunk that is difficult to remove if left until spring. Using a degreaser to wipe down these high surfaces now prevents the buildup from hardening. Additionally, the oven likely needs attention. If it was used heavily during the holidays and has been roasting root vegetables ever since,