How to Clean a Front-Loading Washing Machine: A Step-by-Step Guide
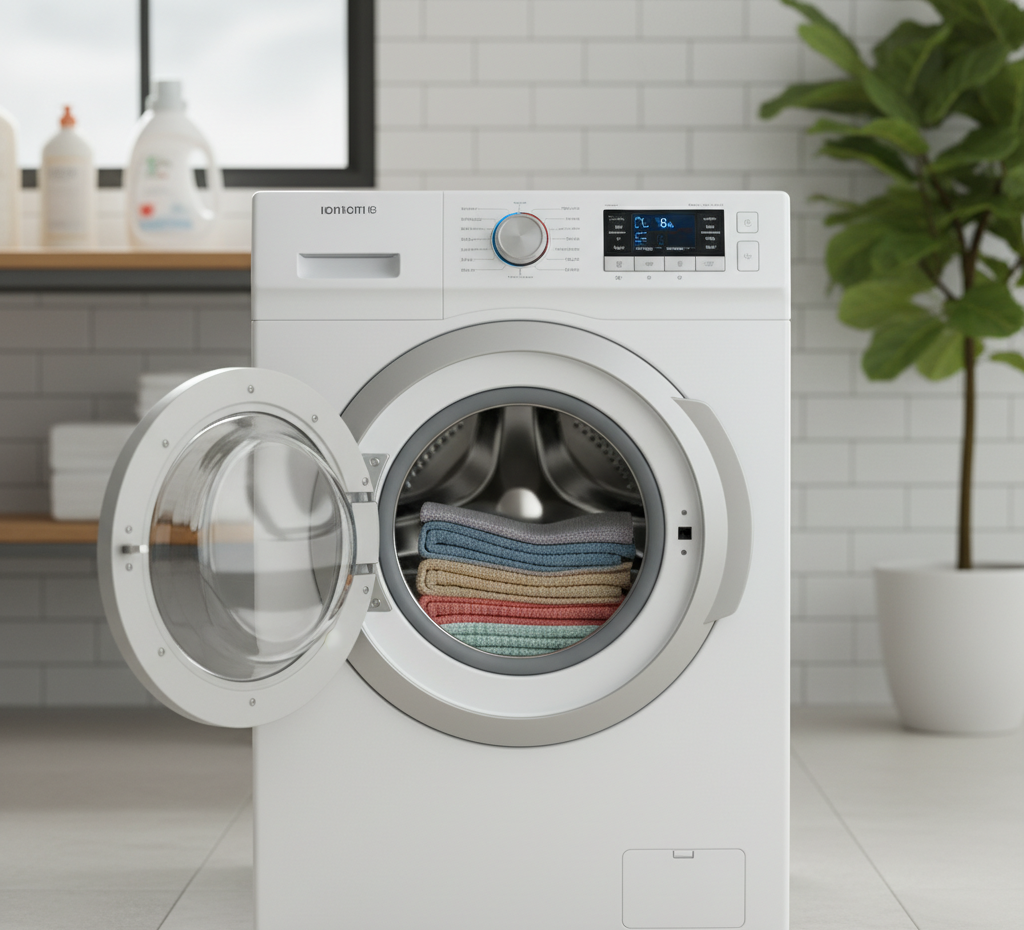
A front-loading washing machine is a marvel of efficiency, using less water and energy to deliver a superior clean. However, this same high-efficiency design creates a unique and persistent challenge: the tendency to develop a musty, mildewy odor. The airtight seal of the door, while essential for preventing leaks during a cycle, also traps moisture inside the machine, creating the perfect dark, damp environment for mold and bacteria to thrive. Keeping your front-loader smelling fresh and performing at its best requires a regular, methodical cleaning routine that addresses the hidden areas where this grime accumulates. The Most Critical Area The most critical area, and the primary source of odors, is the thick rubber gasket that forms the seal around the door. After every wash, water, soap residue, lint, and hair become trapped in its deep folds. Over time, this mixture congeals into a slimy, often black, buildup of mildew. The first step in any deep clean is to confront this gasket. Begin by gently pulling back the gray rubber seal to expose the crevice between it and the drum. Using a cloth or sponge dampened with a solution of equal parts white vinegar and water, thoroughly wipe out the entire interior of the gasket. You will likely be appalled at the amount of black gunk that comes away. For stubborn, set-in mildew spots, you may need to use a more potent cleaner. A cloth dipped in a diluted bleach solution (one part bleach to ten parts water) or hydrogen peroxide will be more effective at killing the mold spores. Use an old toothbrush to scrub deep into the crevices and under the lip of the seal where grime loves to hide. Once you have scrubbed the entire gasket clean, it is essential to wipe it completely dry with a clean cloth. Leaving it wet will only invite the mildew to return immediately. With the gasket clean, the next target is the wash drum itself. Even though it is constantly sloshed with soap and water, the drum can develop a buildup of soap scum and hard water mineral deposits. This film can trap bacteria and contribute to odors, and can even redeposit grime onto your “clean” clothes. The easiest way to clean the drum is to use the dedicated “Tub Clean” or “Self Clean” cycle that most modern machines feature. If your machine has this option, simply follow the manufacturer’s instructions, which may involve adding a specific cleaning tablet or liquid. Manual Cleaning If your machine lacks a self-cleaning cycle, you can perform a highly effective manual version using simple household products. This is a two-step process. The first step uses vinegar to dissolve mineral buildup and soap scum. Pour two full cups of plain white vinegar directly into the detergent dispenser drawer. Do not add any laundry or detergent. Select the longest, hottest wash cycle available on your machine and let it run to completion. The hot water and the mild acidity of the vinegar will work to strip away the scale and residue from the drum and the internal hoses. Disinfection The second step is for disinfection. It is crucial to note that you must never mix vinegar and bleach, as this creates toxic chlorine gas. After the hot vinegar cycle is completely finished and the machine is empty, you can proceed. For a deep sanitization that will kill any lingering mold or mildew spores, pour two cups of chlorine bleach into the dispenser drawer. Again, run the longest, hottest cycle available. This will thoroughly disinfect the interior of your machine, eliminating any remaining bacteria. If you are hesitant to use bleach, a half-cup of baking soda can be used as a gentler alternative, which will help to scrub the drum and neutralize odors. Once this second cycle is finished, open the door and let the drum air dry completely. The detergent dispenser drawer is another often-overlooked source of buildup. Over time, powdered detergent can cake into a solid mass, and liquid fabric softener can congeal into a thick, blue sludge that can harbor mold. Most front-loader dispenser drawers are designed to be removed for cleaning. Look for a small tab or button, often labeled “Push,” in the softener compartment. Pressing this will release the drawer, allowing you to slide it out completely. Take the drawer to a sink and soak it in hot, soapy water to loosen the residue. Use a bottle brush or an old toothbrush to scrub out every compartment, ensuring you remove all the caked-on gunk. While the drawer is soaking, take a damp cloth and wipe out the empty cavity in the machine where the drawer sits, as this area is also prone to mold growth. Rinse the drawer thoroughly and let it dry completely before reinserting it into the machine. Filter Cleaning One of the most important but least-known maintenance tasks for a front-loader is cleaning the drain pump filter. This small trap is designed to catch foreign objects like coins, buttons, hairpins, and excess lint before they can reach and damage the machine’s pump. If this filter becomes clogged, it can cause the machine to drain slowly, leave clothes excessively wet, and create foul odors from the stagnant, trapped water. The filter is typically located behind a small hinged door on the bottom front corner of the machine. Before you open it, be prepared. There will be water. Place a shallow pan or a thick towel directly under the access door. Slowly unscrew the filter plug, turning it counter-clockwise. Water will begin to trickle out. Once it has drained, you can fully remove the filter. You will likely find a surprising and unpleasant collection of debris. Rinse the filter thoroughly under running water, removing all the lint and any foreign objects. Before screwing it back in, use a paper towel to wipe out the filter housing. Reinsert the filter and screw it back in tightly to prevent leaks. With the interior components addressed, the final step is to clean the exterior.
How to Clean a Front-Loading Washing Machine: A Step-by-Step Guide Read More »