The topic of duct cleaning exists in a strange and often misunderstood corner of home maintenance. It is a service that promises cleaner air, a healthier home, and improved HVAC efficiency. It is also a task that, when you see the dust and debris that can accumulate around your floor and wall registers, seems like it should be a straightforward cleaning job. The temptation to tackle it yourself is strong. After all, how hard can it be to stick a vacuum hose down a vent?
This is where a crucial distinction must be made. There is professional air duct cleaning, and then there is DIY duct cleaning. They are not the same thing. They do not use the same tools, they do not achieve the same results, and they do not have the same goals. A professional service is a whole-system decontamination. A DIY job is a surface-level dust removal. Understanding this difference is the most important step in deciding whether to attempt this project yourself. It is a task that can be done, but it must be approached with a healthy dose of realism, a clear understanding of the risks, and the right set of tools.

Professional vs. The DIY Reality
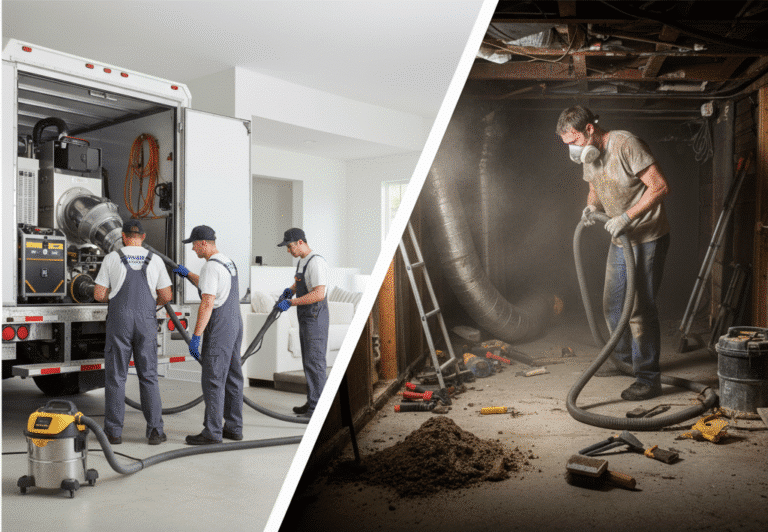
Professional duct cleaning is a heavy-duty industrial process that takes place inside your home. The core of the service is the use of a massive, powerful vacuum system that connects directly to your home’s main duct lines near the furnace. This system creates a powerful negative pressure, essentially turning your entire ductwork system into a giant vacuum cleaner. While this vacuum is running, the technicians use long, flexible tools, high-pressure air whips and rotating brushes, that are inserted deep into the ductwork from each register. These tools agitate and dislodge all the caked-on dust and debris from the interior surfaces of the ducts. The negative pressure ensures that all this loosened debris is immediately sucked out of the system and into the collection unit, without being released into your home.
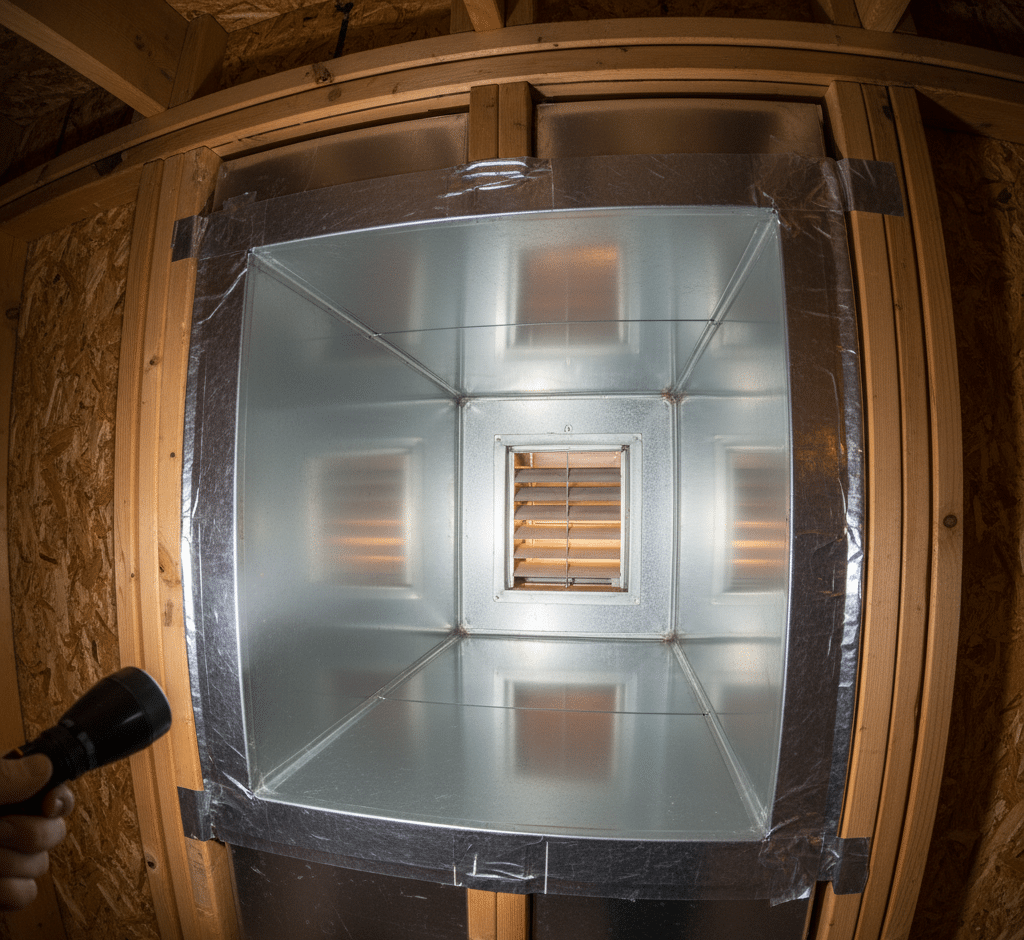
The DIY reality is a scaled-down, simplified version of this. You do not have access to a vacuum that can create negative pressure throughout the entire system. Your primary tools will be a standard shop-vac and a long, flexible brush. This means you can only clean what you can physically reach, which is typically the first several feet of the ductwork branching off from each register. You are not cleaning the entire system; you are cleaning the endpoints. The goal is to remove the visible dust and debris that accumulates in the most accessible parts of the ducts.

The Risks and Rewards of a DIY Approach
Before you begin, it is essential to weigh the potential benefits against the very real risks.
The Potential Rewards:
Improved Airflow: By removing the clumps of dust and debris that can accumulate near the registers, you can improve the flow of air into your rooms.
Reduced Visible Dust: It will certainly clean the registers themselves and the visible portion of the duct, reducing the amount of dust that gets blown out into the immediate vicinity.
Cost Savings: The most obvious benefit is avoiding the cost of a professional service.
The Significant Risks:
Making the Problem Worse: Without the negative pressure of a professional system, there is a risk that you will simply dislodge debris that is deeper in the system and push it further down into the main trunk lines, potentially creating a blockage or simply leaving it to be blown out later.
Damaging Your Ductwork: This is a major concern, especially in homes with flexible ductwork (the silver, accordion-style hoses). A spinning brush or even a sharp vacuum attachment can easily tear or puncture these ducts. If this happens inside a wall or ceiling, you have created a significant problem that will require a costly professional repair.
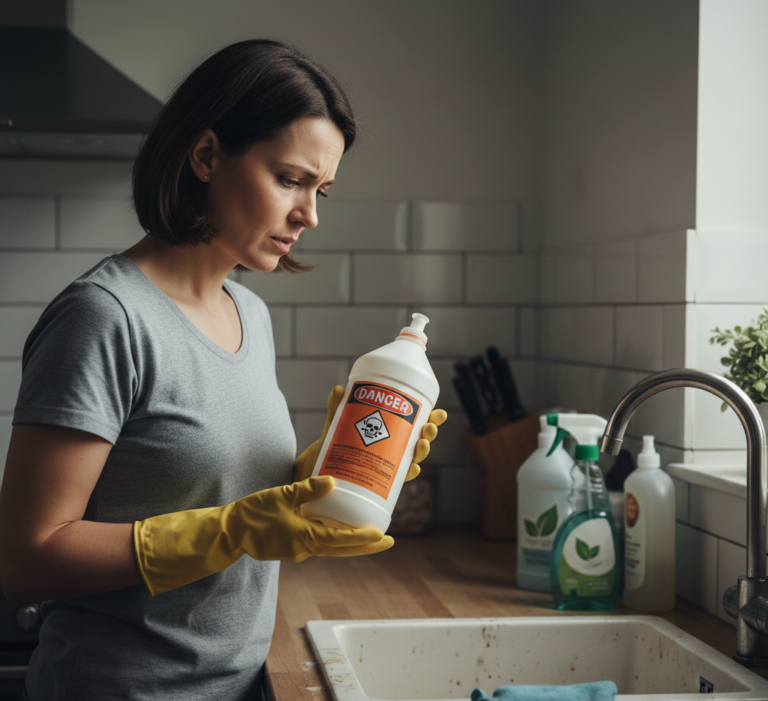
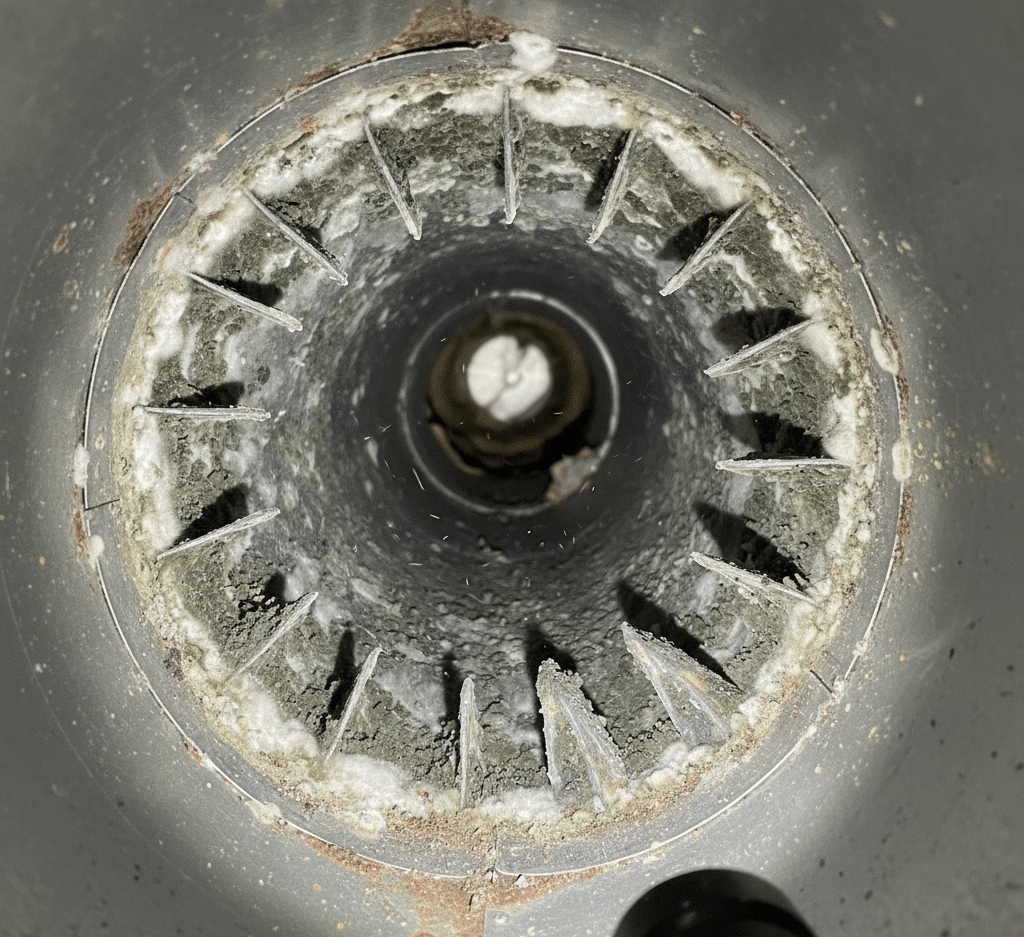
Health Hazards: Your ducts can contain more than just dust. They can harbor mold, mildew, bacteria, and other allergens. Agitating these contaminants without a proper containment system can release them into your home’s air, potentially triggering allergic reactions or respiratory issues.
Limited Effectiveness: After hours of work, you may find that you have only made a small dent in the overall dust level of the system, leading to a frustrating and unsatisfying result.

DIY Duct Cleaning Toolkit
If you have weighed the risks and decided to proceed, you will need more than just your household vacuum.
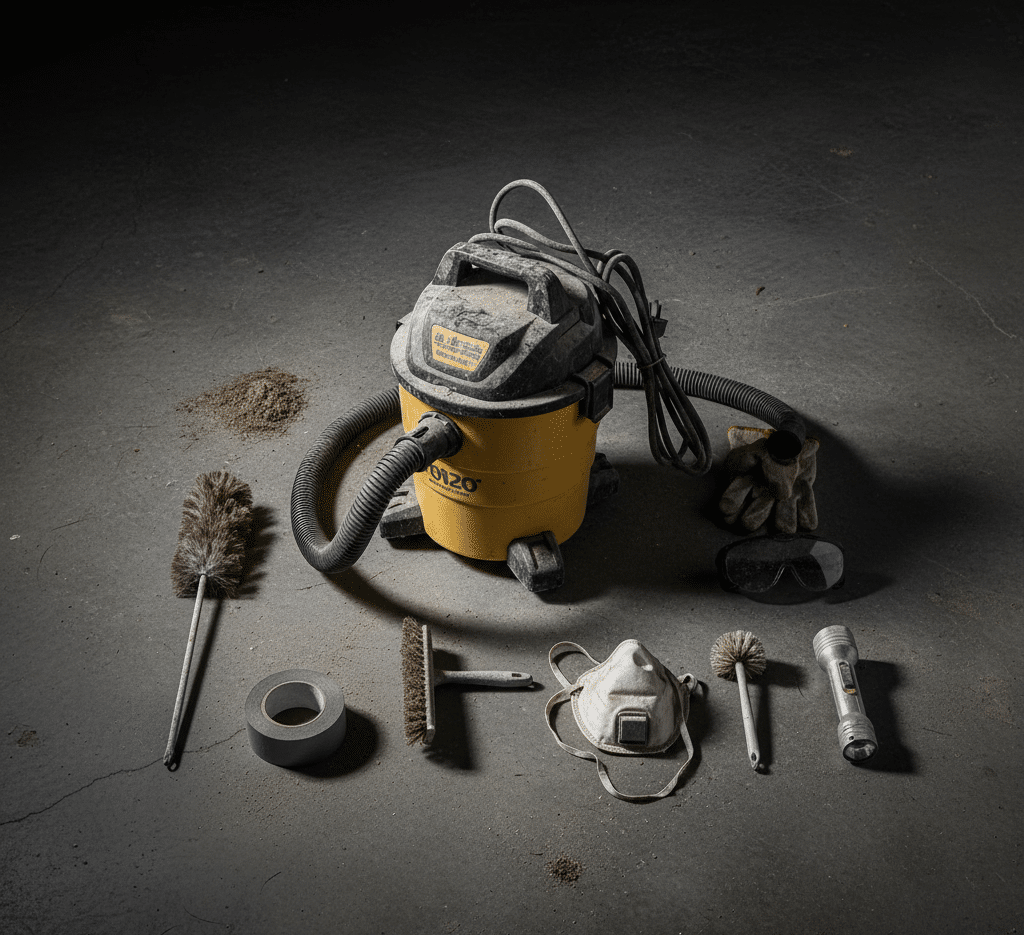
A Powerful Shop-Vac: This is non-negotiable. A standard vacuum cleaner is not designed for this type of debris. You will need a shop-vac with a long, flexible hose. Ideally, it should be equipped with a HEPA filter to trap the fine dust particles and prevent them from being exhausted back into your air.
A Dryer Vent Cleaning Kit: This is the secret weapon for a DIY job. These kits, designed for cleaning out dryer ducts, consist of a flexible, rotating brush head and a series of connectable rods that can be attached to a power drill. This is what you will use to agitate the dust inside the ducts.
A Screwdriver or Power Drill: For removing the register covers (grilles).
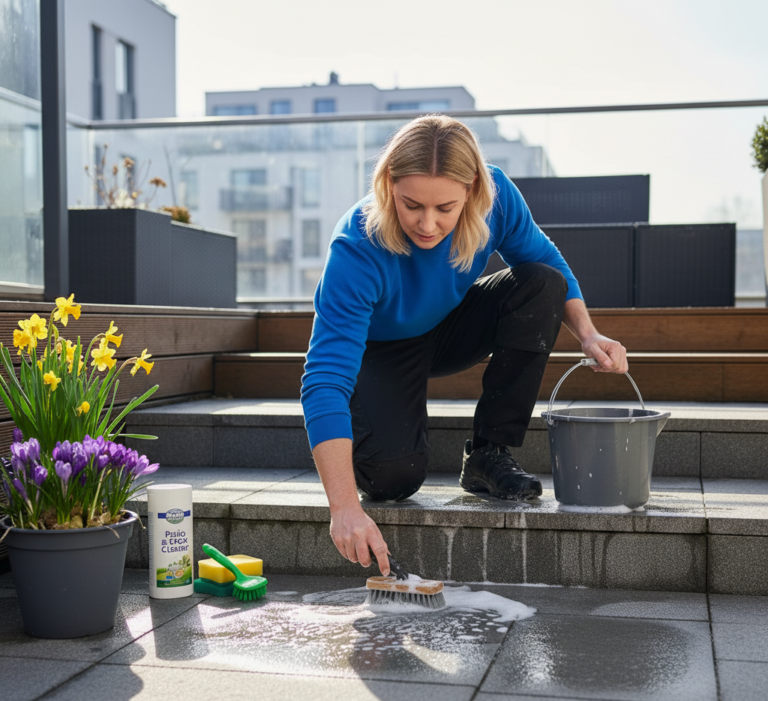
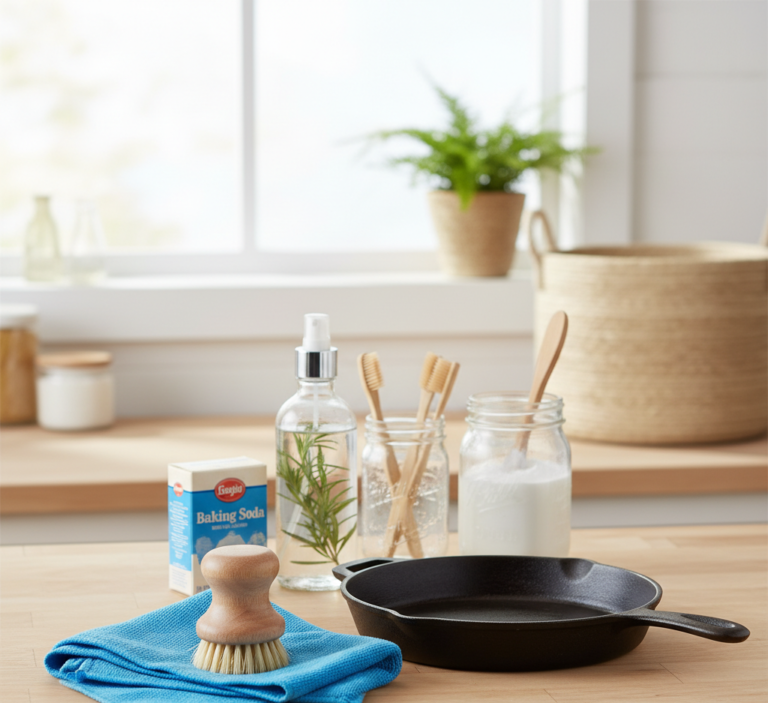
Microfiber Cloths and a Bucket of Soapy Water: For cleaning the register grilles themselves.
Painter’s Tape or Cardboard: For temporarily sealing off registers.
A New Furnace Filter: You must replace your filter at the end of this process.
Safety Gear: This is absolutely essential. Wear a high-quality dust mask (an N95 or better is recommended) and safety glasses at all times.
The Step-by-Step Guide to a Surface-Level Duct Clean
This process is methodical and should be done with care and patience. Plan to dedicate several hours to the job.
Preparation is Key: Go to your thermostat and turn off your HVAC system completely. This is a critical safety step to ensure the system does not kick on while you are working. Have your brand-new furnace filter ready to be installed at the very end.
Seal Your Registers: To minimize the amount of dust that blows back into your home, you need to seal the registers you are not currently working on. Go to every supply register (where air blows out) and return register (where air is sucked in) and cover them. You can use painter’s tape or simply cut pieces of cardboard to fit over them.
Clean the Register Grilles: Go to your first register. Unscrew and remove the grille. Take it outside or to a utility sink and give it a thorough cleaning with hot, soapy water and a brush to remove all the caked-on dust. Set it aside to dry completely.
Clean the Supply Ducts (One at a Time):
With the grille removed, take your shop-vac hose and insert it into the duct as far as it will comfortably go. Turn it on and suck up all the loose debris you can reach.
Now, take your dryer vent brush attached to your drill and a few rods. Insert the brush into the duct, past the end of your shop-vac hose.
Turn the shop-vac on. While the vacuum is running, turn your drill on a low speed and slowly feed the spinning brush further into the duct. The spinning action will dislodge the dust from the walls of the duct, and the shop-vac will immediately capture it.
Slowly pull the spinning brush back out of the duct, allowing the vacuum to continue collecting the debris.
Once you have gone as far as you can and pulled the brush out, use the vacuum one last time to clean the immediate opening.
Reseal this register and move on to the next supply register, repeating the exact same process.
Clean the Return Ducts: The process for the return ducts is the same as for the supply ducts. These ducts are often larger and may contain more dust and debris, as they are pulling unfiltered air from your rooms.
Clean the Blower Compartment: Turn off the power to the furnace at the circuit breaker or the service switch. Open the access panel to the blower compartment. This area is often very dusty. Use your shop-vac with a smaller brush attachment to meticulously clean the entire compartment, being careful not to damage any wiring or the fan itself.
The Final Steps:
Go to your furnace and remove the old, dirty filter.
Install the brand-new, clean furnace filter.
Go to every register in your home and remove the tape or cardboard covers.
Reinstall all the clean, dry register grilles.
Go back to the breaker and restore power to the furnace.
Turn your HVAC system back on at the thermostat. It is a good idea to run the fan for about 15 minutes to clear out any remaining loose dust in the system (which your new filter will catch).
When to Absolutely Call a Professional
A DIY cleaning is a limited measure. There are several situations where you should not attempt this job yourself and should call a professional service immediately.
You Suspect Mold: If you see black splotches around your vents or smell a persistent musty odor coming from your ducts, you may have a mold problem. Attempting to clean this yourself can release dangerous mold spores throughout your home.
You Have a Pest Infestation: If you know or suspect that rodents or insects have been living in your ductwork, a professional is needed to safely remove the nests, droppings, and remains, and to properly sanitize the system.
After a Major Renovation: The sheer volume and type of dust from a major construction project is often too much for a DIY approach.
Your Home is Very Old or Has Fragile Ducts: If you are unsure of the condition of your ductwork, it is better to have a professional assess it than to risk causing damage.
A Family Member has Severe Allergies or Asthma: For those with serious respiratory conditions, a professional-grade cleaning that removes a higher percentage of contaminants is the only safe option.
A DIY duct cleaning can be a satisfying project that addresses the visible dust at the endpoints of your HVAC system. It is a surface clean, a maintenance task that can improve the cleanliness of your home’s registers and the air immediately around them. It is not, however, a substitute for the deep, whole-system decontamination that is professional duct cleaning.
A DIY duct cleaning can help manage the visible dust at your registers, but it is a surface-level solution that cannot replace the deep, comprehensive cleaning of a professional service. For a thorough clean that addresses the hidden dirt and dust throughout your entire home, Toronto Shine Cleaning provides the expert service needed to ensure your environment is truly and meticulously clean.