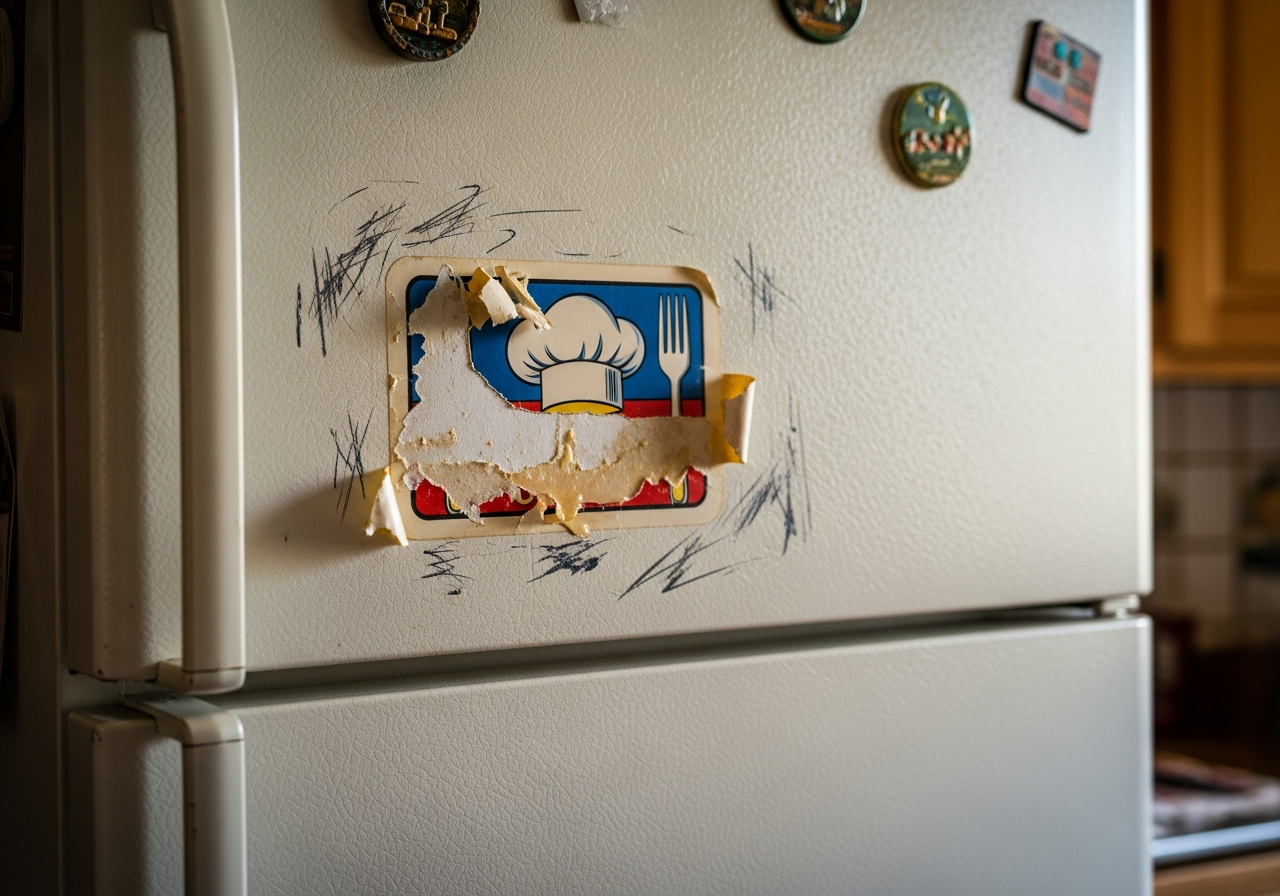
The presence of a sticker on a newly purchased item is one of the most baffling contradictions in modern retail. We buy a beautiful glass vase, a sleek stainless steel appliance, or a handcrafted wooden picture frame because we admire its aesthetic qualities. Yet, directly across the face of this pristine object, the manufacturer or the retailer often places a price tag or a brand decal using an adhesive that seems engineered to survive atmospheric reentry. The attempt to remove it usually results in one of two tragedies: the paper tears, leaving a fuzzy, white layer of impossible-to-remove strata, or the sticker comes off but leaves behind a gummy, sticky residue that attracts dust and turns grey within days. Mastering the removal of stickers is not just about having strong fingernails; it is a lesson in chemistry and material science. To defeat the adhesive, one must understand the nature of the bond and select the correct solvent or mechanical agent to break it without destroying the substrate beneath.
Heat up
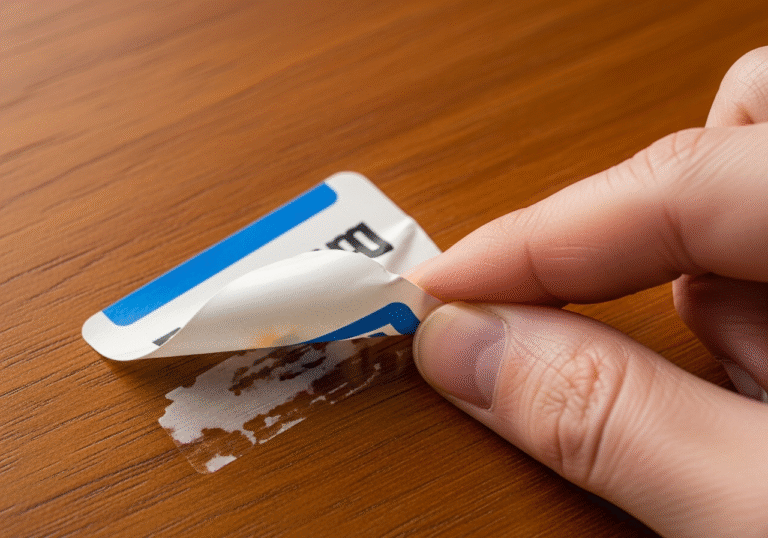
The first rule of sticker removal is to resist the urge to scrape immediately. When we see a sticker, our instinct is to pick at the corner. While this works for the rare, low-tack adhesive, it is usually a trap. By picking at the sticker, you often separate the top layer of paper or plastic from the adhesive layer below. Once that top layer is gone, you lose your leverage. You are left with the adhesive exposed, which is infinitely harder to remove than when it was attached to the label. Therefore, the removal process should begin with preparation, not aggression. The method you choose must be dictated entirely by the surface the sticker is on. What works for a glass jar will ruin a wooden table, and what saves a hardcover book will melt a plastic laptop case.
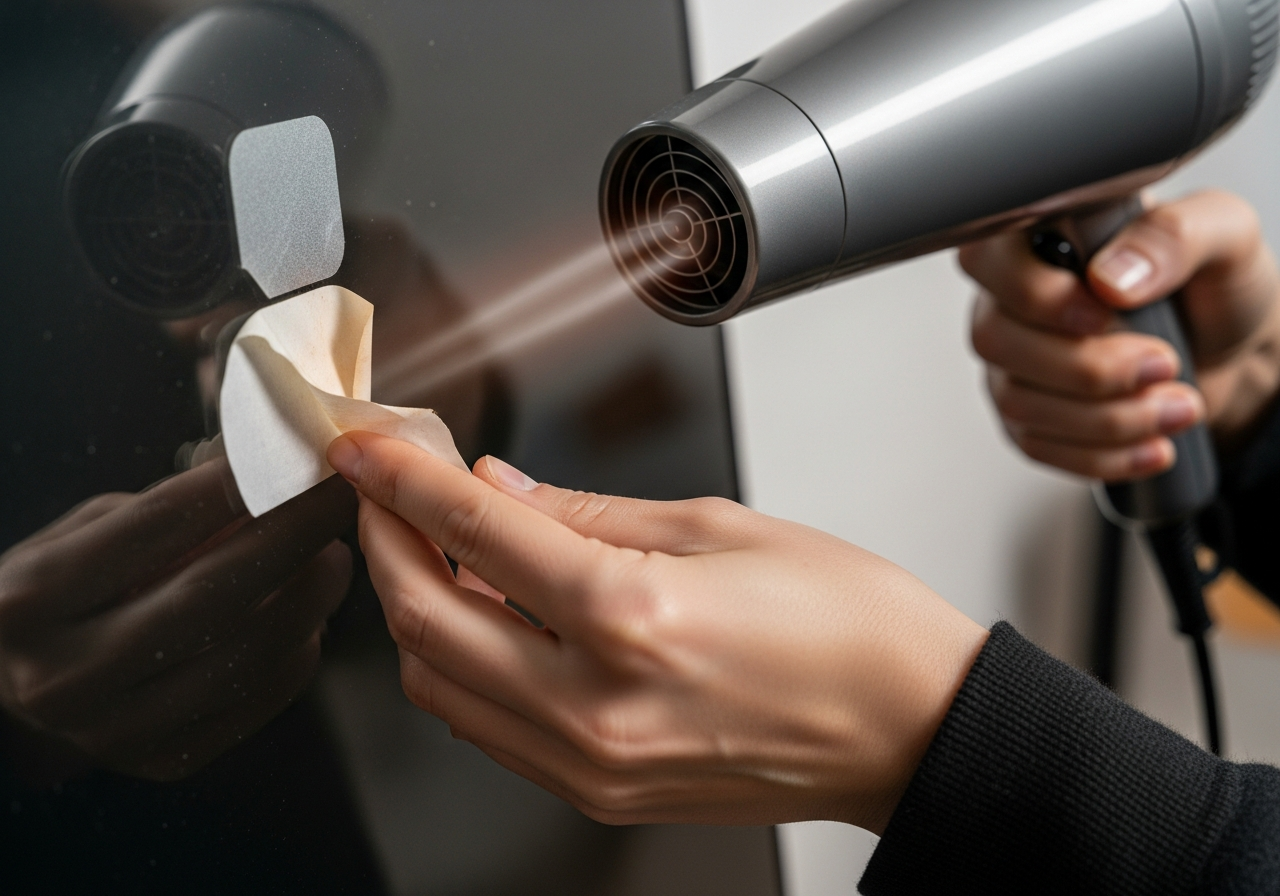
For the vast majority of stickers, particularly those on hard, non-porous surfaces like glass, ceramic, or metal, heat is the most effective and least damaging first line of defense. The adhesive used on stickers is typically a polymer that exists in a semi-solid state. When heated, these polymers soften and become more viscous. A standard hair dryer is the tool of choice here. Set the dryer to medium heat and hold it a few inches away from the sticker for about forty-five seconds to a minute. You are not trying to scorch the item; you are trying to warm the glue. Once heated, the adhesive loosens its grip on the surface and adheres more tightly to the sticker backing. If you lift the corner slowly while applying heat, the sticker often peels away in one satisfying, clean sheet. This method is particularly crucial for removing decals from car bumpers or stickers from laptops, where liquid solvents might cause damage to the paint or internal electronics.
Oil
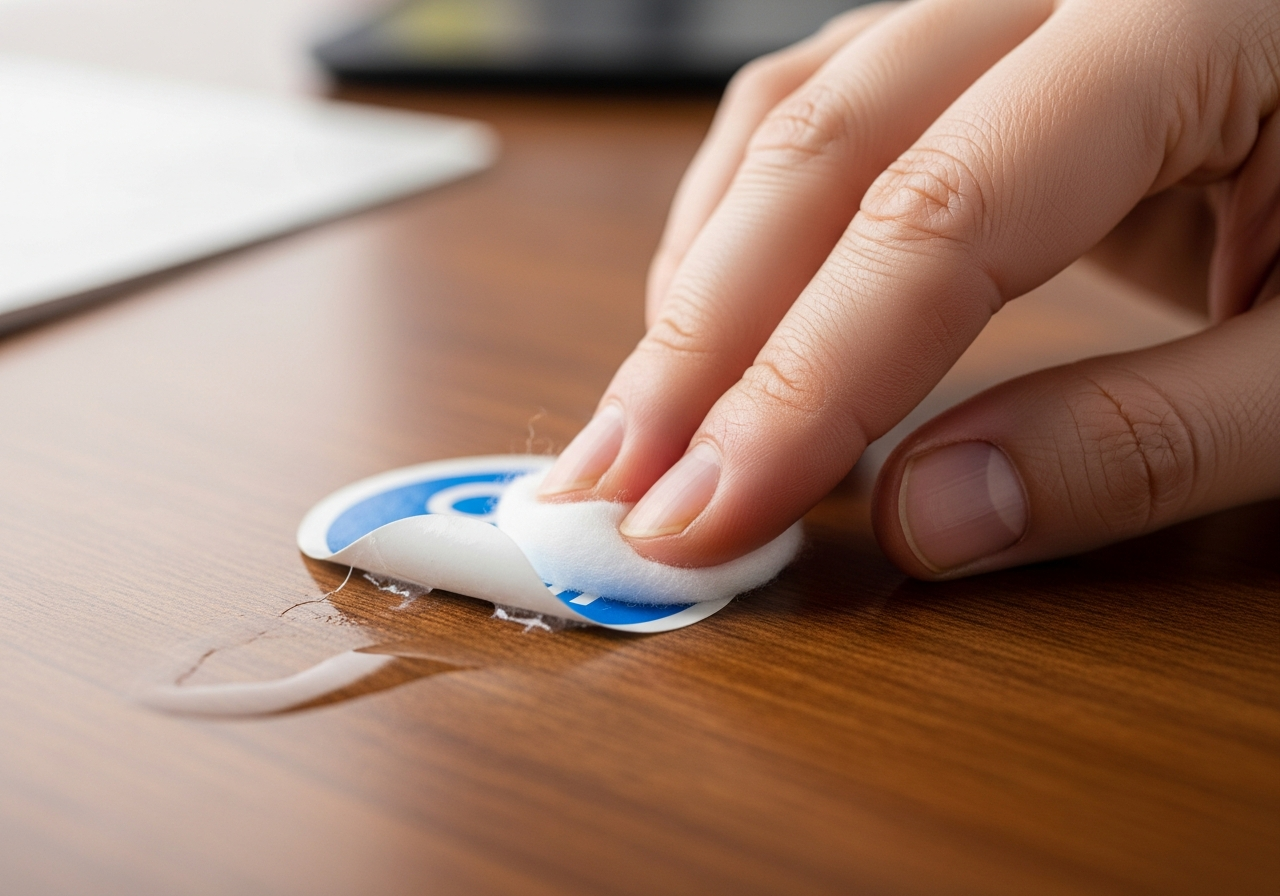
However, heat has its limits. On certain plastics, high heat can warp the material. On items where the adhesive has cured for years—such as a price tag on a thrift store find—heat might not be enough to reactivate the dried-out glue. In these instances, we must turn to chemistry. The principle of “like dissolves like” is the guiding star of adhesive removal. Most sticker adhesives are lipid-based or rubber-based. Therefore, oil is a potent solvent. This is why common pantry items like cooking oil, olive oil, or even peanut butter are legendary sticker removers. The fats in the oil seep through the paper of the sticker (or around the edges if it is plastic) and mix with the adhesive, essentially diluting it until it loses its stickiness. To use this method effectively, one must score the surface of a paper sticker to allow the oil to penetrate, apply a generous layer of oil, and let it sit. Patience is the active ingredient. After twenty minutes, the sticker should slide off, leaving an oily residue that can be easily washed away with soap and water. This method is exceptionally safe for glass and reactive plastics but should be avoided on unsealed wood or porous stone, which will absorb the oil and stain permanently.
Alcohol
For surfaces where oil is not an option, or for stubborn residues that oil cannot touch, alcohol is the next tier of escalation. Isopropyl alcohol, commonly known as rubbing alcohol, is a solvent that breaks down the chemical bonds of the adhesive. It dries instantly, making it safe for electronics (when applied to a cloth, not sprayed directly) and unfinished surfaces that cannot get wet. It is particularly effective on the gummy residue left behind after a sticker has been peeled off. A microfiber cloth dampened with alcohol acts as an eraser for this goop. However, caution is required. Alcohol can act as a paint thinner. If used on certain painted surfaces or varnished wood, it can strip the finish along with the sticker. A spot test in an inconspicuous area is always mandatory before attacking the main stain.
There is a specific category of stickers that creates a unique nightmare: the plastic-coated or laminated label. These are waterproof, meaning that oil, water, and vinegar cannot penetrate them from the top. To remove these, you must attack from the edges or compromise the surface. This is where mechanical removal tools come into play. A plastic razor blade or a specialized scraper is infinitely superior to a metal razor blade or a fingernail. Metal blades scratch glass and gouge plastic. A plastic scraper is harder than the adhesive but softer than the substrate. It allows you to get under the rim of the label and apply the necessary lifting force. For glass windows, a metal razor blade held at a precise forty-five-degree angle is permissible and effective, provided the glass is wet to provide lubrication, but this requires a steady hand to avoid scratching.
Vinegar
Vinegar, specifically white distilled vinegar, offers a different chemical approach. It is acidic. For old, dried-out masking tape or stickers on windows that have been baked by the sun, vinegar can help dissolve the hardened paste. Soaking a paper towel in hot vinegar and laying it over the sticker for thirty minutes can rehydrate the paper and break down the glue. This is often the best method for removing price tags from the bottoms of wine glasses or ceramic mugs, as the acid also helps to remove any mineral deposits that might be trapping dirt around the sticker. It is a slower process than using chemical solvents, but it is non-toxic and environmentally friendly.
A surprising but highly effective solvent found in the bathroom is acetone, usually in the form of nail polish remover. Acetone is a powerful solvent that dissolves almost all adhesives instantly. It is the nuclear option. It will clean a sticker off glass or unpainted metal in seconds. However, acetone eats plastic. If you use acetone on a plastic storage bin, a laptop, or a synthetic eyeglass frame, it will melt the surface immediately, leaving a cloudy, white, rough scar that cannot be repaired. It should only be used on glass or unfinished ceramic, and even then, with extreme care to ensure it does not drip onto nearby surfaces.
Duct Tape Method
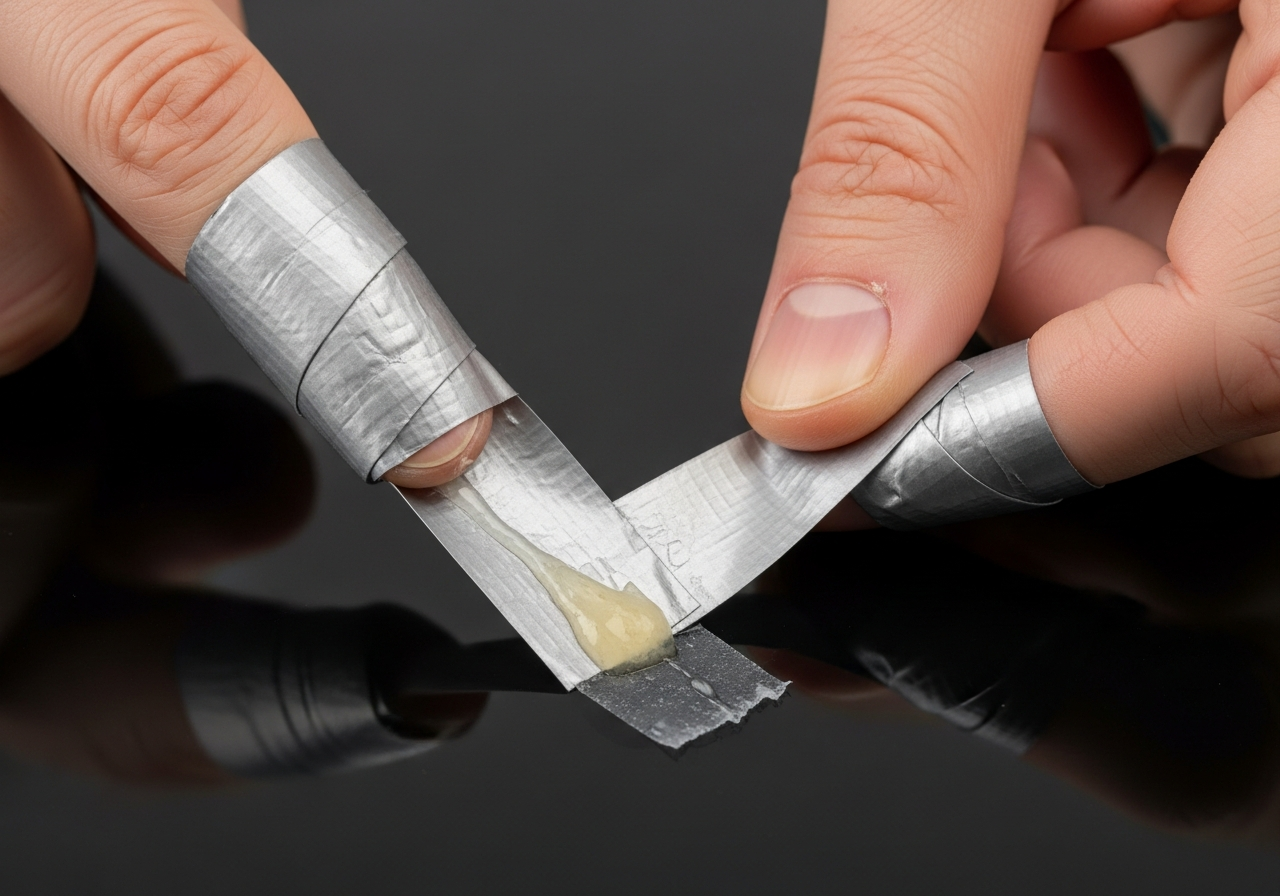
The texture of the residue often dictates the cleanup method. Sometimes, after the paper is gone, a thin, dark, sticky smear remains. This is often best removed not by dissolving it, but by lifting it. The “duct tape method” utilizes the tackiness of a stronger tape to pull off the weaker adhesive. Wrap a piece of duct tape around your fingers, sticky side out, and dab it repeatedly against the residue. The residue will transfer from the object to the tape. This is a tedious, repetitive motion, but it is completely chemical-free and safe for virtually any surface, making it ideal for delicate book covers or paper documents where liquids are forbidden.
We must also consider the specific challenge of wood furniture. A sticker stuck to a vintage wooden dresser is a high-stakes situation. Heat can damage the varnish; oil can stain the wood; alcohol can dissolve the lacquer; and water can raise the grain. In this delicate scenario, mineral spirits or a dedicated furniture cleaner is the safest route. These products are formulated to clean wood finishes without stripping them. Applied gently with a soft cloth, they can slowly work the adhesive loose. If the sticker is on raw, unfinished wood, mechanical removal with a very fine grit sandpaper might be the only option to remove the residue without leaving a chemical stain, though this obviously alters the surface texture.
Rubber
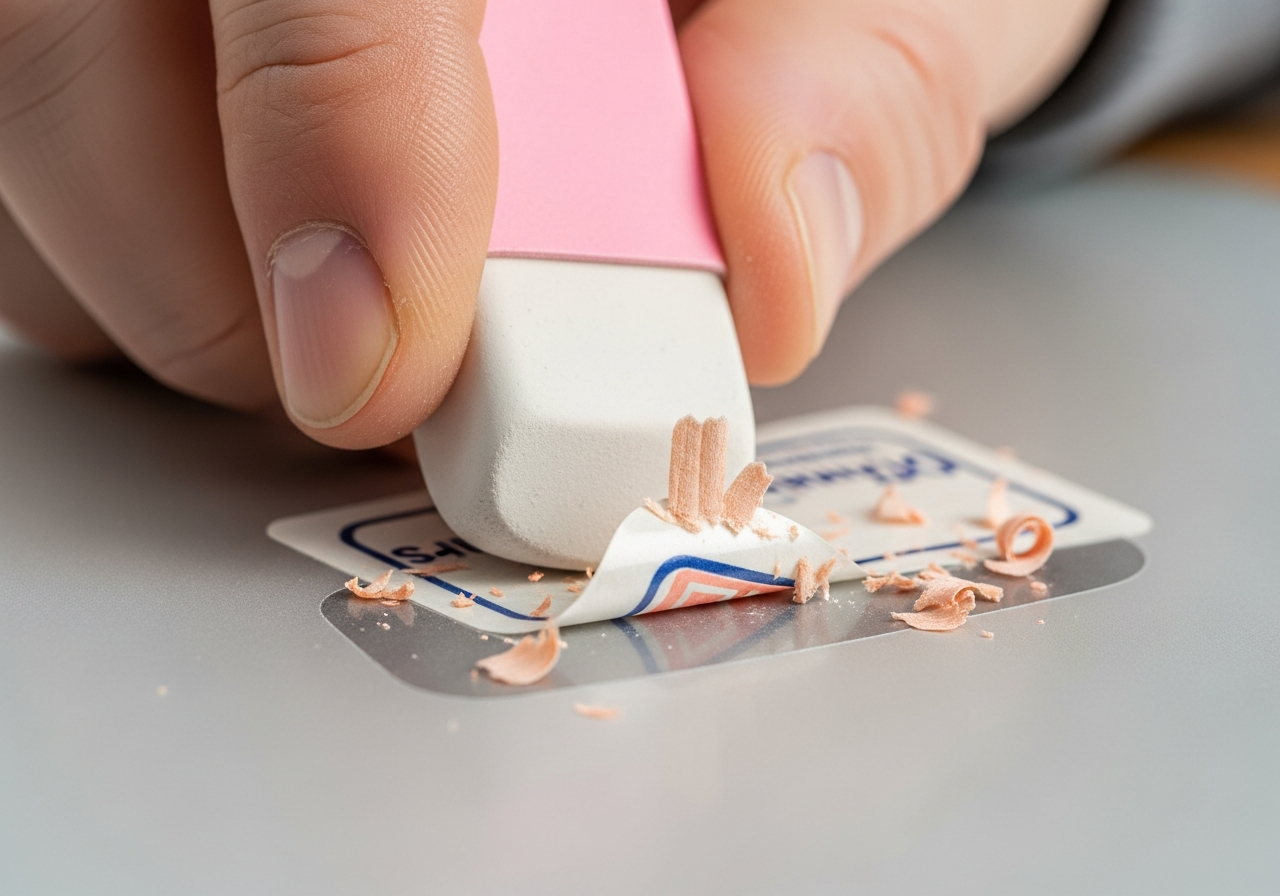
Another frequent offender is the sticker on the sole of a new shoe. These stickers are subjected to the weight of the body, which presses the adhesive deep into the texture of the sole. When removed, they leave a sticky patch that immediately collects dirt, turning black and slippery. For this, a rubber eraser—either a standard pencil eraser or a dedicated “crepe rubber” block used for suede—is surprisingly effective. The friction of the rubber rolls the adhesive up into little balls that can be brushed away. This dry method prevents the introduction of moisture that could damage leather or suede uppers.
The automotive world presents its own sticker anxiety. Bumper stickers or dealership decals eventually fade and need removal. The car’s paint is a delicate system of clear coat and pigment. Using a razor blade here is a guarantee of a scratch. The combination of heat (from a hair dryer, not a heat gun which can burn the paint) and a plastic removal tool is the standard approach. Any remaining residue on car paint should be treated with a clay bar or a specific automotive adhesive remover that is safe for clear coats. Household solvents like nail polish remover should never touch a vehicle, as they can permanently cloud the finish.
Ghost Effect
At the end, there is the issue of “ghosting.” Sometimes, even when the sticker and the adhesive are completely removed, a faint outline remains. This is often due to UV exposure. The area under the sticker was protected from the sun, while the surrounding area faded slightly over time. On wood or fabric, this ghost image is often permanent. On glass or plastic, it might be a result of the adhesive reacting chemically with the surface. A mild polishing compound or a baking soda paste can sometimes buff out this difference in texture, blending the protected area with the exposed area to make the outline disappear.
Removing stickers is a task that requires a pause before action. It demands that you assess the material, choose the right agent, and proceed with patience. It is a small battle against entropy, restoring an object to the state of perfection it was meant to possess. Whether you are using the heat of a dryer to salvage a laptop lid or the chemistry of olive oil to rescue a wine bottle, the goal is the same: a surface that tells no tales of its retail history.
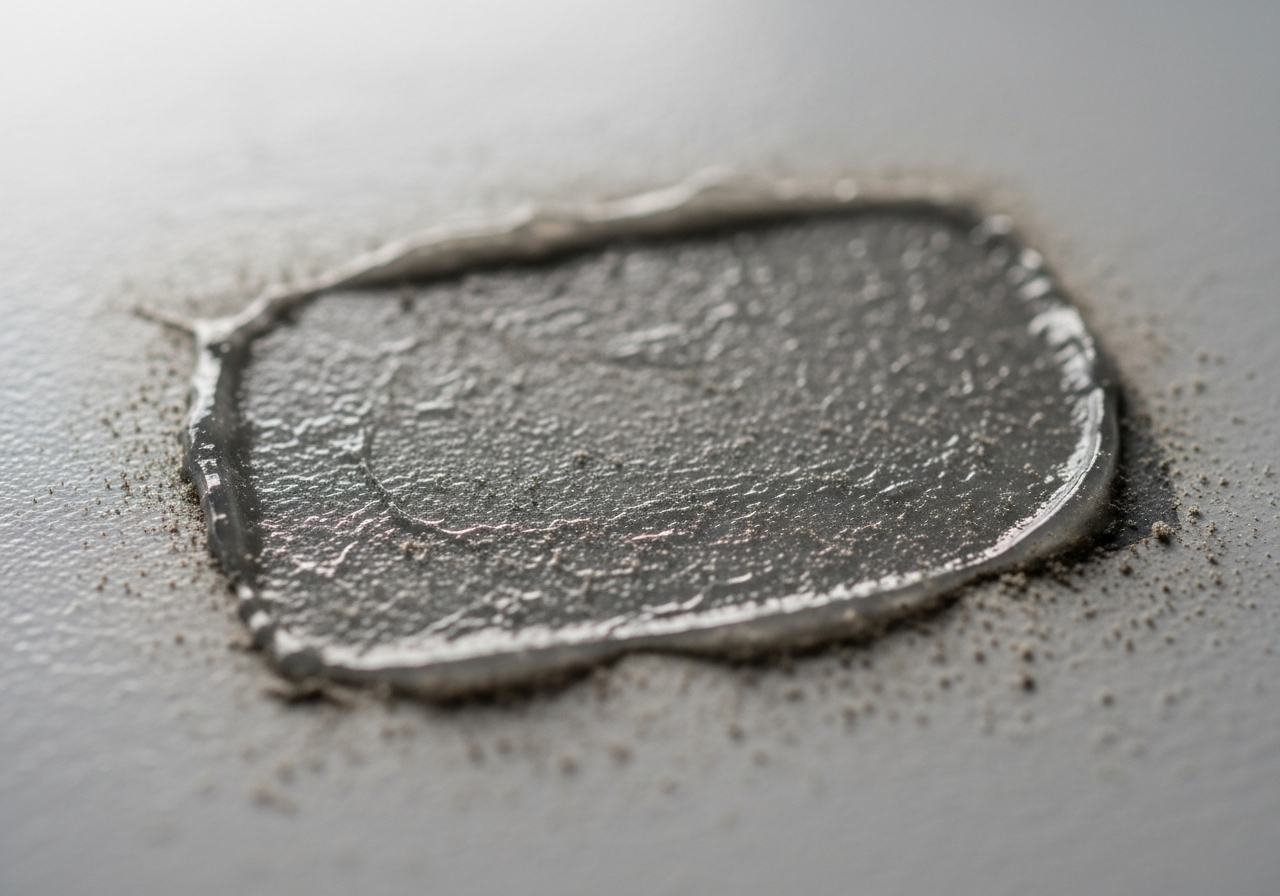
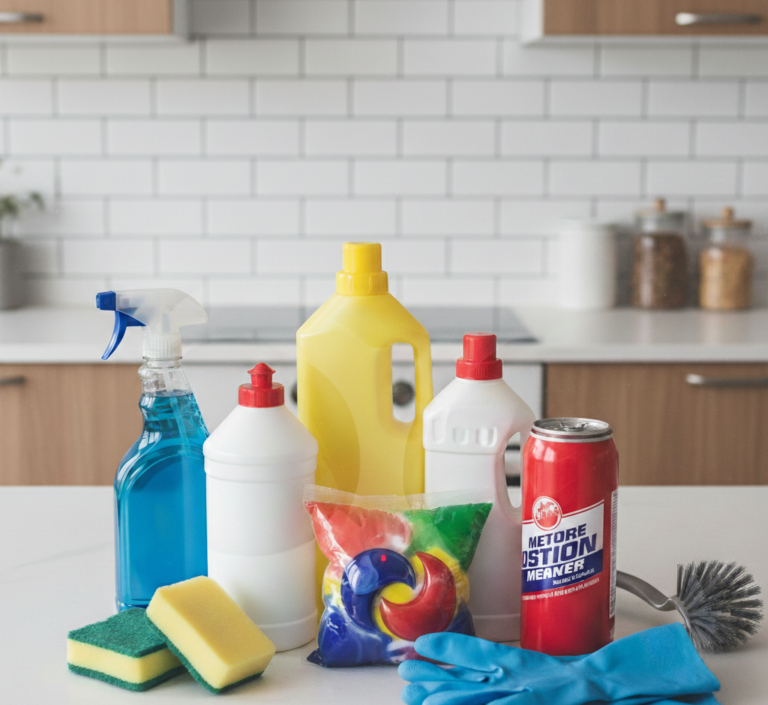
Maintaining the surfaces of your home, from the windows that get taped up with holiday decorations to the new appliances that come covered in protective film, is a detail-oriented process. Sticky residue is a magnet for dust and grime, creating focal points of dirt that degrade the overall feel of a room. While removing a single sticker is a manageable task, dealing with the cumulative buildup of household grime requires a more comprehensive approach. Toronto Shine Cleaning offers a level of service that addresses these fine details. We understand that a clean home is not just about vacuumed floors; it is about surfaces that are free of residue, streaks, and blemishes. Our professional team has the expertise to handle delicate materials and the right tools to remove stubborn build-up without causing damage. Whether you need a deep seasonal clean to reset your home or regular maintenance to keep every surface gleaming, Toronto Shine Cleaning provides the meticulous care your home deserves.