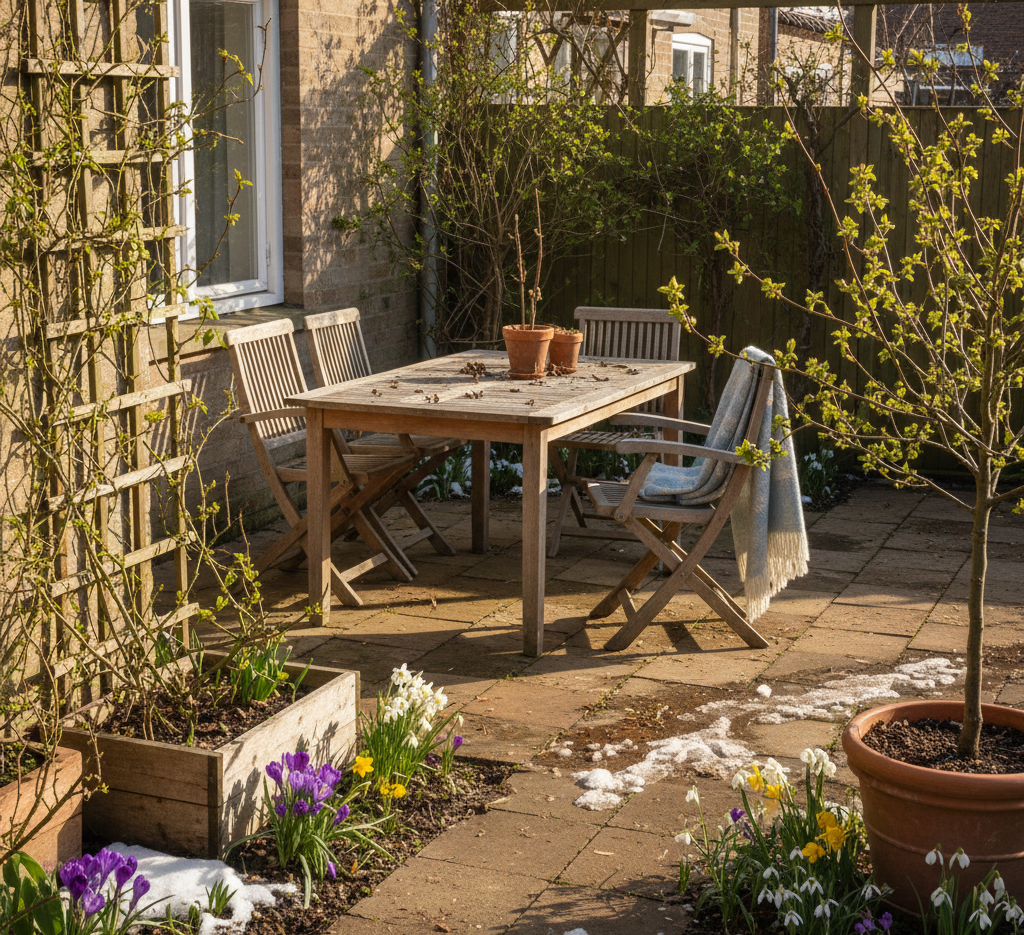
The arrival of May in Canada is a profound and welcome turning point. It is the month when the last vestiges of winter finally recede in your backyard, the ground thaws completely, and the long-dormant desire to live outdoors is reawakened. We look to our patios, decks, and balconies not as frozen, forgotten spaces, but as extensions of our homes, places for relaxation, dining, and gathering. However, the first look of the season is often a discouraging one. These outdoor living areas have endured months of harsh weather, and they bear the scars: a grimy film of dirt and pollution, a carpet of dead leaves and twigs, and the chalky, white residue of winter salt. The task of reclaiming this space can feel overwhelming, but it is a deeply rewarding ritual, a methodical process of cleaning and preparation that officially ushers in the warmer, brighter season ahead.
Backyard floor
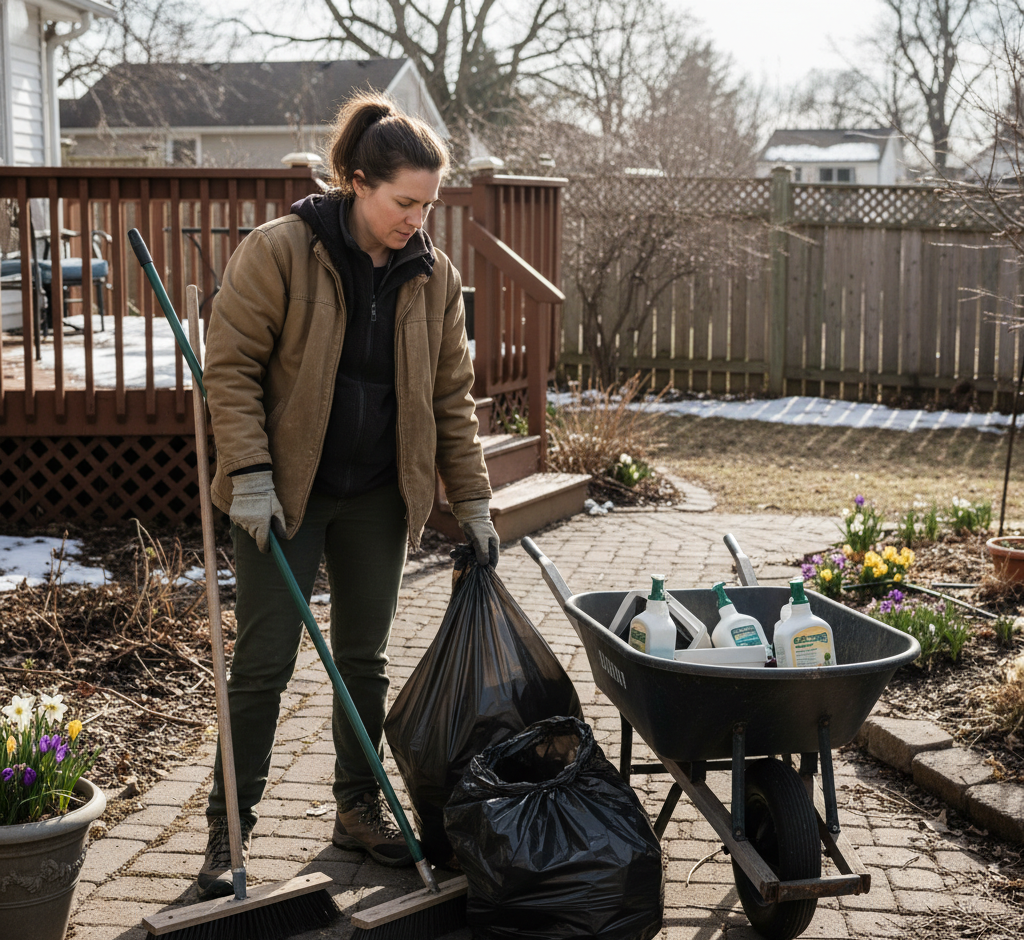
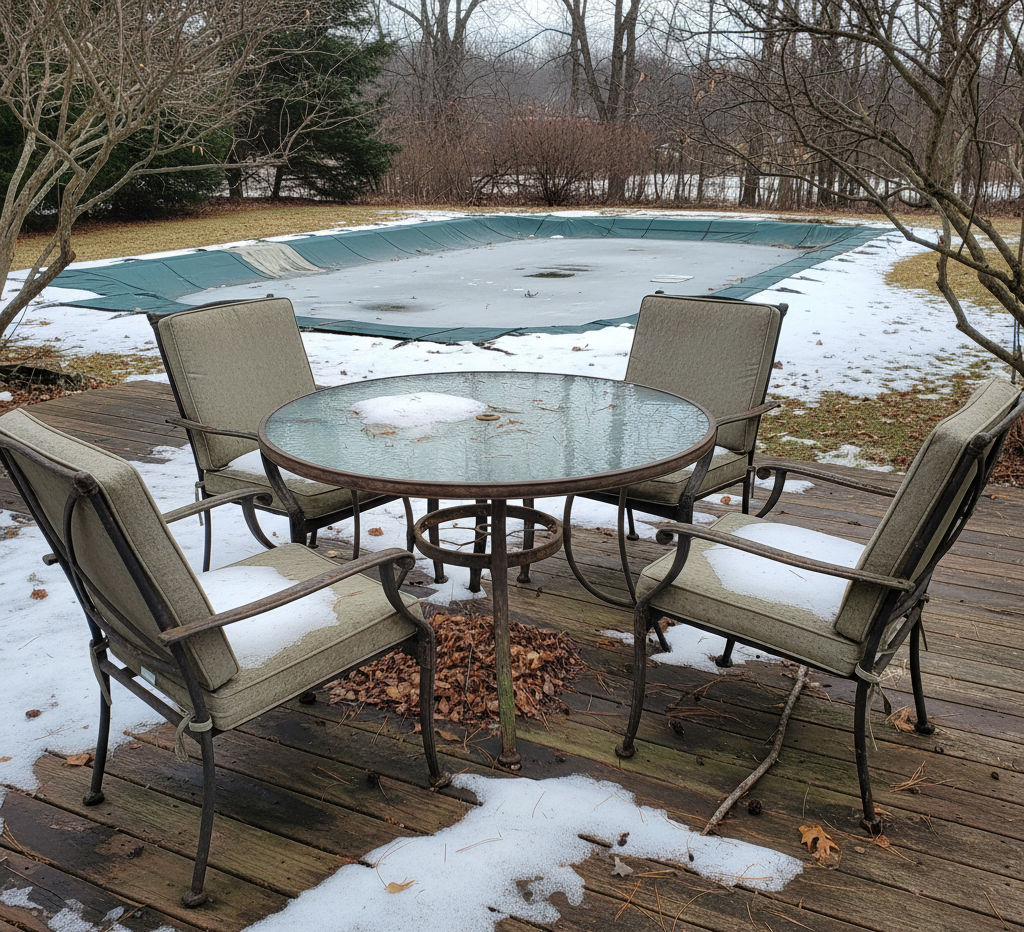
The most effective approach to this seasonal reset begins with the foundation itself: the floor of your outdoor space. You cannot properly clean the furniture or set up for the season on a dirty surface. The first, non-negotiable step is to clear the deck or patio completely. Every chair, every table, every planter must be moved off to the lawn or driveway. This creates a blank canvas and allows you to address the entire surface without obstruction. Begin with a thorough dry sweep. Using a stiff-bristled push broom, systematically clear away all the loose leaves, pine needles, branches, and other debris that has accumulated over the winter.
With the loose debris gone, you can now tackle the ingrained layer of winter grime, and the technique will depend on your surface. For a wooden deck, a deep scrub is required. Create a gentle but effective cleaning solution in a bucket by mixing a gallon of warm water with a quarter cup of an oxygen bleach powder, like sodium percarbonate, which is excellent at killing mildew and algae without being as harsh on the wood as chlorine bleach. Liberally apply this solution to a section of the deck with a mop or a deck sprayer. Let it sit for about fifteen minutes to allow the cleaner to penetrate and loosen the grime, but do not let it dry. Then, using a stiff-bristled deck brush with a long handle, begin to scrub vigorously, always working in the direction of the wood grain. This will prevent you from roughing up the wood fibers. You will see the dirty foam lift away, revealing the clean wood beneath. Work in manageable sections until the entire deck is scrubbed, then rinse it thoroughly with a garden hose. While a pressure washer can be a tempting shortcut, it must be used with extreme caution on wood. An incorrect nozzle or too much pressure can easily gouge the soft wood, splinter the surface, and cause permanent damage.
For concrete or stone patios, the process is similar but you can be more aggressive. After sweeping, you can use the same oxygen bleach solution or a mixture of water and vinegar to scrub the surface. For stubborn algae or moss stains in shaded areas, a more direct scrubbing with a stiff brush will be needed. A pressure washer is generally safe and incredibly effective on concrete and most types of paving stones, quickly blasting away a winter’s worth of dirt to reveal the bright, clean surface underneath.
Furniture
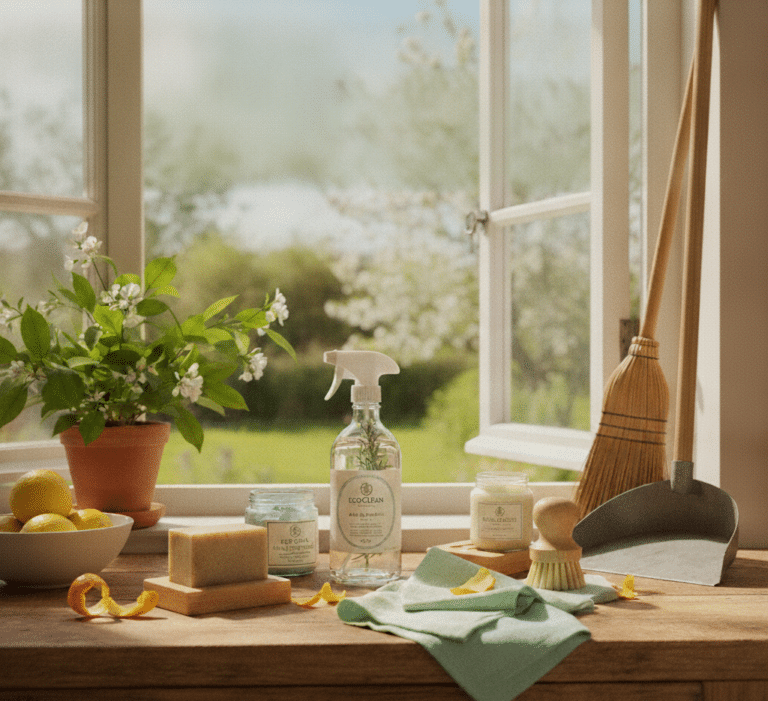
Once the foundational surface is clean and left to dry, turn your attention to the patio furniture, which has likely been sitting in storage or under covers, accumulating dust and mustiness. The cleaning method for your furniture will be dictated by its material. For common plastic or resin chairs and tables, a simple solution of warm water and a few drops of dish soap is often enough to remove surface dirt. For the stubborn black spots of mildew or the chalky, oxidized film that can develop on older plastic, a solution of one part white vinegar to three parts water is an excellent cleaner. Use a non-abrasive scrub sponge to work the solution into the surface, which will restore the color and remove the mildew.
Wood furniture, such as teak or cedar, requires a gentler touch. Use a soft-bristled brush and a mild, soapy water solution to scrub the wood, again, always working with the grain. Rinse it thoroughly with a clean, damp cloth. After cleaning, and once it is completely dry, it is a good idea to apply a new coat of a protective sealer or oil specifically designed for that type of wood. This will nourish the wood and protect it from the sun and rain in the months to come. For metal furniture, like aluminum or wrought iron, a simple wipe-down with soapy water is usually sufficient. For wrought iron, this is also a crucial time to inspect for any chips in the paint that have started to rust over the winter. These spots should be lightly sanded and touched up with a rust-resistant paint to prevent the rust from spreading.
Cushions
Outdoor fabric cushions are another major component of the revival. Even if they have been in storage, they can smell stale and musty. First, check the care tag for any specific washing instructions. For most, a surface clean is the best approach. Begin by vacuuming them thoroughly with an upholstery attachment to remove any loose dust and debris. Then, mix a solution of mild soap and lukewarm water. Using a soft sponge, work the suds into the fabric in a circular motion, paying extra attention to any stained areas. It is important not to saturate the cushion’s inner foam. Once scrubbed, “rinse” the cushion by wiping it down with a clean cloth dampened with plain water. The most critical step is drying. Squeeze out as much excess water as possible, then stand the cushions up on their edge in a sunny, breezy spot. Allowing air to circulate on all sides is the key to ensuring they dry completely, preventing new mildew from forming inside.
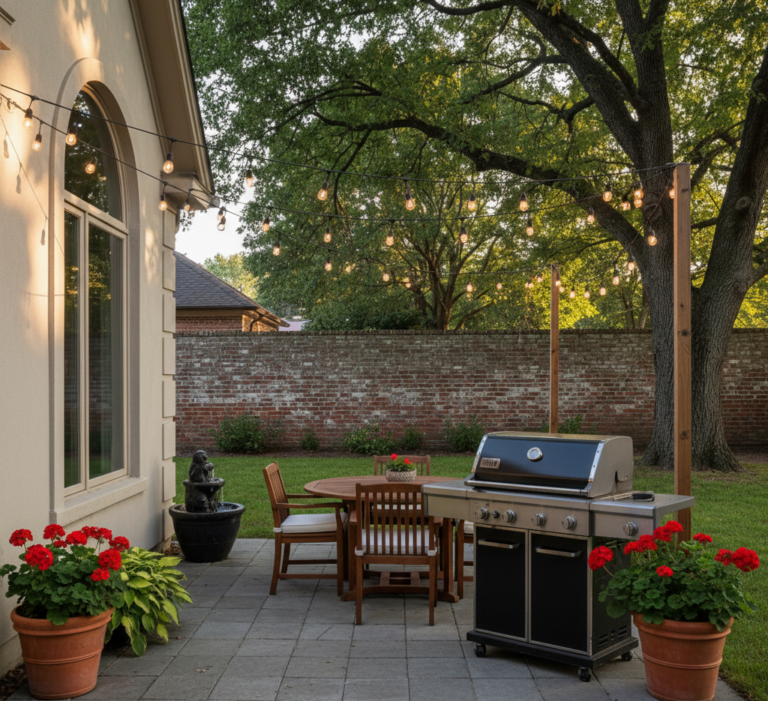
BBQ
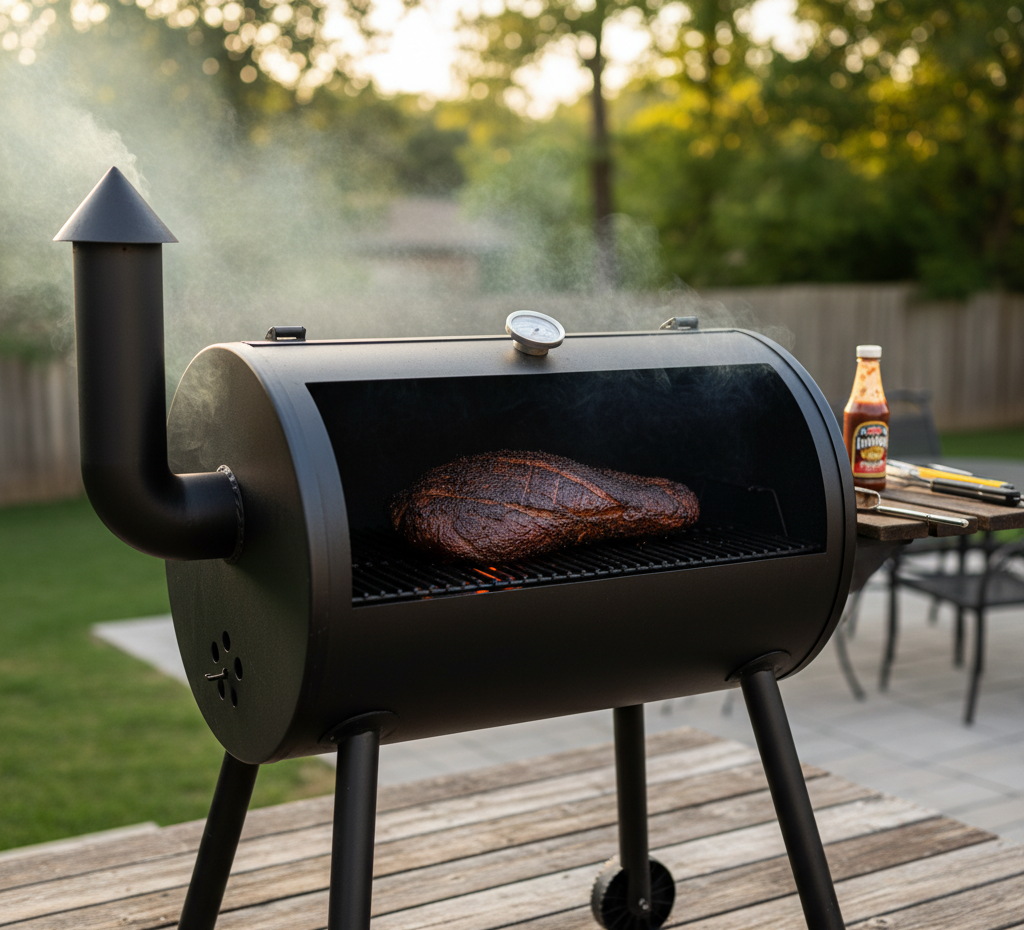
With the surfaces and furniture restored, it is time to address the centerpiece of many Canadian backyards: the barbecue. A thorough pre-season clean is essential for both performance and food safety. Begin by ensuring the propane tank is disconnected. The dirtiest part is always the cooking grates. The best method for cleaning them is to use the barbecue’s own heat. Reconnect the gas, fire up the grill to its highest setting, and close the lid for fifteen to twenty minutes. This intense heat will incinerate any food residue, turning it into a white ash. Once it has cooled down enough to be safe, use a high-quality stainless steel grill brush to vigorously scrape away all the carbonized debris.
Next, address the interior. Remove the now-clean grates and the flavorizer bars or heat shields beneath them. Scrape down the interior walls of the cook box with a putty knife or a wooden scraper, pushing all the greasy, carbonized gunk down into the bottom tray. Clean the flavorizer bars with your grill brush. The final, and most unpleasant, step is to clean the grease trap. Carefully remove the drip pan, discard the old grease, and wash the pan thoroughly in hot, soapy water. A clean grease trap is essential for preventing dangerous grease fires. Finally, clean the exterior of the barbecue. For stainless steel models, a specialized stainless steel cleaner applied with a microfiber cloth, wiping with the grain, will remove a season’s worth of grime and restore its shine.
With the major tasks complete, the final touches are what truly bring the space to life. If you have an outdoor rug, now is the time to unroll it, sweep it off, and give it a good hosing down. Clean the glass on your patio table for a sparkling, clear surface. Wipe down any planters and railings to remove the final layer of winter dust. By methodically working through this checklist, you transform your outdoor area from a neglected, post-winter mess into a clean, inviting, and fully functional living space, ready for the first long weekend of the season and all the warm days that follow.
Reclaiming your outdoor living space for the season is a rewarding task. For a home that’s equally pristine on the inside, Toronto Shine Cleaning offers comprehensive deep cleaning services that handle the winter dust and grime, leaving your entire home ready for seamless indoor-outdoor living.