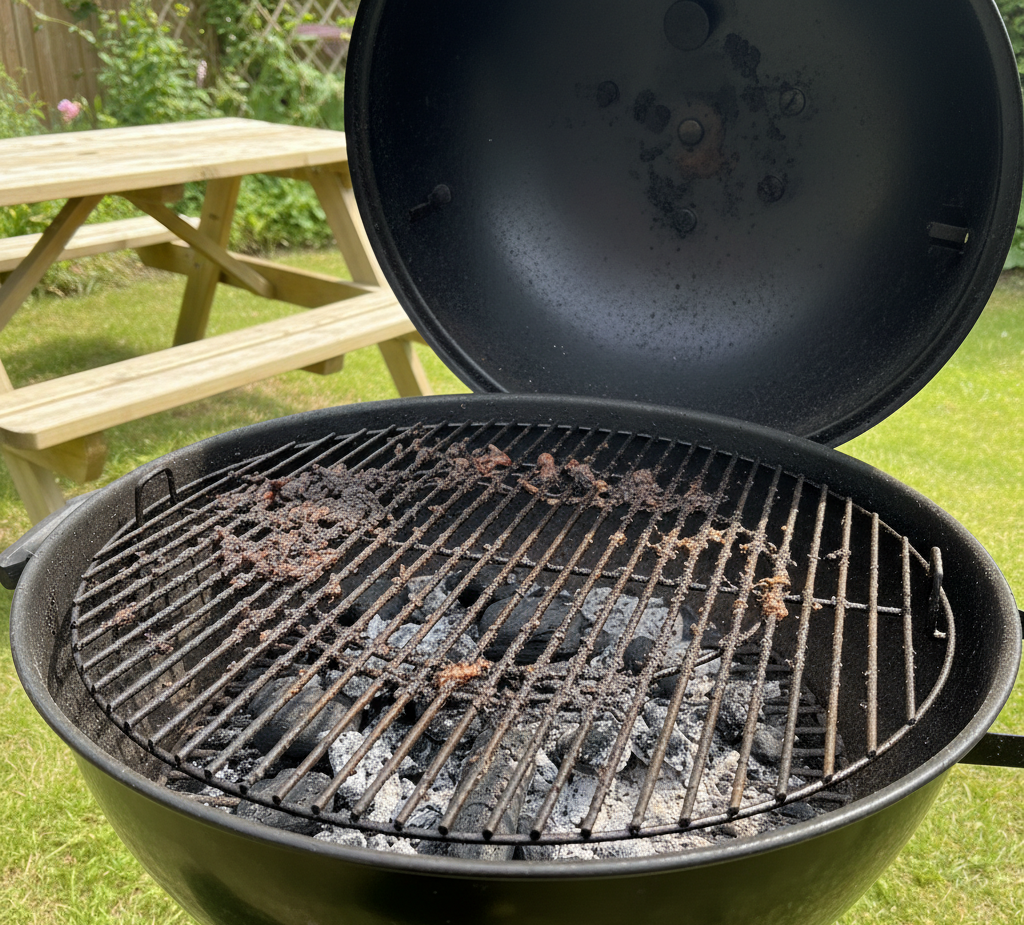
How about making better use of your barbecue grill? The Victoria Day long weekend is the unofficial but undisputed start of summer in Canada. It is a time for opening the cottage, planting the garden, and, most importantly, firing up the barbecue for the first time. But after a long, cold winter spent in hibernation under a cover, your grill is not immediately ready for that first steak or burger. It is coated in the greasy remnants of last season’s final cookout, and potentially home to dust, insects, and other unwelcome guests. Before a single flame is lit, a thorough, deep cleaning is not just recommended; it is an essential ritual for performance, taste, and, above all, safety.
This is not a quick wipe-down. It is a comprehensive overhaul, a process that strips the appliance back to its functional core and prepares it for a season of reliable service. The reward for this effort is a grill that heats more evenly, produces better-tasting food free from the carbonized ghosts of meals past, and operates without the significant fire risk posed by a heavy accumulation of grease.
First Step
The very first step in this process is preparation, and it begins with safety. Before you do anything else, you must disconnect the fuel source. For a propane grill, this means ensuring the valve on the tank is fully closed, then unscrewing the regulator from the tank. For a natural gas grill, you must shut off the gas supply at the valve where the grill’s hose connects to your home’s gas line. This step is non-negotiable.
1.Tools
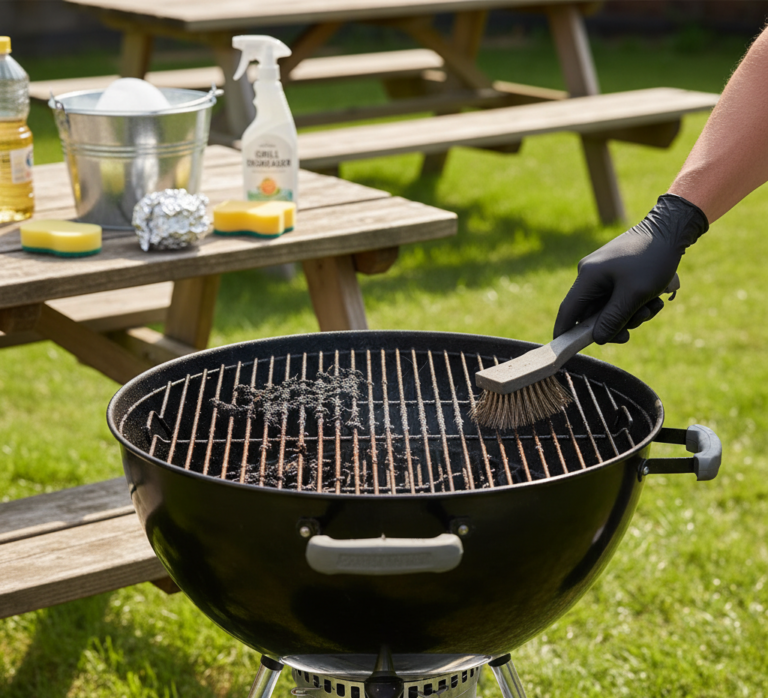
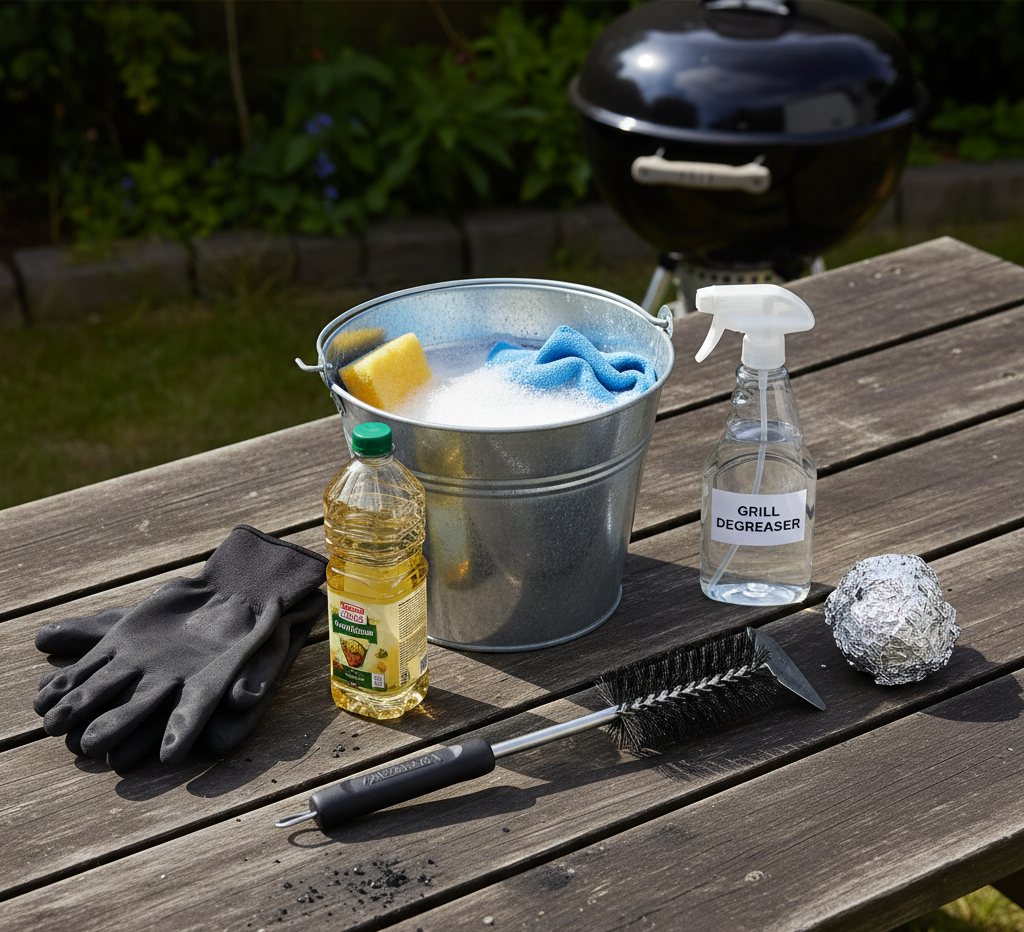
Next, gather your tools. This is a messy job, and having everything on hand will make the process smoother. You will need a high-quality grill brush, preferably one with stainless steel bristles that are securely fastened. You will also need a plastic scraper, a set of heavy-duty rubber gloves to protect your hands from the grease, a large bucket or utility tub, a strong degreasing dish soap, a scrub brush or non-abrasive scouring pads, and several old rags. Finally, you need a workspace. Move your grill off your finished deck or stone patio and onto a patch of lawn. The grime you will be removing can easily stain porous surfaces.
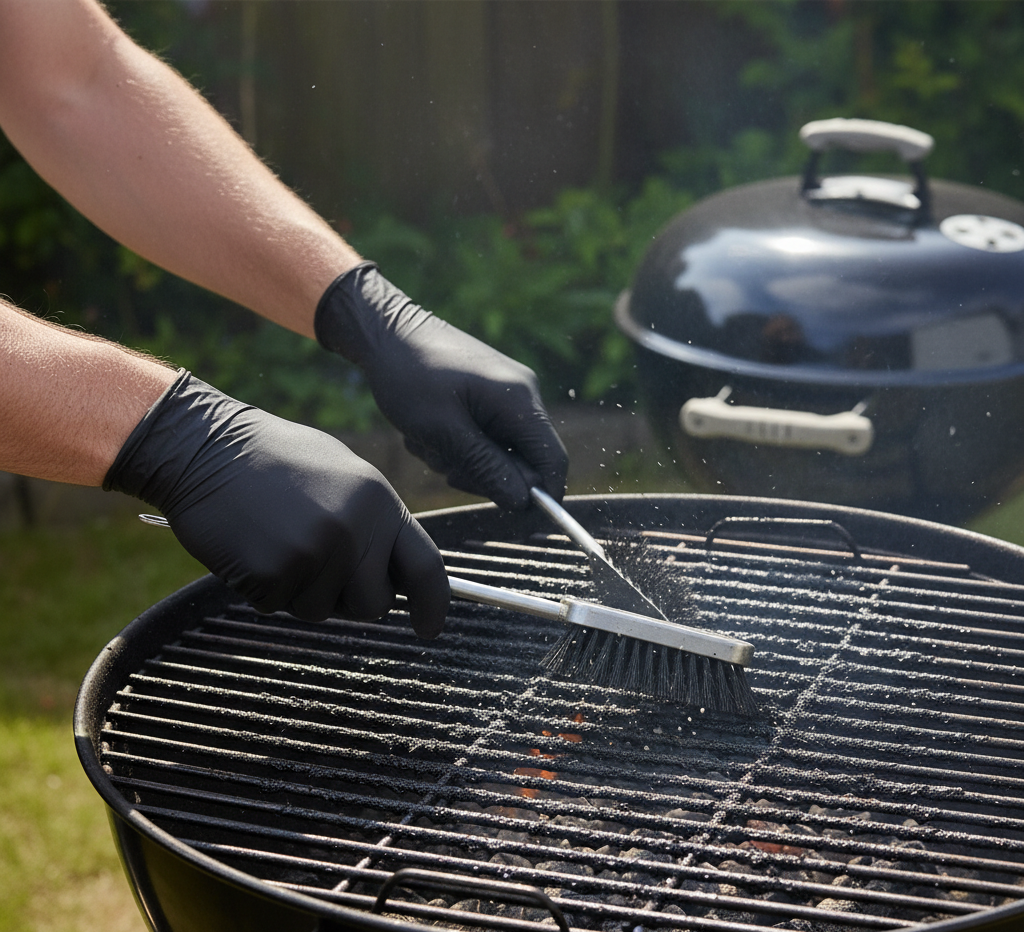
With your area prepped, you can begin the cleaning process with a preliminary burn-off. Reconnect the propane tank temporarily, open the lid, and light all the burners, setting them to high. Close the lid and let the grill run for 15 to 20 minutes. This intense heat will not clean the grill, but it will incinerate any residual food particles, turning them into carbonized ash and making them much easier to scrape off.
2.Disassembly
After the burn-off, turn off the burners and the gas supply, disconnect the tank again, and let the grill cool down completely. This may take at least an hour. Do not attempt to clean a hot grill. Once it is cool to the touch, put on your gloves and begin the disassembly. The first components to come out are the cooking grates. Lift them out and set them aside. Next are the heat tents, the metal plates that sit directly above the burners. These are often called “flavorizer bars” or heat shields. Their job is to protect the burners from direct drippings and to vaporize those drippings to create that classic barbecue flavor. Lift these out and set them aside with the grates.
Now you can see the heart of the grill: the burner tubes. In many models, these can be easily removed by detaching a pin or a screw at one end. If they come out easily, remove them. If not, you can clean them in place. Finally, locate the grease management system. This is usually a shallow tray or pan that funnels grease into a smaller, disposable drip pan or a permanent catch cup. Remove this entire assembly.
3.Degreaser
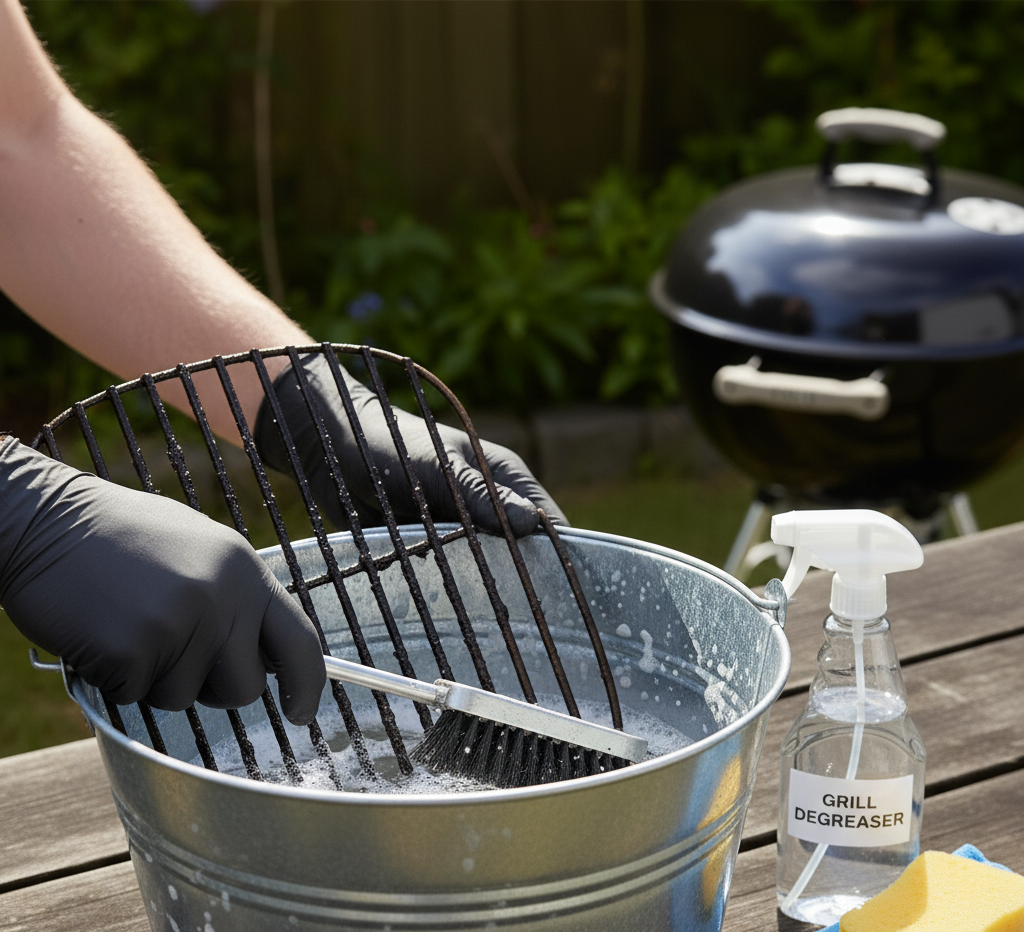
With the grill disassembled, the wet work begins. Fill your large bucket or utility tub with the hottest water your tap can produce and add a generous amount of your degreasing dish soap. Place the cooking grates and the heat tents into this hot, soapy bath and let them soak for at least 30 minutes, or longer for very heavy buildup. This soaking process is crucial; it does the hard work of softening and dissolving the baked-on, polymerized grease, which is incredibly difficult to remove when dry.
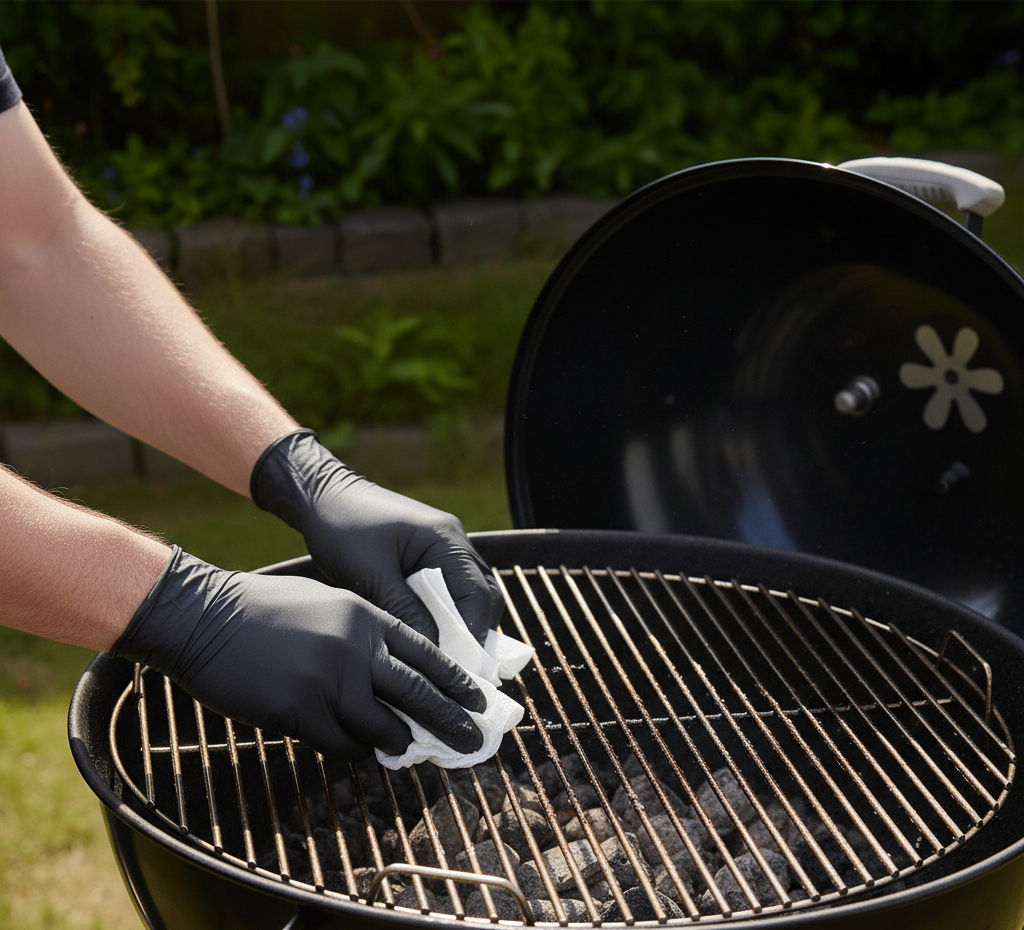
While those components are soaking, turn your attention to the inside of the cook box. This is where the real grime lives. Take your plastic scraper and begin scraping down the interior walls and the inside of the lid. You will be removing a thick layer of carbonized grease and smoke residue. It is important to use a plastic scraper, not a metal one, to avoid scratching and chipping the porcelain-enamel or painted finish inside the grill. Scrape everything downwards, towards the bottom of the cook box. Continue scraping until you have removed all the flaky, built-up gunk.
Once the walls are scraped, clean out the bottom of the cook box. Use your scraper and handfuls of paper towels or rags to push all the loose debris out through the opening for the grease tray and into a trash bag. This is a messy, unpleasant job, but it is critical for fire prevention.
Now, inspect the burner tubes. The small ports where the gas comes out can become clogged with debris, leading to an uneven flame and poor heating. Use a stiff, narrow brush, like a venturi brush or a pipe cleaner, to clean the exterior of the tubes. Carefully poke a small wire or a paperclip into each port to ensure it is clear. Do not use a toothpick, as it can break off inside the port. If you removed the burner tubes, you can do this more easily. If they are still in place, clean them as best you can.
4.Rubbing
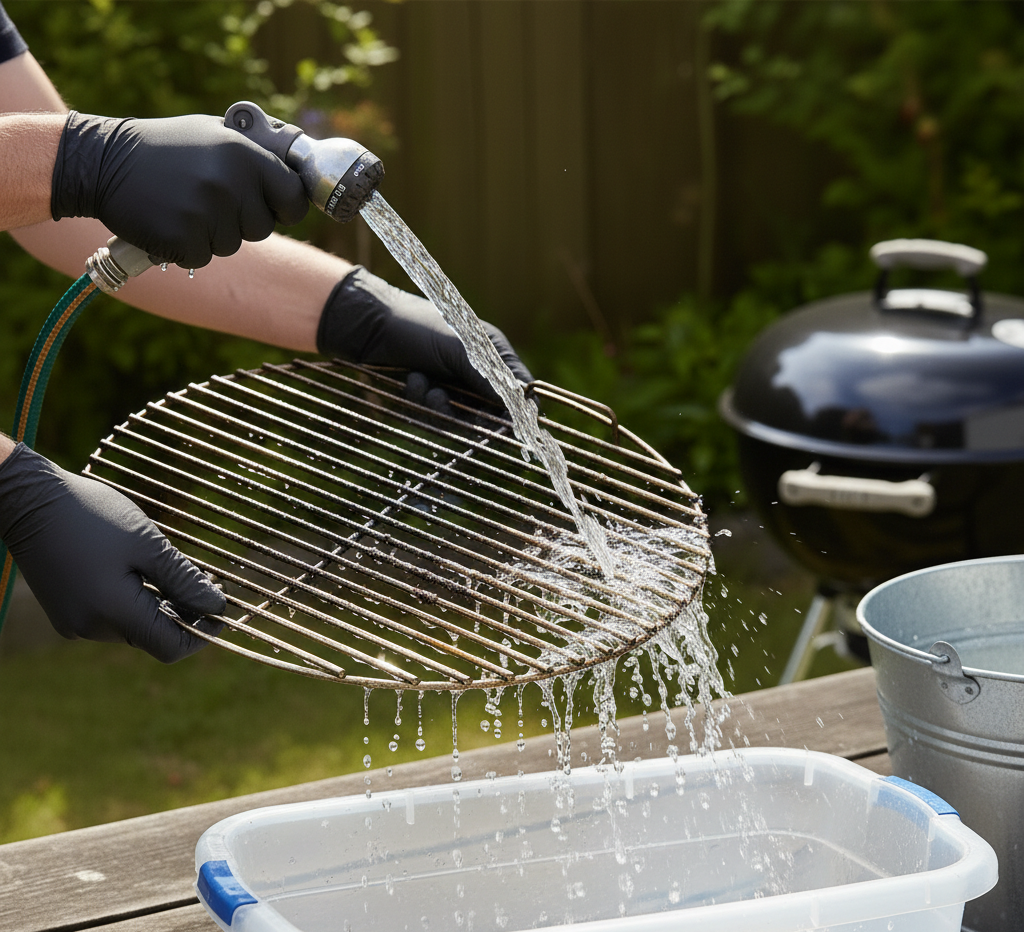
After at least half an hour of soaking, the grates and heat tents should be ready for scrubbing. Using your grill brush or a stiff scouring pad, scrub every surface of the grates. The hot, soapy water should have loosened the worst of the grime, but it will still require some effort. Flip them over and scrub the other side. Do the same for the heat tents. Once they are scrubbed clean, rinse every component thoroughly with a garden hose. It is essential to wash away all soap residue.
Drying is a critical, often overlooked step. Set the clean grates and heat tents upright in the sun or use a towel to dry them completely. Any moisture left on cast iron grates, in particular, will lead to the immediate formation of rust.
With the interior components clean and dry, it is time to clean the exterior of the grill. For a stainless steel finish, you want to use a dedicated stainless steel cleaner or a solution of equal parts white vinegar and water. Spray the cleaner onto a soft microfiber cloth, not directly onto the grill, and wipe in the direction of the steel’s grain. This prevents streaking and leaves a polished finish. For a grill with a porcelain-enamel or painted lid and body, use a simple cloth with warm, soapy water. Avoid any abrasive cleaners that could dull the finish. Wipe down the side tables, control knobs, and the cabinet or cart.
5.Reassembly
Now, you can begin the reassembly. Place the clean, dry burner tubes back in their proper position. Set the heat tents back on their supports directly above the burners. Place the cooking grates back on top. At the end, address the grease management system. Scrape out and clean the main grease tray, and either clean the catch cup or, if you use a disposable aluminum liner, replace it with a fresh one. This is one of the most important steps for preventing grease fires.
With the grill fully reassembled, you can reconnect the propane tank. Before you light it for the first time, you must perform a leak test. This is a critical safety check. In a small bowl, mix some dish soap and water. Brush this soapy solution onto the entire gas hose and all the connection points, including where the regulator screws into the tank and where the hose connects to the grill. Then, open the valve on the propane tank. Do not turn on the grill burners. Look closely at all the connections you painted with the soapy solution. If you see any bubbles forming, it indicates a gas leak. Immediately turn off the gas at the tank, tighten the connections, and re-test. If the bubbling continues, do not use the grill until you have replaced the faulty hose or fitting.
6.Final Step
Once you have confirmed there are no leaks, you are ready for the final step. Turn on the burners and light the grill. Set it to a medium-high heat and close the lid. Let it run for 10 to 15 minutes. This final burn-off will incinerate any residual cleaning solution, dry out any remaining moisture, and season the clean grates, preparing them for your first meal.
This comprehensive cleaning process is the definitive ritual that marks the transition from winter storage to summer celebration. It is a methodical task that guarantees your grill is a safe, efficient, and clean machine, ready to perform at its best for the entire season.
A deep clean of your barbecue is the first step to a safe and delicious grilling season, removing the built-up grease and grime from the previous year. This focus on deep-seated dirt is what defines a true clean. For those same deep cleaning results throughout your home, Toronto Shine Cleaning tackles the toughest grime to ensure your space is impeccably clean and ready for summer.