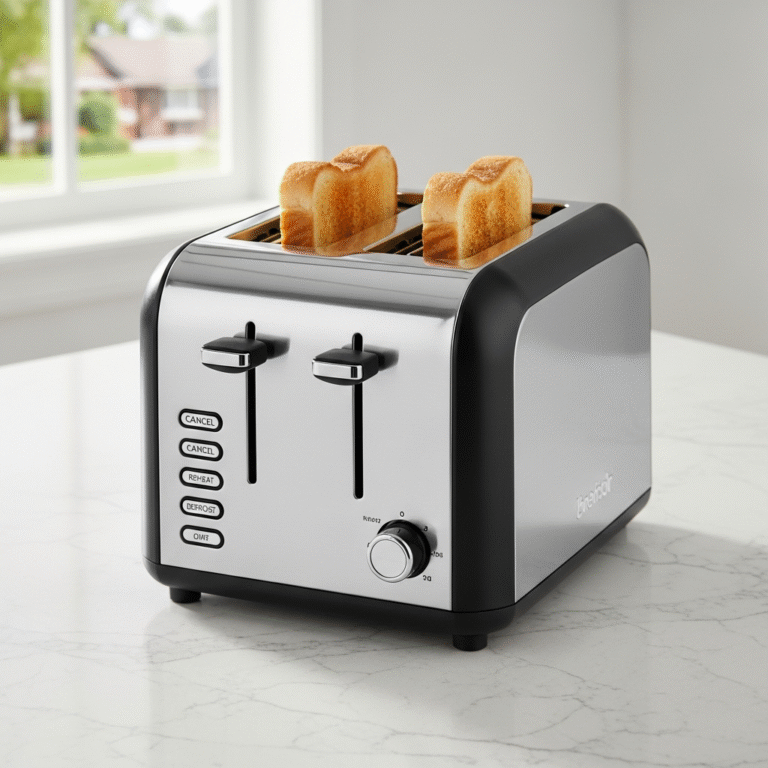
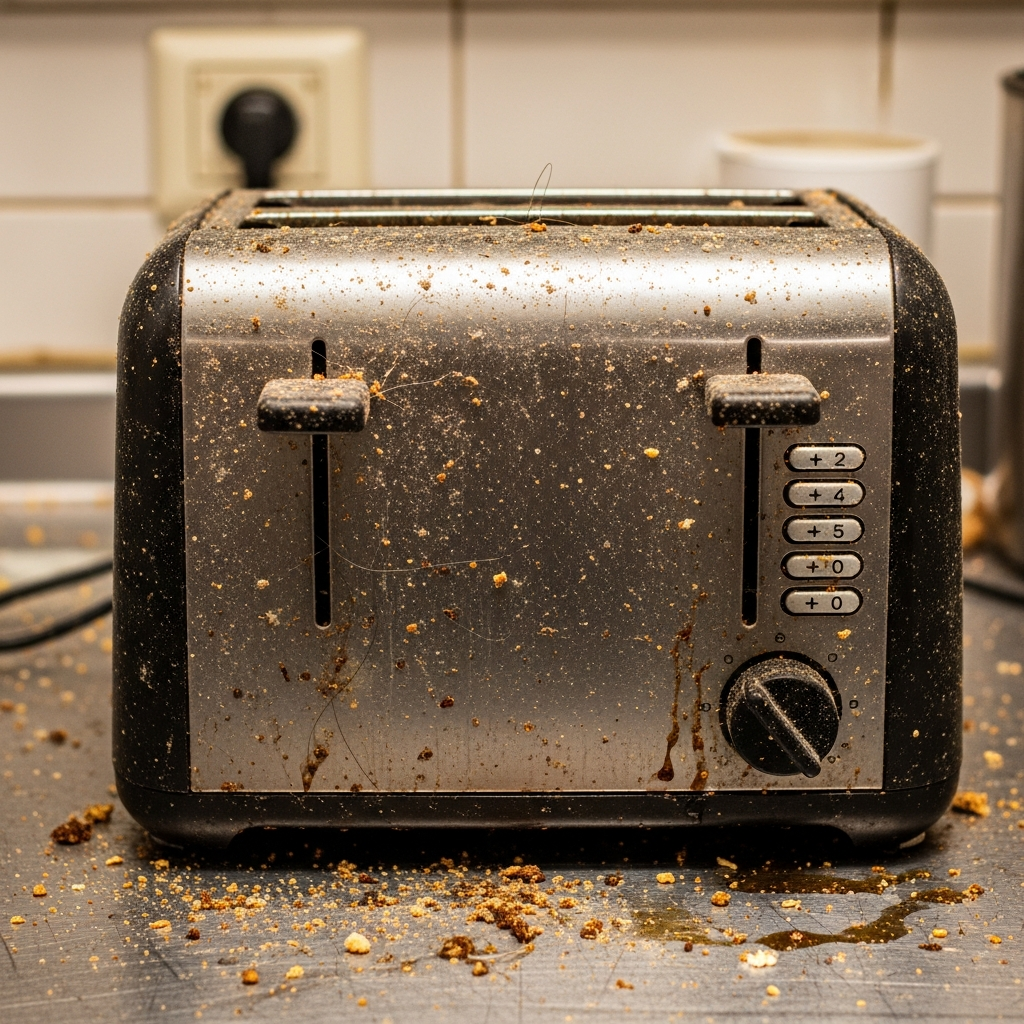
The toaster is arguably the most ubiquitous, yet most neglected, appliance in the modern kitchen. It sits on the counter, a silent sentinel of the morning routine, reliably turning slices of bread into warm, crispy vehicles for butter and jam. We use it daily, often multiple times, yet we rarely give a second thought to its maintenance until a problem arises. Usually, that problem manifests as a thin wisp of acrid smoke rising from the slots, or the distinct, unpleasant aroma of burning carbon that permeates the kitchen. Unlike the microwave or the stovetop, which wear their mess on the outside, the toaster hides its filth within. It becomes a graveyard for breadcrumbs, sesame seeds, and bits of dried fruit, all of which accumulate at the bottom and cling to the heating elements. Cleaning a toaster is not just about aesthetics; it is a critical safety measure. A toaster filled with dry, carbonized crumbs is a fire hazard waiting for a spark. Furthermore, the buildup of old food debris can affect the flavor of fresh toast and the efficiency of the heating coils. Mastering the art of cleaning this appliance requires a gentle touch and an understanding of its internal mechanics.
1.Security
The process must begin with a non-negotiable safety protocol: unplug the appliance. It seems obvious, but the toaster is an electrical device with exposed heating elements. Inserting any tool, or even your fingers, into the slots while it is connected to a power source carries a risk of electric shock. Once unplugged, the toaster needs to cool down completely. Attempting to clean a toaster that was used ten minutes ago is a recipe for burnt fingertips and melted cleaning tools. The metal housing retains heat, and the internal wires are extremely hot and fragile. Patience is the first tool you need. Move the toaster to a workspace that is easy to clean, such as the kitchen sink or a table covered with newspaper. You are about to unleash a surprising amount of debris, and you do not want to scatter it across a clean countertop.
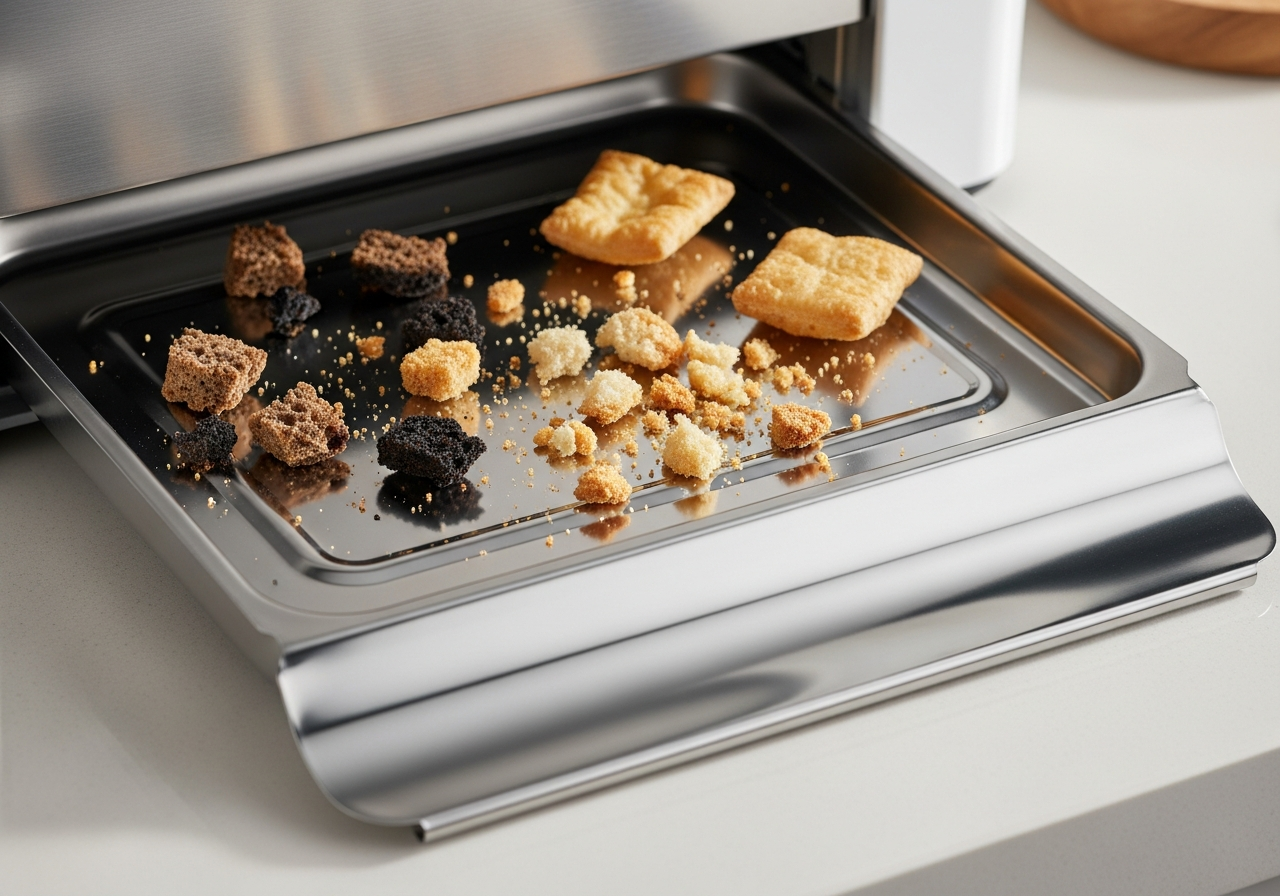
2.Crumb Tray
The first line of defense in toaster maintenance is the crumb tray. Almost every modern toaster is equipped with this sliding drawer located at the base of the unit. Its purpose is to catch the fallout from the toasting process, but it has a limited capacity. When neglected, the crumbs pile up until they touch the heating elements, acting as fuel for potential fires. To clean it, slide the tray out carefully. If it has been a long time, there may be a mountain of crumbs that will try to spill over the sides. Dump the contents into the trash or compost bin. However, simply dumping it is not enough. The tray often has a layer of burnt-on oil or sticky residue, especially if you toast bagels or raisin bread. Wash the tray in warm, soapy water with a sponge. If there are stubborn, carbonized spots, let it soak for a few minutes. The most critical step with the crumb tray is drying. It must be bone dry before you slide it back into the machine. Introducing moisture into the base of the toaster can lead to rust and electrical shorts.
3.Hidden Dirt
Once the tray is removed, you will likely discover that it only caught about half of the debris. The rest is hiding in the nooks and crannies of the internal machinery. This is where gravity becomes your best friend. Take the toaster, turn it upside down over the sink or a large garbage bin, and give it a shake. This should not be a violent, rattling shake, which could dislodge the heating elements or damage the electronics. It should be a firm, rhythmic motion to encourage the loose crumbs to fall out. You will be surprised by the sheer volume of “charcoal” that falls from the slots. Debris gets trapped behind the heating cages and in the corners of the chassis. Tilting the toaster at different angles while shaking it helps to dislodge crumbs that are wedged in tight spots.
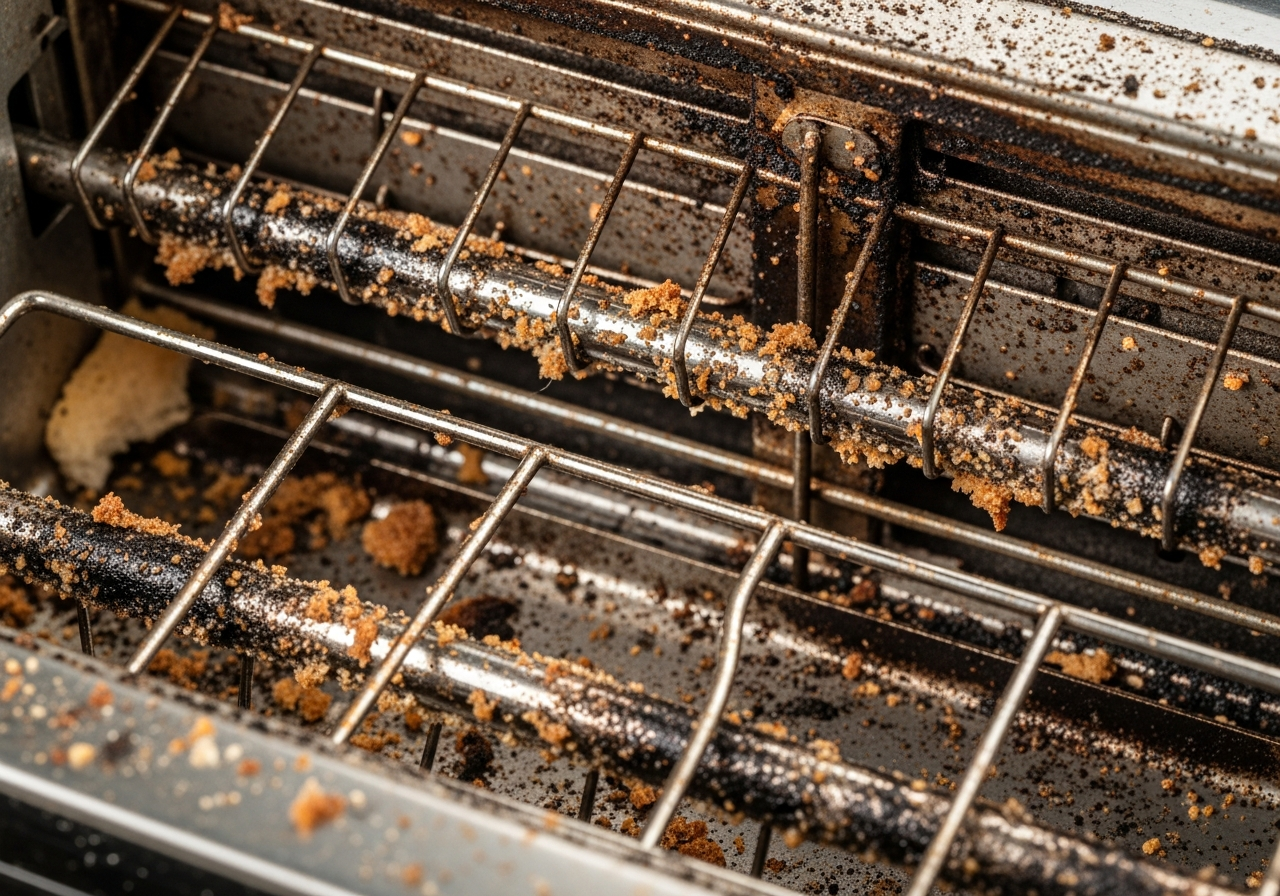
4.Interior Wall
After the gravity assist, you need to address the interior walls and the heating elements. This is the most delicate part of the operation. There is a cardinal rule in toaster cleaning: never put a metal knife or fork inside the slots. Beyond the electrocution risk (if plugged in), metal tools can easily snap the nichrome wires that generate the heat or puncture the mica sheets that insulate them. Instead, use a soft, dry pastry brush or a clean, dry toothbrush. Gently insert the brush into the slots and sweep the sides of the metal cages. The goal is to knock down any crumbs clinging to the wires without applying pressure. If you encounter a piece of burnt fruit or a chunk of bagel that is stuck to the cage, do not scrape it. Scraping can break the wire. The brushing motion should be vertical, moving from the top of the slot down toward the bottom, guiding the debris out the opening where the crumb tray normally sits.
5.Compressed Air Can
For the debris that the brush cannot reach, compressed air is a secret weapon. A can of compressed air, typically used for cleaning computer keyboards, can blast dust and crumbs out of the deepest crevices of the toaster. However, the technique matters. Do not simply spray randomly. Aim the nozzle into the top slots and spray in short bursts. You want to force the debris down and out through the bottom. If you spray from the bottom up, you might force crumbs into the electronic control panel or the spring mechanism, which can cause the lever to jam. This step is particularly effective for removing the fine, soot-like dust that accumulates over years of use.
6.Exterior Wall
Once the interior is as clean as possible, attention turns to the exterior. The outside of a toaster takes a beating from kitchen grease. Because toasters are often located near the stove, they accumulate a thin, sticky film of airborne oil that attracts dust. Over time, this turns into a gummy layer that is difficult to wipe off. If you have a plastic toaster, a sponge dampened with warm water and a drop of dish soap is usually sufficient. Scrub the casing, paying attention to the slots at the top where brown stains often appear. For stainless steel toasters, the approach must be different to avoid streaks. Stainless steel cleaner is effective, but a mixture of water and white vinegar works wonders for cutting through grease without leaving a residue.

7.Be Careful
A critical mistake people make when cleaning the exterior is spraying the cleaning solution directly onto the toaster. Liquid can seep into the slots, the lever mechanism, or the browning control dial. If liquid gets into the electronics, it can ruin the appliance or cause a short circuit. Always spray the cloth or the sponge, never the machine. Wipe down the sides, the front, and the back. Do not forget the knobs and the lever handle, which are high-touch points that harbor bacteria. If there are gummy residues around the buttons, a cotton swab dipped in vinegar or rubbing alcohol can detail these small areas effectively.
8.Melted Plastic
Sometimes, a toaster suffers from a specific, difficult problem: melted plastic. This usually happens when a bread bag accidentally touches the hot exterior, or when a plastic wrapper falls into a slot. If there is melted plastic on the outside, do not try to scrape it off while the toaster is cold; it will likely chip the finish. Instead, plug the toaster in and let it heat up for a minute—just enough to soften the plastic. Unplug it immediately, and then use a wooden spoon or a non-abrasive plastic scraper to gently lift the softened residue. If the plastic is inside on the heating element, the situation is riskier. The toaster must be unplugged and cool. You can try to gently chip it away with a wooden skewer, but if it is fused to the heating wire, it might be permanent. In that case, the toaster may need to be replaced, as burning plastic releases toxic fumes every time you make breakfast.
9.Brown Residue
Another common issue is the buildup of brown, burnt-on residue around the top metal rim of the slots. This is caused by the heat of the toaster caramelizing the sugars and starches that rise with the heat. It is stubborn and unsightly. A paste made of baking soda and a little water can be applied to this rim. Let it sit for ten minutes to soften the carbon, then scrub it gently with a toothbrush. The gentle abrasion of the baking soda cuts through the burn marks without scratching the metal. Wipe it clean with a damp cloth, ensuring no baking soda falls into the slots.
10.Power Cord
Maintenance of the power cord is also part of the cleaning process. The cord often sits behind the toaster, gathering dust balls and grease. Wipe it down with your damp soapy cloth and dry it. Check the plug for any damage. Many toasters have a cord storage wrap underneath the base. If you use this, ensure the cord is not wound so tightly that it puts stress on the connection point.
Frequency is key to making this task manageable. A “shake and dump” routine should happen weekly. Pulling the tray and shaking the crumbs out takes less than two minutes and prevents the massive buildup that leads to smoke. The deep clean—brushing the interior and scrubbing the exterior—should happen monthly, or more often if you are a heavy toaster user. By keeping the crumb level low, you improve the airflow inside the unit. A toaster relies on convection to toast evenly. If the bottom is clogged with debris, the airflow is restricted, which can lead to hot spots, uneven browning, and eventually, the failure of the heating element.

11.Location
It is also important to consider the location of the toaster. Many people keep their toaster tucked under low-hanging upper cabinets to save counter space. While this looks tidy, it presents a cleaning challenge. The heat and steam released from the toaster rise directly onto the underside of the cabinets, causing moisture damage and grease buildup on the wood. Periodic cleaning of the cabinet underside is necessary if this is your setup. Furthermore, moving the toaster to clean the counter underneath is essential. A ring of crumbs usually outlines the footprint of the toaster. Cleaning the appliance but leaving it sitting in a pile of old crumbs defeats the purpose.
12.Maintenance
There is a sensory reward to a clean toaster. When you clear out the carbonized remains of breakfasts past, the “toaster smell” disappears. You are no longer re-heating old debris every time you want a bagel. The appliance operates silently and odorlessly, as it was designed to do. The lever moves smoothly because it isn’t gummed up with crumbs. The stainless steel shines, adding to the visual appeal of the kitchen rather than detracting from it. It is a small victory in the war against household entropy, but a significant one.
Ultimately, cleaning a toaster is an exercise in mindfulness. It forces you to slow down, to be gentle with fragile components, and to address the hidden messes that accumulate in the background of daily life. It extends the lifespan of the appliance, saving money and reducing e-waste. Instead of throwing away a “broken” toaster that smells like burning, you restore it to functionality. It turns a fire hazard into a safe, efficient tool.

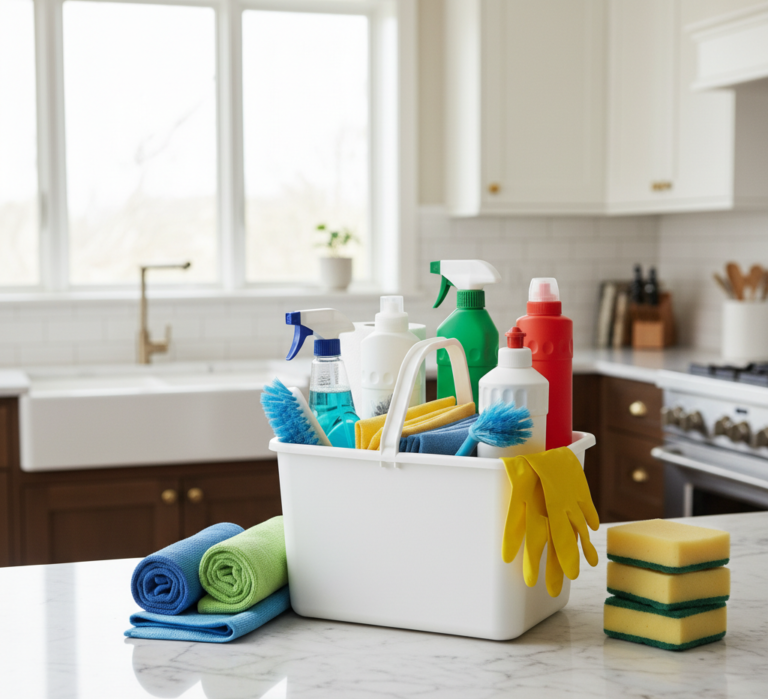
Maintaining a home involves managing hundreds of these small, specific tasks. From the depths of the toaster to the height of the ceiling fan, dust and grime are relentless. While cleaning a toaster is a manageable ten-minute job, the cumulative weight of deep cleaning an entire kitchen—degreasing the oven, scrubbing the baseboards, sanitizing the fridge, and polishing the cabinets—can be overwhelming. It requires time, energy, and an eye for detail that is hard to sustain amidst a busy schedule. When the list of chores becomes too long, or when you simply want to experience the joy of a truly deep-cleaned home without the labor, professional assistance is the answer. Toronto Shine Cleaning offers a level of service that addresses the nooks and crannies most people overlook. Just as we have explored the meticulous care required for a simple toaster, Toronto Shine Cleaning applies that same rigorous standard to every inch of your living space.